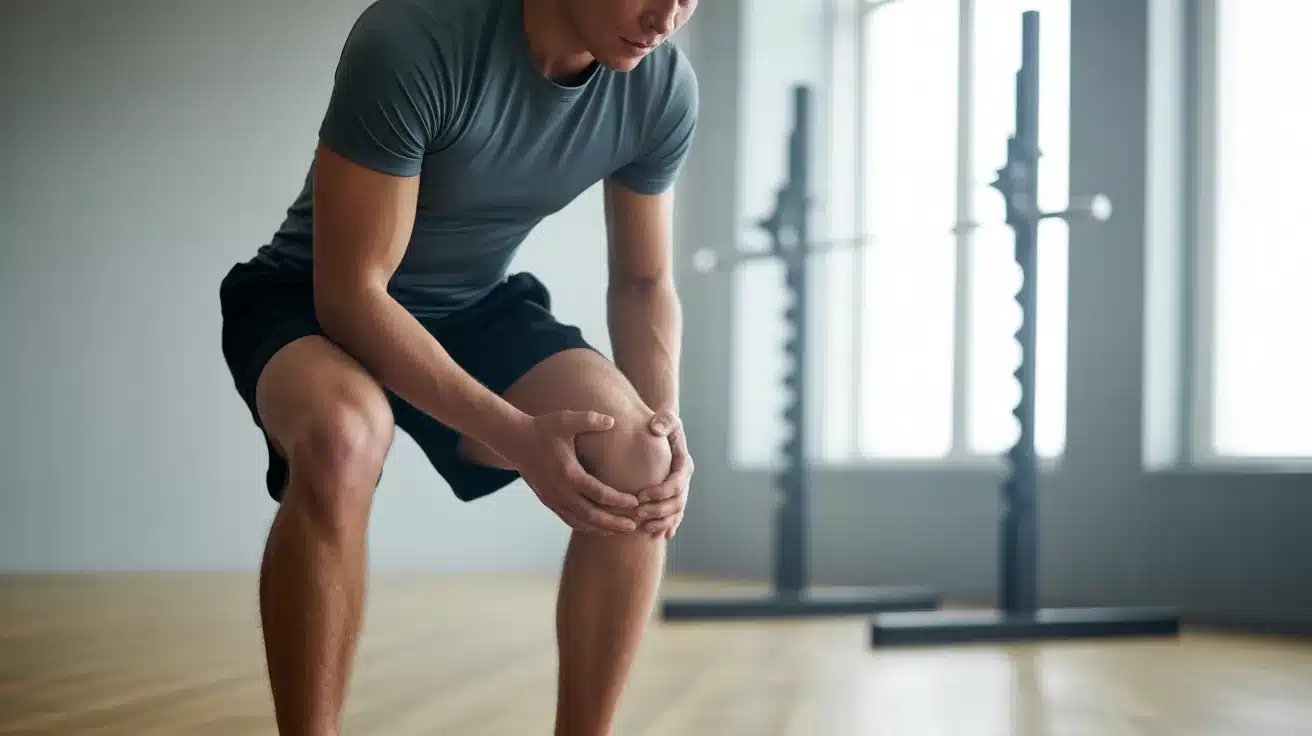


I’ve seen how sciatica can make even simple movements feel like a careful decision. That sharp pain running down one leg affects everything from walking to sitting.
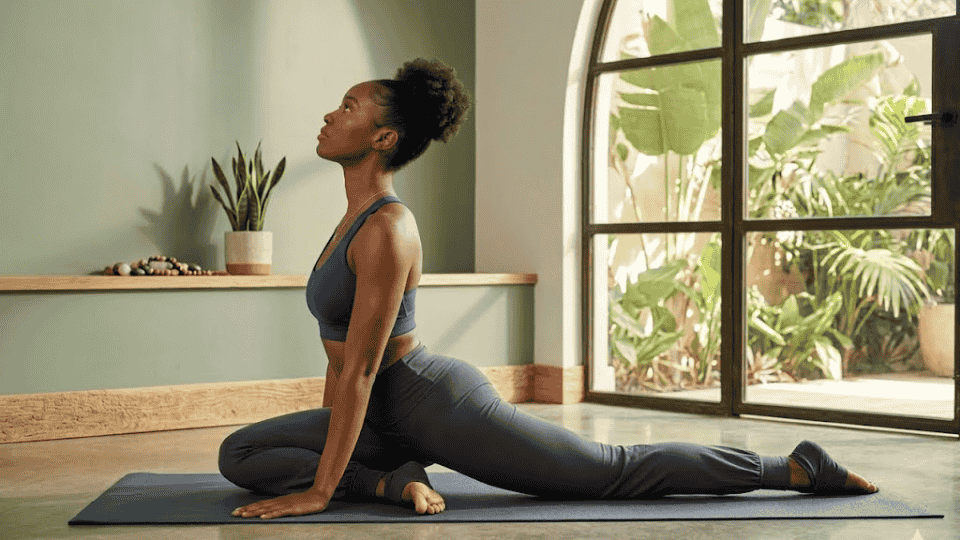
The good news is that the right yoga poses for sciatica can genuinely help. Certain poses ease pressure around the sciatic nerve, improve hip and spine movement, and build strength in the muscles that support your lower back.
Still, safety comes first. If a stretch causes pain to shoot further down your leg, stop right away. Below, you’ll find poses ranked from the safest stretches to more challenging moves, plus a simple weekly routine.
Understanding Sciatica
Sciatica occurs when the sciatic nerve becomes irritated or compressed. This nerve runs from your lower back down one leg. The pain can start in the lower back and move through the hip and leg.
Several things can cause this problem. A herniated disc may press on the nerve in your spine. Piriformis syndrome occurs when a small muscle in the hip becomes tight and irritates the nerve.
Spinal stenosis means the space in the spine narrows, pressing on the nerve. Muscle imbalance around your hips or lower back can also add stress and lead to pain.
Gentle yoga can help your body feel better over time. It stretches tight muscles, helps your spine stay in a healthy position, improves blood flow, and reduces pressure on the sciatic nerve, making movement easier.
Yoga Poses for Sciatica Relief
I’ve organized these exercises for sciatica from the safest options you can try during a flare-up to more advanced stretches that require your symptoms to be calmer first.
1. Child’s Pose
Gently stretches the lower back and hips while taking pressure off the sciatic nerve, creating space in the spine without forcing anything. This resting pose also calms the nervous system, which can help reduce pain perception during flare-ups.
How to do it:
- Kneel on the floor with big toes touching and knees hip-width apart or wider
- Sit your hips back toward your heels as far as comfortable
- Extend your arms forward along the floor, palms down
- Rest your forehead on the ground or on stacked fists if you can’t reach
- Breathe deeply, letting your belly expand with each inhale
- Stay for 1-2 minutes, coming out slowly
Modify it: Place a pillow or folded blanket between your hips and heels if sitting back fully causes discomfort. You can also try widening your knees to make room for your torso.
Avoid if: Kneeling causes sharp knee pain even with padding, or if you’re pregnant (use a bolster under your chest instead).
2. Cat-Cow Pose
Mobilizes the entire spine through gentle, pain-free movement, reducing stiffness and improving circulation around compressed nerve areas. The rhythmic motion also helps you identify which ranges feel safe versus which positions trigger symptoms.
How to do it:
- Start on hands and knees with wrists directly under shoulders and knees under hips
- Inhale as you drop your belly toward the floor, lift your chest and tailbone (Cow)
- Exhale as you round your spine toward the ceiling, tucking your chin and tailbone (Cat)
- Move slowly and smoothly, spending 3-4 seconds in each position
- Complete 8-10 rounds, staying within your comfortable range
- Stop if you feel any sharp pain or symptoms radiating down your leg
Modify it: Place a folded blanket or yoga mat under your knees for extra cushioning. Keep the movements smaller if the full range triggers discomfort.
Avoid if: Wrist pain flares, neck discomfort occurs, or the movement sends pain down your leg.
3. Legs Up the Wall
Reverses gravity’s pressure on the lower spine and encourages lymphatic drainage, reducing inflammation around the sciatic nerve without any active stretching. This completely passive pose is ideal when you’re too sore to do anything else.
How to do it:
- Sit sideways next to a wall with your hip touching it
- Swing your legs up the wall as you lie back onto the floor
- Scoot your hips as close to the wall as comfortably, or stay a few inches away
- Let your arms rest by your sides, palms up
- Close your eyes and breathe naturally
- Stay for 5-10 minutes, then bend knees to chest before rolling to your side
Modify it: Place a folded blanket or pillow under your hips for gentle elevation, which can feel even better. If hamstrings are tight, move your hips further from the wall.
Avoid if: You have uncontrolled high blood pressure, glaucoma, or feel dizzy in this position.
4. Knees-to-Chest
Releases tension in the lower back and glutes while gently flexing the spine, often reducing pressure on pinched nerve roots. This pose also provides immediate feedback; if pulling your knees closer increases symptoms, you know to back off.
How to do it:
- Lie flat on your back on a comfortable surface
- Bend both knees and plant your feet flat on the floor
- Lift one knee toward your chest, then the other
- Hold behind your thighs (not directly on kneecaps to protect knees)
- Gently draw knees toward chest, only as far as feels good
- You can rock side to side gently to massage the lower back
- Hold for 30-60 seconds, breathing steadily
Modify it: Keep one foot flat on the floor and hug only one knee at a time if both together feel too intense or increase leg pain.
Avoid if: Pain increases as your knees approach your chest, or you feel pressure in your lower back.
5. Reclined Figure Four (Supine Pigeon)
Stretches the piriformis muscle (often the culprit in sciatica) and external hip rotators without loading the spine, making it one of the safest hip openers available. You have complete control over intensity since you’re lying down.
How to do it:
- Lie on your back with both knees bent, feet flat on the floor
- Cross your right ankle over your left thigh, just above the knee
- Flex your right foot to protect the knee joint
- Thread your right arm through the gap between your legs
- Clasp both hands behind your left thigh or on top of your left shin
- Gently pull your left thigh toward your chest until you feel a stretch in your right hip
- Hold for 30-60 seconds, then switch sides
Modify it: Keep your bottom foot on the floor instead of lifting the leg, or use a strap around your thigh if you can’t reach comfortably.
Avoid if: Hip pain sharpens, symptoms shoot down the leg, or your lower back arches excessively off the floor.
6. Supported Bridge
Strengthens glutes and lower back stabilizers while gently extending the spine, creating support around vulnerable areas without aggressive stretching. The supported version lets you hold the position longer for muscle endurance without fatigue.
How to do it:
- Lie on your back with knees bent and feet flat, hip-width apart
- Place your feet close enough that your fingertips can graze your heels
- Press through your heels and lift your hips toward the ceiling
- Slide a yoga block or firm pillow under your sacrum (the flat bone at the base of your spine)
- Let the prop support most of your weight; this isn’t an active hold
- Rest your arms alongside your body, palms down
- Stay for 1-3 minutes, breathing normally
- Remove the block and slowly lower down one vertebra at a time
Modify it: Keeping the lift low, with the hips just a few inches off the ground, and a lower prop, is enough to get benefits.
Avoid if: Lower back pain increases in the lifted position or you feel compression in your spine.
7. Supine Spinal Twist (Supported)
Releases tension through gentle rotation while lying down, decompressing the spine without weight-bearing stress on irritated areas. Twisting can help “reset” tight muscles around the sciatic nerve pathway when done gently.
How to do it:
- Lie on your back with both knees bent, feet flat
- Hug your right knee toward your chest, keeping left foot grounded
- Use your left hand to gently guide your right knee across your body toward the left side
- Extend your right arm out to the side at shoulder height, palm up
- Place a pillow or folded blanket under your right knee for support
- Turn your head to the right (opposite direction of knees) if that feels comfortable
- Hold for 1-2 minutes, breathing into any tight areas, then switch sides
Modify it: Keep both knees bent and drop them together to one side instead of crossing one leg over for less intensity.
Avoid if: Twisting sends pain down your leg, causes sharp back discomfort, or you have acute disc injuries.
8. Sphinx Pose
Gently extends the lower back, which is often beneficial for disc-related sciatica by helping move disc material away from nerve roots. This prone position also strengthens spinal support muscles in a controlled way that protects your back.
How to do it:
- Lie face-down on your stomach, legs extended behind you
- Place your forearms flat on the ground with elbows directly under or slightly ahead of your shoulders
- Press your forearms firmly into the floor and lift your chest slightly
- Keep your hips, thighs, and tops of feet grounded; don’t let your lower body lift
- Draw your shoulders back and down, opening across your chest
- Look straight ahead or slightly upward, keeping the back of your neck long
- Hold for 30-60 seconds, then lower down slowly
Modify it: Place a folded towel under your hips if the arch feels too intense, or lower your chest closer to the ground by moving your elbows forward.
Avoid if: Extension increases leg pain, you have spinal stenosis (narrowing of the spinal canal), or you feel sharp pinching in your lower back.
9. Low Cobra (Gentle)
Similar to Sphinx but with more control over the degree of extension, strengthens back extensors and can help centralize pain away from the leg in certain sciatica types, particularly when nerve irritation comes from forward-bent postures.
How to do it:
- Lie on your stomach with legs extended, tops of feet pressing into the floor
- Place your hands flat under your shoulders, elbows tucked close to your ribs
- Engage your legs and glutes lightly to protect your lower back
- Press your palms gently into the floor and lift your chest just a few inches
- Keep your elbows bent, they should stay close to your sides, not straighten
- Look slightly forward, not up, to keep your neck neutral
- Hold for 10-15 seconds, lower down, rest briefly, then repeat 2-3 times
Modify it: Lift only 1-2 inches off the ground; height doesn’t matter, proper muscle engagement and control do.
Avoid if: Any backbend worsens leg symptoms, causes sharp spinal pain, or you feel compression instead of lengthening.
10. Standing Hamstring Stretch (Supported, Micro-Bend)
Tight hamstrings pull on the pelvis and increase lower back strain, which can aggravate sciatica. This supported version releases that tension safely with external support to protect your back from rounding unsafely.
How to do it:
- Stand facing a sturdy chair, counter, or table
- Place your right heel on the surface, start at knee height or lower
- Keep a micro-bend in both knees (never lock your joints)
- Rest both hands on the support surface for stability
- Hinge very gently from your hips, keeping your spine long
- You should feel a stretch along the back of your raised leg
- Hold for 30 seconds, breathing steadily, then switch sides
- The stretch should be mild, never pull aggressively
Modify it: Lower the surface height significantly, even a stair step or a thick book works, and keep the stretch very mild. You can also flex the foot of the raised leg or point it to target different areas.
Avoid if: Forward bending sends pain down your leg, causes sharp back discomfort, or you’re in an acute flare-up.
11. Downward Dog (Bent Knees, Short Holds)
Decompresses the spine and stretches the entire posterior chain when done correctly, but requires strength, stability, and symptom management. Only attempt when your pain is under control and previous poses have felt good.
How to do it:
- Start on your hands and knees in a tabletop position
- Tuck your toes under and press firmly through your palms
- Lift your hips up and back toward the ceiling, forming an inverted V-shape
- Keep your knees generously bent, don’t try to straighten them
- Press your chest gently back toward your thighs
- Let your head hang naturally between your arms
- Hold for only 5-10 seconds initially, then rest
- Repeat 2-3 times only if it continues to feel okay
Modify it: Keep your heels lifted high off the ground, and knees bent enough that your spine stays long and your back doesn’t round. You can also walk your hands forward slightly to reduce intensity.
Avoid if: You’re in an active flare-up, hamstring tension forces your spine to round forward, or you feel any increase in leg symptoms.
12. Seated Forward Fold (Only If Tolerated, Supported)
Stretches the entire posterior chain, including hamstrings, calves, and lower back muscles, but can aggravate certain sciatica types, especially disc-related issues. Only attempt this pose if all previous poses have felt good and symptoms are minimal.
How to do it:
- Sit on the floor with your legs extended straight in front of you
- Place a folded blanket under your hips to tilt your pelvis slightly forward
- Sit up tall first, lengthening through your spine
- Hinge forward from your hip joints (not by rounding your back)
- Reach your hands toward your shins, ankles, or feet, wherever you can reach without forcing
- You can rest your hands on yoga blocks placed on either side of your legs
- Hold for 30-45 seconds, focusing on breathing rather than pulling deeper
Modify it: Bend your knees significantly, even keeping them very bent throughout, or place a bolster or rolled blanket across your lap to reduce the forward fold intensity.
Avoid if: Forward folding increases leg pain, you have acute disc issues, or you feel sharp pain in your back or leg.
13. Gentle Seated Twist (Small Range Only)
Releases spinal tension and rotates hip muscles through controlled rotation, but demands significant caution; too much twist can compress already irritated nerve areas. When done minimally, it can help release built-up tension from other poses.
How to do it:
- Sit cross-legged on the floor or on a chair with feet flat on the ground
- Sit up tall, lengthening through the crown of your head
- Place your right hand on your left knee or thigh
- Place your left hand on the floor or chair behind you for support
- Inhale to lengthen your spine even more
- Exhale and rotate gently to the left, only 20-30% of what you could do
- Keep your hips facing forward; the twist comes from your mid and upper back
- Hold for 20-30 seconds, then slowly unwind and switch sides
Modify it: Sit on a folded blanket or cushion to tilt your pelvis forward, making rotation easier on your lower back and hips. Keep the twist extremely small.
Avoid if: Any twisting motion sends sharp pain down your leg, you have a disc herniation, or rotation increases your symptoms.
Daily Habits That Can Make Sciatica Worse

Some daily habits quietly place extra stress on your lower back and hips. Over time, these patterns can irritate the sciatic nerve.
- Sitting for long hours: Remaining seated too long keeps the hips tight and reduces circulation around the lower spine. Take short standing or walking breaks every 30–45 minutes to keep muscles active and reduce pressure.
- Poor sitting posture: Slouching rounds the lower back and pushes spinal discs backward. Sit with feet flat, shoulders relaxed, and your lower back supported.
- Weak glutes and core muscles: When these muscles lack strength, your lower back carries extra load during movement, increasing stress near the sciatic nerve.
- Sleeping positions that strain the back: Sleeping on your stomach or twisting the spine overnight can irritate sensitive nerves and stiffen the lower back.
Small daily adjustments often make a real difference. Paying attention to posture, movement, and rest habits can help protect your back.
Weekly Yoga for Sciatica Schedule
Over the years of working with people who experience sciatica, one thing becomes clear very quickly: consistency helps far more than intensity.
Long or demanding sessions can sometimes irritate the nerve even more. A short, steady routine practiced regularly usually brings better results.
That’s why I recommend keeping your practice simple, about 10–15 minutes a day, with a few built-in rest days so the body has time to respond and recover.
You’ll notice that the schedule repeats the same core poses throughout the week. I suggest this on purpose. When you repeat gentle movements, your body relaxes into them, making it easier to notice which poses reduce pressure on the sciatic nerve.
On “gentle reset” days, focus on calming, supportive positions like Child’s Pose, Cat–Cow, and Legs Up the Wall. These movements help decompress the lower spine and allow the nervous system to settle. Many people find that these poses bring the fastest relief when symptoms feel irritated.
On “hip relief” days, add movements such as Reclined Figure Four and a supported spinal twist. Tight hips are among the most common contributors to sciatic discomfort, so these poses gradually release tension without forcing deep stretches.
One important guideline I always share: never push through nerve pain. If a pose causes sharp discomfort, numbness, tingling, or sends pain further down the leg, stop immediately and return to the gentlest poses instead.
Over time, this steady, mindful practice can help the muscles surrounding the spine and hips become more balanced and supportive.
Safety Tips and Precautions
Before you start yoga for sciatica, take a moment to focus on safety. Slow, careful movement helps protect your back and nerves.
- Avoid any pose that causes sharp pain down your leg. Stop if you feel numbness or strong tingling.
- Move slowly into each stretch so your muscles have time to relax and adjust safely.
- Use yoga blocks, cushions, or straps to help keep your body aligned and reduce strain.
- Keep your breathing steady while stretching so your body stays relaxed and does not tense up.
- Stop right away if the pain increases or begins spreading further down your leg.
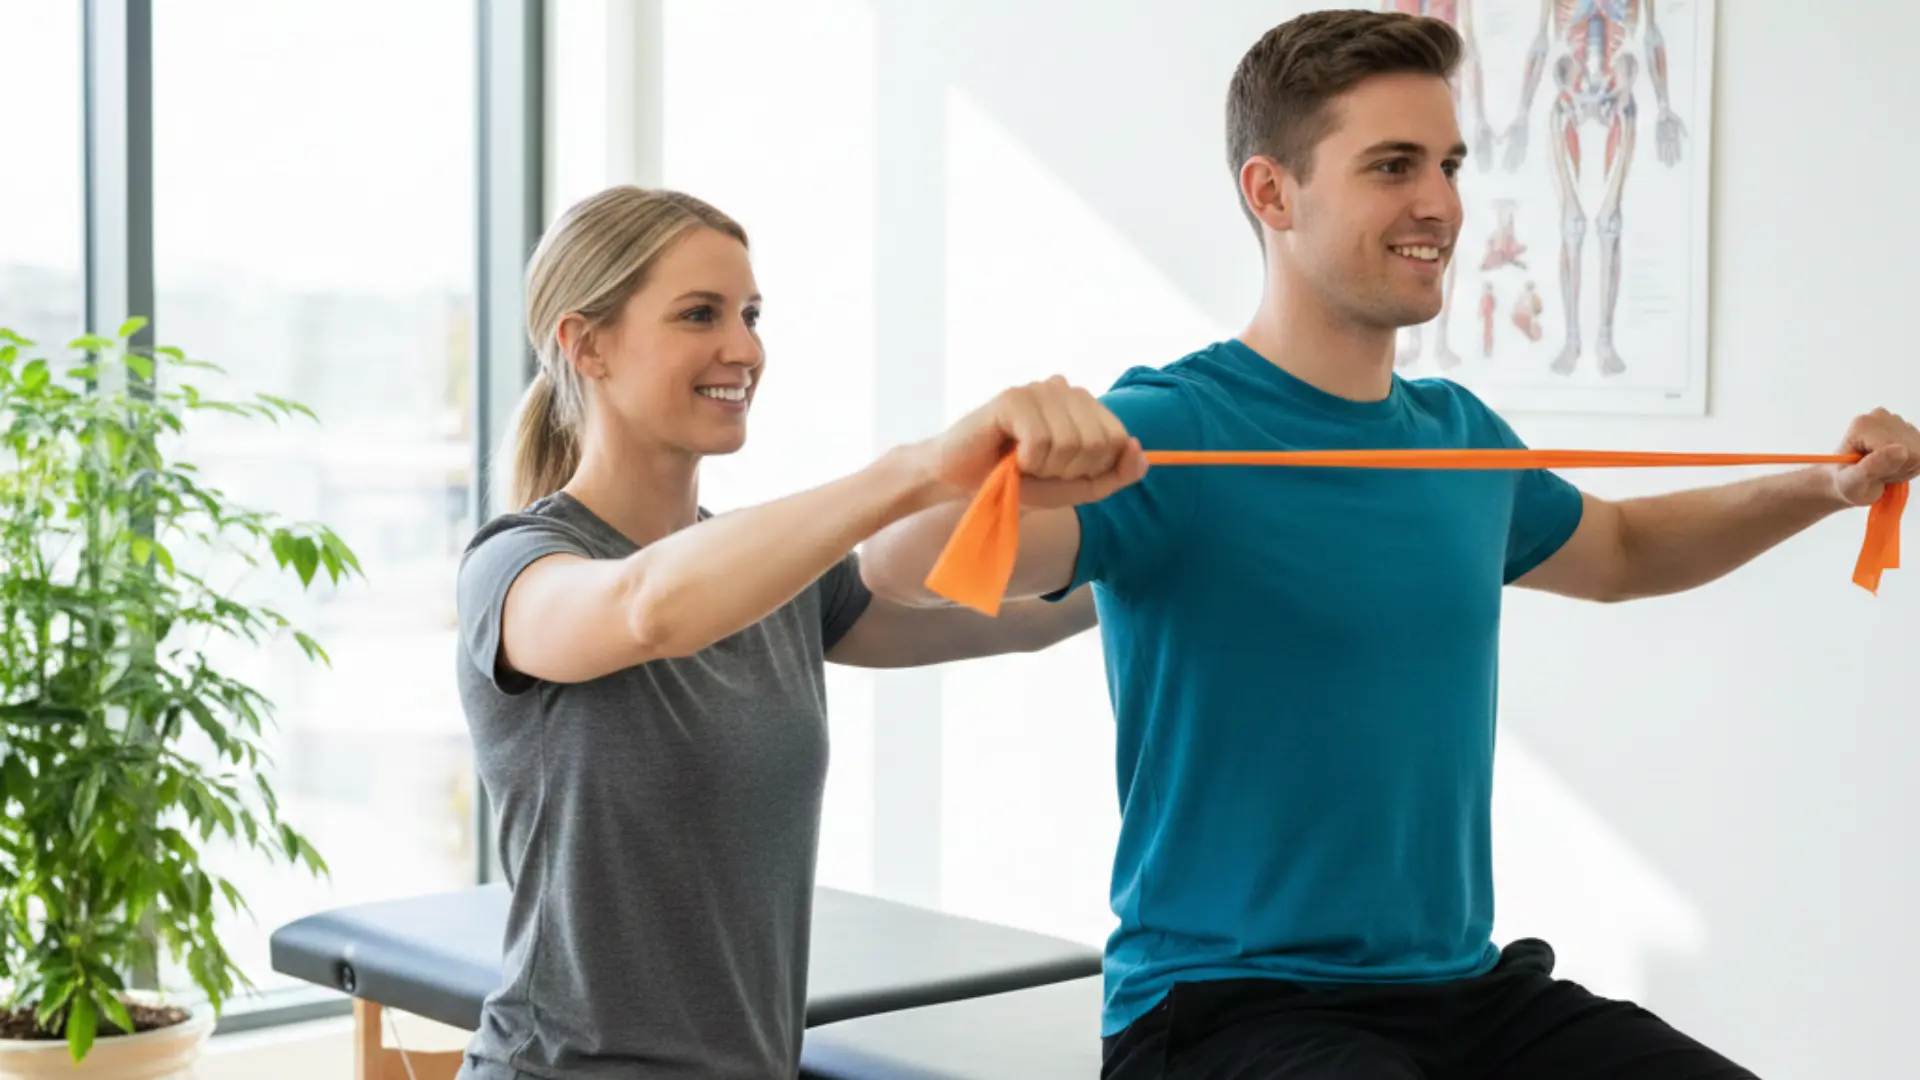
- Speak with a doctor or physical therapist if your symptoms last several weeks.
Taking these small precautions helps you practice safely and supports steady progress as your body becomes stronger and more comfortable.
The Bottom Line
You’ve now seen a full set of yoga poses for sciatica arranged from the gentlest stretches to slightly more active movements. Steady practice usually helps more than pushing too hard.
Start with a few gentle poses that give your hips and lower back a safe way to relax and release tension. Follow the weekly routine and pay close attention to how your body responds.
If pain slowly shifts upward toward your hip instead of traveling down your leg, that can be a positive sign. Always listen to your body. If pain increases or feels sharp, stop right away.
Share which pose has helped your nerve pain the most in the comments below.