


Getting up from a chair should not feel like a challenge. If you are searching for stretches for hip pain, you likely want simple movements that actually ease stiffness and help you move comfortably again.
I understand how frustrating that tight, nagging feeling can be during walking, bending, or even trying to sleep. The good news is that most hip discomfort responds well to gentle stretching and targeted strengthening.
In this guide, I’ll walk you through practical stretches to release tension and exercises that support long-term stability. You’ll also learn how often to practice them and when to pause.
By the end, you’ll have a clear, manageable routine you can start using right away.
Understanding the Root of Hip Pain
Hip pain often starts with small imbalances that build up over time. Tight hip flexors are one of the most common causes, especially if you sit for long hours each day.
When those muscles stay shortened, they pull on the front of the hip and limit movement. Weak glutes are another major factor. If your glutes are not doing their job, other muscles and joints take on extra stress.
Overuse from running, heavy lifting, or sudden increases in activity can also irritate the hip area. Most mild discomfort improves with stretching and strengthening.
However, sharp pain, swelling, or pain that does not improve after rest may require medical evaluation.
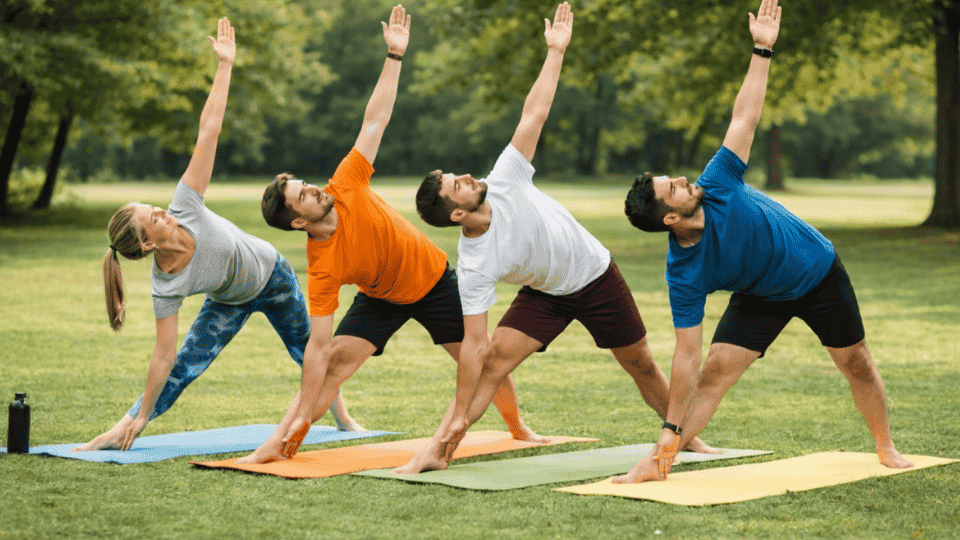
Stretches for Hip Pain to Reduce Stiffness and Improve Movement
These stretches target different areas around the hip to release tension and improve flexibility. Each movement should be performed slowly and held for the recommended duration to allow muscles to relax properly.
1. Hip Flexor Stretch
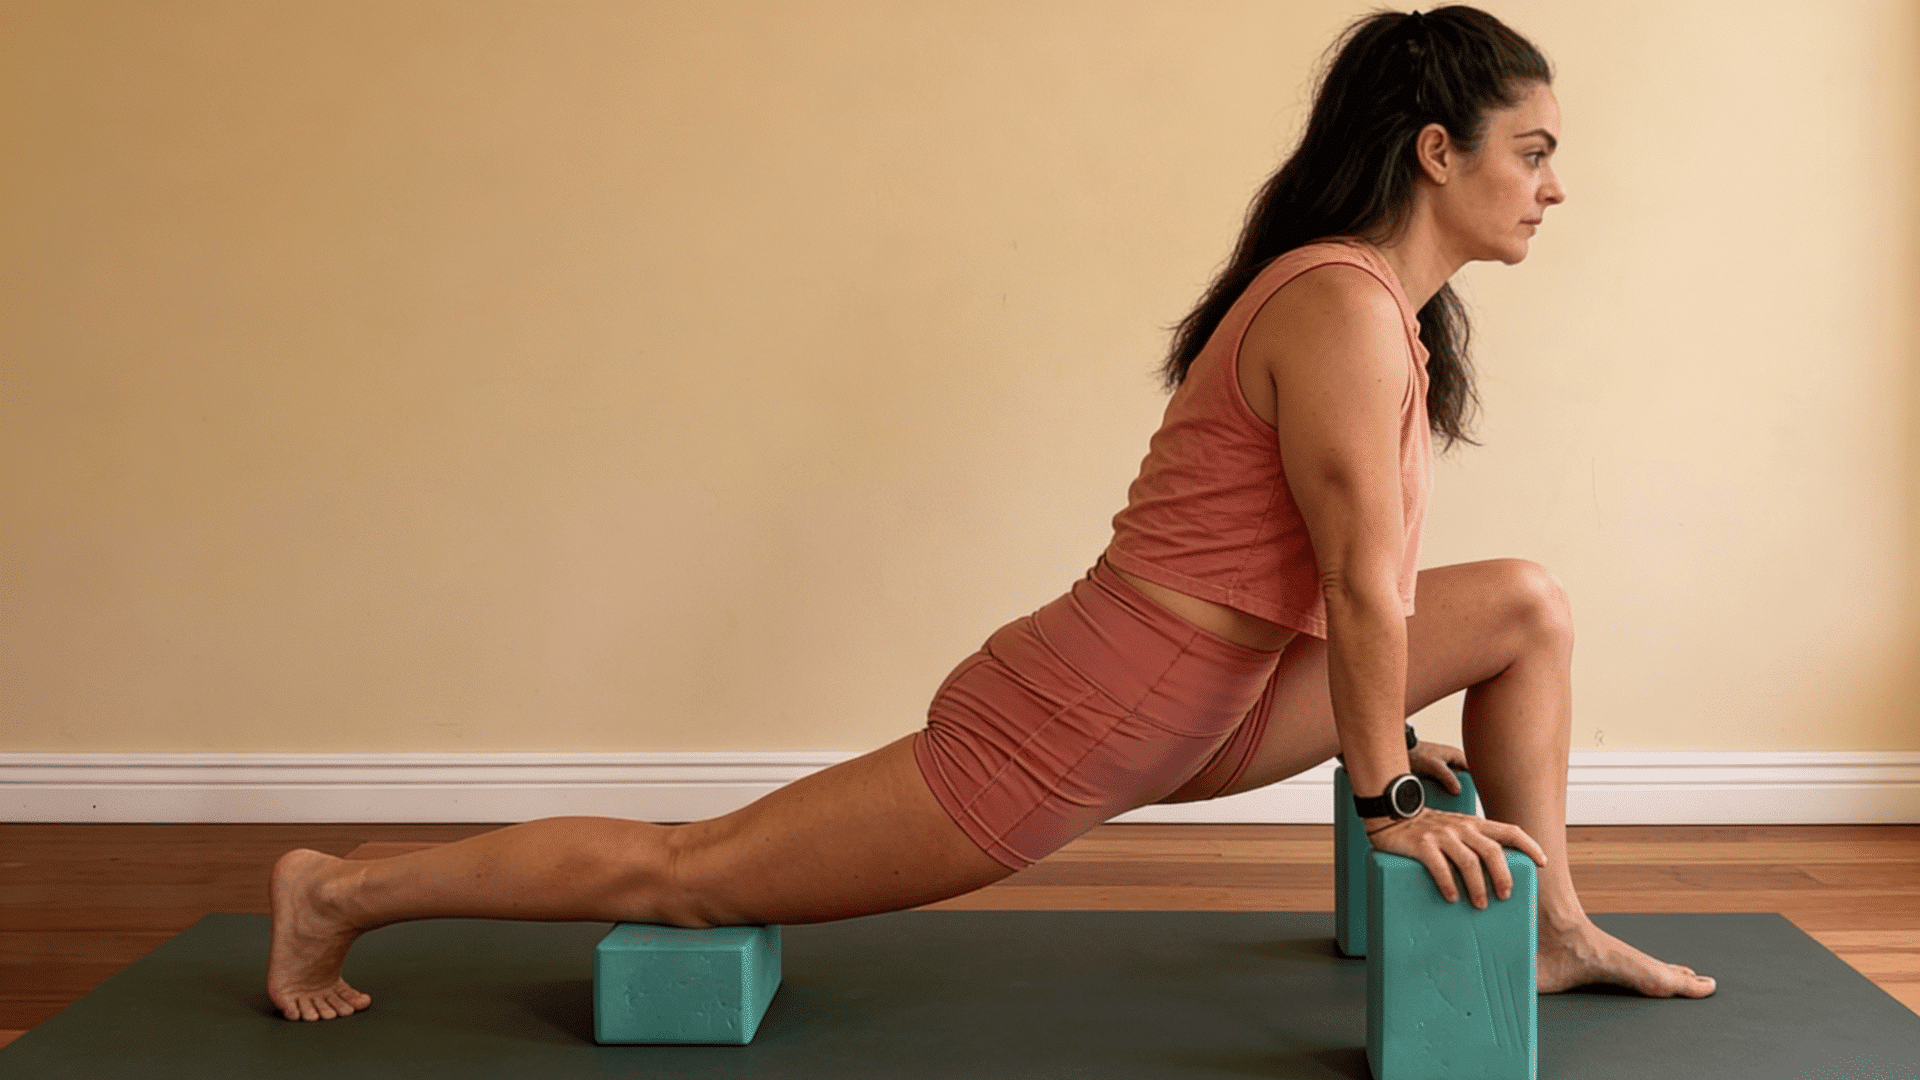
This stretch helps loosen the front of the hip, an area that often tightens from prolonged sitting. It can ease stiffness and make walking, standing, and bending feel more comfortable.
To perform a hip flexor stretch:
- Start by kneeling on the floor with both knees down.
- Step your right foot forward so your right knee is bent at 90 degrees.
- Keep your left knee on the ground and your back straight.
- Gently push your hips forward until you feel a stretch in the front of your left hip.
- Keep your torso upright and avoid arching your lower back.
- Hold the stretch for 20 to 30 seconds.
Switch sides and repeat. Perform this stretch two to three times on each side.
Helpful note: You should feel the stretch in the front of your hip, not in your lower back. Light core engagement helps keep the movement controlled and comfortable.
2. Standing Hip Flexor Stretch
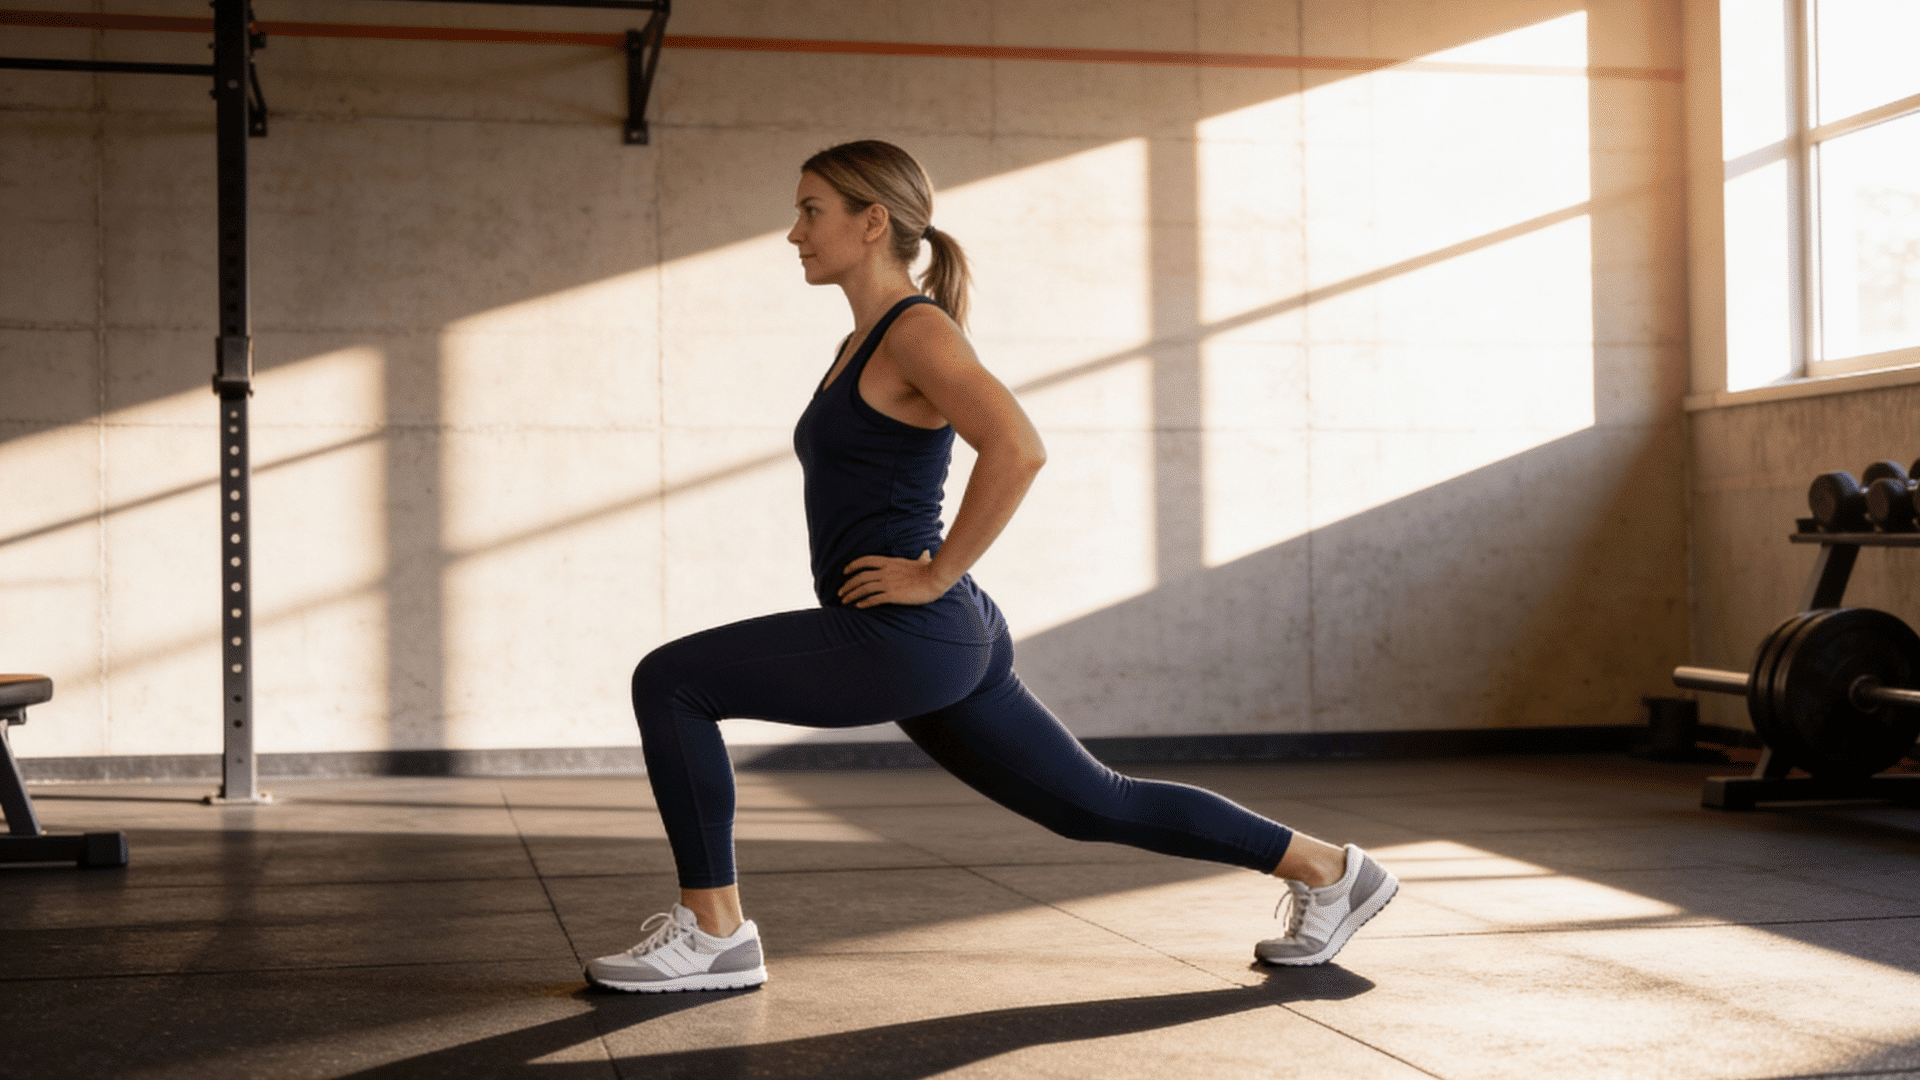
This stretch focuses on the front of the hip, which often becomes tight from sitting for long periods. It helps improve comfort during walking, standing, and bending movements.
To perform a standing hip flexor stretch:
- Stand upright with your feet hip-width apart.
- Step your right foot back about two to three feet.
- Bend your left knee slightly while keeping your right leg straight.
- Tuck your pelvis under and gently lean your hips forward.
- Keep your chest lifted and avoid leaning your torso forward.
- Hold the stretch for 20 to 30 seconds.
Switch sides and repeat. Perform this stretch two to three times per side.
Helpful note: Keep your core lightly engaged to avoid arching your lower back and shifting the stretch away from the hip.
3. Seated Figure Four Stretch
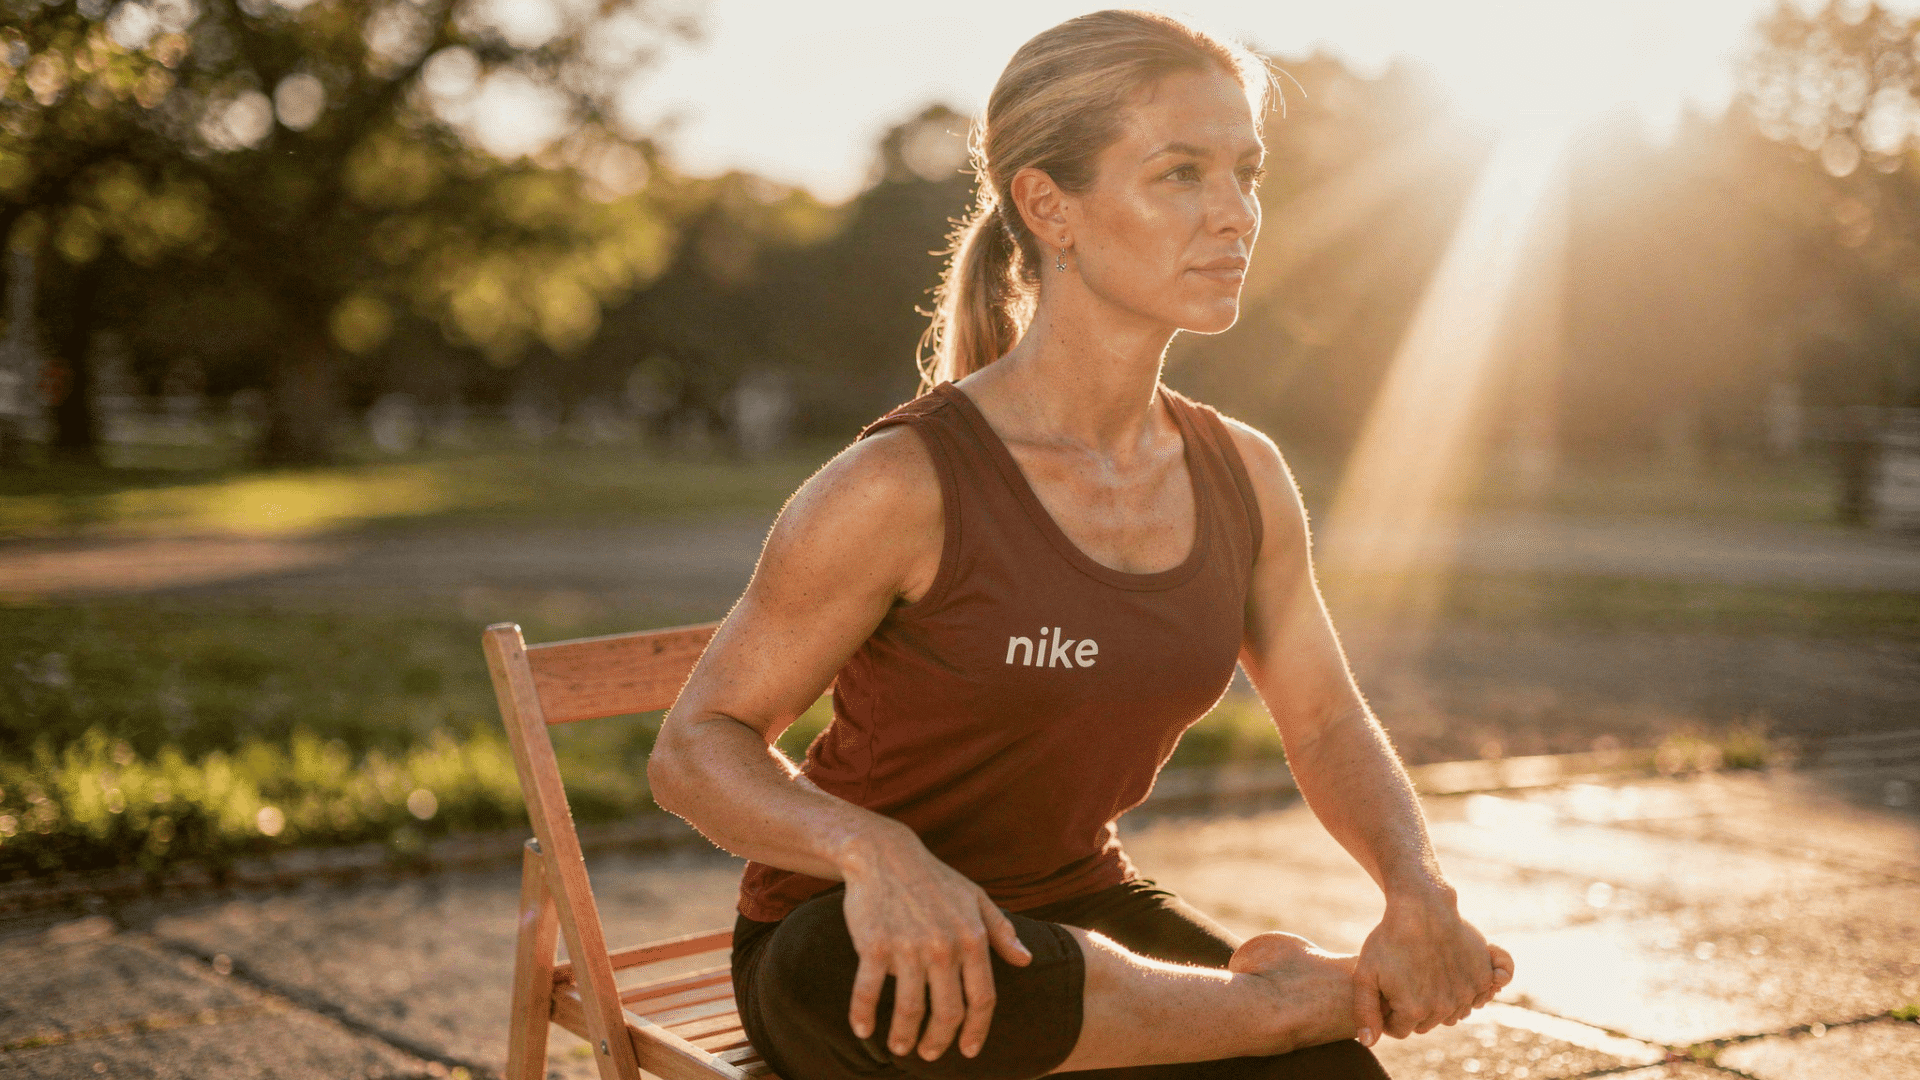
This stretch opens the outer hip and glute area, which often feels tight after sitting. It’s a good option if floor stretches feel uncomfortable.
To perform a seated figure four stretch:
- Sit in a sturdy chair with your feet flat on the floor.
- Lift your right foot and cross your right ankle over your left knee.
- Keep your back straight and your chest lifted.
- Gently lean forward from your hips until you feel a stretch in your right hip and glute.
- Press down slightly on your right knee to deepen the stretch if comfortable.
- Hold the stretch for 20 to 30 seconds.
Switch sides and repeat. Perform this stretch two to three times on each side.
Helpful note: Keep your spine tall and hinge from your hips, not your lower back.
4. Lying Figure Four Stretch
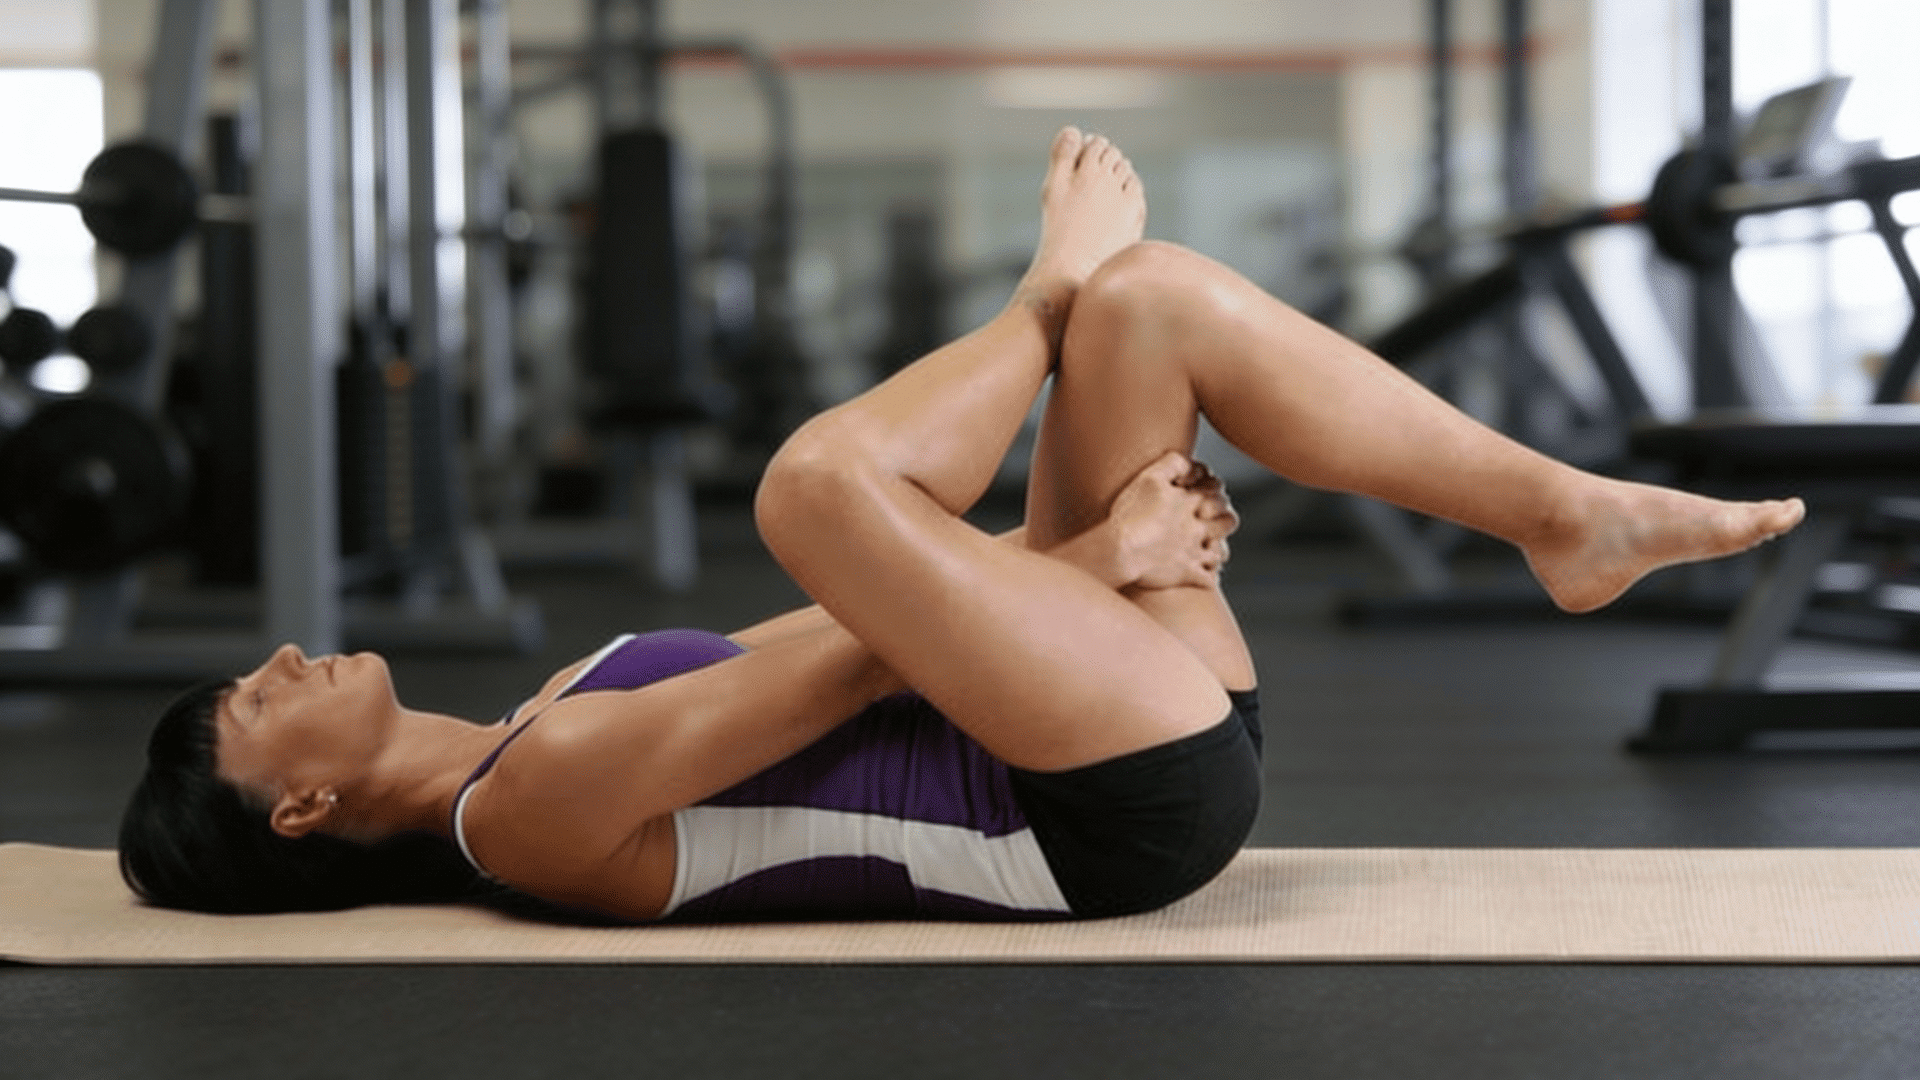
This version allows the hips to relax fully while targeting the deep rotator muscles. It’s especially helpful if standing or seated positions feel limiting.
To perform a lying figure four stretch:
- Lie flat on your back with both knees bent and feet on the floor.
- Lift your right foot and cross your right ankle over your left knee.
- Reach both hands behind your left thigh.
- Gently pull your left leg toward your chest while keeping your head and shoulders relaxed on the floor.
- Keep your right knee pressing gently outward.
- Hold this hip joint stretch for 20 to 30 seconds.
Switch sides and repeat. Perform this stretch two to three times per side.
Helpful note: Let your shoulders stay relaxed against the floor as you stretch.
5. Knee to Chest Stretch
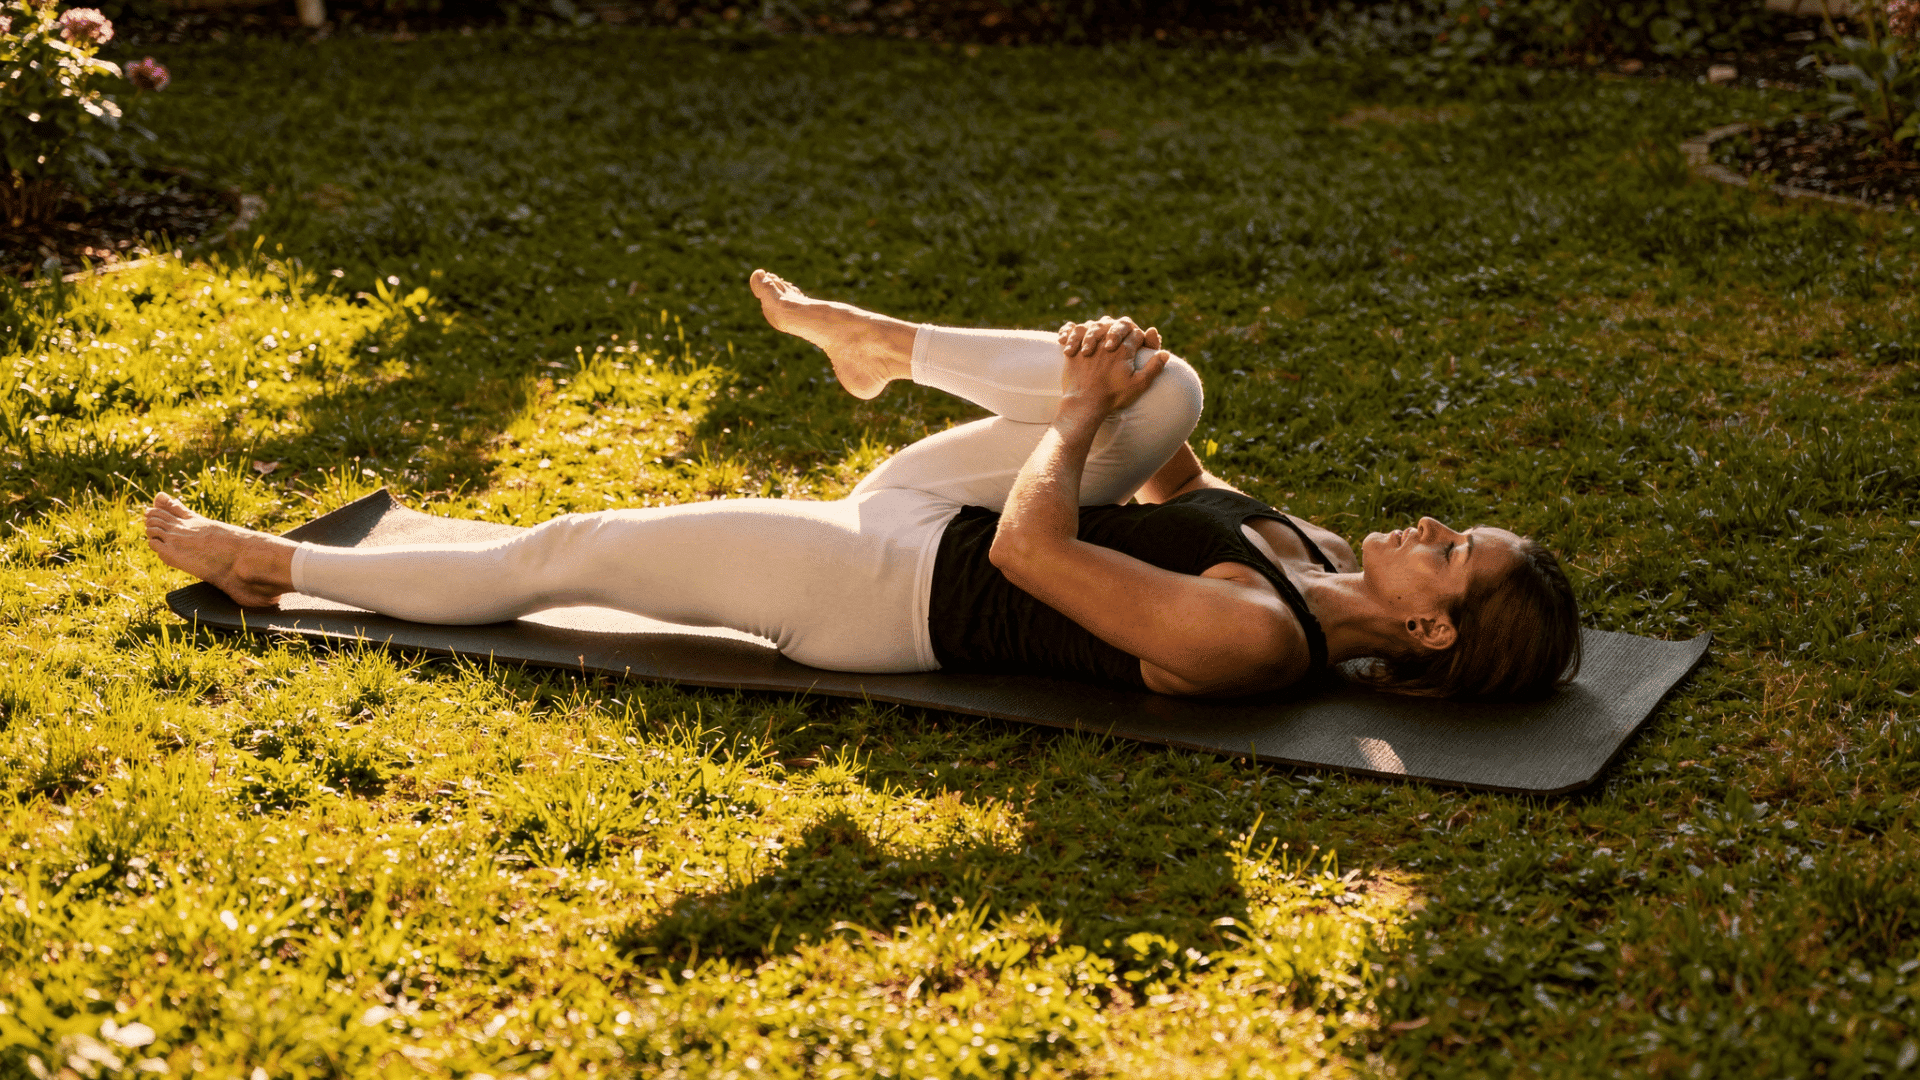
This gentle movement eases tension through the hips and lower back at the same time. It works well as a calming stretch after activity.
To perform a knee to chest stretch:
- Lie on your back with both legs extended or with your knees bent.
- Bring your right knee toward your chest.
- Clasp both hands behind your right thigh or on top of your shin.
- Gently pull your knee closer to your chest until you feel a comfortable stretch.
- Keep your left leg relaxed on the floor.
- Hold the stretch for 20 to 30 seconds.
Switch sides and repeat. Perform this stretch two to three times on each leg.
Helpful note: Pull the knee in slowly and stop before any pinching sensation.
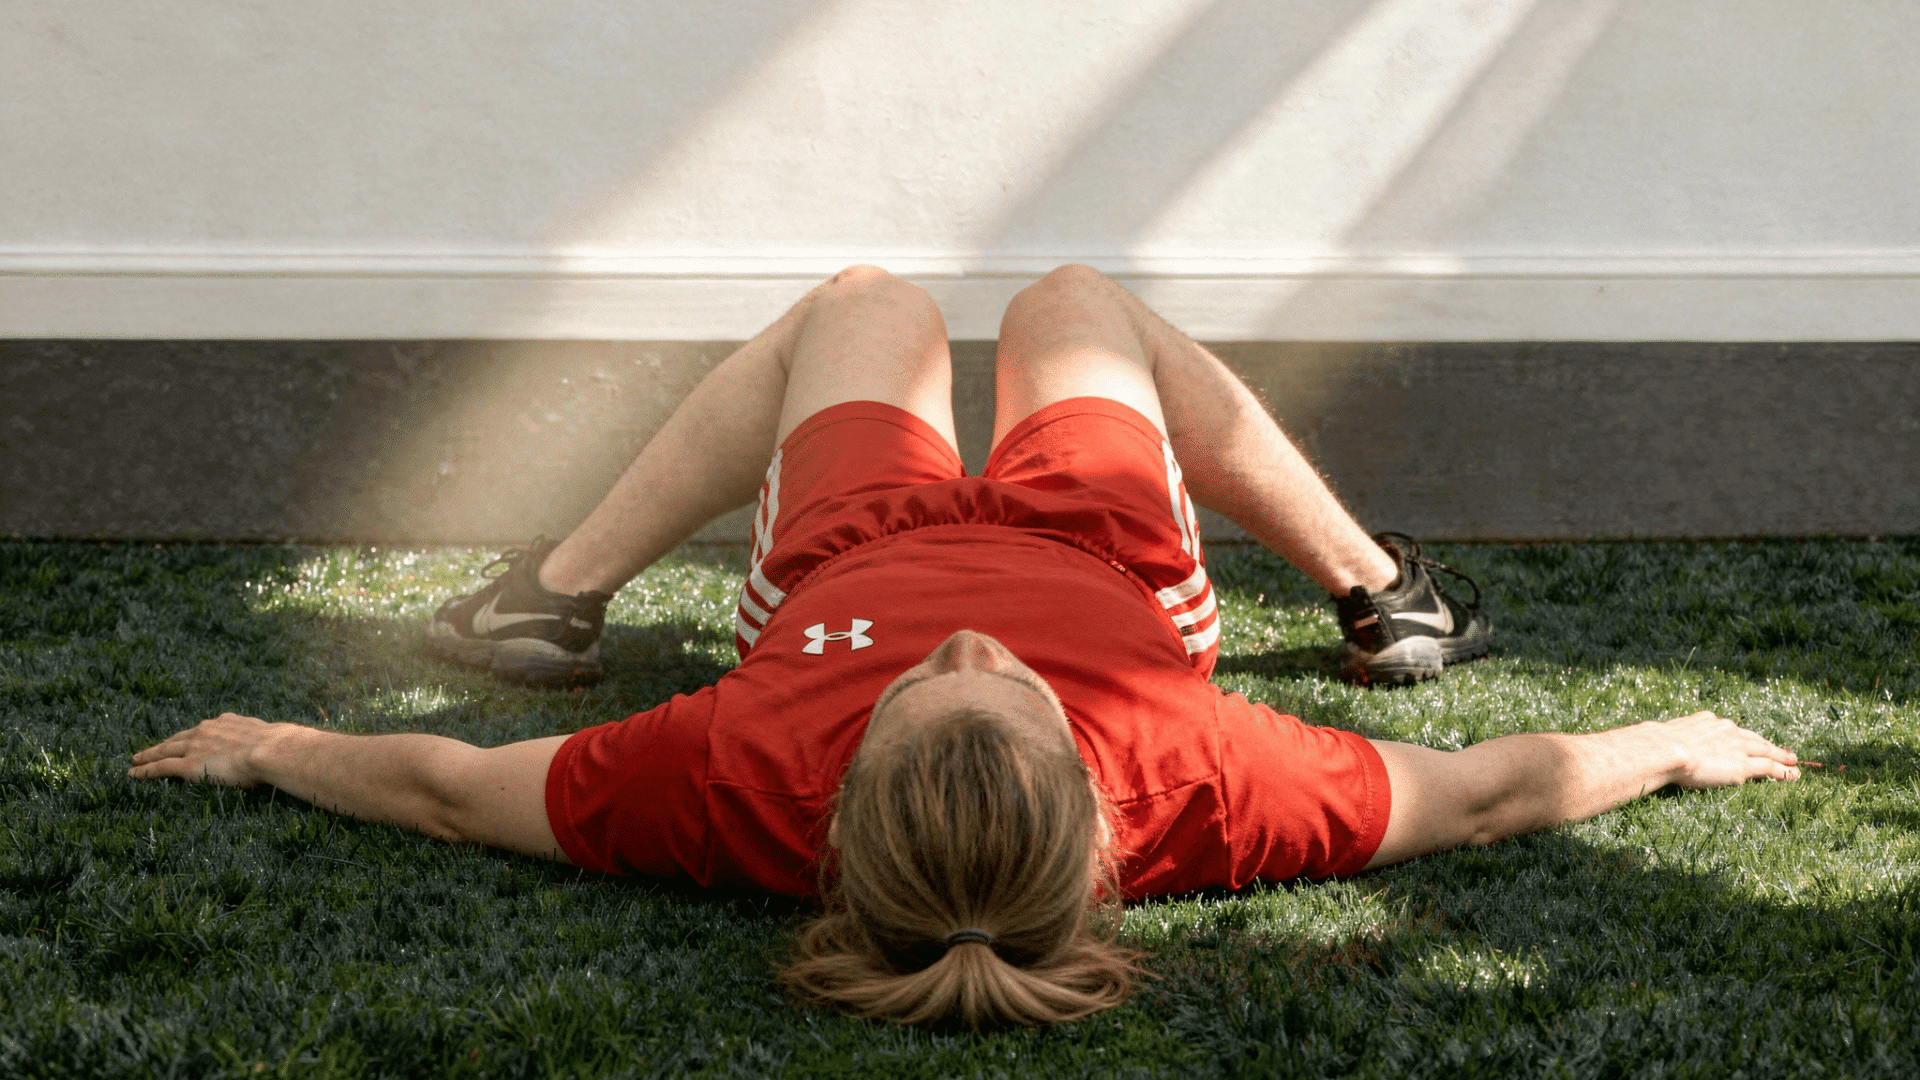
6. Double Knee to Chest Stretch
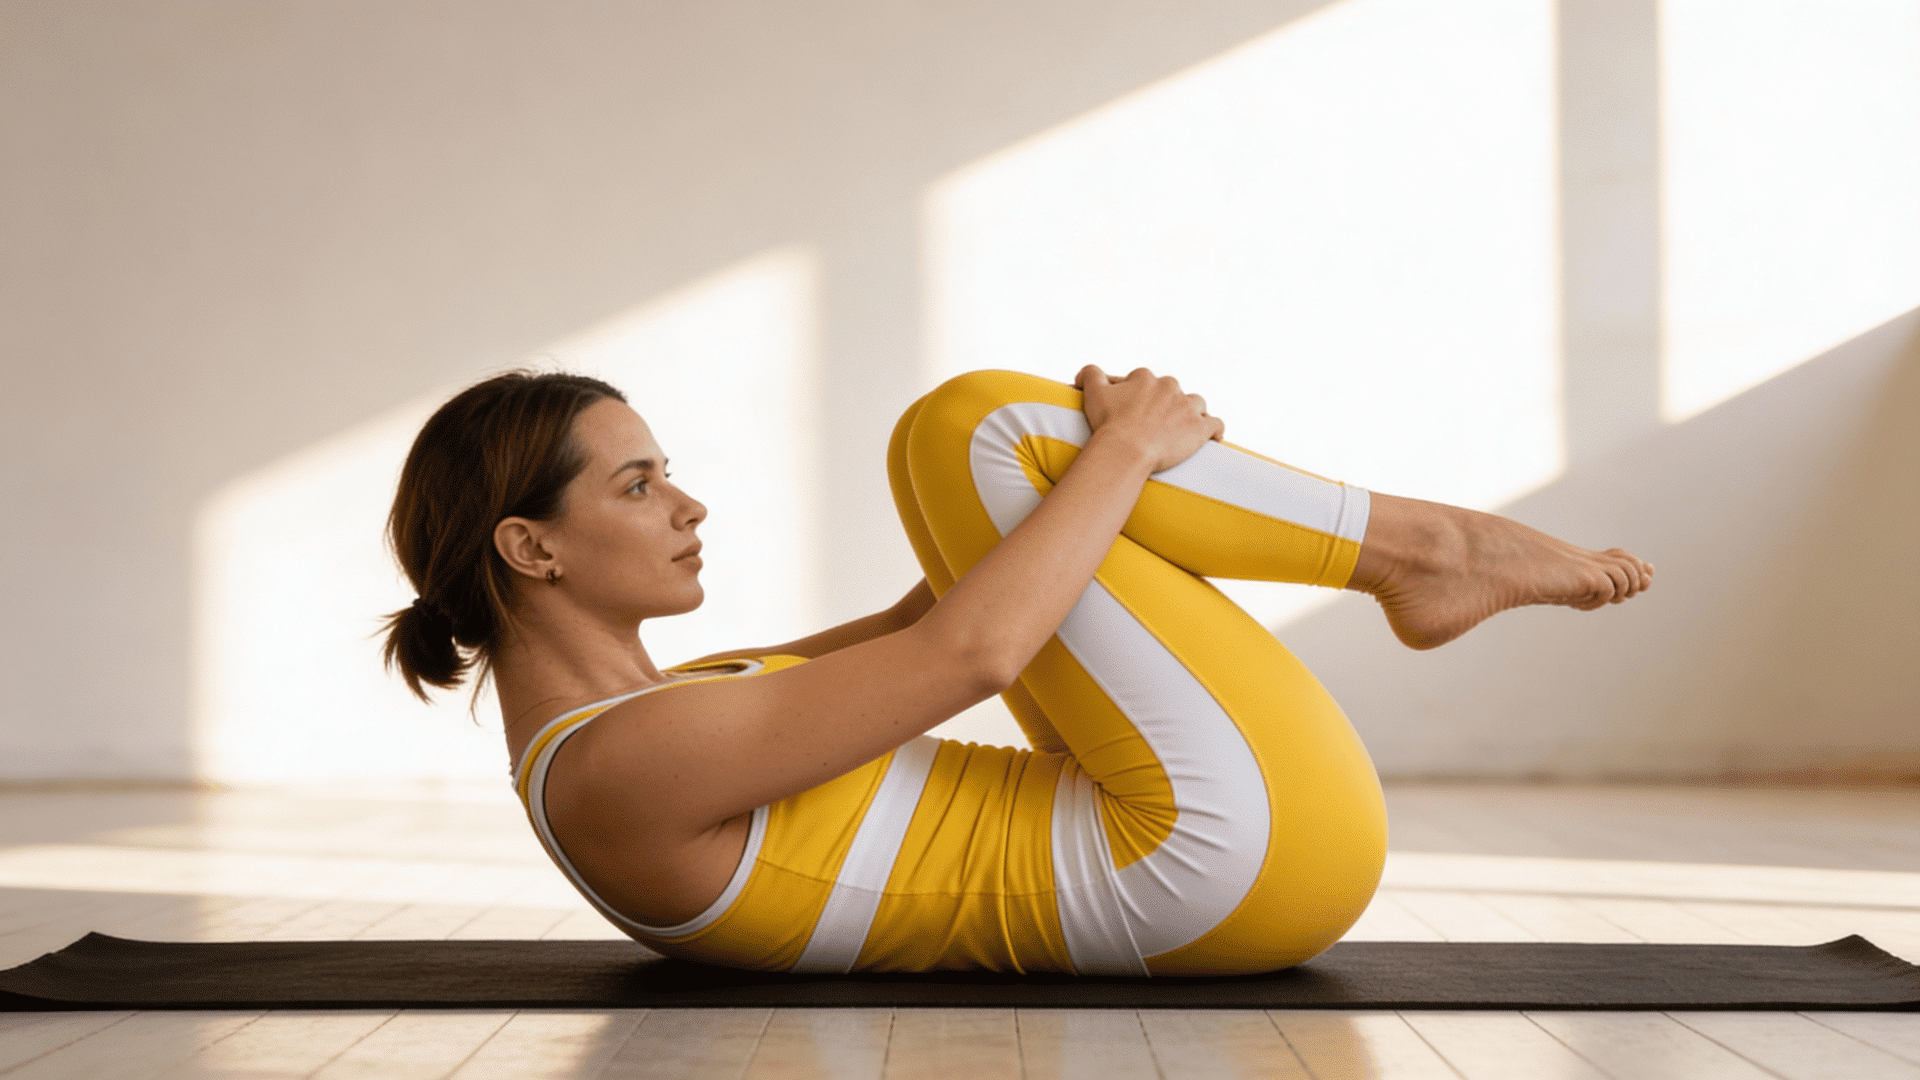
This stretch releases tightness across both hips and the lower back. It’s often used to relax stiff joints after long periods of sitting
To perform a double knee to chest stretch:
- Lie flat on your back with both knees bent and feet on the floor.
- Lift both knees and bring them toward your chest.
- Wrap both arms around your shins or behind your thighs.
- Gently pull both knees closer to your chest.
- Allow your lower back to round slightly off the floor.
- Hold this position for 20 to 30 seconds.
Release slowly and repeat two to three times.
Helpful note: Allow your lower back to soften rather than pressing it down forcefully
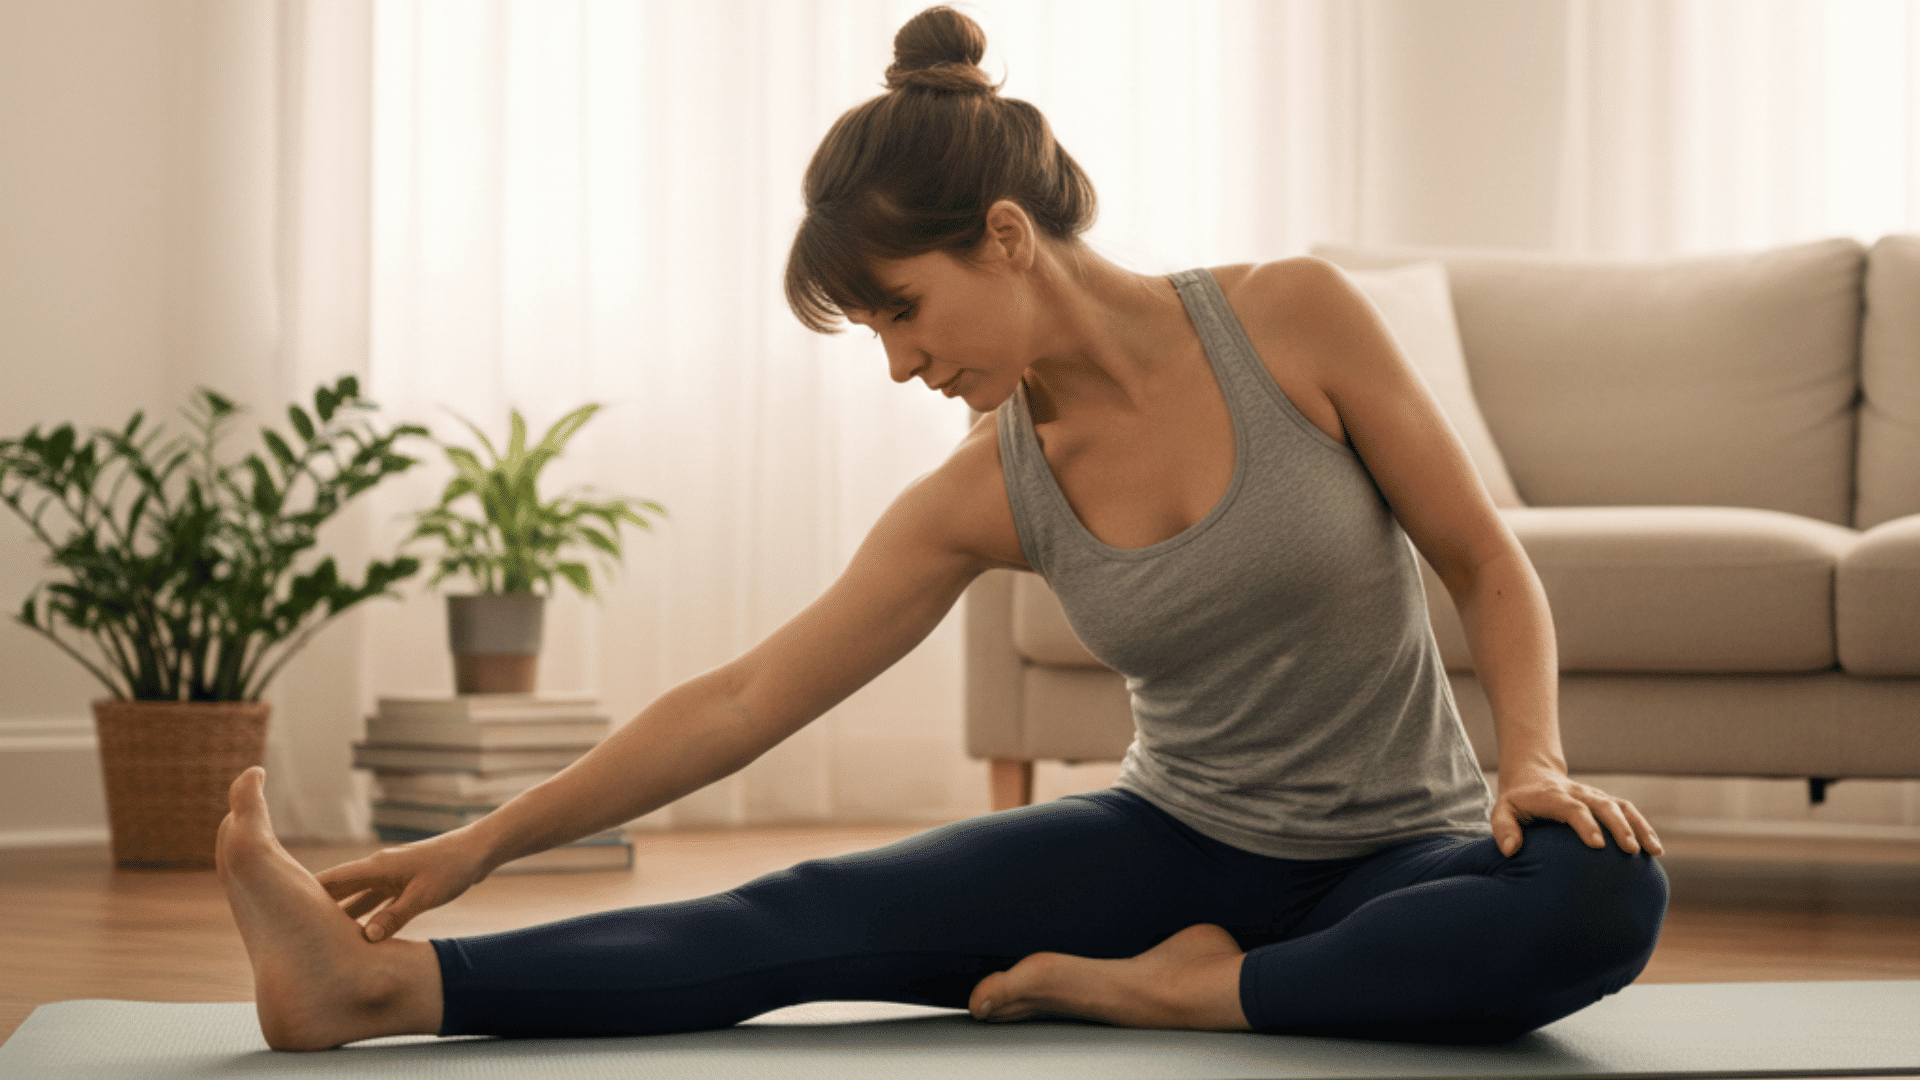
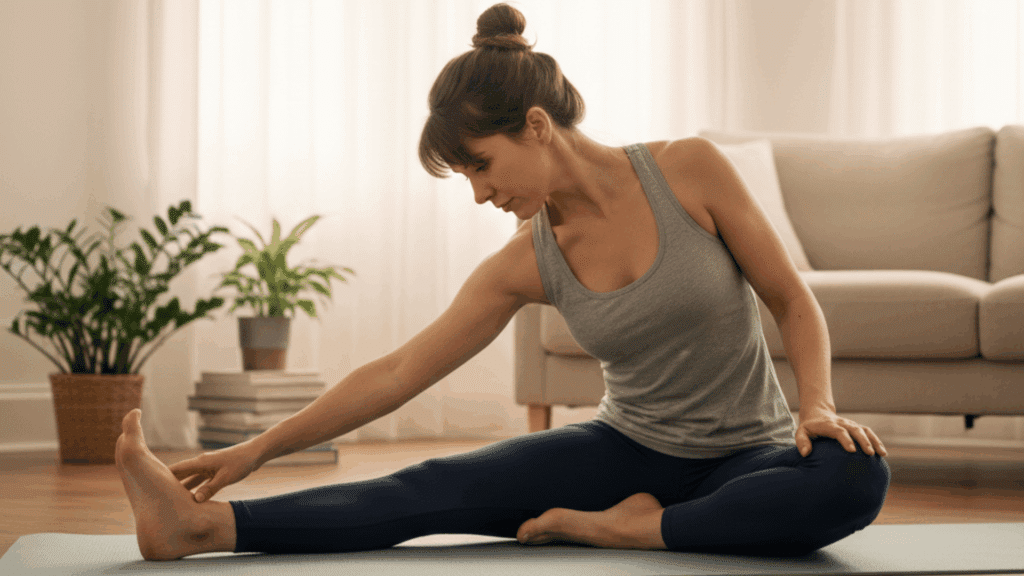
7. Butterfly Stretch
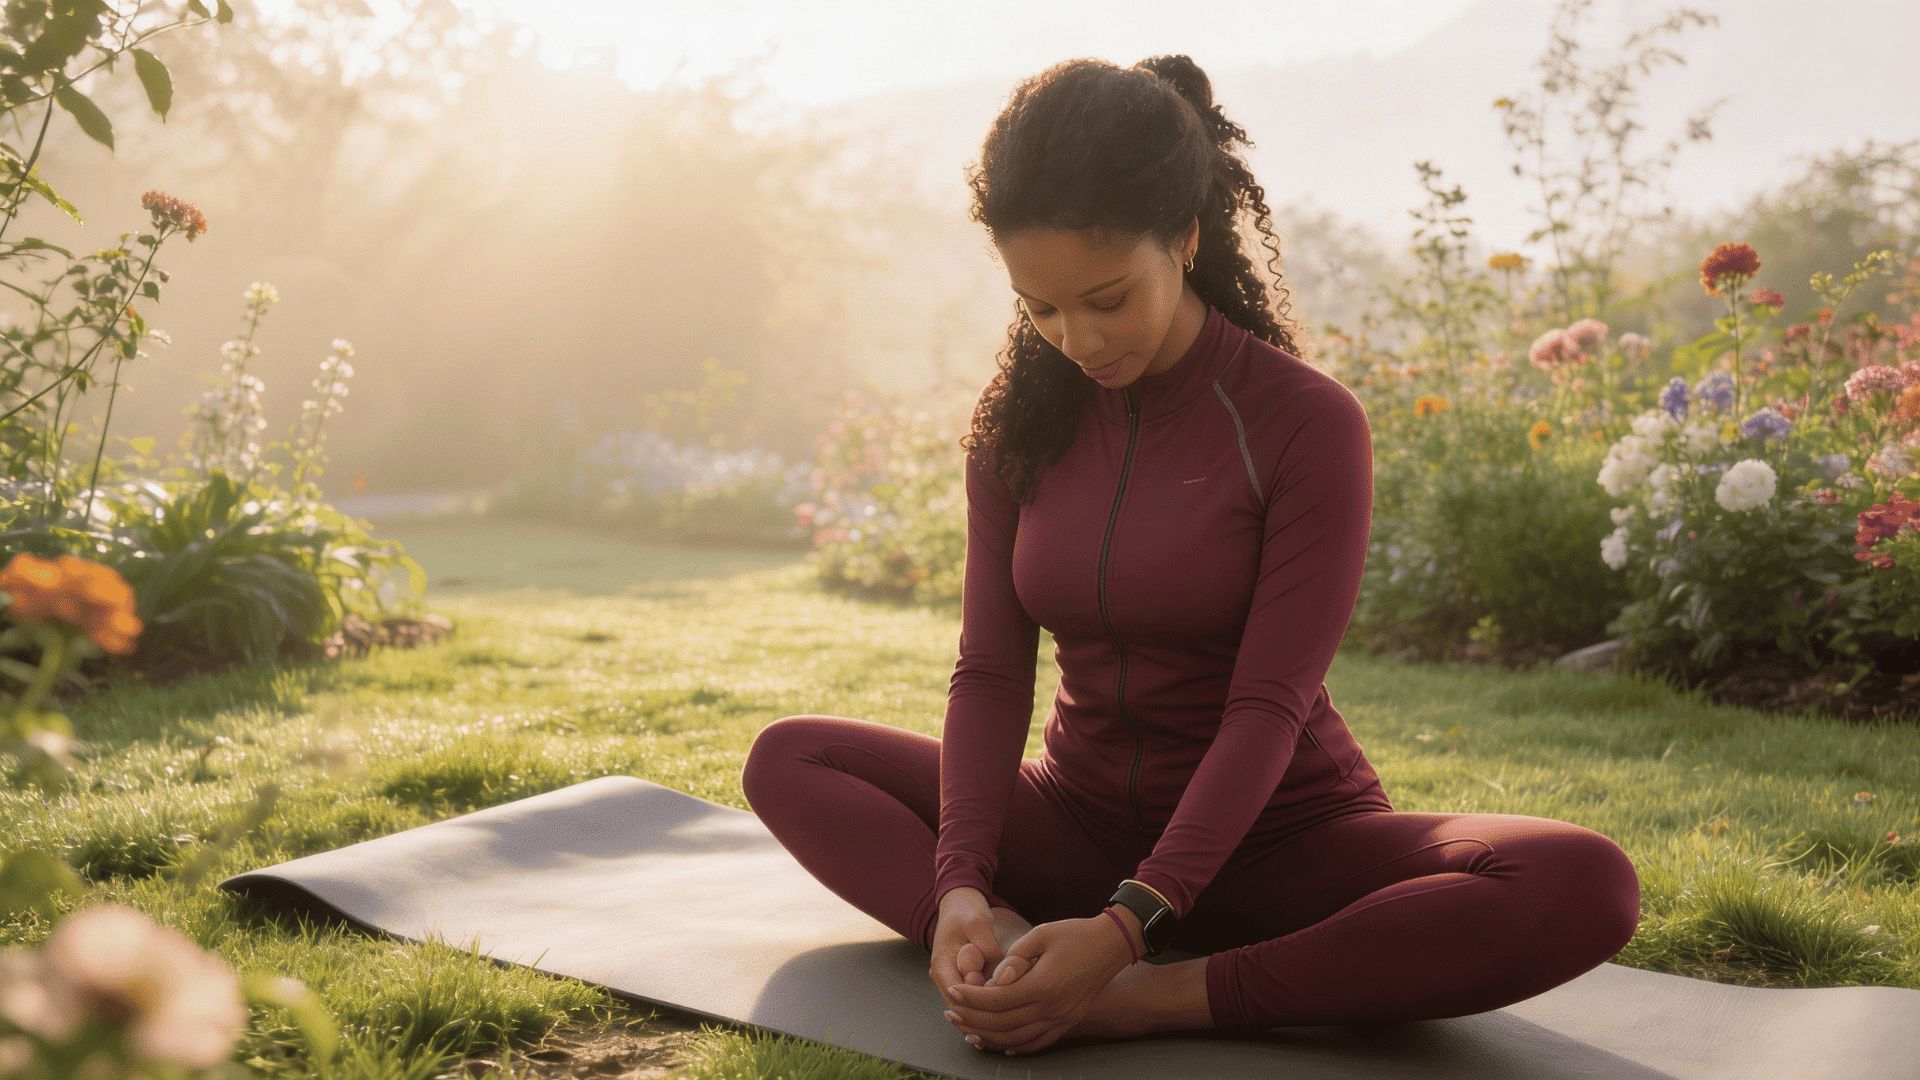
This stretch targets the inner hips and thighs, areas that often feel stiff with limited movement. It can improve comfort during walking and standing
To perform a butterfly stretch:
- Sit on the floor with both legs extended in front of you.
- Bend your knees and bring the soles of your feet together.
- Hold your feet or ankles with both hands.
- Gently press your thighs down with your elbows until you feel a stretch in your inner thighs.
- Keep your back straight and chest lifted throughout the stretch.
- For a deeper stretch, lean forward from your hips while keeping your back straight.
- Hold the stretch for 20 to 30 seconds while breathing deeply.
Relax and repeat two to four times.
Helpful note: Let gravity assist the stretch instead of pushing your knees down.
8. Frog Stretch (Gentle Version)
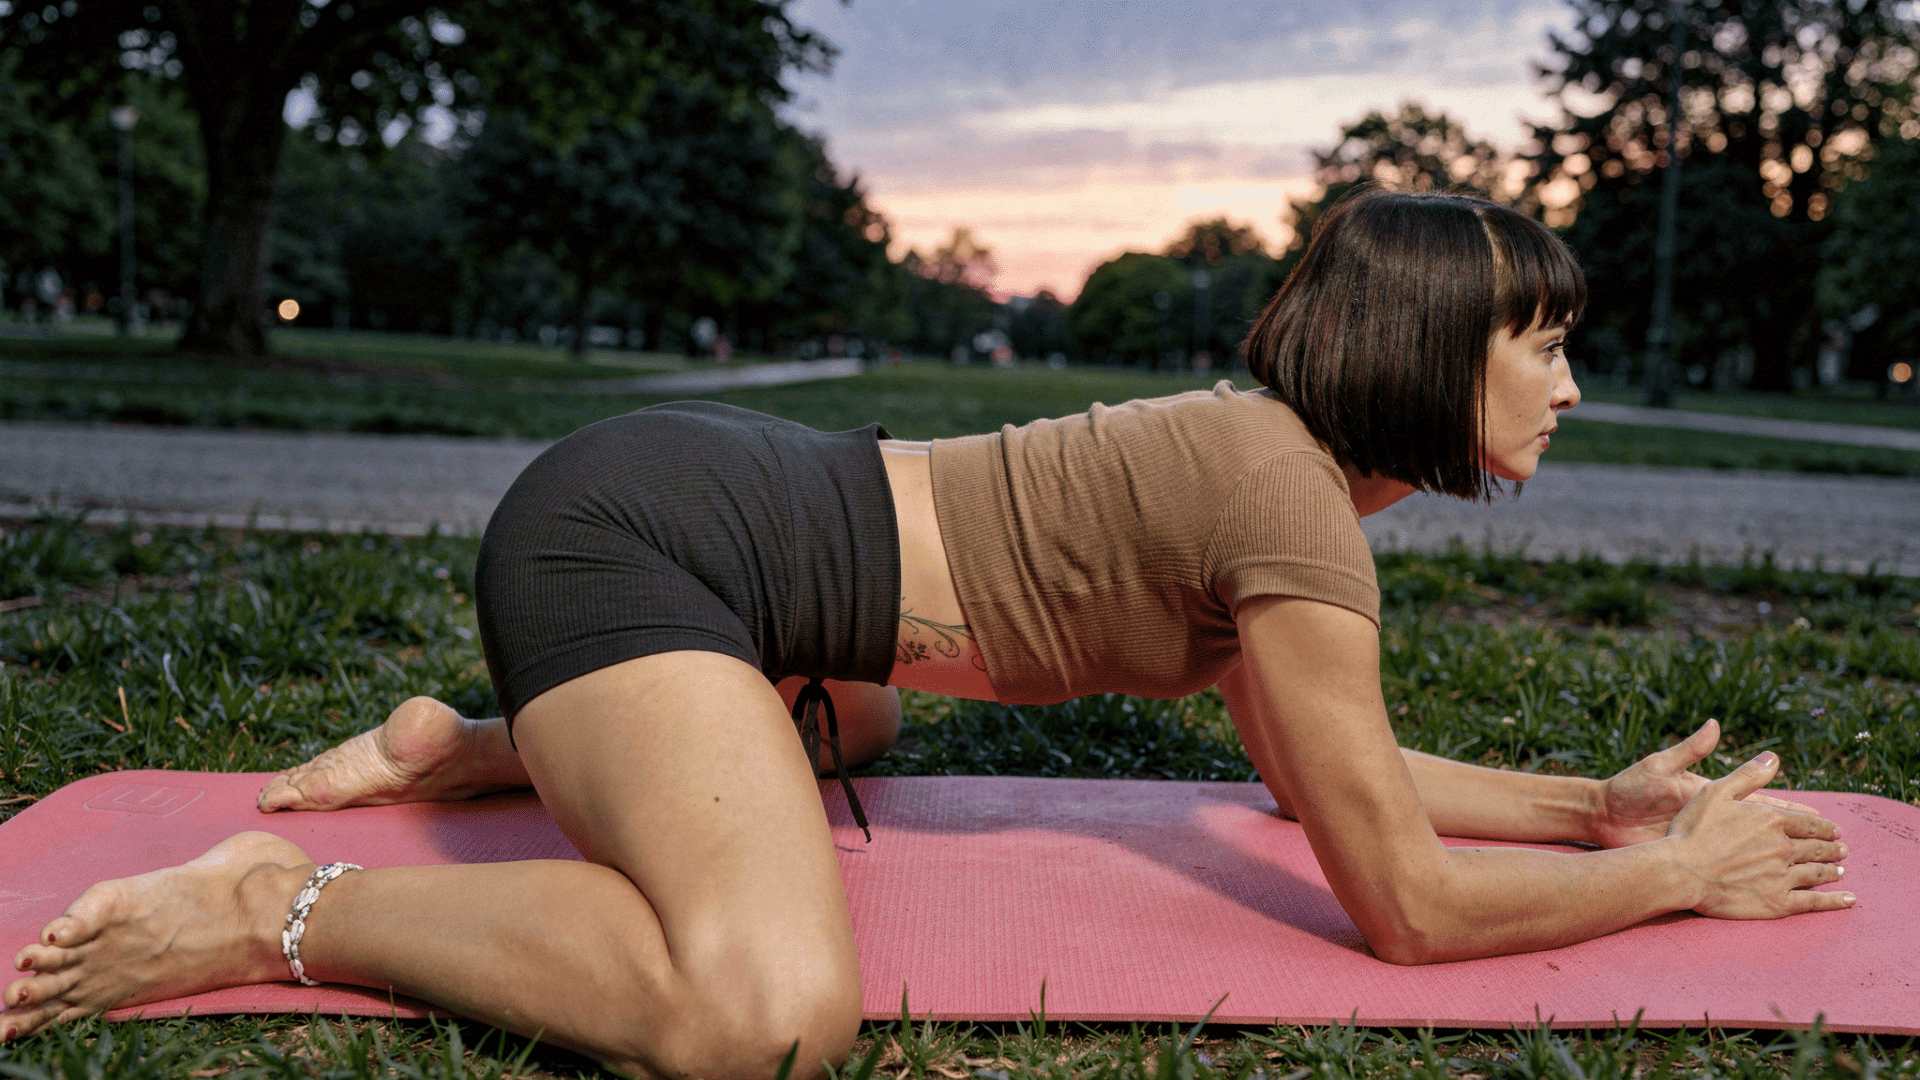
This stretch slowly opens the inner hips and groin with controlled positioning. It’s best to approach it gently to avoid strain.
To perform a gentle frog stretch:
- Start on your hands and knees in a tabletop position.
- Slowly slide your knees apart wider than hip-width.
- Keep your ankles in line with your knees and turn your feet outward.
- Lower your forearms to the floor if comfortable.
- Gently shift your hips back slightly to deepen the stretch.
- Hold this hip joint stretch for 20 to 30 seconds as part of your hip joint stretches routine.
Come out of the stretch slowly and repeat two to three times.
Helpful note: Keep the movement slow and stop if you feel pressure in your knees.
9. Modified Pigeon Stretch
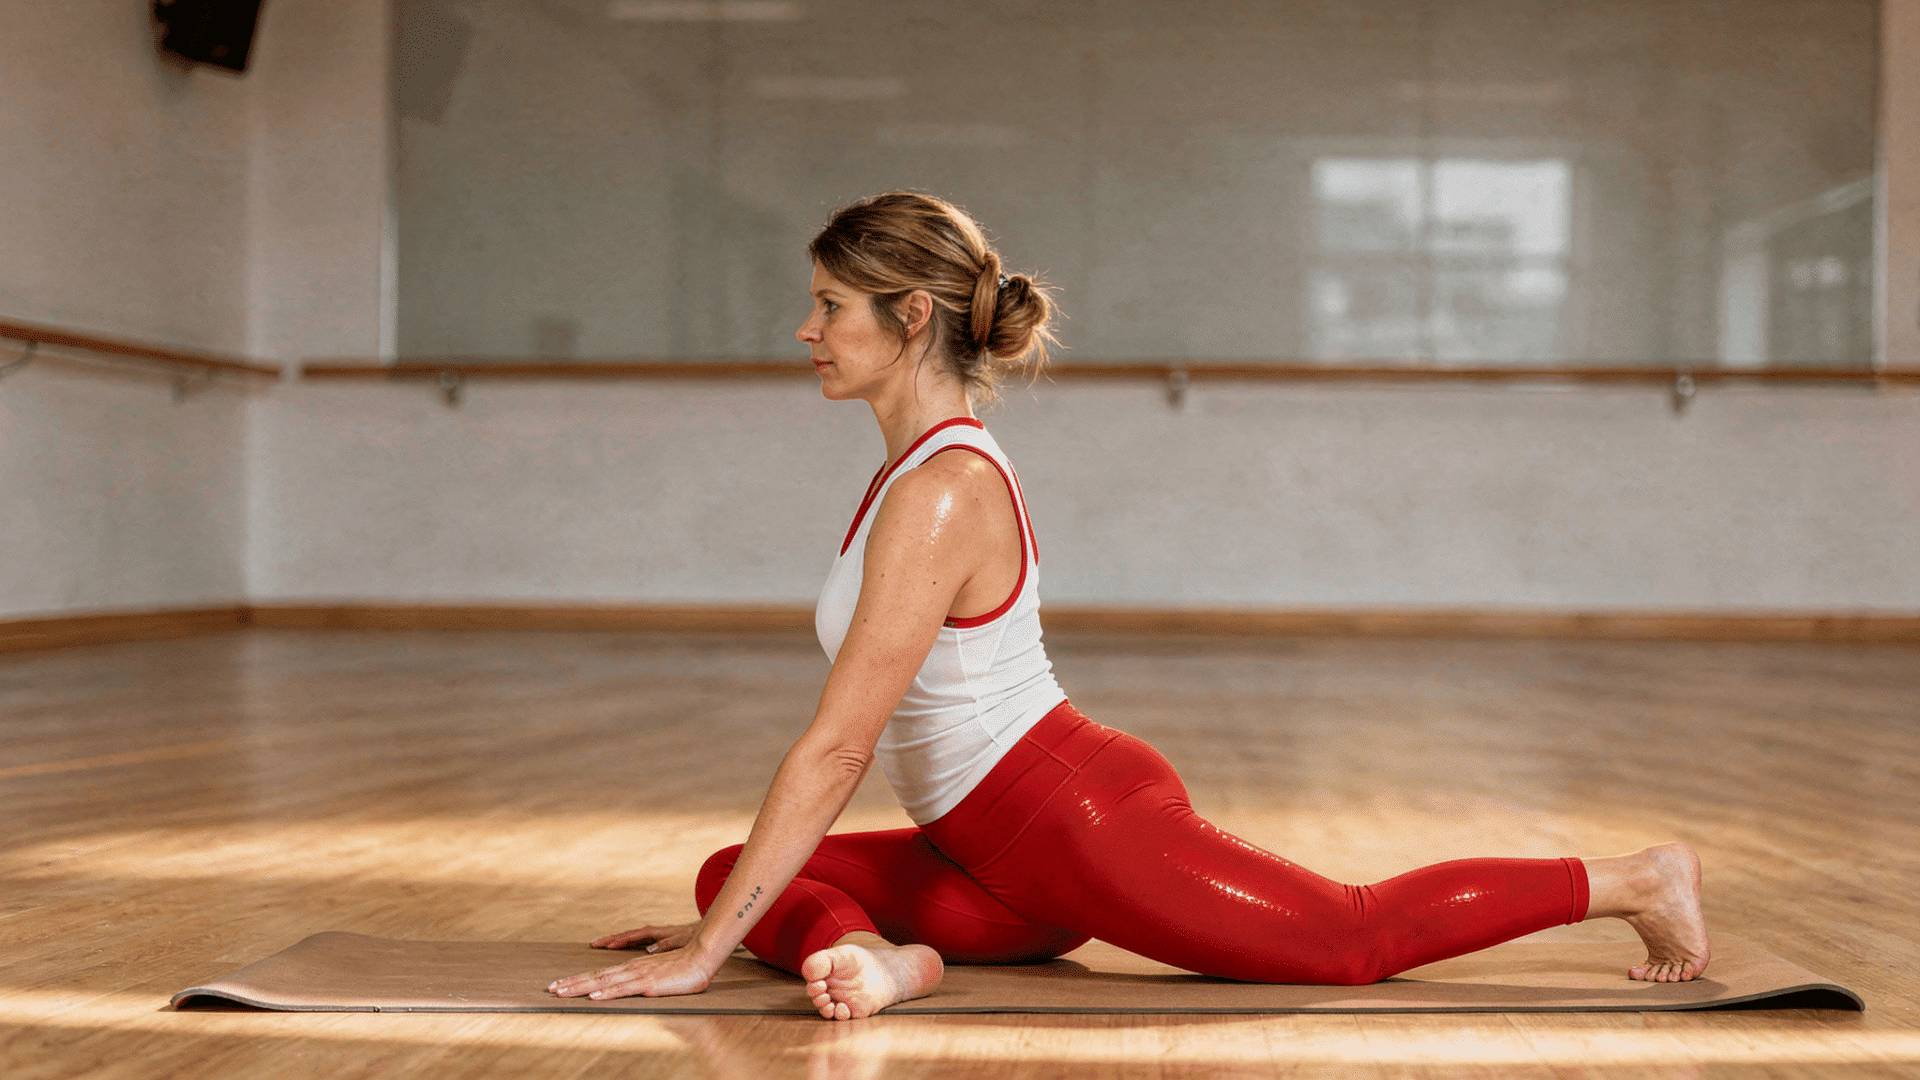
This stretch reaches deep hip muscles that support rotation and stability. The modified position reduces strain while still allowing release.
To perform a modified pigeon stretch:
- Begin on your hands and knees in a tabletop position.
- Bring your right knee forward and place it near your right wrist.
- Angle your right shin across your body toward your left wrist.
- Extend your left leg straight behind you with your toes pointing back.
- Lower your hips toward the floor as much as is comfortable.
- Keep your hips level and your chest lifted, or fold forward over your front leg for a deeper stretch.
- Hold the stretch for 20 to 30 seconds.
Switch sides and repeat. Perform this stretch two to three times per side.
Helpful note: Keep your hips level rather than forcing them toward the floor.
10. Supine Hip Rotator Stretch
This lying stretch targets the hip rotators without placing weight on the joints. It’s a comfortable option for sensitive hips.
To perform a supine hip rotator stretch:
- Lie on your back with both knees bent and feet flat on the floor.
- Cross your right ankle over your left thigh just above the knee.
- Keep your right foot flexed to protect your knee.
- Gently push your right knee away from your body with your right hand.
- Keep your lower back relaxed on the floor.
- Hold the stretch for 20 to 30 seconds.
Switch sides and repeat. Perform this stretch two to three times on each side.
Helpful note: Flex your foot to help protect the knee during the stretch.
Strengthening Exercises for Hip Pain
These strengthening movements build stability and support around the hip joint, reducing pain and preventing future issues. Focus on controlled motion and proper form rather than speed or high repetitions.
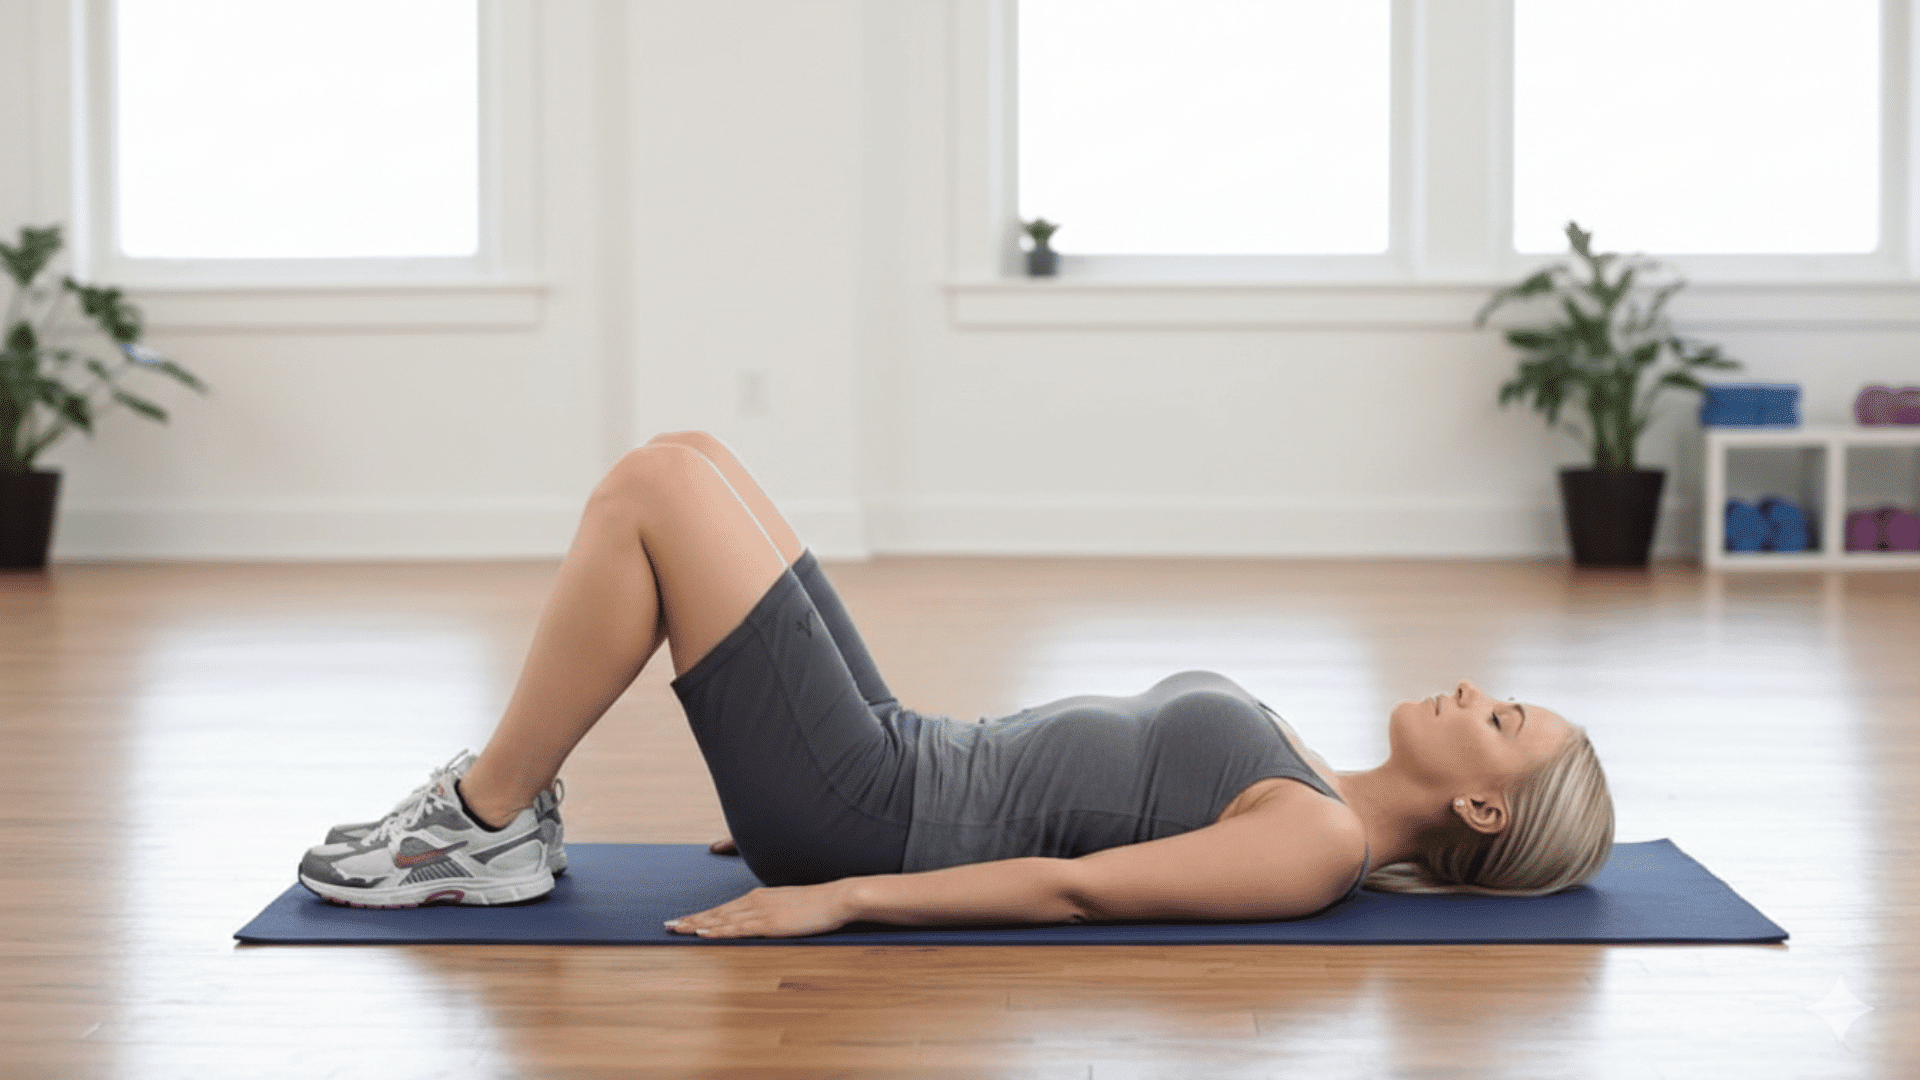
11. Glute Bridge

This exercise builds strength in the glutes, which support the hips during daily movement. Strong glutes help reduce strain on the hip joint.
To perform a glute bridge:
- Lie on your back with your knees bent and feet flat on the floor.
- Position your feet hip-width apart, about a foot from your glutes.
- Place your arms at your sides with palms facing down.
- Engage your core and squeeze your glutes.
- Lift your hips toward the ceiling until your body forms a straight line from knees to shoulders.
- Hold at the top for two seconds while keeping your glutes engaged.
- Lower your hips back down slowly with control.
Perform 10 to 15 repetitions, focusing on controlled movement throughout. Rest and repeat for two to three sets.
Helpful note: Focus on squeezing the glutes rather than pushing through your lower back.
12. Clamshell Exercise
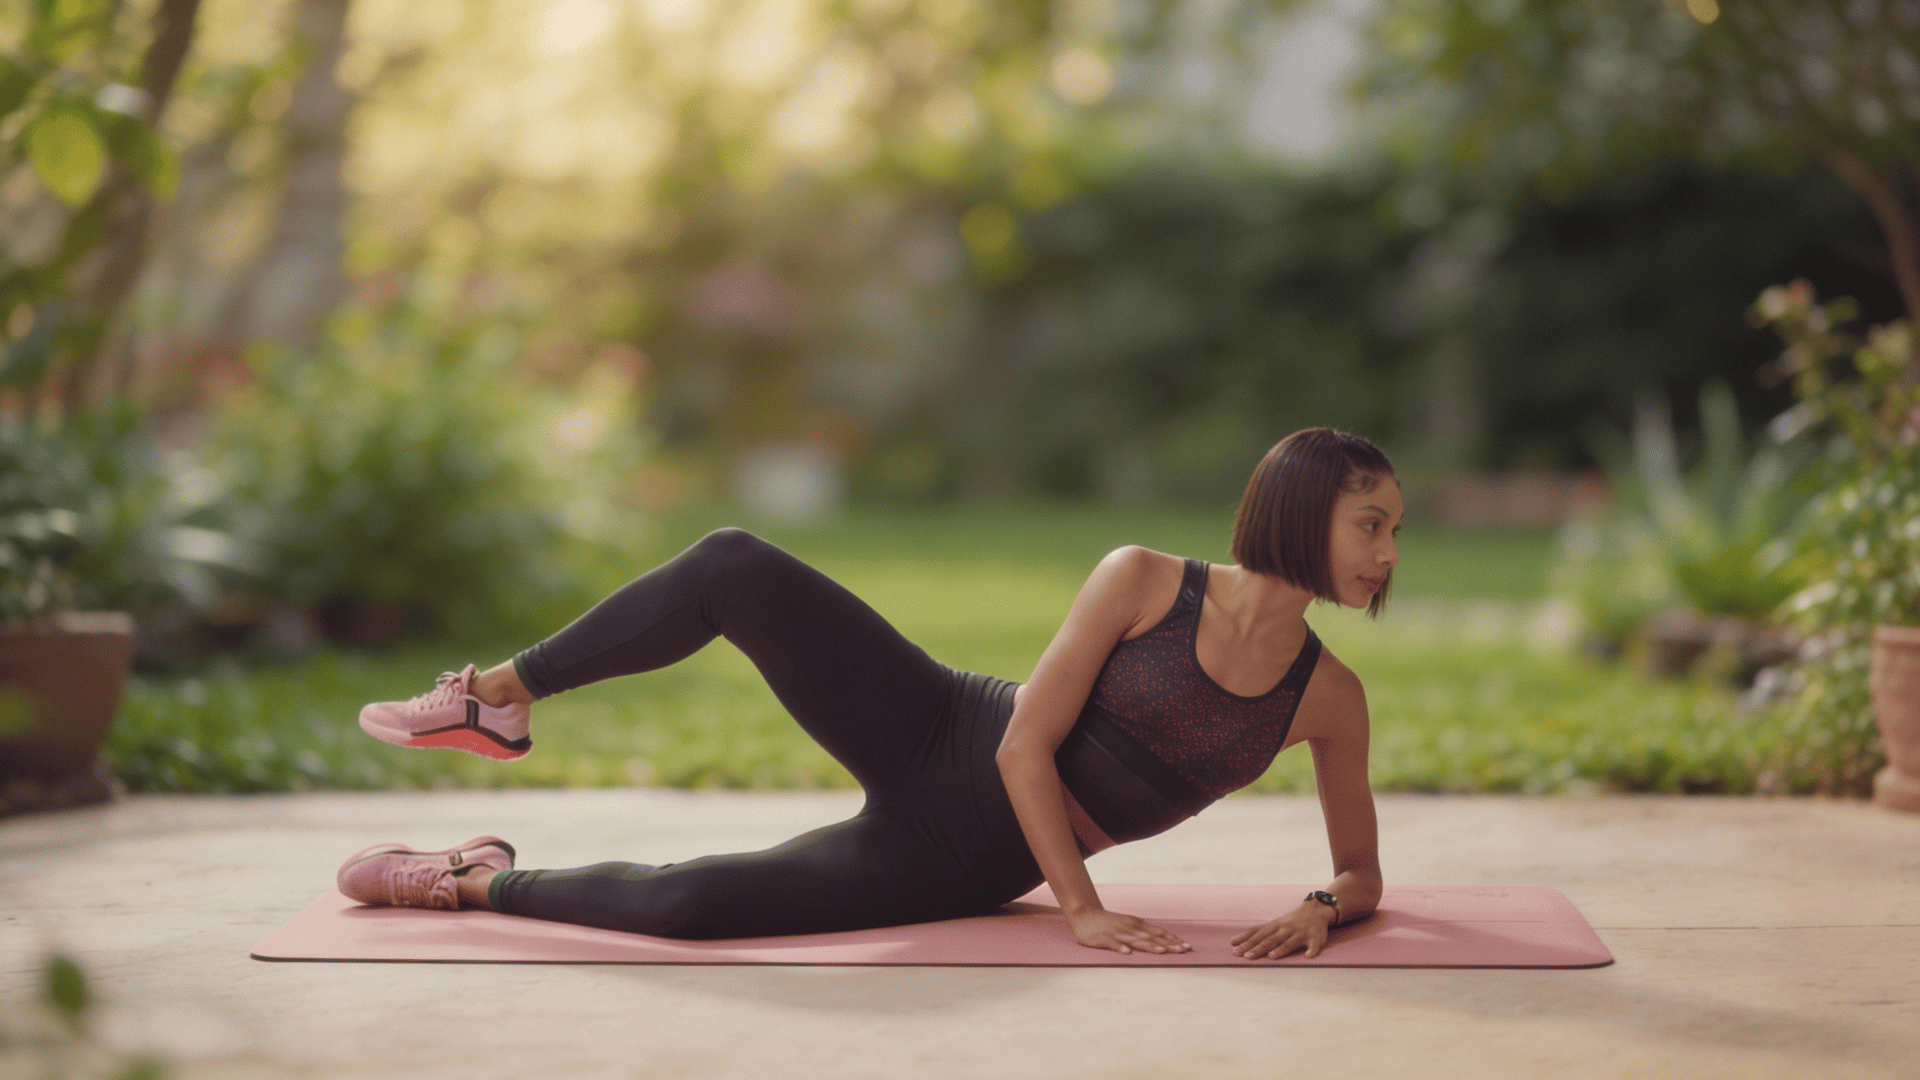
This movement strengthens the side hip muscles that help stabilize your pelvis. It’s often used to improve walking mechanics.
To perform a clamshell exercise:
- Lie on your right side with your knees bent at 90 degrees.
- Stack your hips and shoulders directly on top of each other.
- Keep your feet together and rest your head on your right arm.
- Place your left hand on your hip for stability.
- Keeping your feet touching, lift your left knee toward the ceiling.
- Raise your knee as high as comfortable without rotating your hips backward.
- Hold briefly at the top, then lower your knee slowly.
Complete 12 to 15 repetitions per side with controlled motion. Perform two to three sets on each side.
Helpful note: Keep your hips stacked and avoid rolling backward.
13. Side Lying Leg Raise
This exercise strengthens the outer hip muscles that support balance and alignment. It’s effective when done slowly and with control.
To perform a side-lying leg raise:
- Lie on your right side with your legs straight and stacked.
- Rest your head on your right arm or prop it up with your hand.
- Place your left hand on the floor in front of you for balance.
- Keep your hips stacked and your toes pointing forward.
- Lift your left leg toward the ceiling in a slow, controlled motion.
- Raise your leg to about 45 degrees or as high as comfortable.
- Lower your leg back down with control.
Perform 10 to 12 repetitions on each side with steady control. Complete two to three sets per side.
Helpful note: Lift the leg only as high as you can without rocking your hips.
14. Standing Hip Abduction
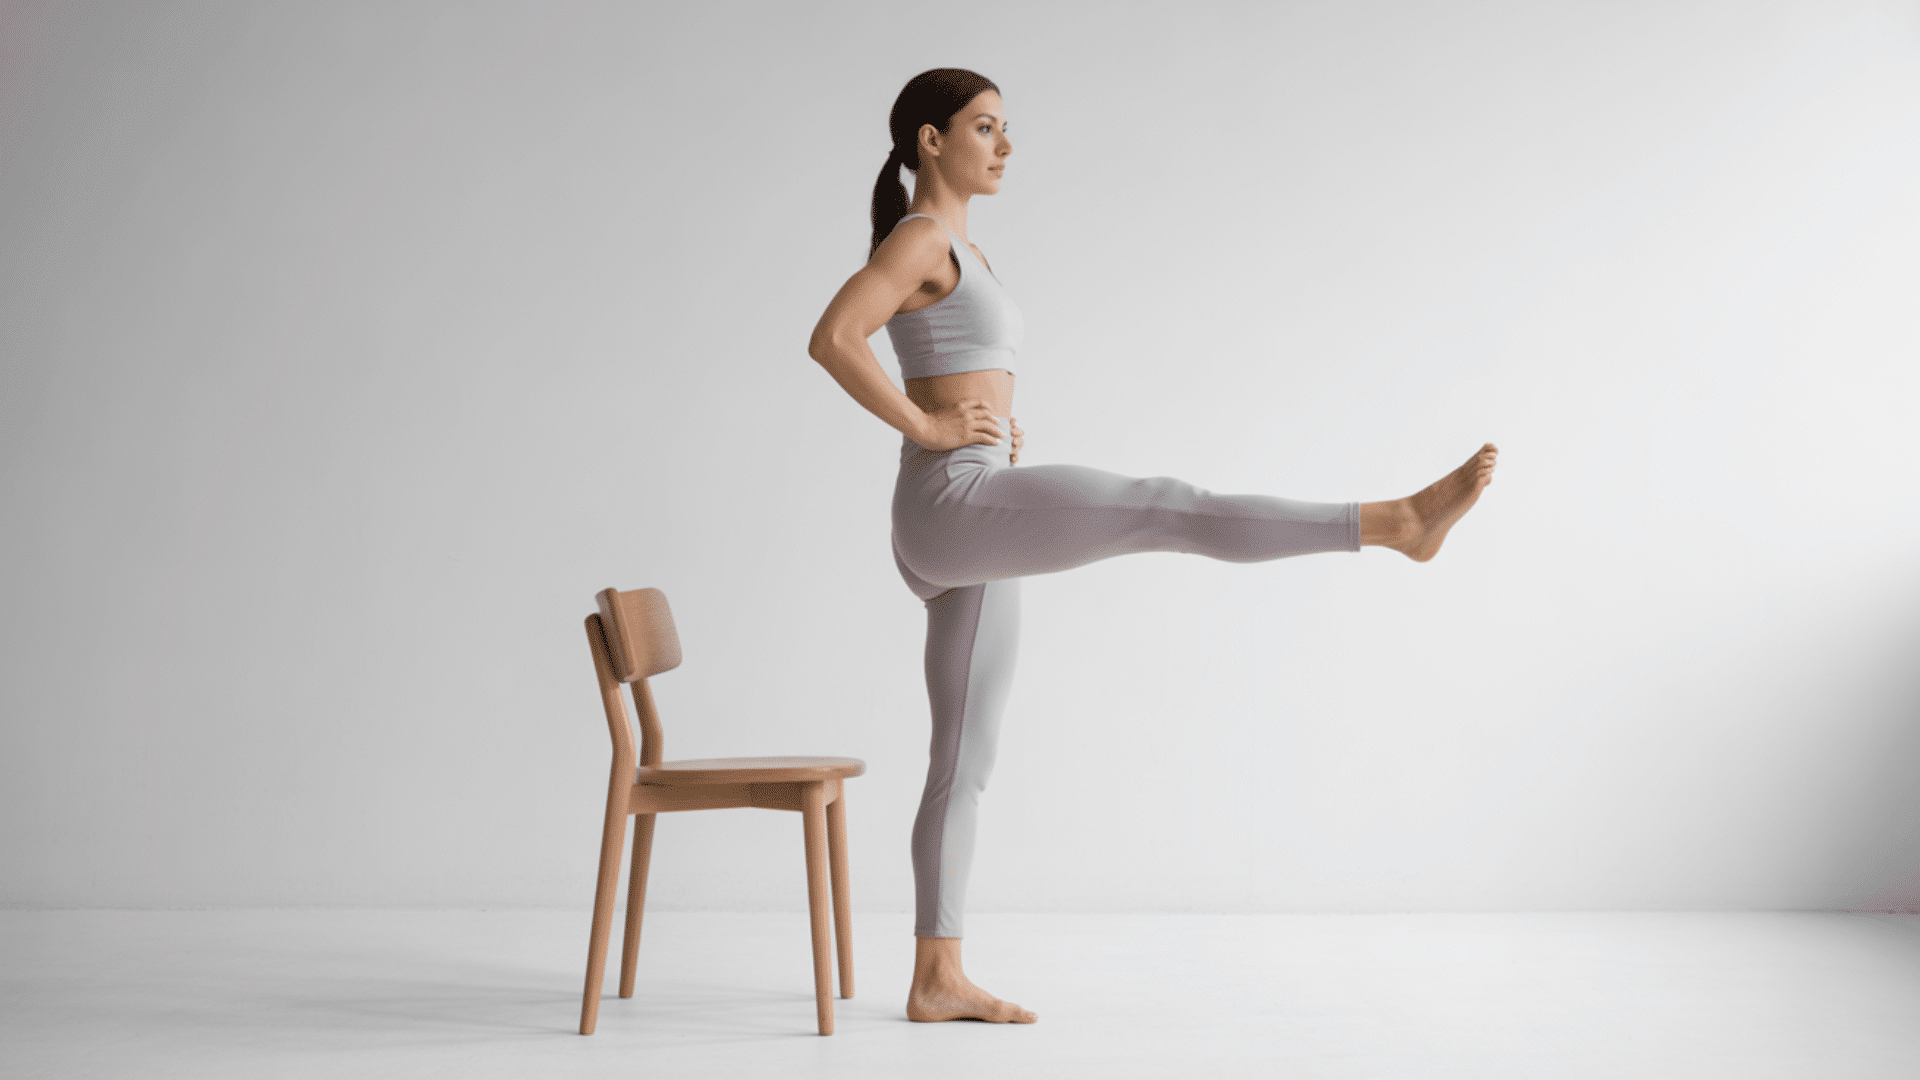
This exercise builds outer hip strength while challenging balance. It supports the stability needed for standing and walking.
To perform a standing hip abduction:
- Stand upright near a wall or chair for light support if needed.
- Place your feet hip-width apart with your weight on your left leg.
- Keep your torso upright and your core engaged.
- Lift your right leg straight out to the side.
- Keep your toes pointing forward and avoid leaning your torso to the left.
- Raise your leg as high as comfortable without tilting your hip.
- Lower your leg back down with control.
Complete 10 to 12 repetitions per leg with controlled movement. Perform two to three sets on each side.
Helpful note: Keep your torso upright and avoid leaning to one side.
15. Standing Hip Extension
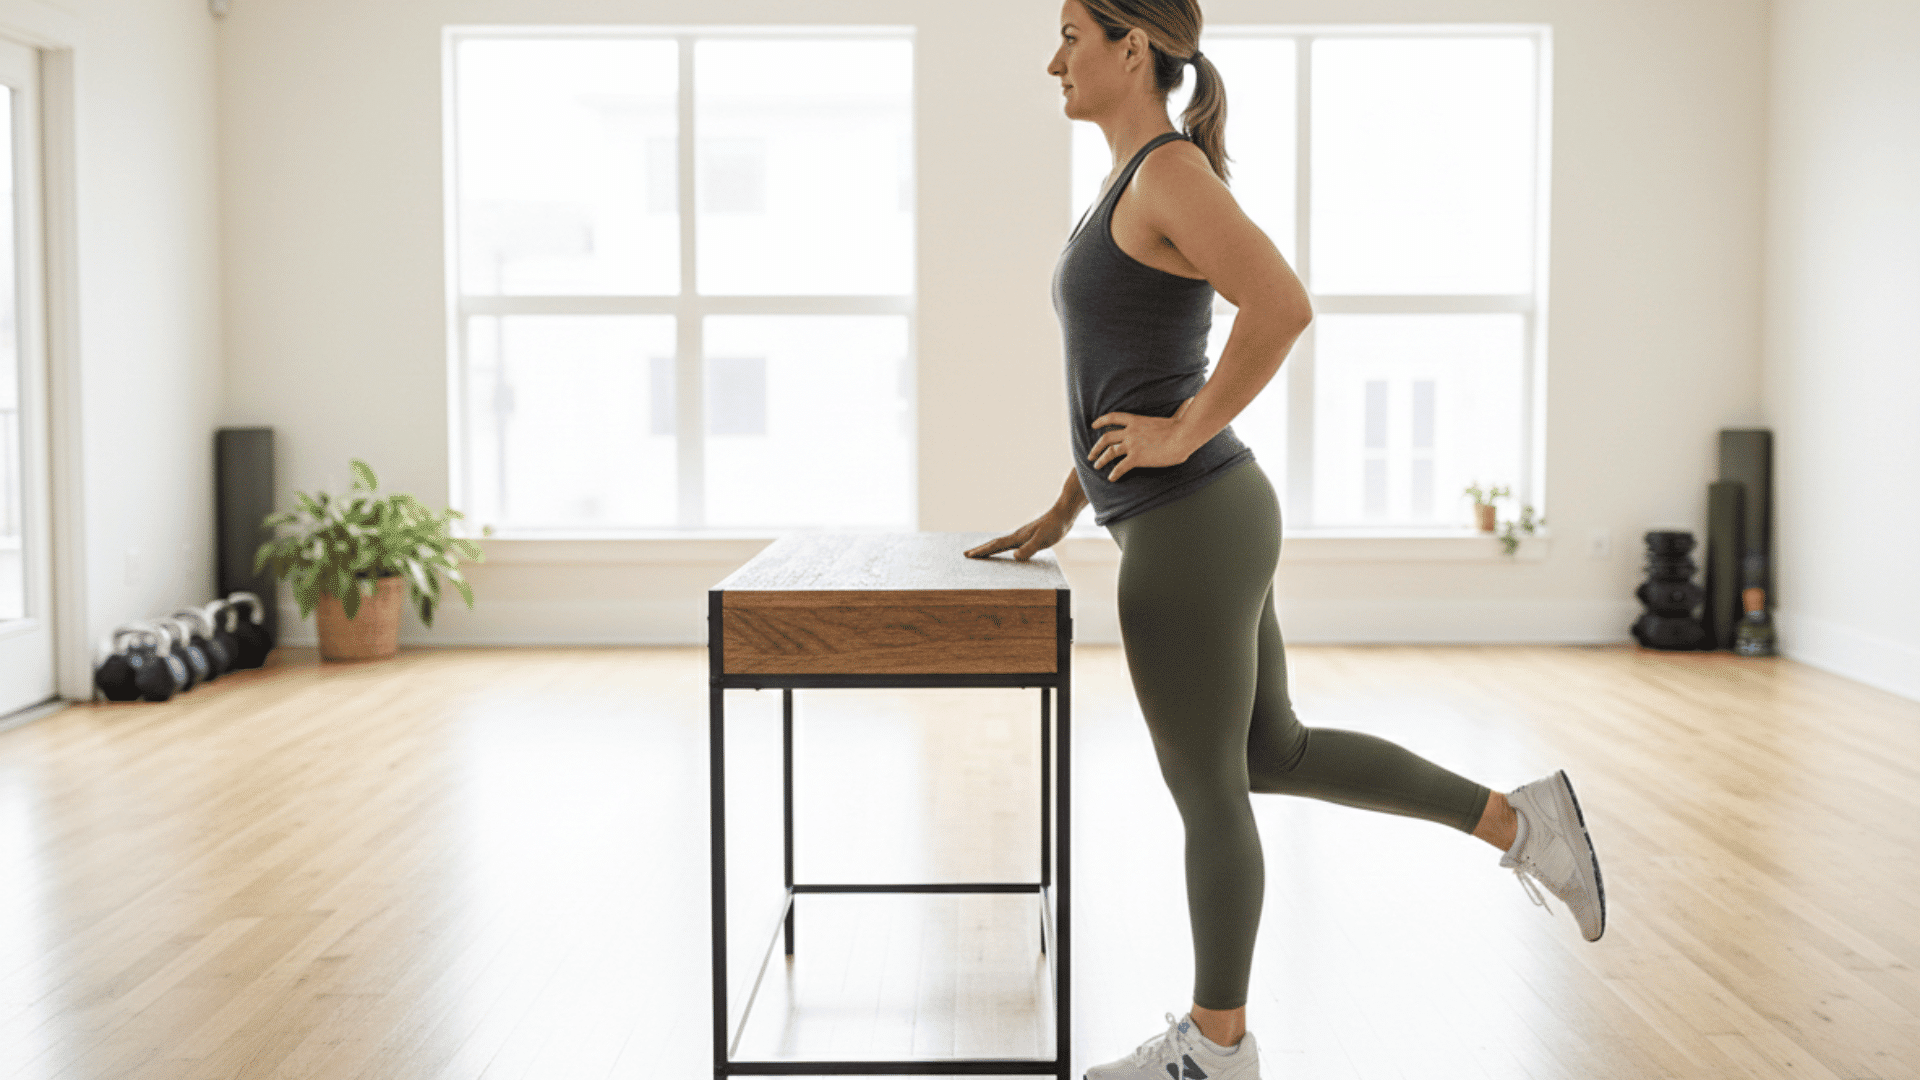
This movement strengthens the glutes and supports hip control during forward movement. It plays an important role in walking mechanics.
To perform a standing hip extension:
- Stand upright with your feet hip-width apart.
- Hold onto a wall or chair for support if needed.
- Shift your weight onto your left leg.
- Keep your core engaged and your torso upright.
- Extend your right leg straight behind you.
- Squeeze your right glute at the top of the movement.
- Avoid arching your lower back or leaning forward.
Perform 10 to 12 repetitions on each side. Complete two to three sets per leg.
Helpful note: Move the leg back gently without arching your lower back
16. Quadruped Hip Circles
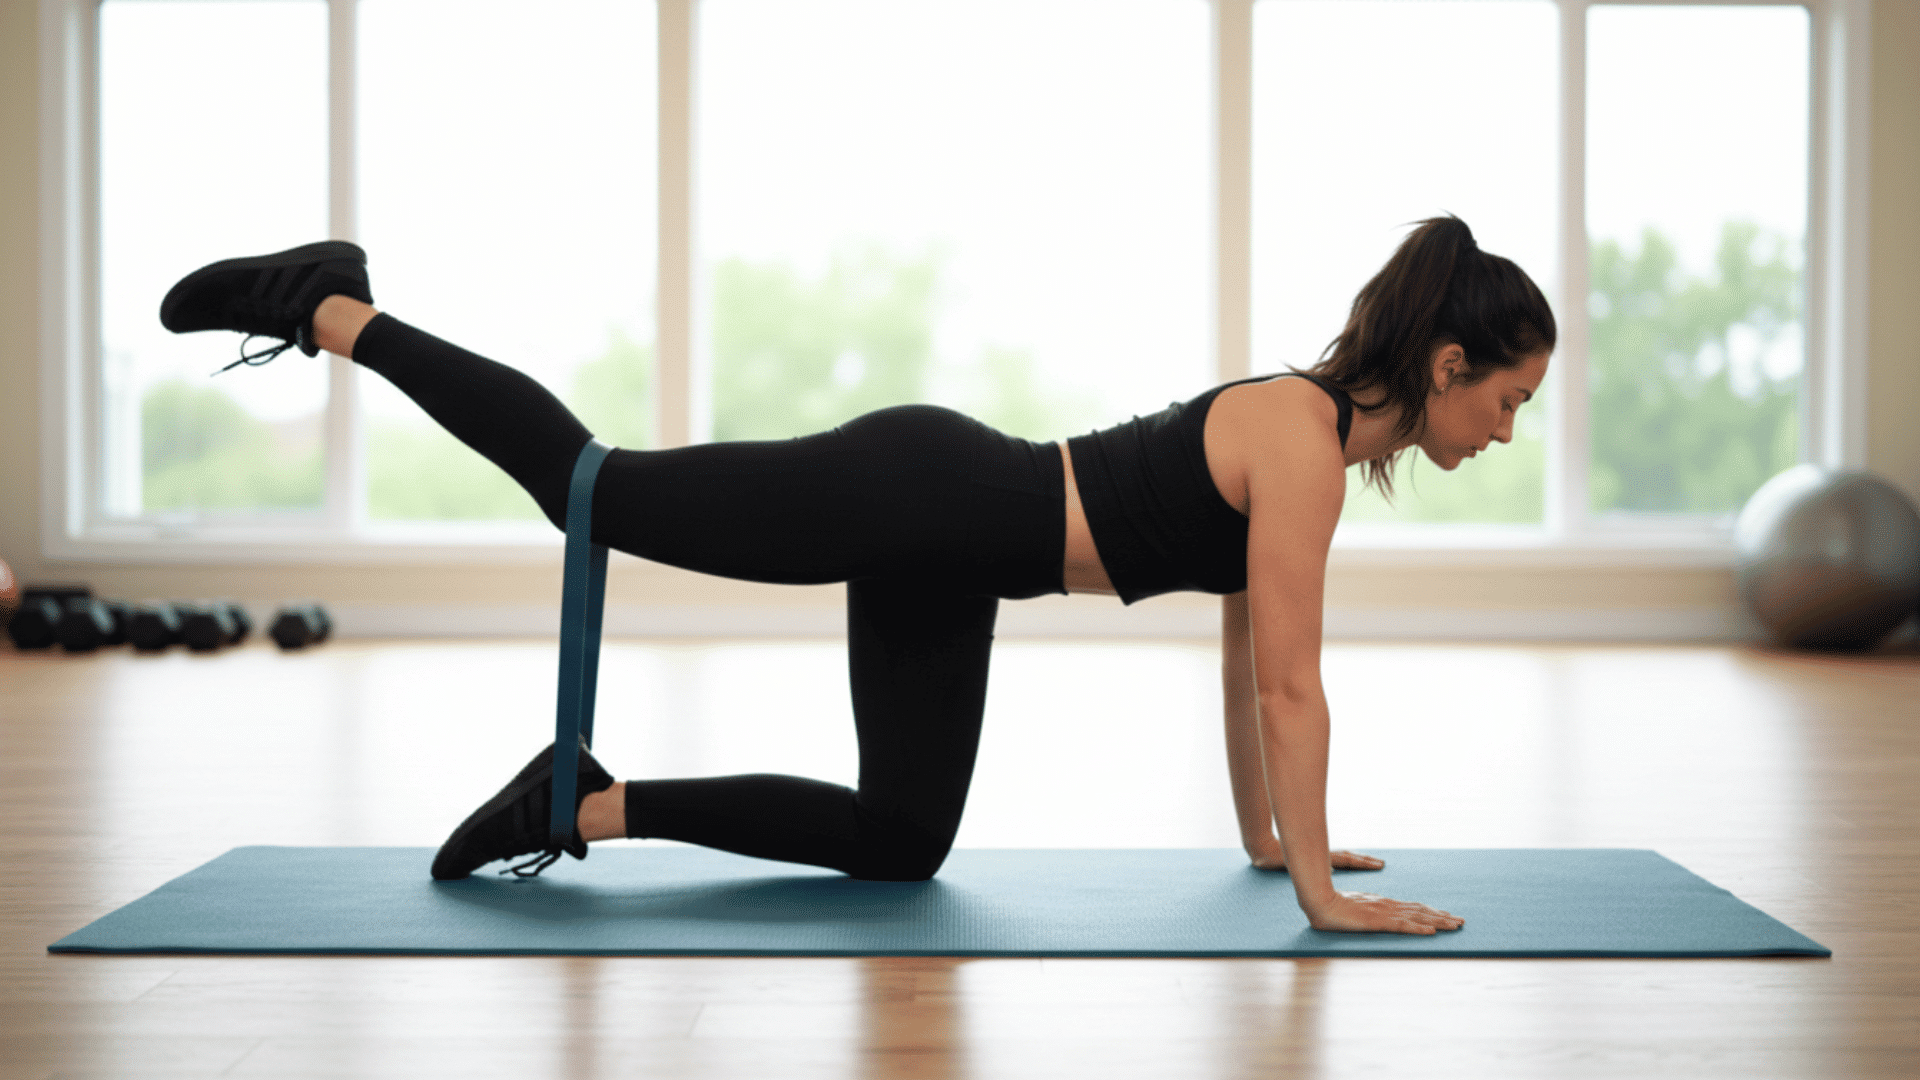
This exercise improves hip control while moving through a comfortable range of motion. It combines mobility and stability in one movement.
To perform quadruped hip circles:
- Start on your hands and knees in a tabletop position.
- Keep your wrists under your shoulders and knees under your hips.
- Engage your core to keep your spine neutral.
- Lift your right knee to hip height to the side.
- Draw slow, controlled circles in the air with your knee.
- Complete five circles in a clockwise direction.
- Reverse and complete five circles in a counterclockwise direction.
Switch legs and repeat. Perform two to three sets on each side.
Helpful note: Keep your core engaged to prevent lower back movement.
17. Pelvic Tilt Exercise
This exercise supports core strength and proper hip alignment. It helps reduce strain on the lower back and hips.
To perform a pelvic tilt exercise:
- Lie on your back with your knees bent and feet flat on the floor.
- Place your feet hip-width apart.
- Rest your arms at your sides with palms facing down.
- Engage your abdominal muscles and gently tilt your pelvis upward.
- Press your lower back flat against the floor.
- Hold this position for five seconds while breathing normally.
- Release and return to the starting position.
Repeat 10 to 12 times while breathing slowly and steadily. Perform two to three sets.
Helpful note: Move slowly and focus on controlled breathing throughout.
18. Marching in Place
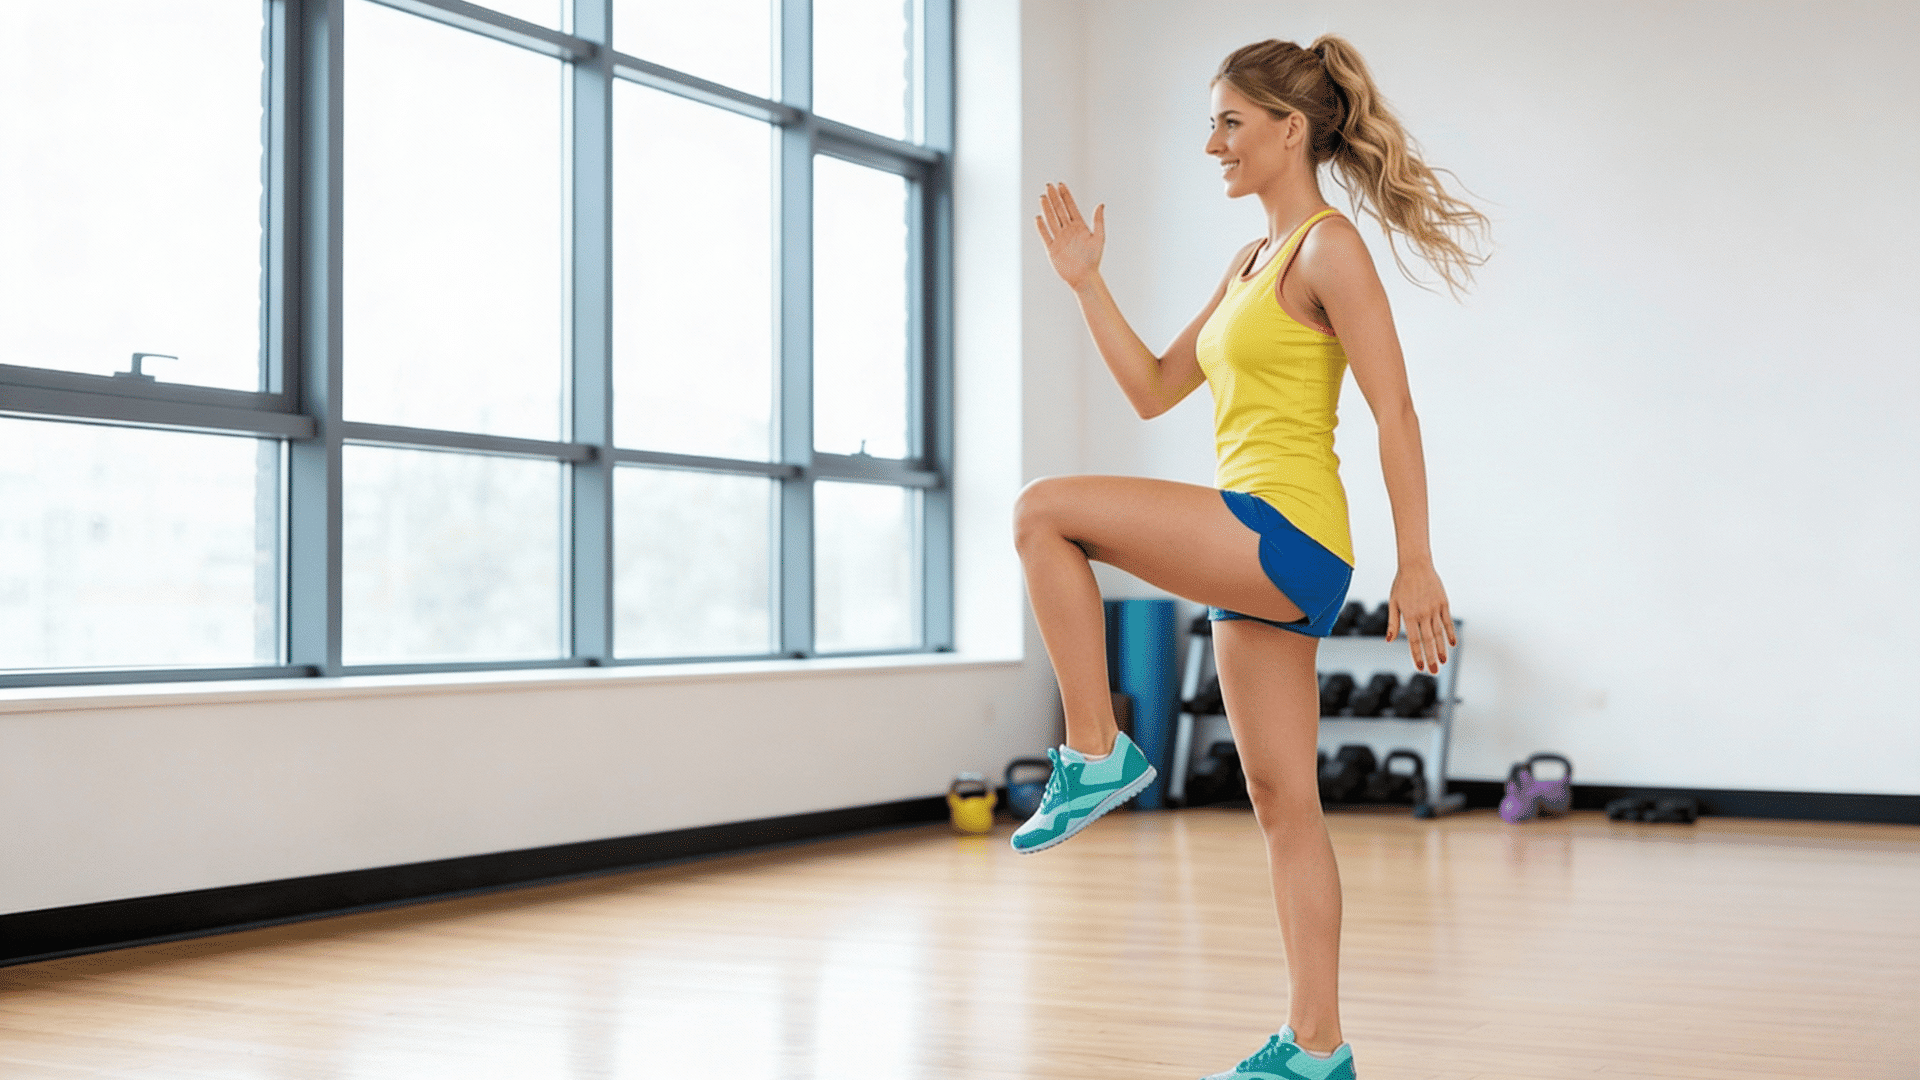
This dynamic movement supports hip flexor strength and coordination. It mimics everyday walking patterns.
To perform marching in place:
- Stand upright with your feet hip-width apart.
- Keep your chest lifted and your shoulders relaxed.
- Engage your core for stability.
- Lift your right knee toward your chest to about hip height.
- Lower your right foot back to the floor with control.
- Immediately lift your left knee toward your chest.
- Continue alternating legs in a controlled marching motion.
Continue for 30 to 60 seconds while maintaining good posture. Rest and repeat for two to three sets.
Helpful note: Lift the knee only as high as you can while staying balanced.
19. Mini Squat
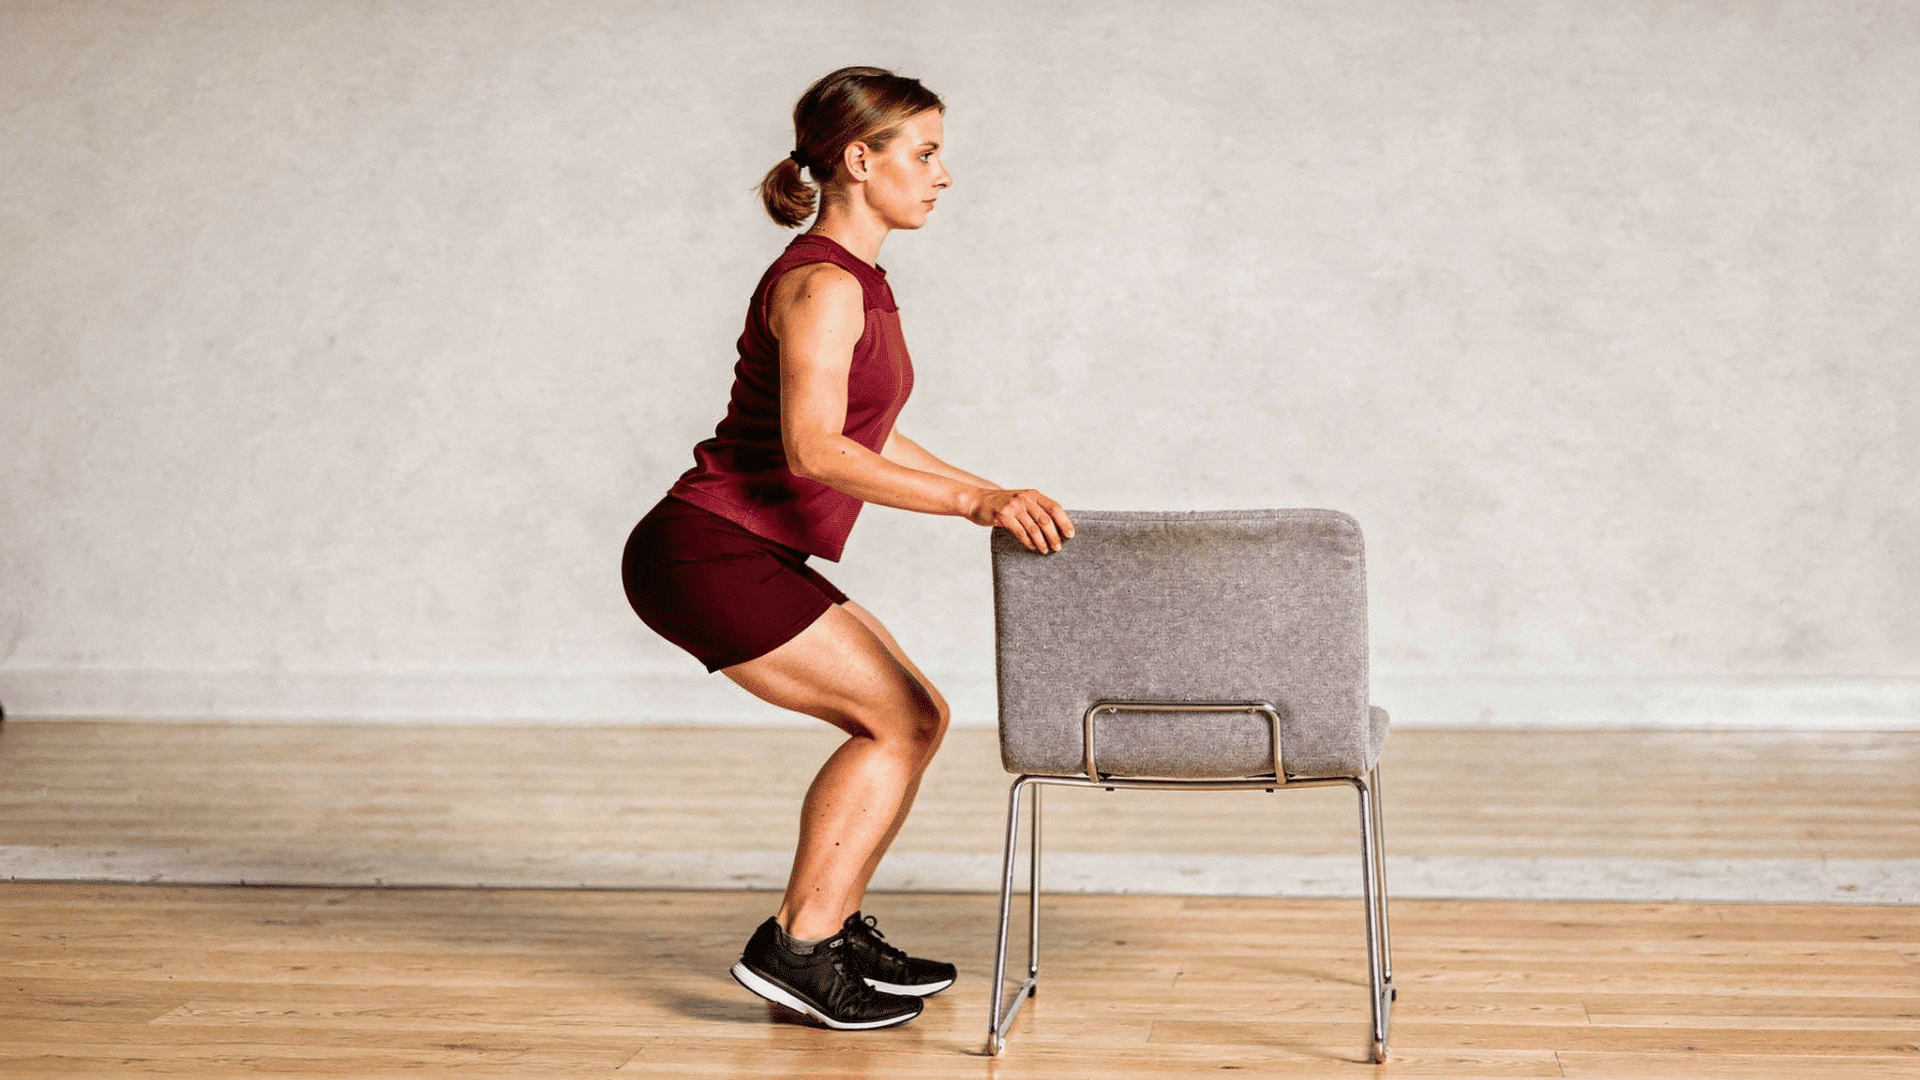
This exercise strengthens the hips and legs without placing excessive stress on the joints. It’s useful for building daily movement strength.
To perform a mini squat:
- Stand with your feet hip-width apart.
- Turn your toes slightly outward.
- Keep your chest lifted and your shoulders back.
- Engage your core and shift your weight into your heels.
- Bend your knees slightly as if sitting into a shallow chair.
- Lower down, only about a quarter of the way into a full squat.
- Press through your heels to return to standing.
Perform 10 to 15 repetitions with controlled lowering and rising. Complete two to three sets.
Helpful note: Keep your weight through your heels, not your toes.
20. Chair Sit to Stand
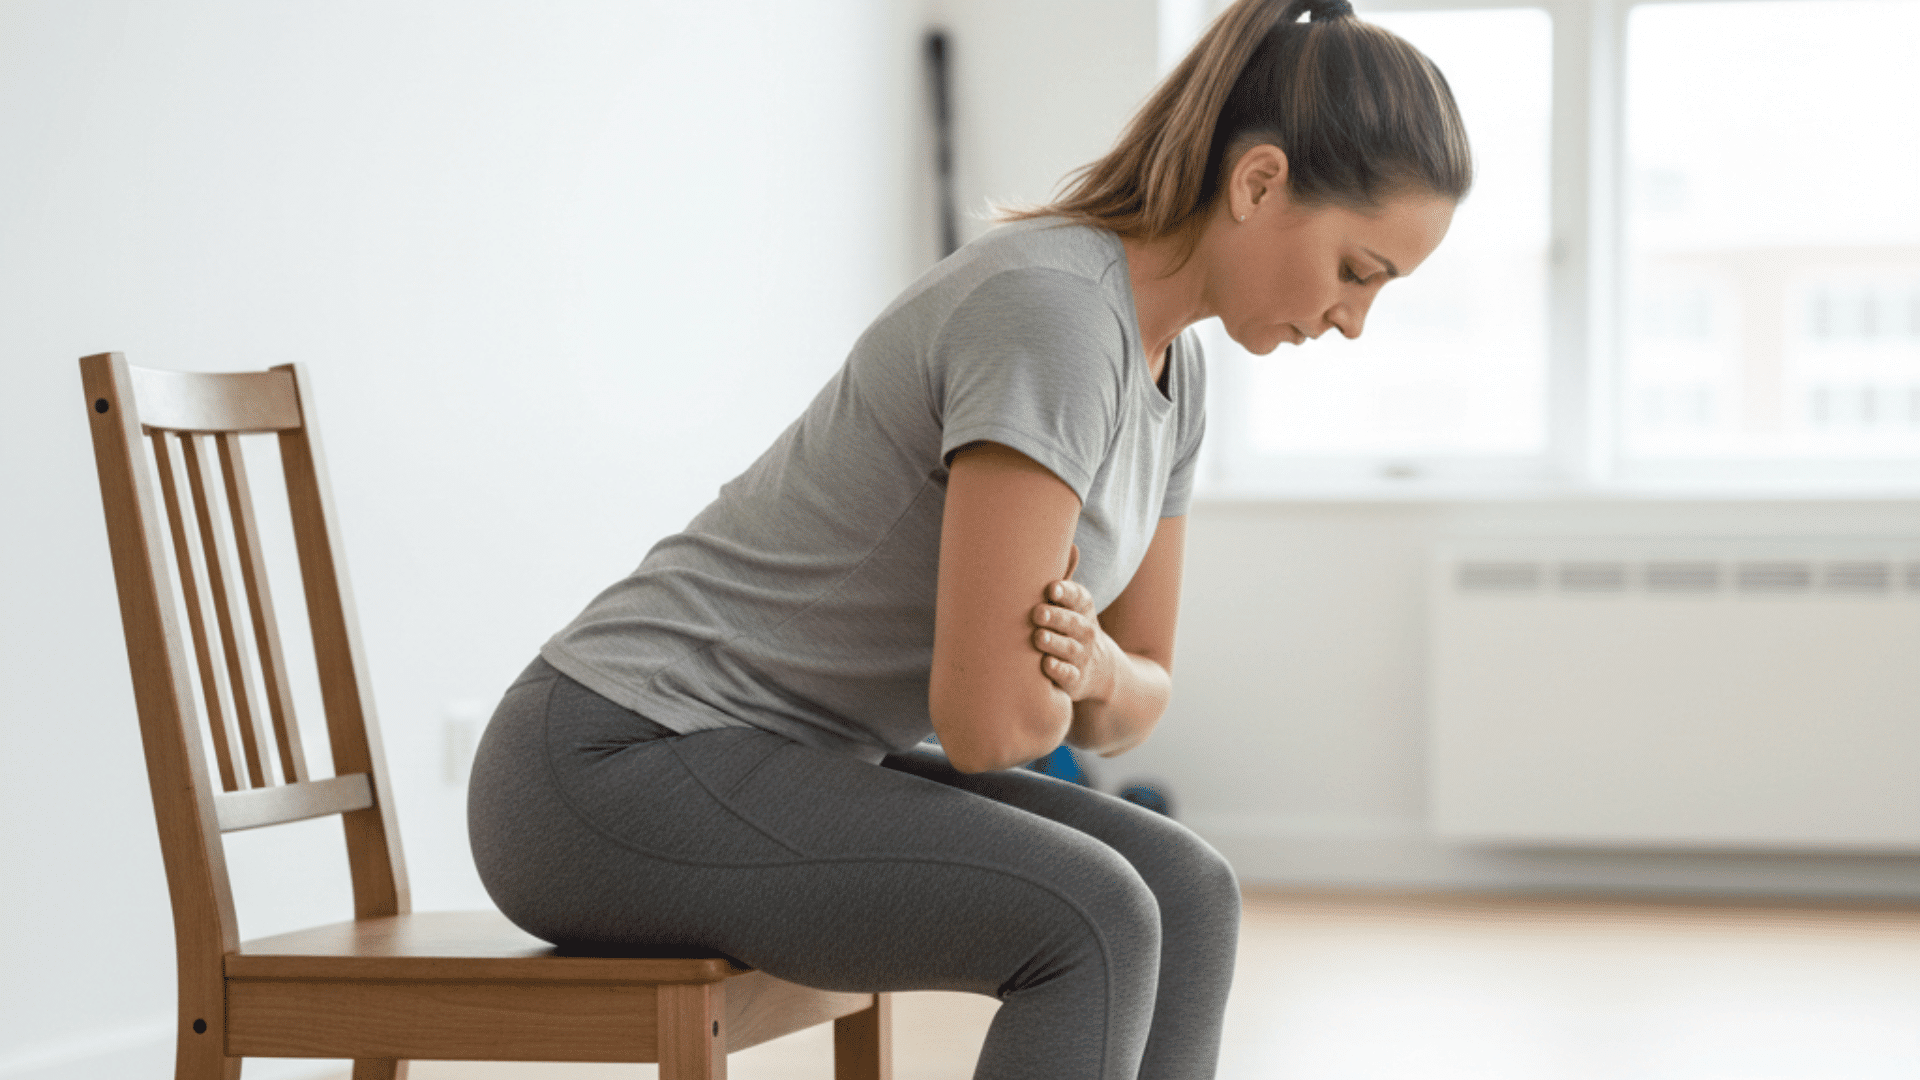
This exercise improves the strength needed for everyday activities, such as standing up. It closely mirrors real-life movement.
To perform a chair sit to stand:
- Sit in a sturdy chair with your feet flat on the floor.
- Position your feet hip-width apart and slightly back.
- Lean your torso slightly forward.
- Push through your heels and engage your glutes.
- Stand up without using your hands for support.
- Fully extend your hips and knees at the top.
- Slowly lower yourself back down to the chair with control.
Complete 10 to 12 repetitions with deliberate control. Perform two to three sets.
Helpful note: Move slowly on the way down to build better control.
21. Heel to Glute Walk

This active movement strengthens the hamstrings while keeping the hips mobile. It works well as a light warm-up or finisher.
To perform a heel-to-glute walk:
- Stand upright with your feet hip-width apart.
- Keep your chest lifted and your core engaged.
- Take a step forward with your right foot.
- As you step, bend your left knee and bring your left heel up toward your left glute.
- Use your hamstring to pull your heel as close to your glute as comfortable.
- Lower your left foot and step forward.
- Repeat the movement with your right leg.
Continue alternating for 10 to 15 steps per leg while maintaining an upright posture. Perform two to three sets.
Helpful note: Keep your steps smooth and avoid rushing the movement.
How Often to Practice These Movements
Building a consistent routine is more important than pushing yourself too hard when managing hip pain. The key is to start gradually and listen to your body as you progress. Here’s a practical approach to incorporating these movements into your routine:
- Stretches: Perform daily since they improve flexibility without creating significant muscle fatigue, making them safe for everyday practice
- Strengthening exercises: Do three to four times per week with rest days in between to allow your muscles time to recover and rebuild
- Starting out: Begin with just a few movements and gradually add more as your comfort and confidence grow
- Repetitions: Start with 2 to 3 repetitions and slowly increase to 2 sets of 10 to 15 as you get stronger
For example, if you’re doing the glute bridge exercise, start with 5 repetitions once a day. As this becomes easier over the next week or two, increase to 8 repetitions, then eventually work up to 2 sets of 12 repetitions performed three times per week.
Always move slowly and pay attention to how your body responds. If pain increases rather than improves, take additional rest days and reduce intensity.
Signs You Should Pause or Stop
Knowing when to pause or stop these movements is crucial for preventing further injury. While some mild discomfort is normal when starting new exercises, certain warning signs should not be ignored. Stop immediately if you experience:
Some warning signs signal that your body needs rest or extra care. The table below highlights common signs to watch for and explains what they may mean.
| Warning Sign | What It Means |
|---|---|
| Sharp, stabbing pain | Pain should be a mild stretching sensation, not acute discomfort |
| Symptoms getting worse | Exercises should reduce pain over time, not increase it |
| New pain in different areas | Movement shouldn’t create pain in previously unaffected regions |
| Swelling or warmth in the joint | These indicate inflammation that needs rest |
| Pain that doesn’t improve with rest | Persistent pain after stopping suggests you need a professional evaluation |
If hip pain worsens while following this advice or these exercises cause new symptoms, it’s important to talk to a healthcare professional about the condition before continuing.
When to Consult a Doctor for Hip Pain
While gentle movement often helps relieve hip discomfort, certain signs may indicate the need for professional evaluation.
Pain that persists or worsens: Seek medical attention if pain continues beyond several weeks despite consistent stretching and exercise, or if it progressively worsens over time.
Visible symptoms: Noticeable swelling around the hip joint, warmth, redness, or any signs of inflammation warrant prompt medical assessment.
Neurological symptoms: Numbness or tingling down the leg, sharp stabbing pain, or weakness in the hip or leg require immediate professional evaluation.
Impact on daily function: If hip pain significantly interferes with walking, standing for normal periods, or sleeping comfortably at night, consulting a healthcare provider can help identify underlying issues that may require specific treatment.
Early intervention can prevent minor hip issues from becoming chronic problems. A healthcare professional can provide a proper diagnosis and create a treatment plan tailored to specific needs.
Final Thoughts
You now have a complete plan to manage hip discomfort with consistent movement. I’ve shared stretches to loosen tight muscles, strengthening exercises to build support, and clear guidance on how often to practice.
When you focus on both flexibility and strength, you give your hips the balance they need to move with less strain. Progress may feel gradual, but small daily efforts create lasting change.
I encourage you to start with a few movements that feel comfortable and build from there. Pay attention to how your body responds and adjust when needed.
If these stretches for hip pain help you, share your experience below. Your story might encourage someone else to begin their recovery.