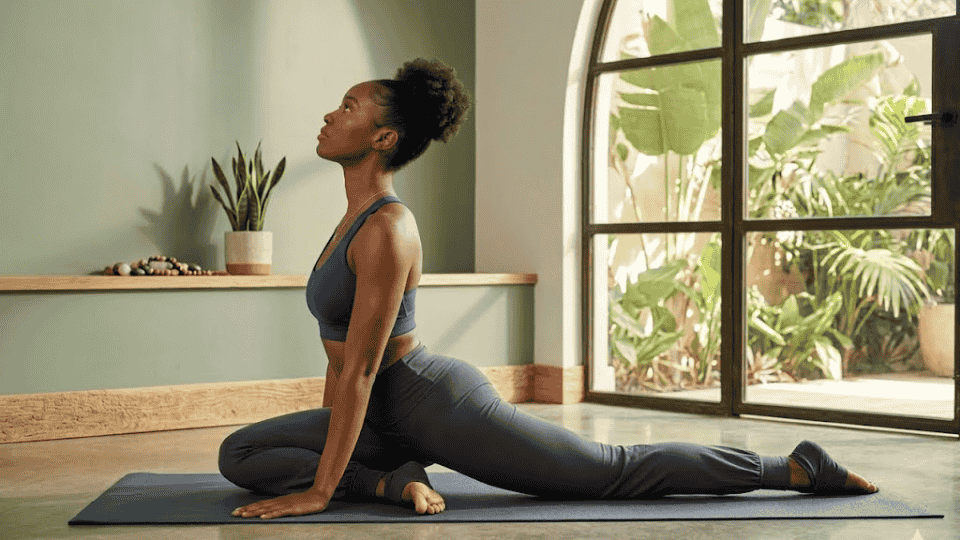


I know how frustrating back pain can feel when it shows up after long hours of sitting or a stressful day. That’s exactly why many people turn to yoga for back pain as a simple and natural way to find relief.
When I first started practicing gentle yoga stretches, I noticed how small movements and steady breathing helped release tight muscles and reduce pressure in the spine.
I’ll walk you through a series of beginner-friendly poses designed to ease tension and support your lower back. You’ll learn why these movements work and how to practice them safely at home.
By the time you finish reading, you’ll have a clear routine you can return to whenever your back needs care and attention.
Why Should You Do Yoga for Lower Back Pain
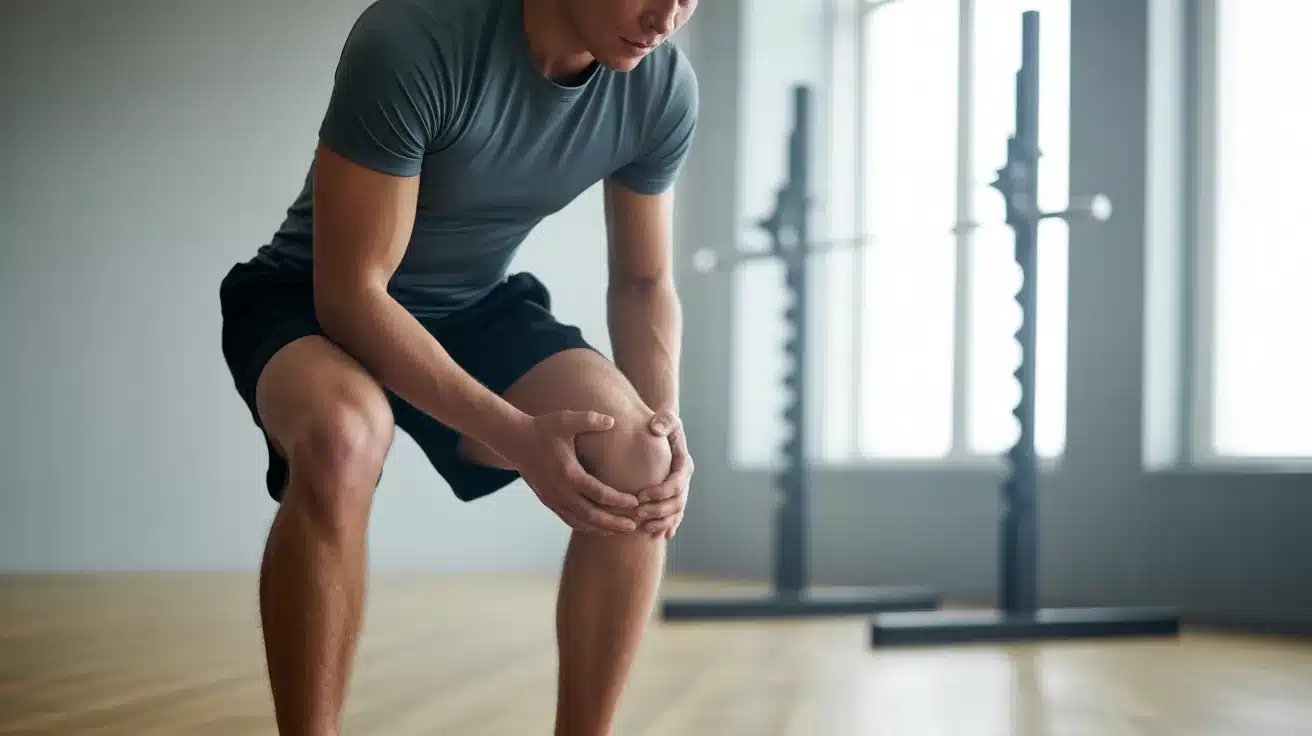
Back pain often stems from tight hips, prolonged sitting, weak core muscles, or stress that settles into the spine. When muscles become tense or imbalanced, they pull on the back in ways that create discomfort and stiffness.
This is where yoga for back pain becomes incredibly valuable. Slow, mindful movements help lengthen tight muscles, strengthen weak areas, and improve overall spinal alignment.
Gentle flows increase blood circulation to sore spots, promoting healing and reducing inflammation. The combination of stretching and strengthening creates balance in the body, addressing not just symptoms but root causes.
One important safety note: listen to the body and never push into sharp pain. Discomfort should feel like a productive stretch, not a warning signal.
Gentle Yoga Poses for Back Pain Relief
These poses work together to release tension, strengthen the muscles that support your spine, and improve overall mobility.
I’ve found that practicing them regularly helps the back feel lighter and more flexible. You can follow them in order as a full routine, or simply choose the poses your body needs most on any given day
1. Savasana / Constructive Rest
This isn’t just lying down; it’s an active reset for the entire back. When practicing Savasana with knees bent, the lower back finally releases into the floor, and tight muscles begin to let go.
Targets: Lumbar spine, sacrum, and entire posterior chain.
How to do it:
Step 1: Lie on your back with your knees bent and feet flat on the floor.
Step 2: Keep your feet hip-width apart the keep your lower body relaxed.
Step 3: Rest your arms beside your body with palms facing upward.
Step 4: Close your eyes and begin slow, deep breathing.
Step 5: With every exhale, allow the lower back to soften and sink into the floor.
Step 6: Stay here for 2–3 minutes and let the body fully relax.
2. Apanasana (Knees-to-Chest)
Apanasana feels like a gentle massage for the lower back. Drawing the knees toward the chest creates space between vertebrae and encourages the sacrum to ground into the mat, providing immediate relief.
Targets: Lower back muscles, glutes, hips, and sacroiliac joint.
How to do it:
Step 1: Lie flat on your back with your legs extended.
Step 2: Slowly bend both knees and draw them toward your chest.
Step 3: Hold your shins or the backs of your thighs with both hands.
Step 4: Gently pull your knees closer toward the chest as you exhale.
Step 5: Relax your shoulders and keep the neck neutral.
Step 6: Hold the position for 5–8 breaths or gently rock side to side.
Whenever my lower back feels tight in the morning, this is usually the first pose I return to because it releases tension almost immediately.
3. Reclined Spinal Twist (Both Sides)
This twist wrings out tension stored along the spine. The gentle rotation releases the muscles that run parallel to the vertebrae, and the grounding quality helps the nervous system settle.
Targets: Entire spine, particularly mid-back and lower back, plus hips and glutes.
How to do it:
Step 1: Lie on your back and pull your right knee toward your chest.
Step 2: Slowly guide the right knee across your body toward the left side.
Step 3: Extend your right arm straight out to the side.
Step 4: Turn your head gently toward the right hand if comfortable.
Step 5: Keep both shoulders grounded on the mat.
Step 6: Hold for 5–8 breaths, then repeat on the opposite side.
4. Sukhasana (Easy Pose)
Sukhasana might look simple, but sitting upright with awareness creates length in the spine and encourages proper alignment. It’s a chance to notice where tension lives and breathe into those spots.
Targets: Entire spine, hips, and postural muscles that support the back.
How to do it:
Step 1: Sit cross-legged on the floor or on a folded blanket.
Step 2: Place your hands gently on your knees or in your lap.
Step 3: Stack your shoulders directly over your hips.
Step 4: Lengthen through the crown of the head to keep the spine tall.
Step 5: Relax the shoulders and soften the jaw.
Step 6: Breathe deeply for 1–2 minutes.
5. Seated Spinal Twist (Gentle)
A seated twist mobilizes the spine in ways that daily life rarely does. Rotating from the core releases the small muscles between vertebrae and creates a sense of spaciousness through the entire back.
Targets: Thoracic spine, lower back muscles, obliques, and deep spinal rotators.
How to do it:
Step 1: Sit comfortably in Sukhasana or with legs extended.
Step 2: Place your right hand behind you on the floor.
Step 3: Rest your left hand on your right knee.
Step 4: Inhale and lengthen the spine upward.
Step 5: Exhale and gently twist toward the right side.
Step 6: Hold for 5 breaths, then switch sides.
6. Siddhasana (Adept Pose)
Siddhasana brings the heels closer to the body than Easy Pose, creating a stable base that naturally encourages the spine to lift. This alignment takes pressure off the lower back while opening the hips.
Targets: Hip flexors, lower back, and postural alignment throughout the entire spine.
How to do it:
Step 1: Sit on the floor with legs extended.
Step 2: Bend the right knee and place the heel near the groin.
Step 3: Bend the left knee and place the heel in front of the right ankle.
Step 4: Rest your hands on your knees.
Step 5: Sit tall and relax your shoulders.
Step 6: Breathe deeply for 1–2 minutes, then switch leg positions
7. Seated Forward Fold (From Siddhasana)
Folding forward from a seated position allows gravity to gently stretch the entire posterior chain. This version is less intense than standing folds, making it accessible when the back feels sensitive.
Targets: Entire spine, particularly lumbar region, hamstrings, and hip flexors.
How to do it:
Step 1: Begin sitting comfortably in Siddhasana.
Step 2: Inhale and lengthen your spine upward.
Step 3: Exhale and slowly hinge forward from the hips.
Step 4: Walk your hands forward along the floor.
Step 5: Allow your head and neck to relax naturally.
Step 6: Hold the pose for 8–10 breaths.
8. Malasana (Yogi Squat)
Malasana opens the hips and creates length in the lower back in a way that feels primal and natural. The deep squat position counteracts the hip tightness that contributes to back pain.
Targets: Hip flexors, inner thighs, lower back, and pelvic floor.
How to do it:
Step 1: Stand with your feet slightly wider than hip-width apart.
Step 2: Turn your toes slightly outward.
Step 3: Slowly bend the knees and lower your hips into a squat.
Step 4: Bring your palms together at the center of your chest.
Step 5: Press your elbows gently against the inner knees.
Step 6: Hold the position for 5–8 breaths.
9. Uttanasana (Standing Forward Fold)
Standing forward folds allow the spine to decompress under its own weight. The inversion brings fresh blood flow to the back while gently stretching the entire posterior chain from heels to head.
Targets: Hamstrings, calves, lower back, and entire spinal column.
How to do it:
Step 1: Stand upright with your feet hip-width apart.
Step 2: Slightly bend your knees to protect the lower back.
Step 3: Hinge forward slowly from the hips.
Step 4: Let your arms hang naturally toward the floor.
Step 5: Hold opposite elbows if it feels comfortable.
Step 6: Stay in the pose for 8–10 breaths.
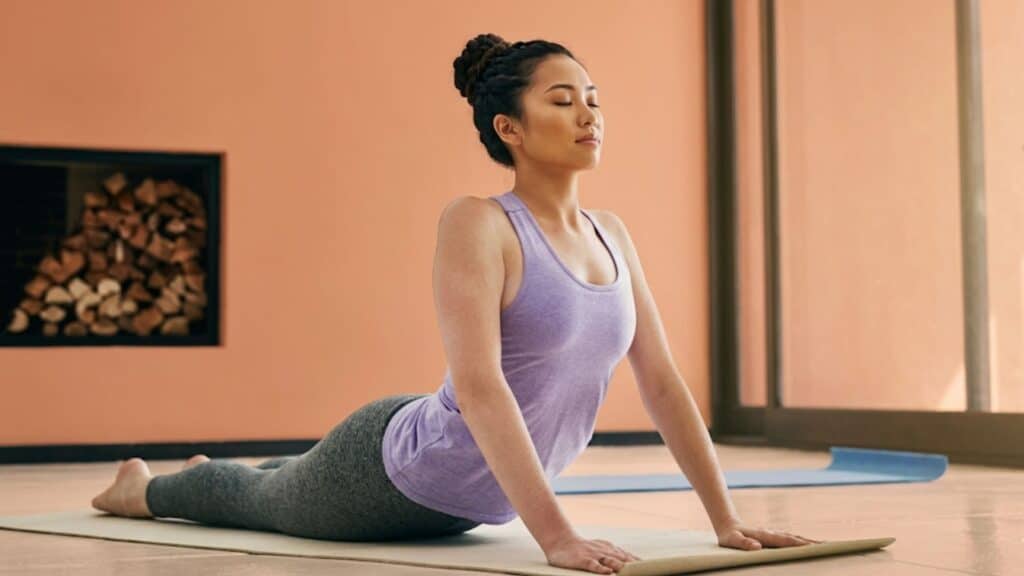
10. Sphinx Pose
Sphinx Pose is a gentle backbend that counteracts the forward rounding most people do all day. It strengthens the lower back while opening the chest and encouraging natural spinal curves.
Targets: Lower back extensors, core muscles, chest, and shoulders.
How to do it:
Step 1: Lie on your stomach with legs extended behind you.
Step 2: Place your forearms on the floor directly under your shoulders.
Step 3: Press your forearms firmly into the mat.
Step 4: Lift your chest slightly while keeping your hips grounded.
Step 5: Draw your shoulder blades gently down the back.
Step 6: Hold the pose for 5–8 breaths.
11. Bharmanasana (Tabletop)
Tabletop is the foundation for so many restorative movements. Finding neutral spine on hands and knees teaches the body what proper alignment feels like, which translates to less back pain off the mat.
Targets: Core stabilizers, spinal alignment awareness, shoulders, and wrists.
How to do it:
Step 1: Come onto your hands and knees on the mat.
Step 2: Align your wrists directly under your shoulders.
Step 3: Position your knees directly under your hips.
Step 4: Keep your back flat and neutral.
Step 5: Engage your core muscles gently.
Step 6: Hold the position for 5–8 breaths.
12. Balasana (Child’s Pose)
Child’s Pose is the ultimate rest and reset. The forward fold with hips back creates gentle traction in the spine, while the forehead on the mat signals the nervous system to relax, crucial for releasing tension-related back pain.
Targets: Lower back, hips, shoulders, and the parasympathetic nervous system.
How to do it:
Step 1: Begin in the tabletop position.
Step 2: Bring your big toes together and separate your knees.
Step 3: Slowly sink your hips back toward your heels.
Step 4: Extend your arms forward along the mat.
Step 5: Rest your forehead on the floor or on a block.
Step 6: Breathe deeply and hold the pose for 1–3 minutes.
On days when my back feels especially tired, I sometimes stay here longer than planned because it feels like the spine is finally getting a break.
Tips for Practicing Yoga with Back Pain
From my experience, small and consistent habits make the biggest difference when using yoga stretches for lower back relief. When you keep a few simple guidelines in mind, your practice becomes safer, more comfortable, and much more effective over time.
- Practice regularly: Aim for 3-4 times per week rather than one long session. Even 10-15 minutes daily creates more progress than occasional hour-long practices
- Listen to your body: Stop immediately if any pose creates sharp or shooting pain. Stretching discomfort is normal; pain signaling harm is not
- Use props generously: Blocks, blankets, and bolsters make poses safer and more accessible. Elevate your hips with a cushion when sitting feels uncomfortable
- Breathe deeply: Full breaths signal to the body that it’s safe to release tension. Shallow breathing keeps muscles tight and prevents progress
The key is building a sustainable routine that the body can trust and respond to over time. Be patient and kind with the process.
When I started practicing these movements regularly, I noticed my posture improved and my back didn’t feel as stiff after long days at my desk.
Build a Small Practice Habit
One thing I’ve noticed over time is that consistency matters more than intensity. When my back feels stiff, I don’t try to do a long yoga session. Instead, I return to a few gentle poses for 10–15 minutes.
You might find it helpful to practice at the same time each day. For me, evenings work best because that’s when my back usually feels tight after sitting and working for hours. A short routine before bed helps release that tension and allows the spine to relax.
If mornings feel better for you, that works just as well. The important part is creating a small habit that your body begins to expect.
Over time, these short sessions add up. Your muscles start to loosen, your posture improves, and the back begins to feel stronger and more supported throughout the day.
The Bottom Line
By now, you’ve seen how a simple routine of mindful stretches can support your spine and reduce daily discomfort.
I shared several gentle poses that help release tension, improve mobility, and strengthen the muscles that support your back. When I began practicing these movements regularly, I noticed my posture improved, and my back felt less stiff after long days.
If you practice these poses consistently, even for a few minutes, you may begin to feel the same benefits. Remember to move slowly, breathe deeply, and listen to your body as you go.
Your back responds best to patience and steady care. Try adding this routine to your weekly schedule and see how it feels. I’d love to hear about your experience in the comments.