


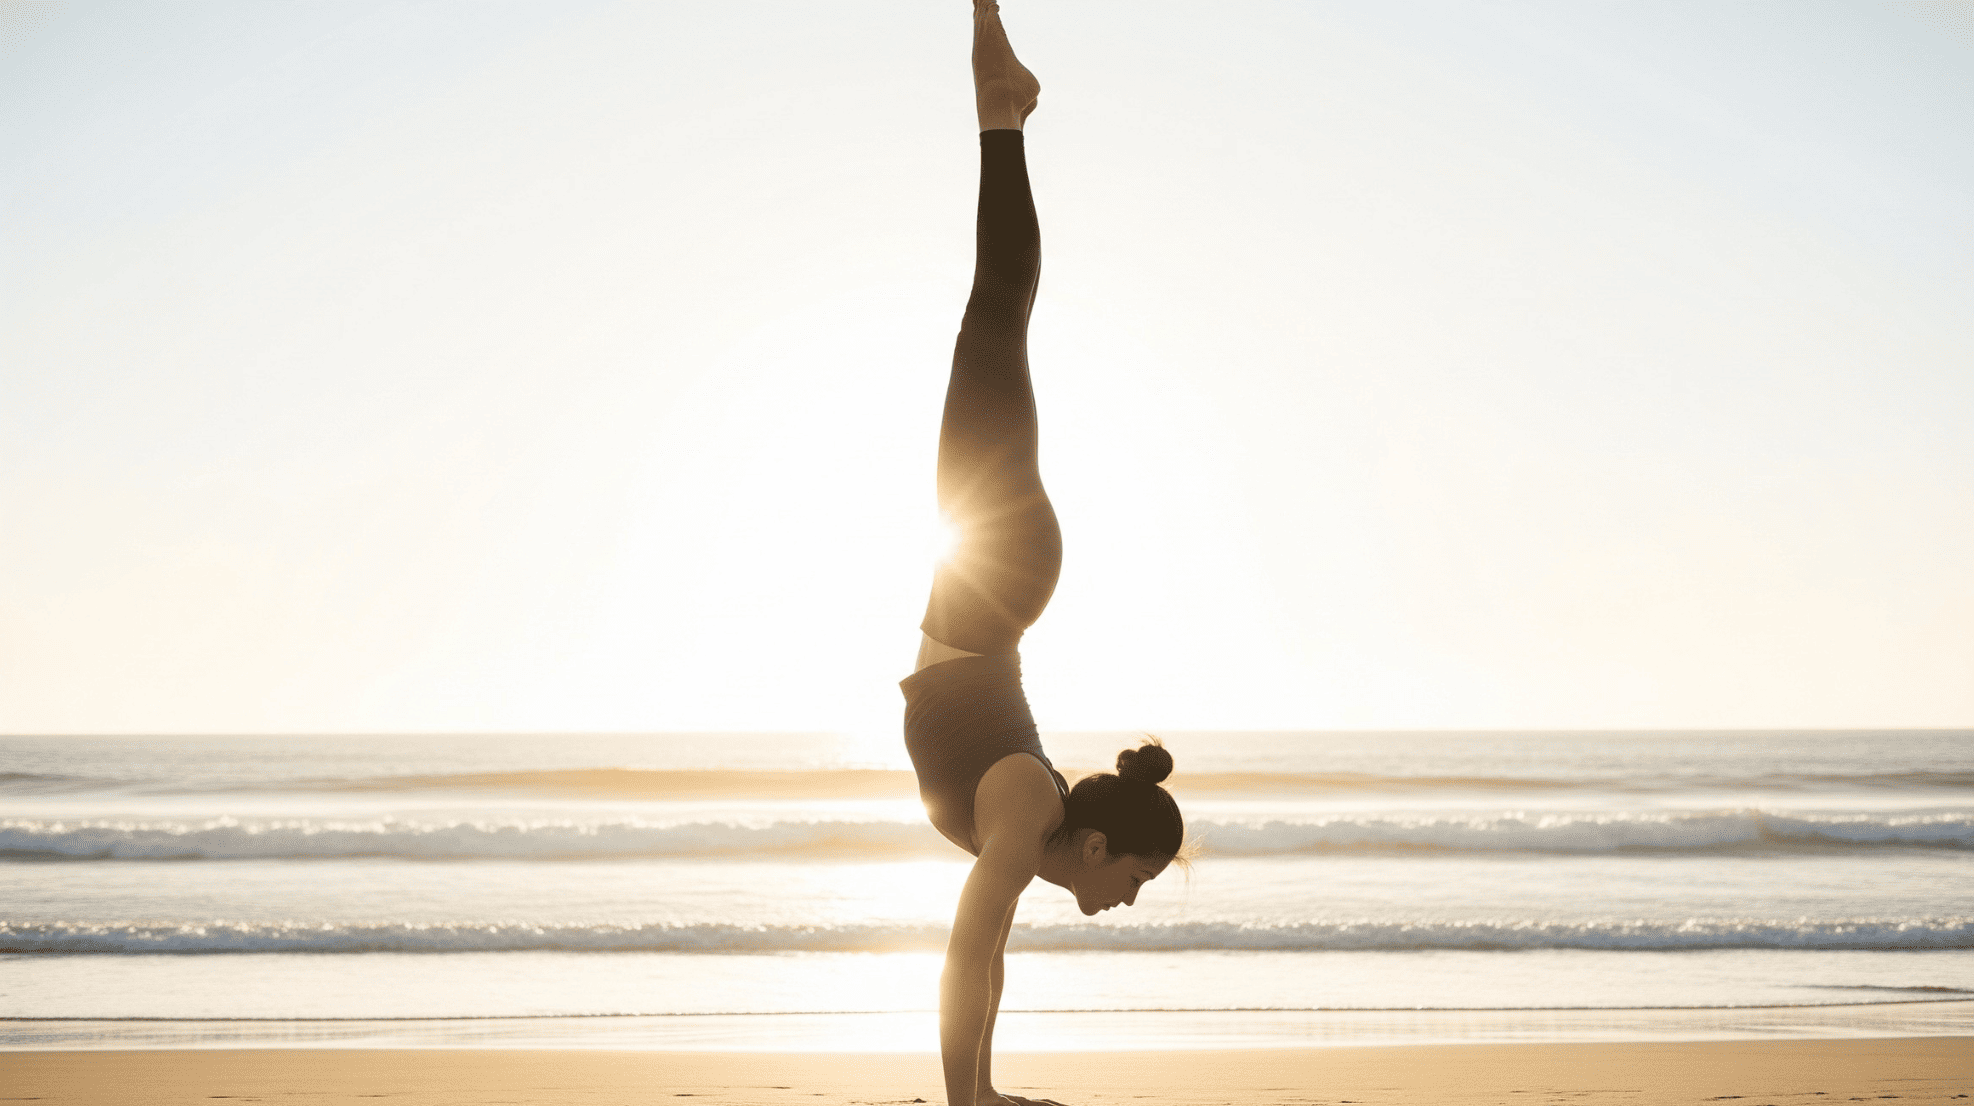

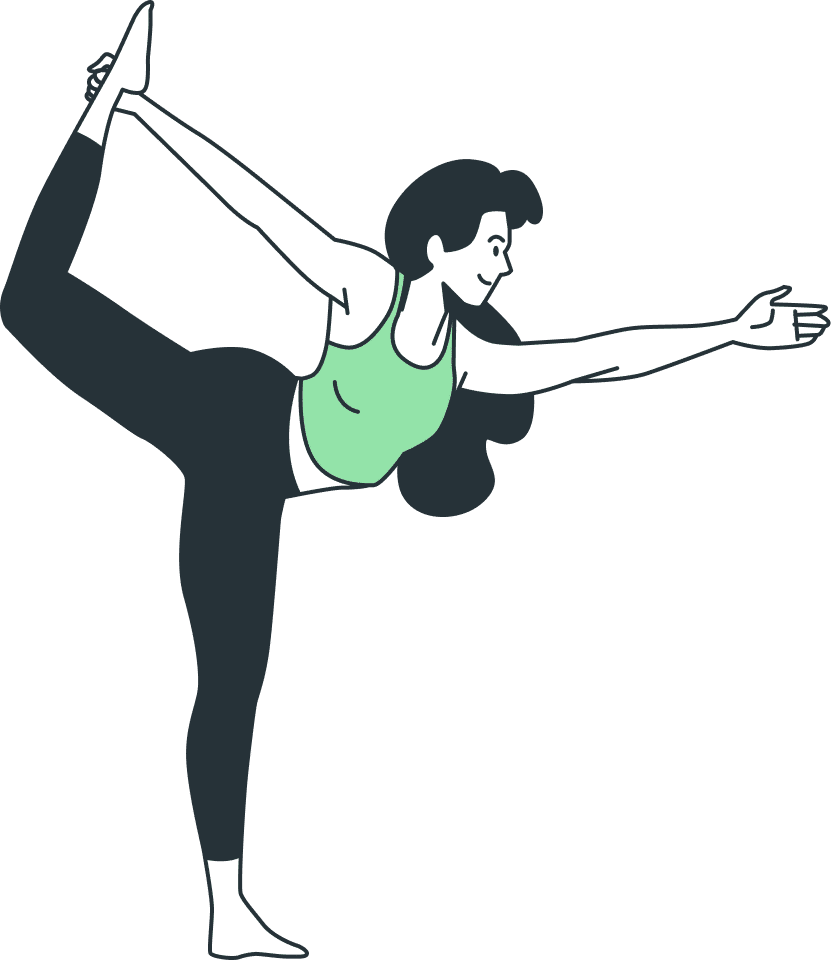

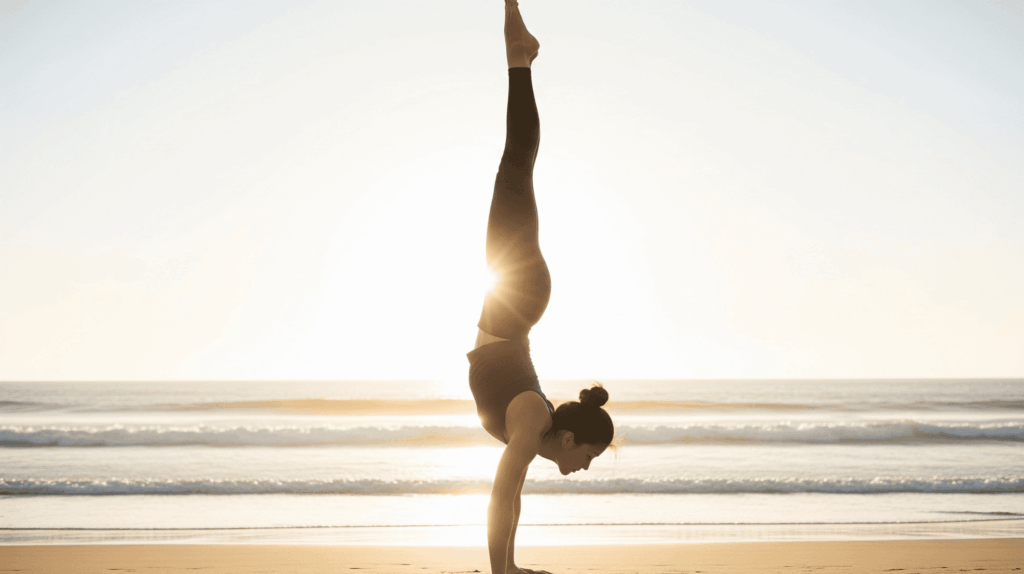

Ever Wonder What It’s Like to See the World Upside Down? You know that cool yoga move where people balance on their hands? Yeah, the yoga handstand.
Maybe you’ve seen it and thought, “No way I could ever do that!” Well, here’s some good news – you totally can.
Most people think you need to be super strong or have perfect balance. But that’s not really true. You just need to know the right steps and practice a little each day.
In this guide, we’ll show you exactly how to work up to your first yoga handstand. No fancy gym equipment needed.
You’ll learn why handstands are amazing for your body and brain, plus how to practice safely. Ready to flip your world around?
What is a Yoga Handstand?
A yoga handstand is when you flip upside down and balance on your hands. It’s like doing a tree pose, but instead of standing on your feet, you’re standing on your hands with your legs up in the air.
The fancy yoga name is Adho Mukha Vrksasana, but don’t worry about remembering that. Most people just call it a handstand.
In yoga, handstands aren’t just about looking cool (though they definitely do). They’re actually a really good workout for your whole body.
Your arms and shoulders have to be strong enough to hold you up, your belly muscles keep you from falling over, and your brain has to stay focused so you don’t tip over.
So why do people want to learn them? Handstands make you stronger, especially in your arms and core. They help you get better balance and improve your focus. It feels amazing to do something you never thought possible.
Yoga Handstand Step-By-Step Guide
Want to learn how to do a handstand without falling on your face? Start with these five easy steps.
Step 1: Learn How to Fall Without Getting Hurt
Before going upside down, practice falling safely. Use a wall to support your feet, lift one hand, and step down. Start low and gradually go higher. Use a mattress if you’re nervous at first.
Step 2: Get Strong Enough to Hold Yourself Up
Build strength by walking your feet up a wall from a push-up position. Get as high as you can, then come down. Repeat until tired. Do this 2–3 times weekly to improve arm and shoulder strength.
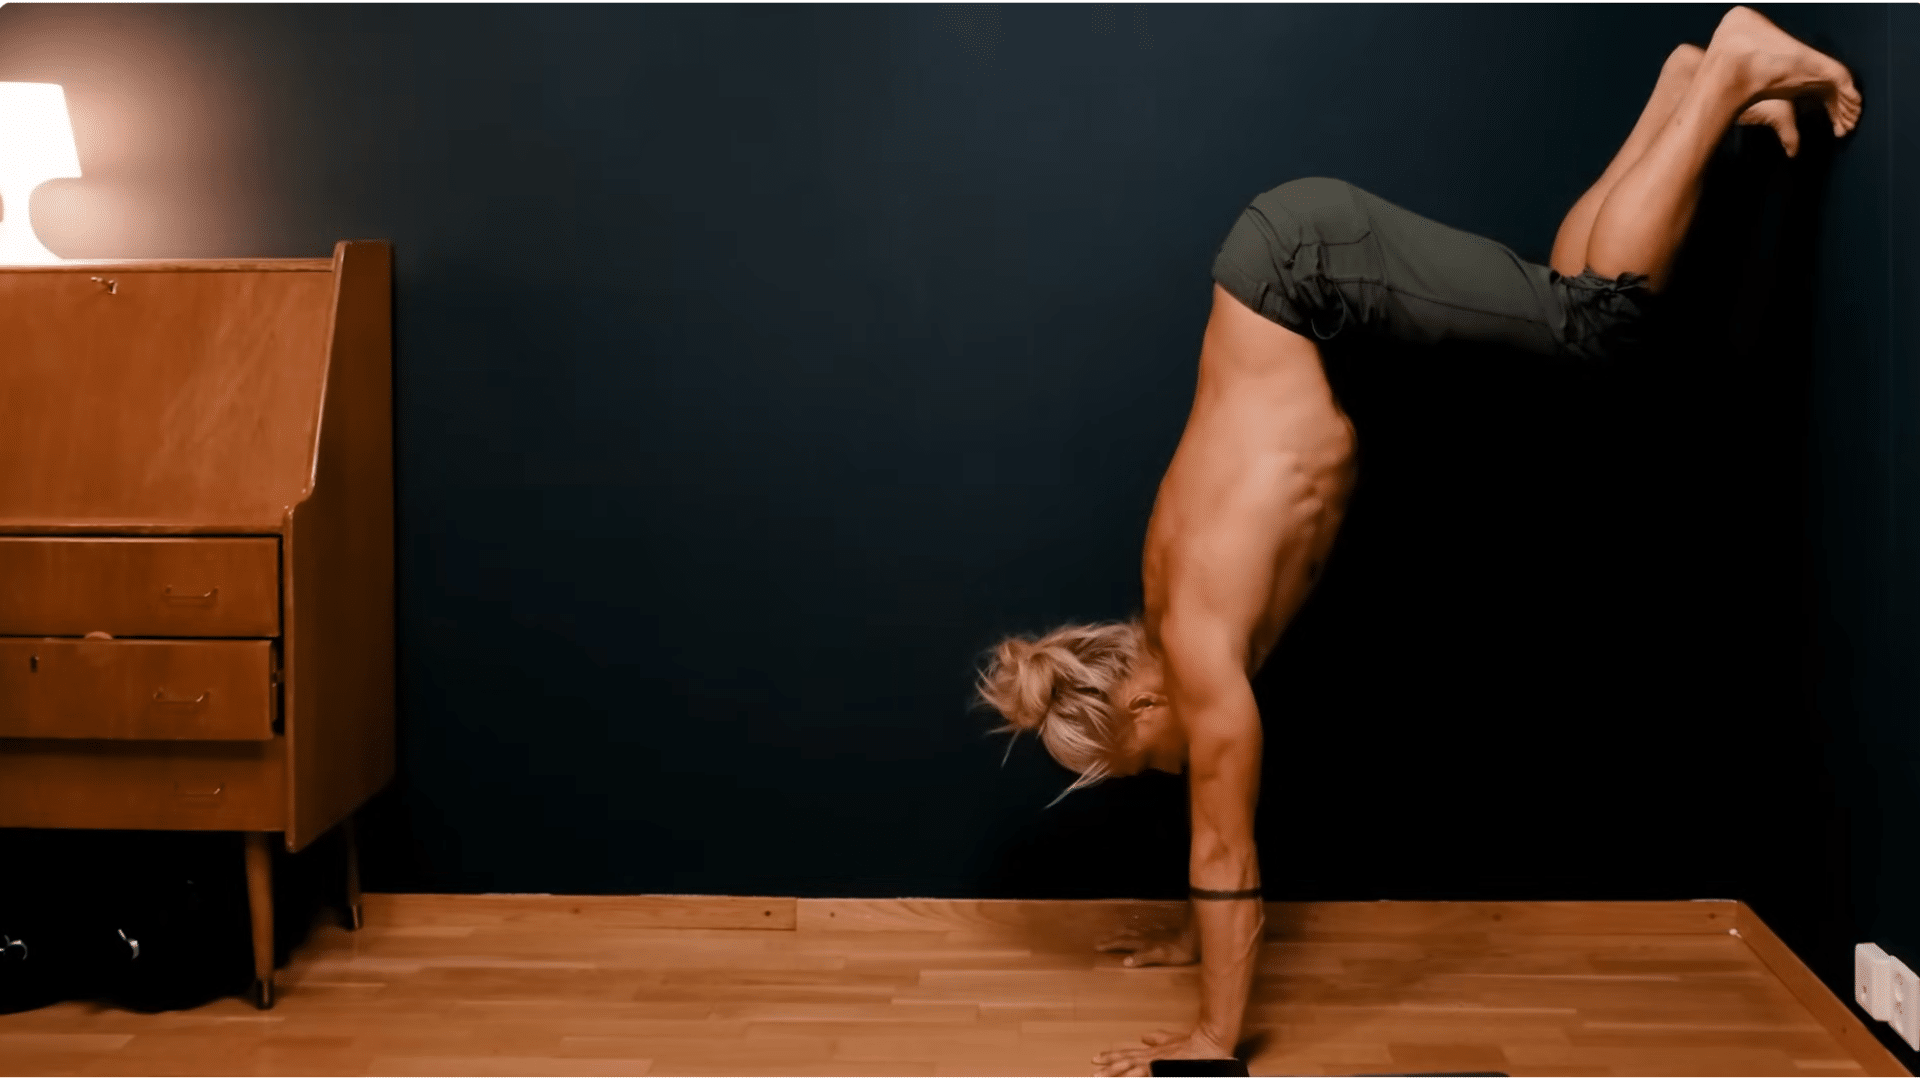
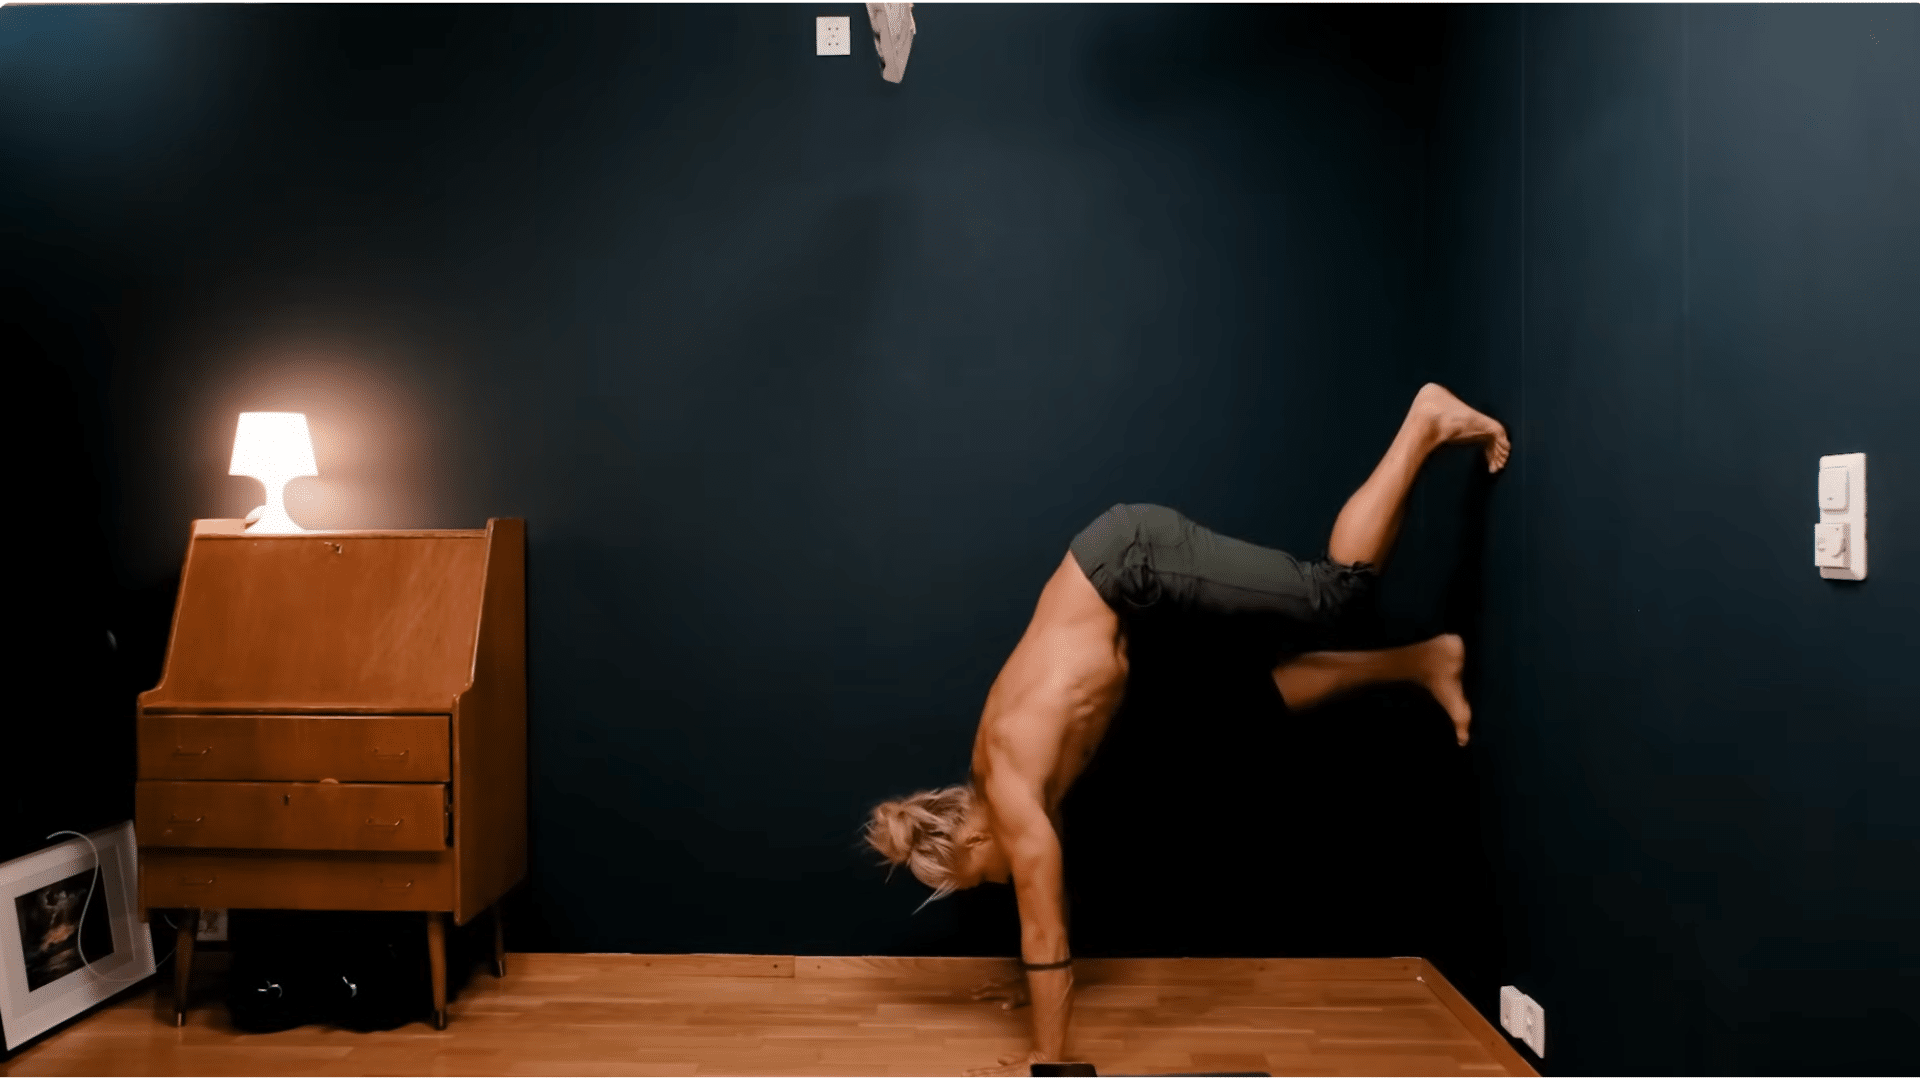
Step 3: Practice Getting Upside Down
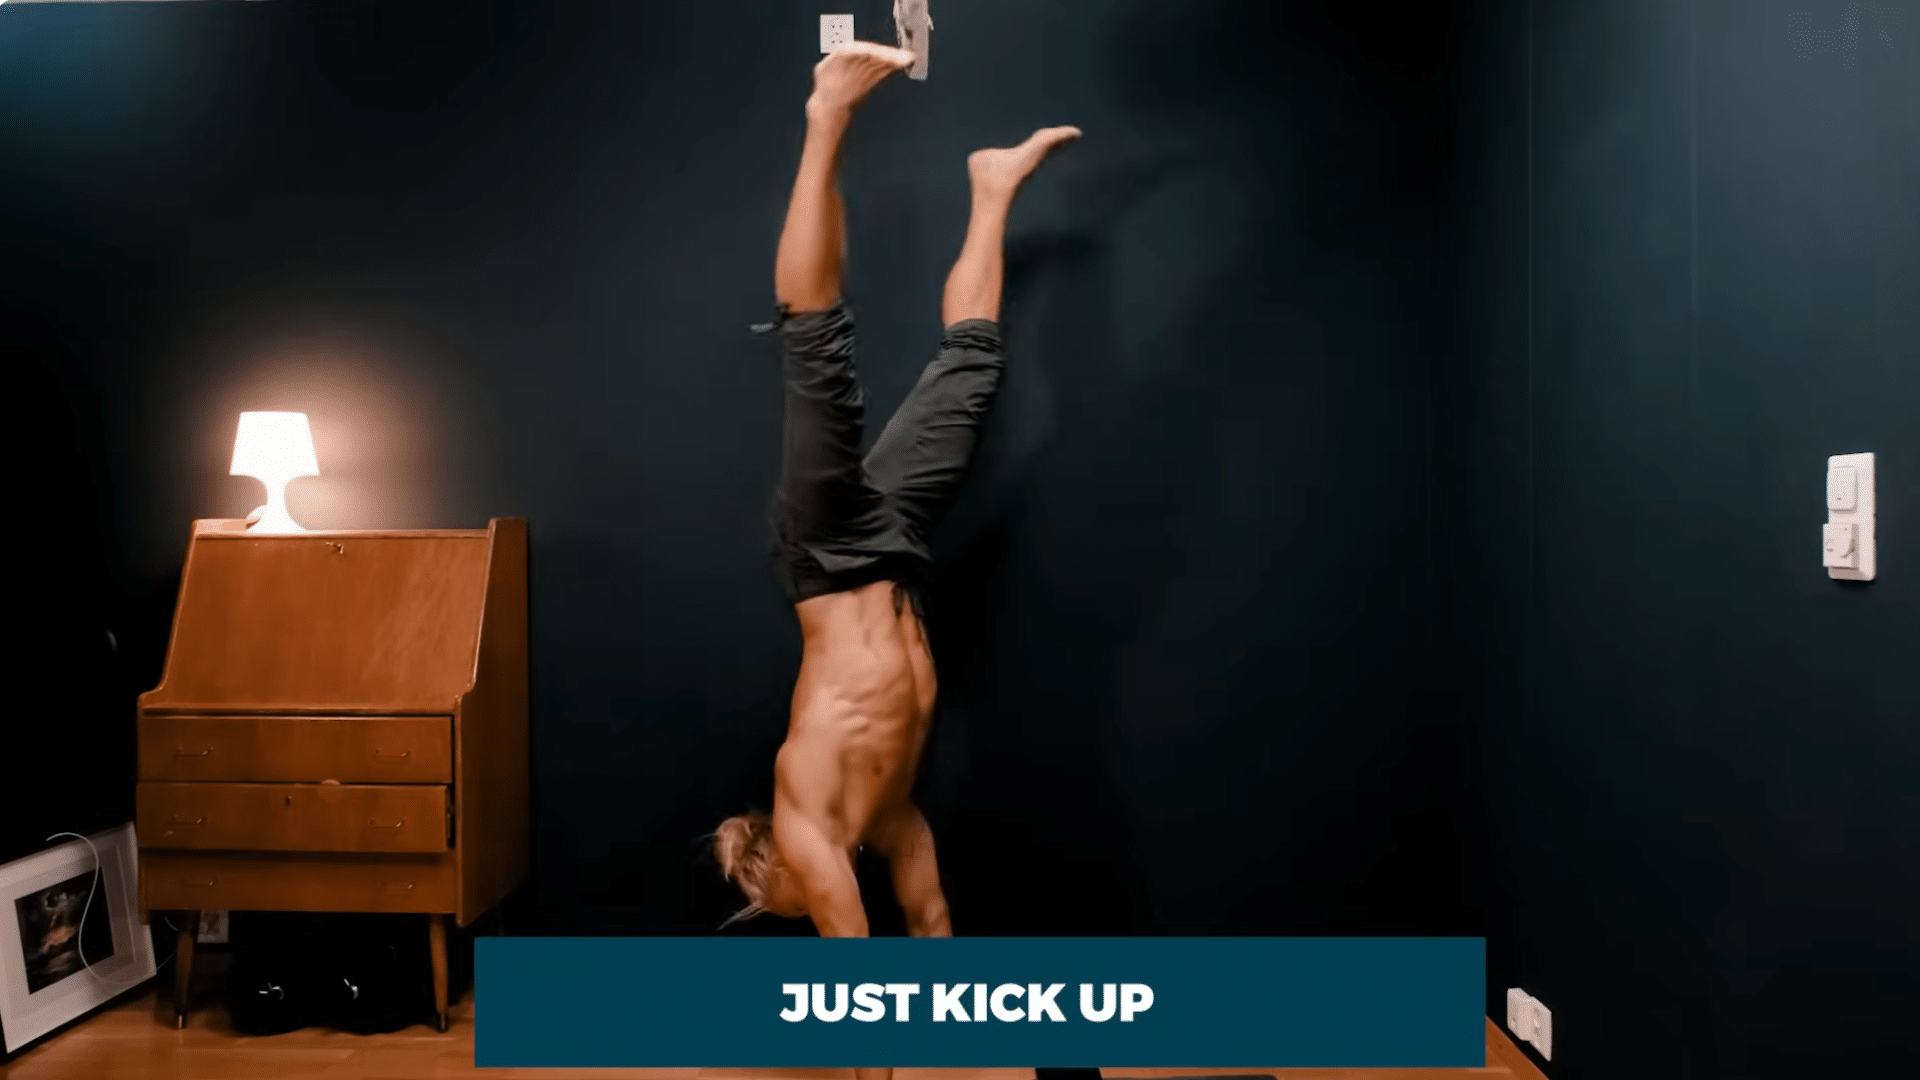
Start kicking into handstands. Don’t worry about holding it; just get used to going upside down. Use the safe fall technique from Step 1 to come down. Keep practicing until it feels natural and less scary.
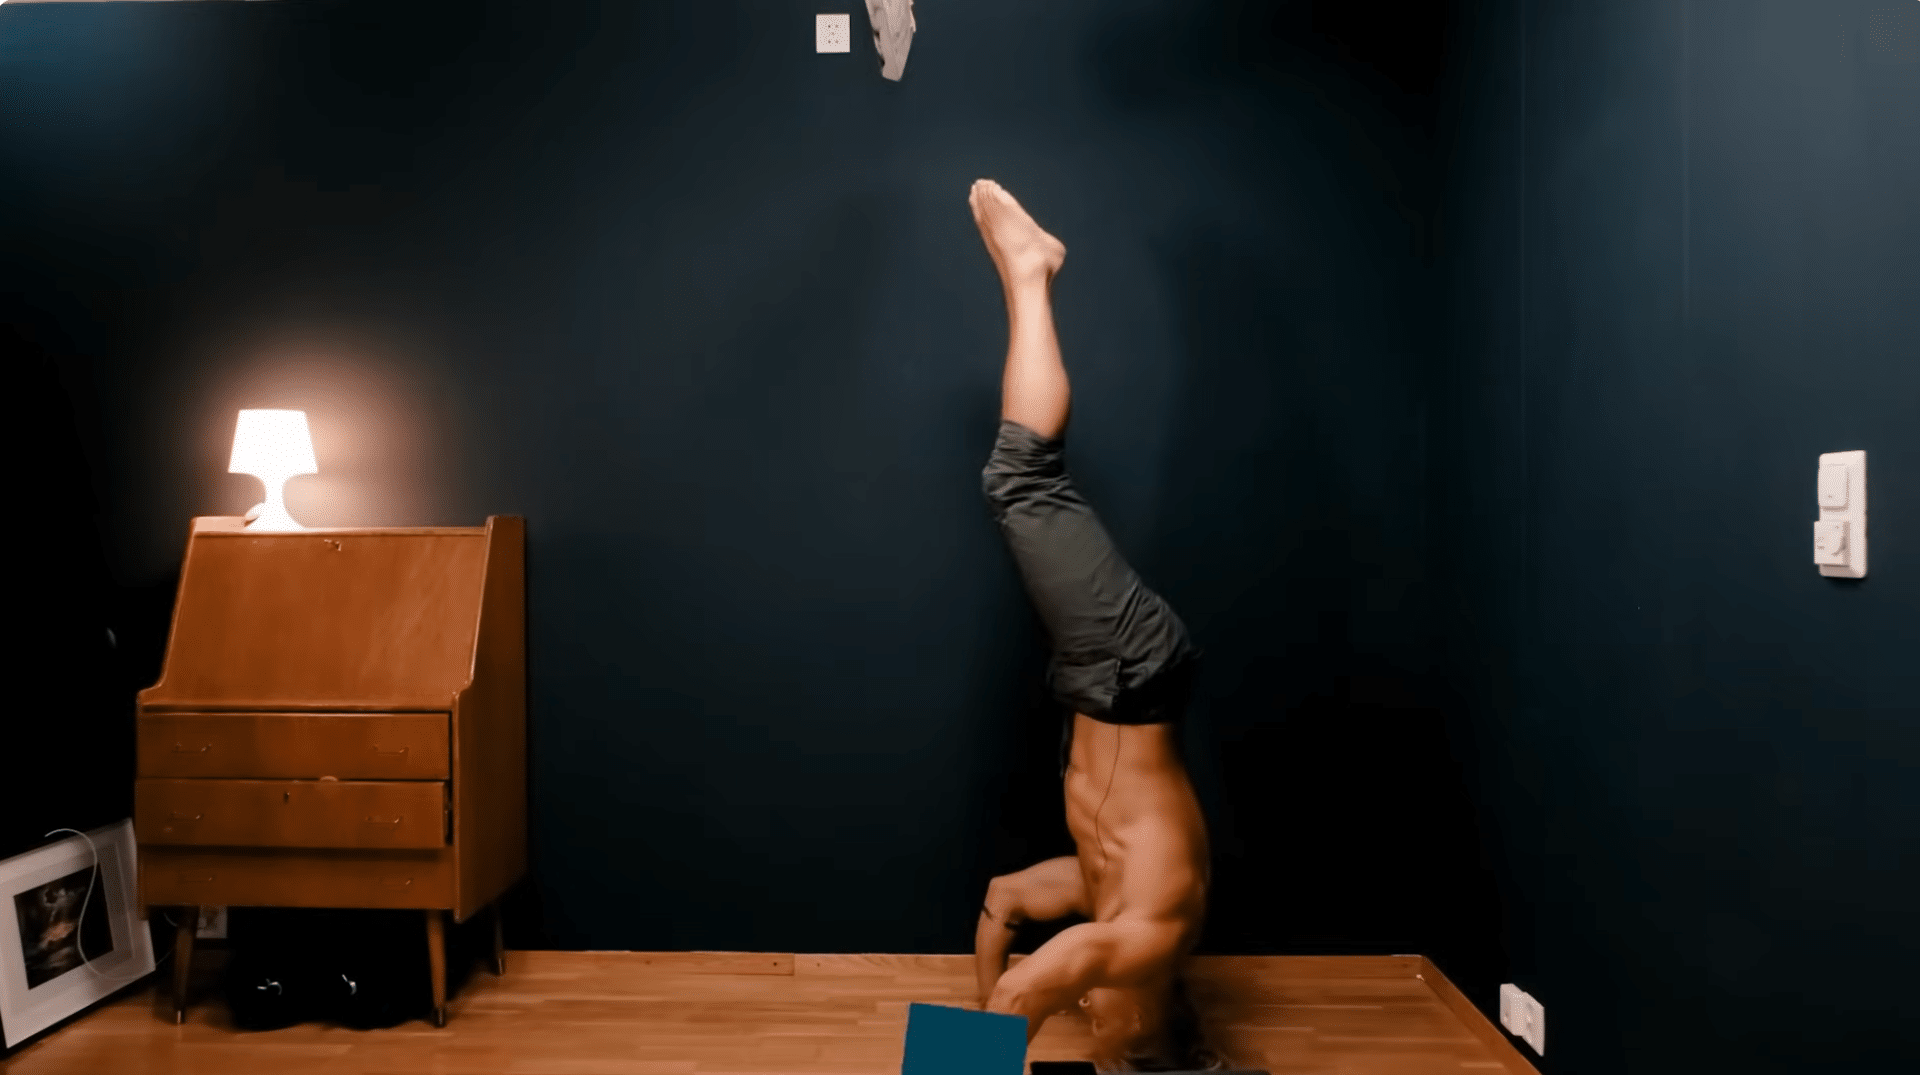
Step 4: Learn to Control Your Body Upside Down

Practice headstands against a wall. Form a triangle with your head and hands, then lift your knees.
Once you’re steady, tuck your heels, then slowly straighten your legs. This helps you get used to being upside down.
Step 5: Work on Staying Up and Balancing
Use the wall to help balance like a straight pencil. Focus on holding your body steady without tipping. As your control improves, use the wall less. Practice until you can balance in the middle of the room.
Keep practicing a little at a time, and you’ll be standing on your hands with confidence before you know it.
Watch the video for a detailed overview:
Benefits of Yoga Handstand
Ever wonder why so many people want to learn handstands? It’s not just about looking cool!
| Mental and Physical Benefits | Description |
|---|---|
| Body Gets Strong | Handstands work your arms, shoulders, and core all at once. It’s a full-body workout that builds strength and improves your balance. Your whole body has to work together to keep you up. |
| Brain Gets Better | Going upside down makes your brain focus only on the moment. It helps you feel calm, forget your worries, and boost your confidence. Each time you succeed, you feel proud and ready to handle other challenges. |
Some people think you need to be super bendy or a pro to do a handstand, but that’s not true. Handstands are more about strength than flexibility.
Anyone can learn with a little practice, even if you’re just starting out. Yoga handstand is a powerful practice that offers numerous benefits.
Who Should Avoid Handstands?
Handstands are awesome for most people, but some folks should skip them or ask a doctor first.
- If Your Neck or Back Already Hurts: If your neck or back is already sore or hurt a lot, handstands might make it feel worse.
- If You Have Heart Problems or High Blood Pressure: When you flip upside down, more blood rushes to your head and heart.
- If You’re Going to Have a Baby: Once your belly starts getting bigger or if you don’t feel good, handstands aren’t a great idea.
- If You Have Eye Problems: Being upside down makes the pressure in your eyes go up. If you have serious eye problems like glaucoma, handstands could make them worse.
Refer to other yoga poses if you fit these situations. There are multiple poses that can help your physical and mental wellness.
Common Mistakes and How to Fix Them
Want to learn how to do a handstand without falling on your face? Start with these five easy steps.
- Your Body Looks Like a Banana. Don’t let your back bend and hips stick out. Keep your body straight like a pencil by pulling your belly button toward your spine.
- Kicking Way Too Hard. Don’t rocket your legs up super fast. Kick gently and slowly, like you’re placing your feet softly on the ceiling instead of launching into space.
- Putting Your Hands Too Close Together. Don’t squish your hands together. Keep them shoulder-width apart like a push-up to make a strong, wide base for better balance.
Keep practicing a little at a time, and you’ll be standing on your hands with confidence before you know it.
Conclusion
You’ve Got Everything You Need to Start Your Yoga Handstand. Doing a yoga handstand isn’t about being the strongest or most flexible.
It’s about starting small, being patient, and showing up again and again. Now you know what to do, how to fall safely, build strength, and find balance.
Everyone starts at the beginning, feeling unsure. The key is to practice a little at a time and not give up when it gets tough.
So here’s your next move: pick one step from this guide and try it today. Start simple, go slow, and stay safe. You’ll get better with time; I promise.
Want to try more fun yoga moves? Check out other easy guides and keep checking into what your body can do!