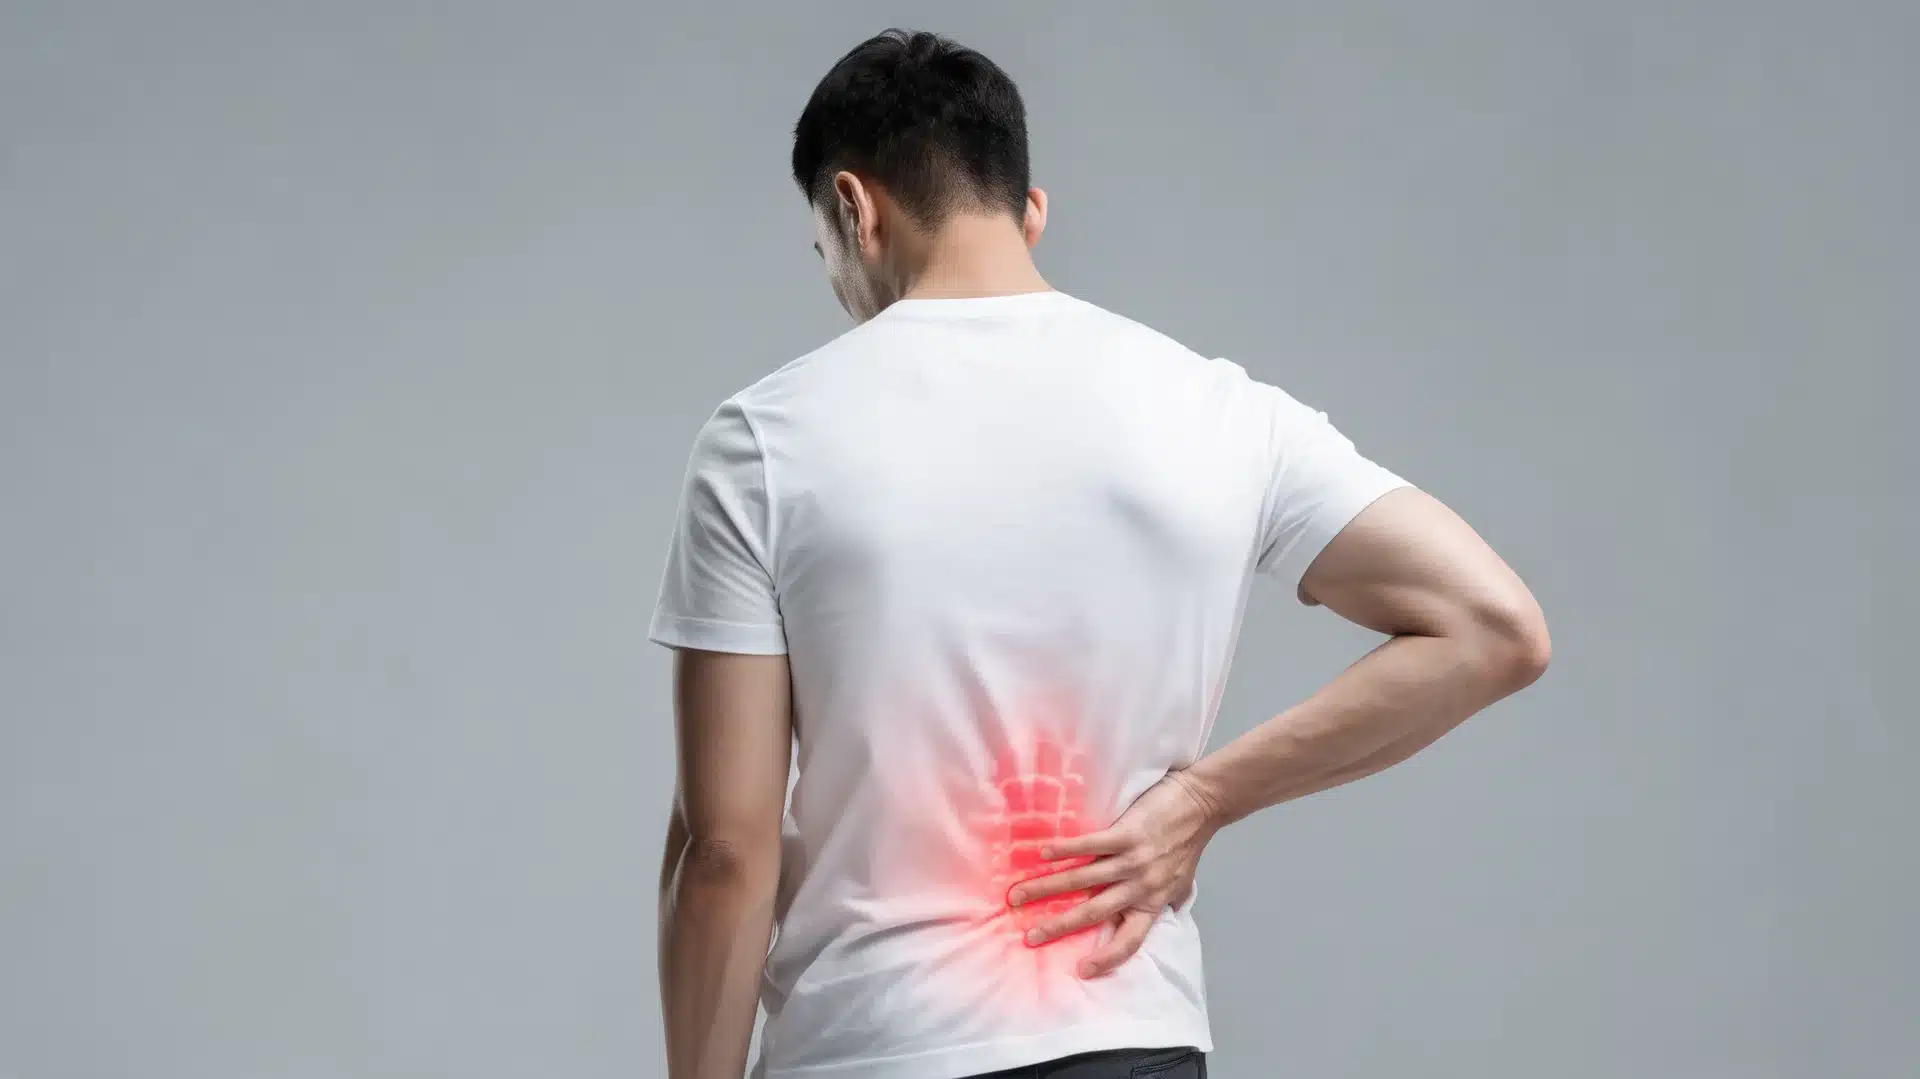


That dull ache along the inside of your ankle? I know that feeling all too well. For a long time, I didn’t think much of it until it started affecting how I walked.
Turns out, the tibialis posterior is a small muscle that quietly does a lot of heavy lifting for your feet. When it weakens or gets overworked, things can go sideways pretty fast.
I’ll cover the most effective tibialis posterior exercises, break down what might be triggering your discomfort, and share what’s actually helped along the way. Stick with this; it covers everything from the basics to building real, lasting strength in your feet.
| Condition / Goal | Tibialis posterior tendinopathy / posterior tibial tendon strengthening |
| Primary Mechanism | Tendon loading and progressive resistance rebuild tendon capacity and arch control |
| Evidence Level | Well-studied for progressive loading, the single-leg calf raise protocol has strong clinical support |
| Who It’s For | Adults with flat feet, runners, people with chronic inside-ankle pain, or PTTD Stage 1-2 |
| Who Should Avoid | Stage 3-4 PTTD with fixed deformity, acute rupture, post-surgical rehab without supervision |
What Is Tibialis Posterior Tendinopathy?
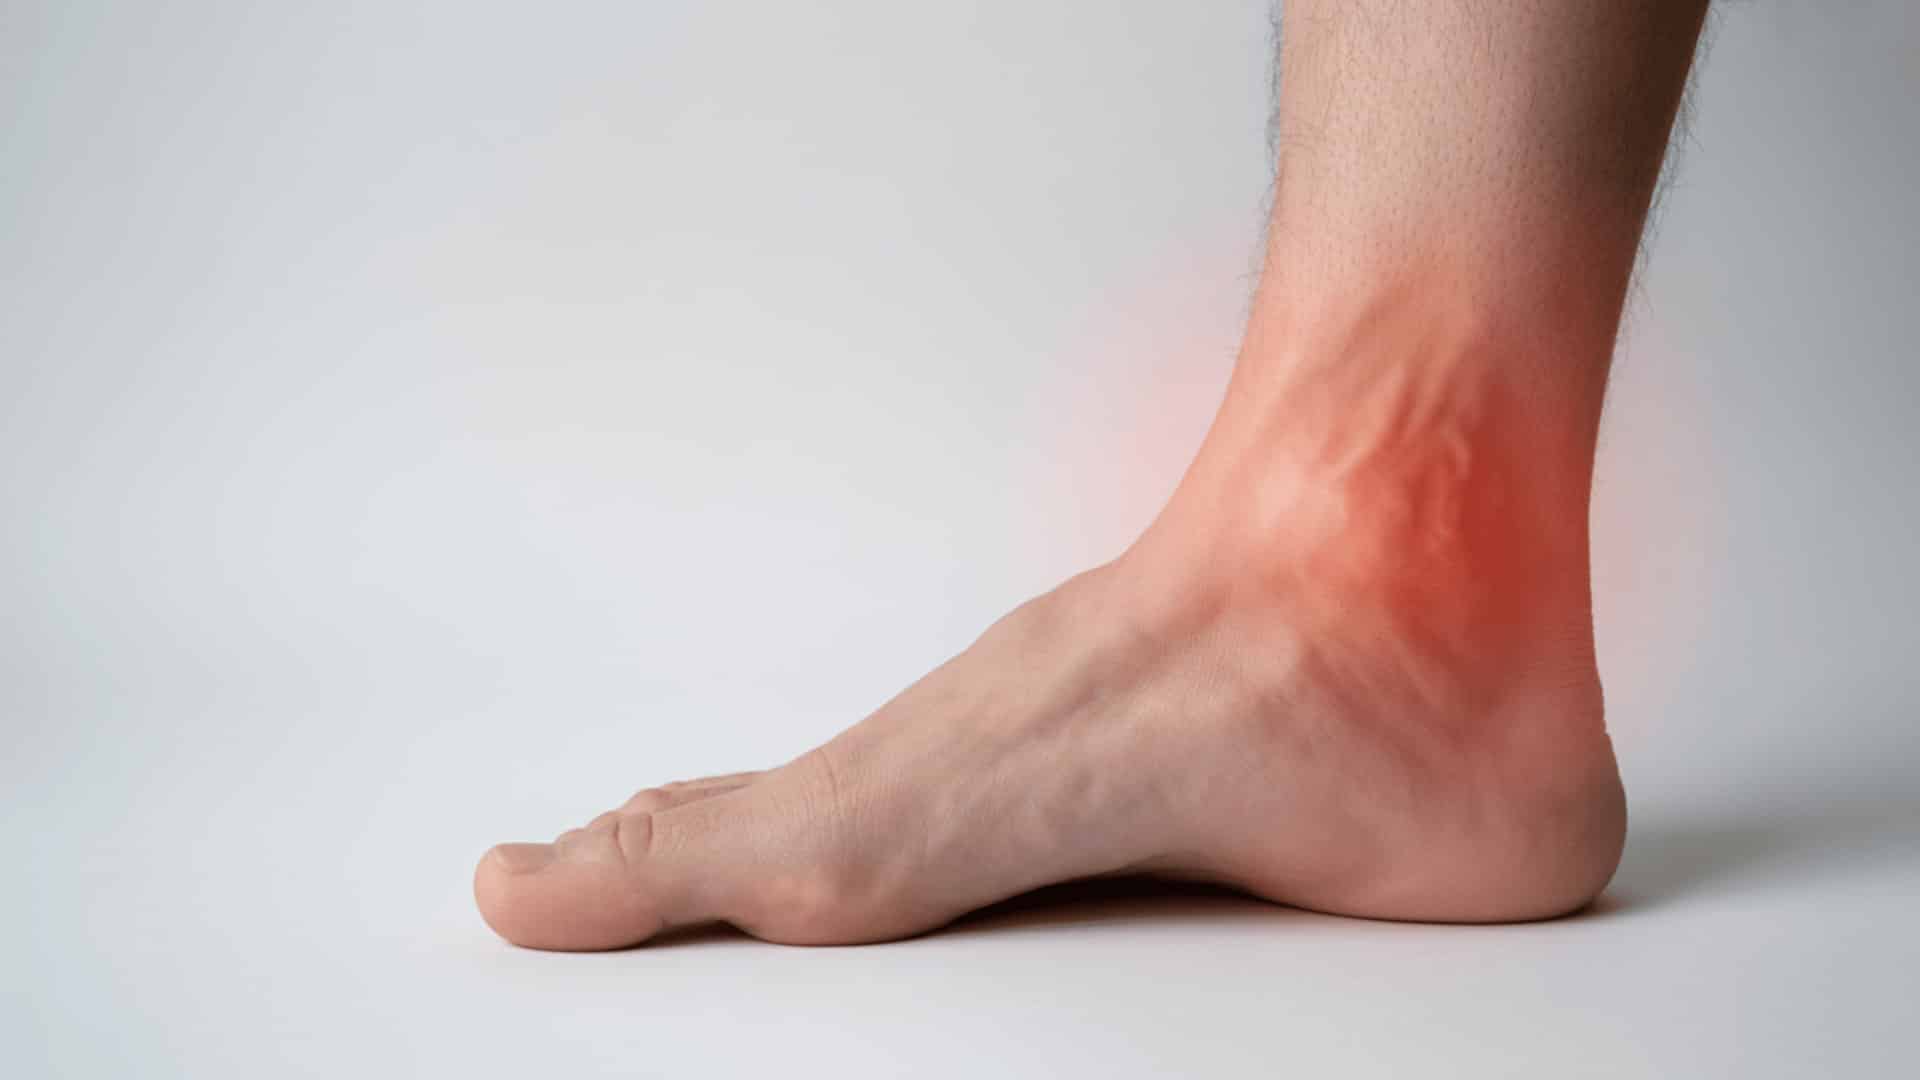
Tibialis posterior tendinopathy occurs when the tendon connecting the tibialis posterior muscle to your foot becomes irritated or damaged.
This condition typically develops gradually, often due to factors such as flat feet, repetitive activities like running, prolonged standing, or sudden increases in physical activity. Worn-out shoes can also contribute.
Common symptoms include pain or swelling along the inside of the ankle, discomfort in the arch of the foot after activity, and difficulty standing on tiptoes.
If left unaddressed, this condition can affect your foot’s ability to absorb shock and control inward rolling, leading to pain and discomfort during everyday movements.
Best Tibialis Posterior Exercises to Start With
These exercises help strengthen the tibialis posterior and improve foot stability without causing strain. Start with basic moves and gradually increase difficulty to build strength and support.
1. Calf Raises with Ball Squeeze (Seated or Standing)
A simple seated exercise that strengthens your ankles and improves alignment, all you need is a small ball and a chair.
- Step 1: Sit upright, feet apart, knees bent to 90 degrees.
- Step 2: Place a small ball between your ankles and squeeze firmly.
- Step 3: Press down through the balls of your feet and slowly raise your heels.
- Step 4: Hold for 3–5 seconds at the top.
- Step 5: Lower back down with control and repeat.
Sets & Reps: 8–10 reps, 2–3 sets daily.
Tip: Never let the ball drop; it keeps your ankles properly aligned throughout the movement.
A targeted exercise that strengthens your ankle inverter muscles using just a resistance band and a stable anchor.
- Step 1: Sit upright and wrap a resistance band around your forefoot.
- Step 2: Anchor the band to a table leg or have a partner hold it securely.
- Step 3: Keep your leg still and slowly turn your foot inward against the band’s resistance.
- Step 4: Hold for 3–5 seconds at the peak of the movement.
- Step 5: Slowly return to the starting position with control and repeat.
Sets & Reps: 8–10 reps, 2–3 sets daily.
Tip: Keep your leg completely still; only your foot should move to fully engage the inverter muscles.
3. Arch Lift (Doming)
A targeted exercise that strengthens your ankle inverter muscles using just a resistance band and a stable anchor.
- Step 1: Sit upright and wrap a resistance band around your forefoot.
- Step 2: Anchor the band to a table leg or have a partner hold it securely.
- Step 3: Keep your leg still and slowly turn your foot inward against the band’s resistance.
- Step 4: Hold for 3–5 seconds at the peak of the movement.
- Step 5: Slowly return to the starting position with control and repeat.
Sets & Reps: 8–10 reps, 2–3 sets daily.
Tip: Keep your leg completely still; only your foot should move to fully engage the inverter muscles.
4. Single-Leg Calf Raises
A balance-building exercise that strengthens your calf and improves single-leg stability using just a stable surface.
- Step 1: Stand facing a stable surface with feet hip-width apart and toes pointed forward.
- Step 2: Raise your left leg off the ground and find your balance on your right foot.
- Step 3: Keep your right knee straight and shift your weight toward your first and second toes.
- Step 4: Slowly raise your right heel off the floor, pressing through the ball of your foot.
- Step 5: Hold briefly at the top, then slowly lower your heel back to the ground.
Sets & Reps: 8–10 reps each side, 2–3 sets daily.
Tip: Keep your weight centered over your first and second toes; this ensures proper foot alignment and maximizes calf engagement.
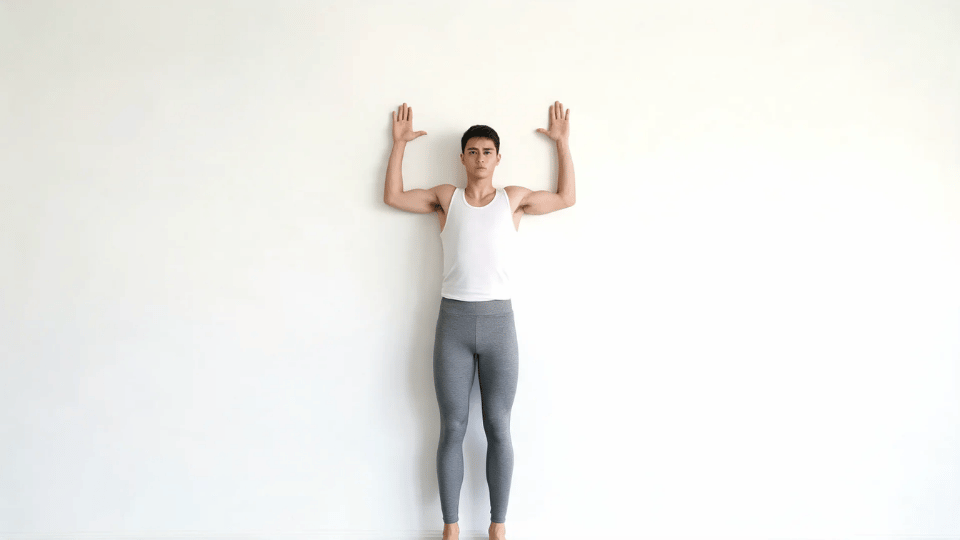
5. Single-Leg Balance
A foundational stability exercise that strengthens your leg muscles and improves balance using just your bodyweight.
- Step 1: Stand on a flat, stable surface and lift one foot off the ground.
- Step 2: Maintain a slight bend in your standing knee and hip.
- Step 3: Use your arms for support if needed when first attempting this exercise.
- Step 4: Hold the position for 30–60 seconds, keeping your knee from deviating in or out.
- Step 5: To progress, repeat the exercise while standing on an unstable surface, such as a foam pad.
Sets & Reps: 2–3 sets per leg, once or twice daily.
Tip: Keep your standing knee aligned straight ahead; any inward or outward deviation reduces effectiveness and stresses the joint.
For more details on tibialis posterior exercises, refer to the video below:
Complementary Exercises and Foot Care Tips
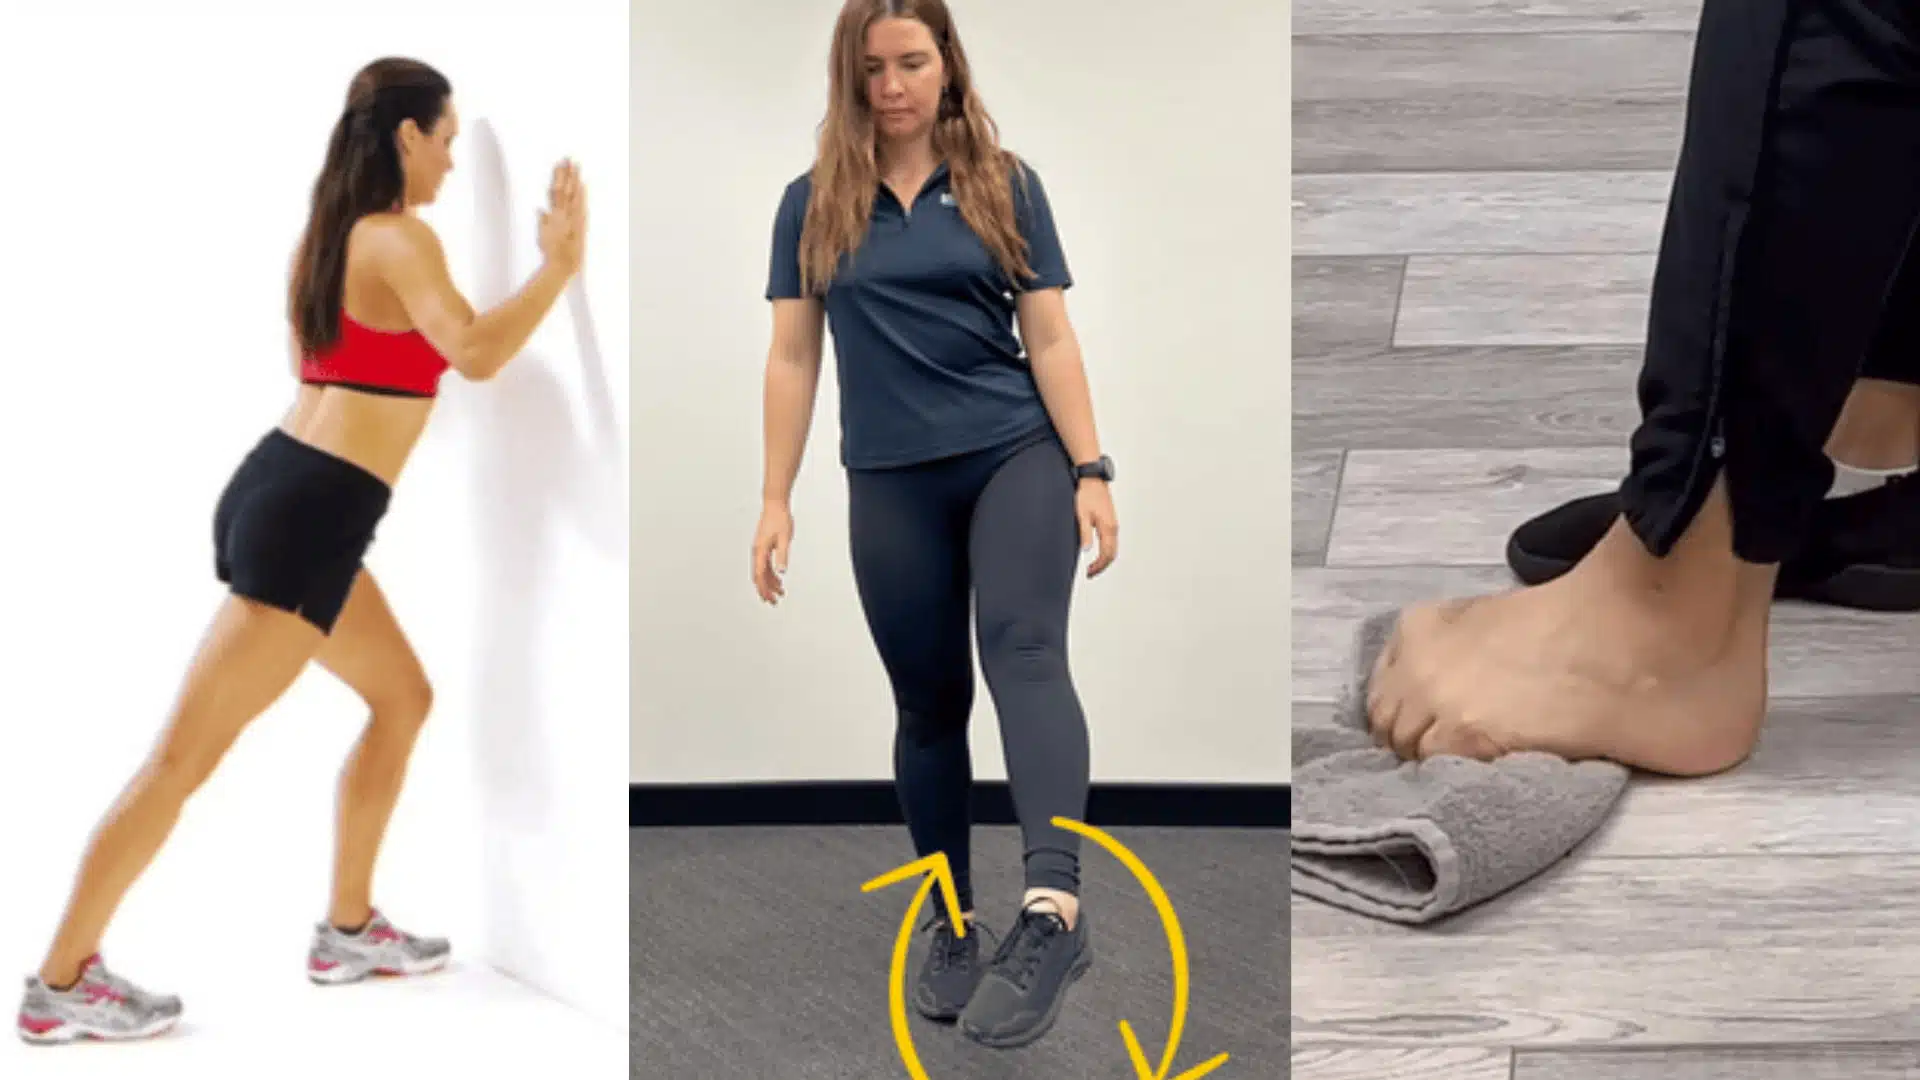
Strengthening the tibialis posterior is just one piece of the puzzle. Pairing it with the right stretches and habits makes a real difference. Calf stretches, both straight-leg and bent-knee, help reduce tension around the tendon and improve ankle mobility.
Ankle circles keep the joint loose and responsive. For foot strength, toe scrunches and towel pickups build the small intrinsic muscles that support your arch from the inside out.
These are easy to do daily and add up over time. On the care side, wearing supportive shoes with good arch support takes unnecessary strain off the tendon throughout the day. Orthotics can help too, especially if flat feet are part of the picture.
How to Progress and How Often to Train
Consistency matters more than intensity here. Build slowly, listen to your body, and let the tendon adapt at its own pace.
- Start seated, then progress to standing. Start with seated calf raises and arch lifts, then switch to standing. When comfortable, gradually add resistance bands or light weights to increase difficulty.
- Train 3–5 times per week, 10–20 reps per exercise. This frequency provides the tendon with sufficient stimulus to strengthen without overloading it. Rest days matter just as much as training days.
- Manage intensity by watching for pain. Mild discomfort is okay; sharp or lingering pain is not. Dial back reps or resistance if pain spikes during or after a session.
- Track progress by testing single-leg holds. If balancing on one leg feels easier and your arch stays lifted longer, you’re moving in the right direction. Small wins add up fast.
Progress won’t happen overnight, but with steady effort, you’ll notice real improvements. Stay consistent, respect your limits, and the results will follow.
Managing Pain and Knowing When to Modify
Not every day will feel the same. Here’s a quick guide to help you adjust based on what your body is telling you.
| Situation | What to Do |
|---|---|
| Mild discomfort during exercise | Reduce the range of motion or drop to the seated version |
| Pain that lingers after exercise | Cut reps by half and slow down the movement |
| Sharp or sudden pain mid-exercise | Stop immediately, rest, and ice the area |
| Swelling or worsening symptoms | Pause training and consult a physiotherapist |
| Pain with daily walking | Use supportive footwear or orthotics, limit standing time |
| No improvement after 4–6 weeks | Seek professional evaluation, don’t push through |
Outside of exercise, rest when needed, apply ice for 15–20 minutes after flare-ups, and wear shoes with good arch support daily. Small lifestyle adjustments go a long way in protecting the tendon while it heals.
Final Thoughts
Dealing with tibialis posterior tendinopathy isn’t a quick fix, but it is manageable with the right approach. The tibialis posterior exercises, progressions, and care tips covered here are designed to help you build real strength, reduce pain, and get back to moving comfortably.
What makes the biggest difference isn’t doing everything perfectly, it’s showing up consistently. Small, steady efforts compound over time in ways that really show.
If your symptoms aren’t improving after a few weeks of dedicated effort, or if pain is getting worse, don’t tough it out alone. A physiotherapist can give you a plan tailored to your exact situation. Found this helpful? Drop a comment below or share it with someone dealing with the same thing.