


Sitting all day, making your hips feel like concrete? Join the club! If you’re stuck at a desk or binge-watching shows, tight hips are basically a modern epidemic.
Here’s the good news: there’s a simple yoga pose that can help. It’s called Upavistha Konasana, but just think of it as the “wide-leg sit and reach” from gym class, but way more chill.
This pose is like a magic key for your hips. It helps you feel looser, stand taller, and even sleep better. Plus, it’s used in tons of yoga styles because it just works.
We’ll show you exactly how to do it right, make it easier if you’re super tight, and avoid common mistakes. Ready to trade those stiff hips for ones that actually move?
What is Upavistha Konasana?
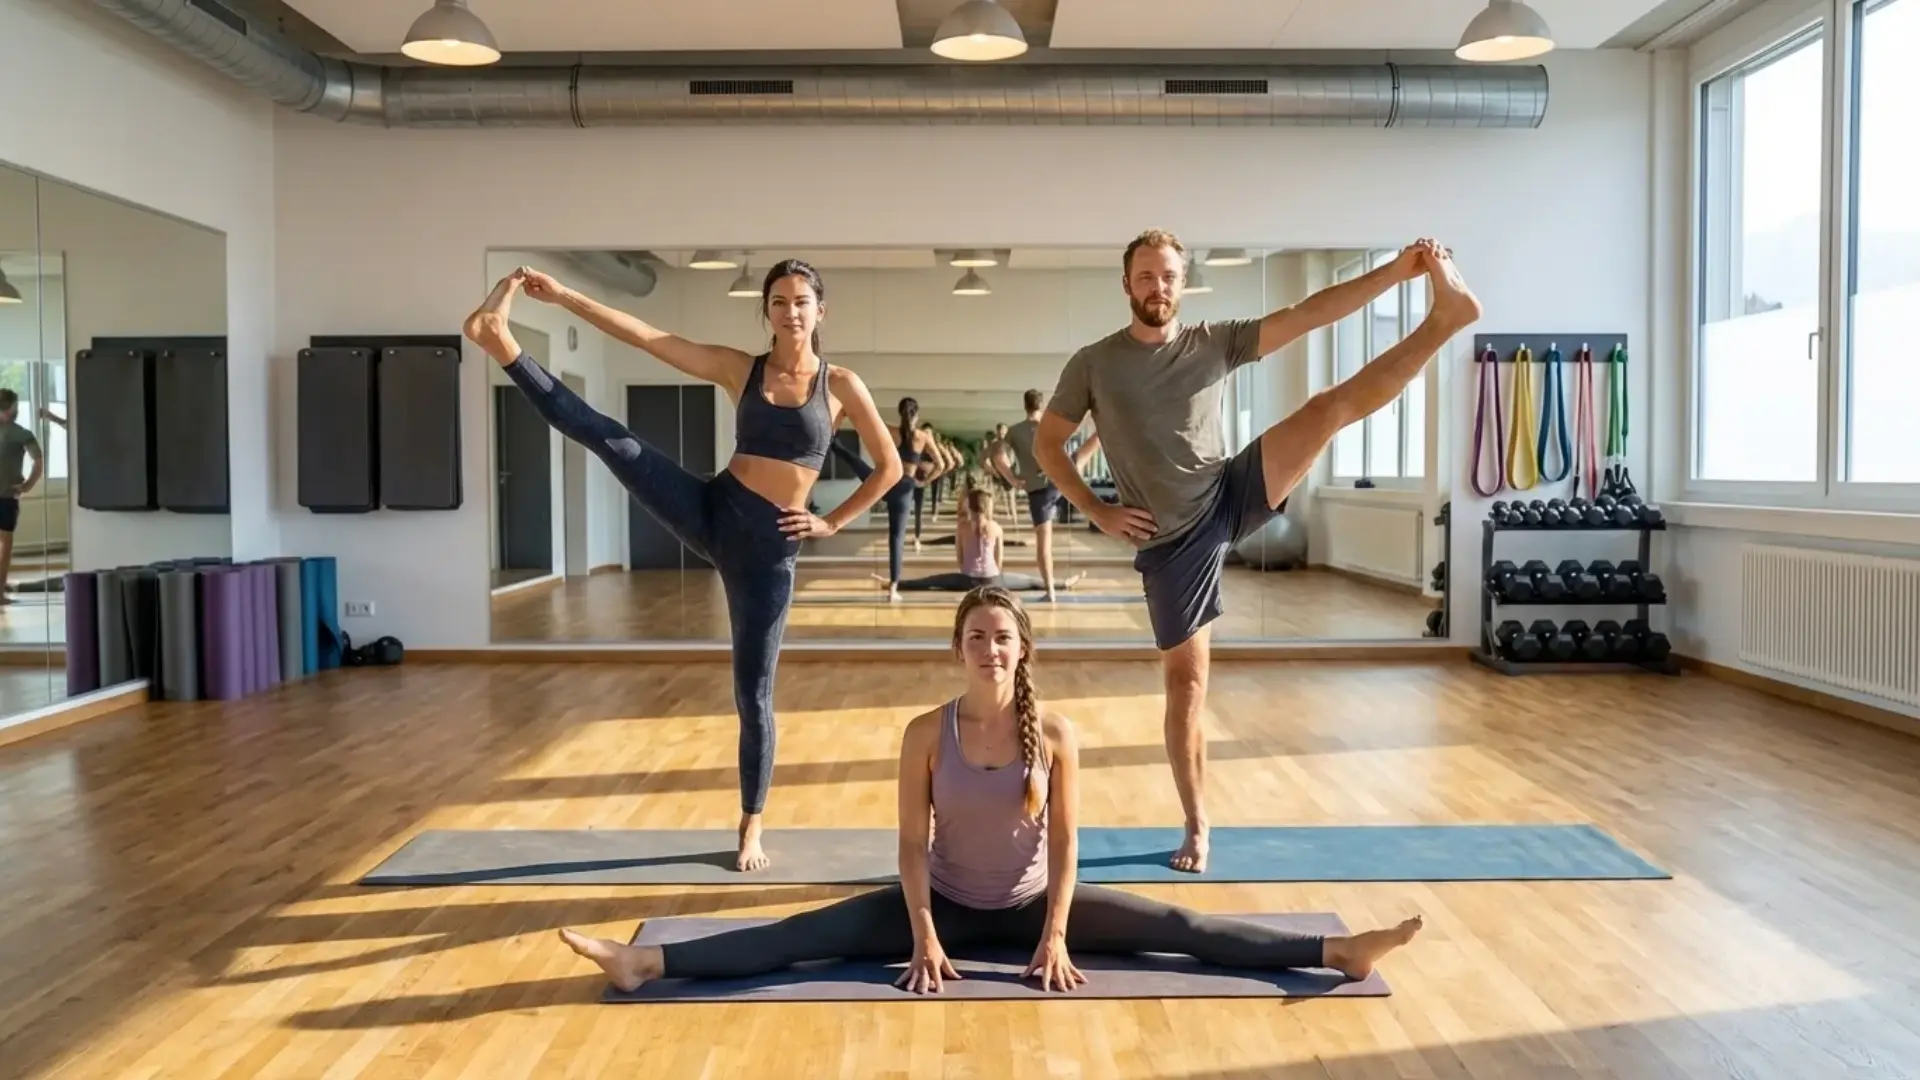
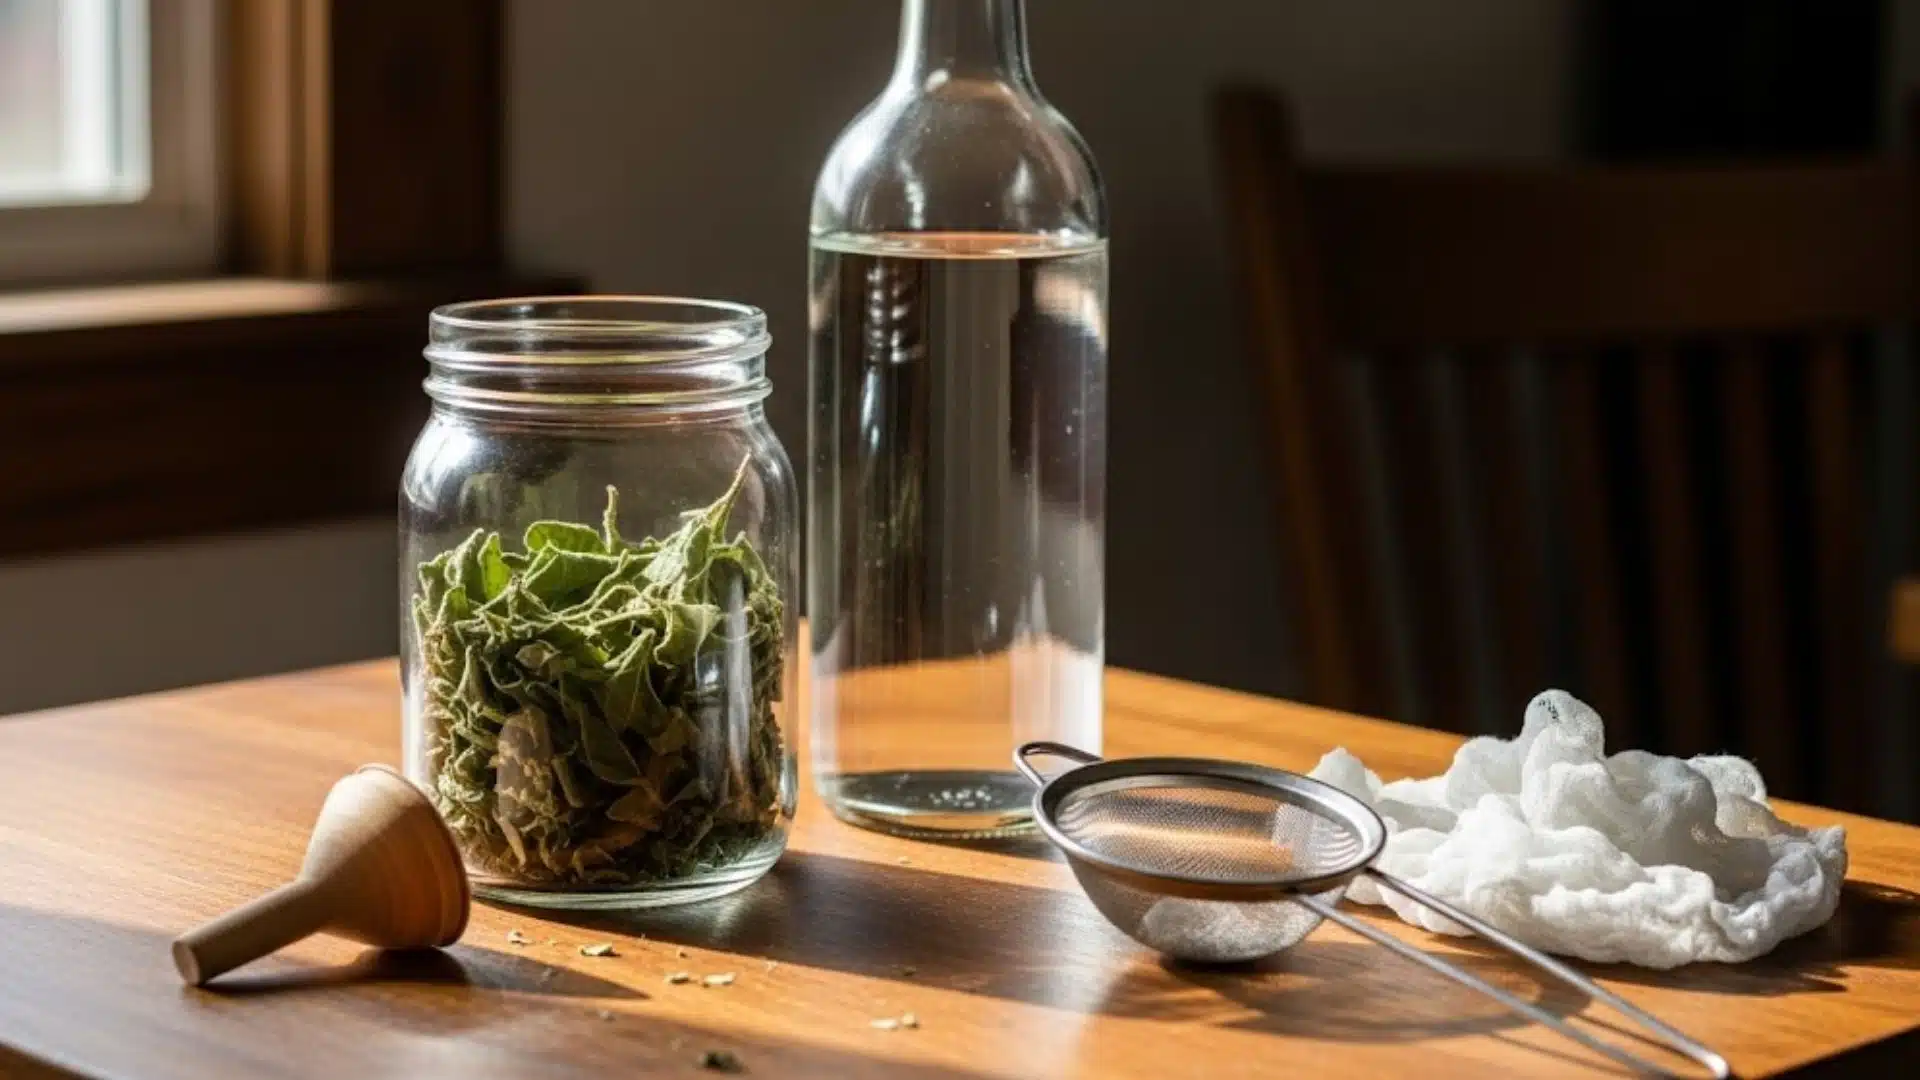
Upavistha Konasana is just sitting on the floor with your legs spread wide like a “V” and then leaning forward. That’s it! No fancy equipment needed.
The weird name comes from Sanskrit (that’s the old language yoga uses). “Upavistha” means sitting down, and “Konasana” means angle pose. So it’s literally just “sitting angle pose” – pretty straightforward once you know what it means.
This pose does three cool things at once. First, you’re sitting (obviously). Second, you’re bending forward like you’re trying to touch the floor.
Third, you’re opening up your hips and stretching your inner thighs – you know, those tight spots that never seem to loosen up.
It’s like getting three stretches for the price of one. No wonder your yoga teacher keeps making you do this one!
How to Perform Upavistha Konasana Step-by-Step
Want to stretch your legs and feel more flexible? Let’s try a fun yoga pose called Upavistha Konasana. Here’s a step-by-step guide on how to do the yoga pose. Follow them to get it right.
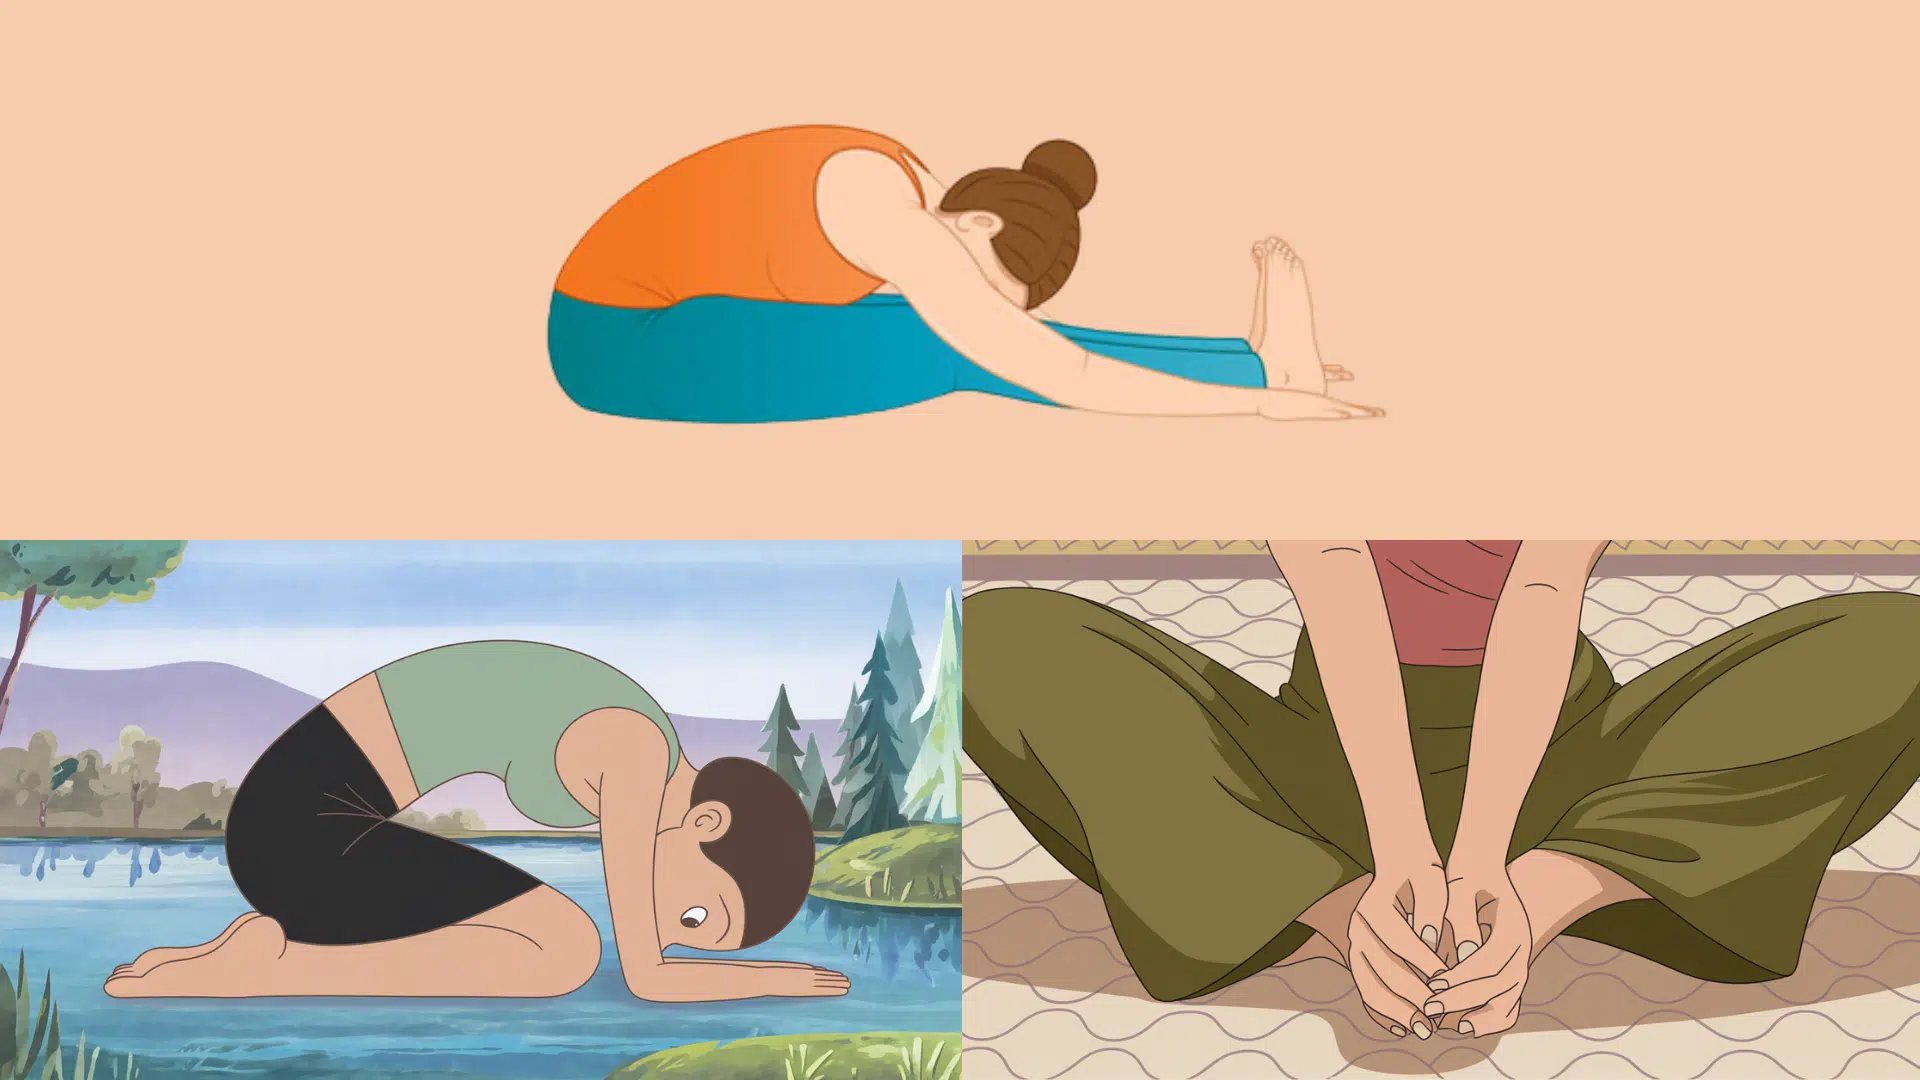
Step 1: Start With Butterfly Pose
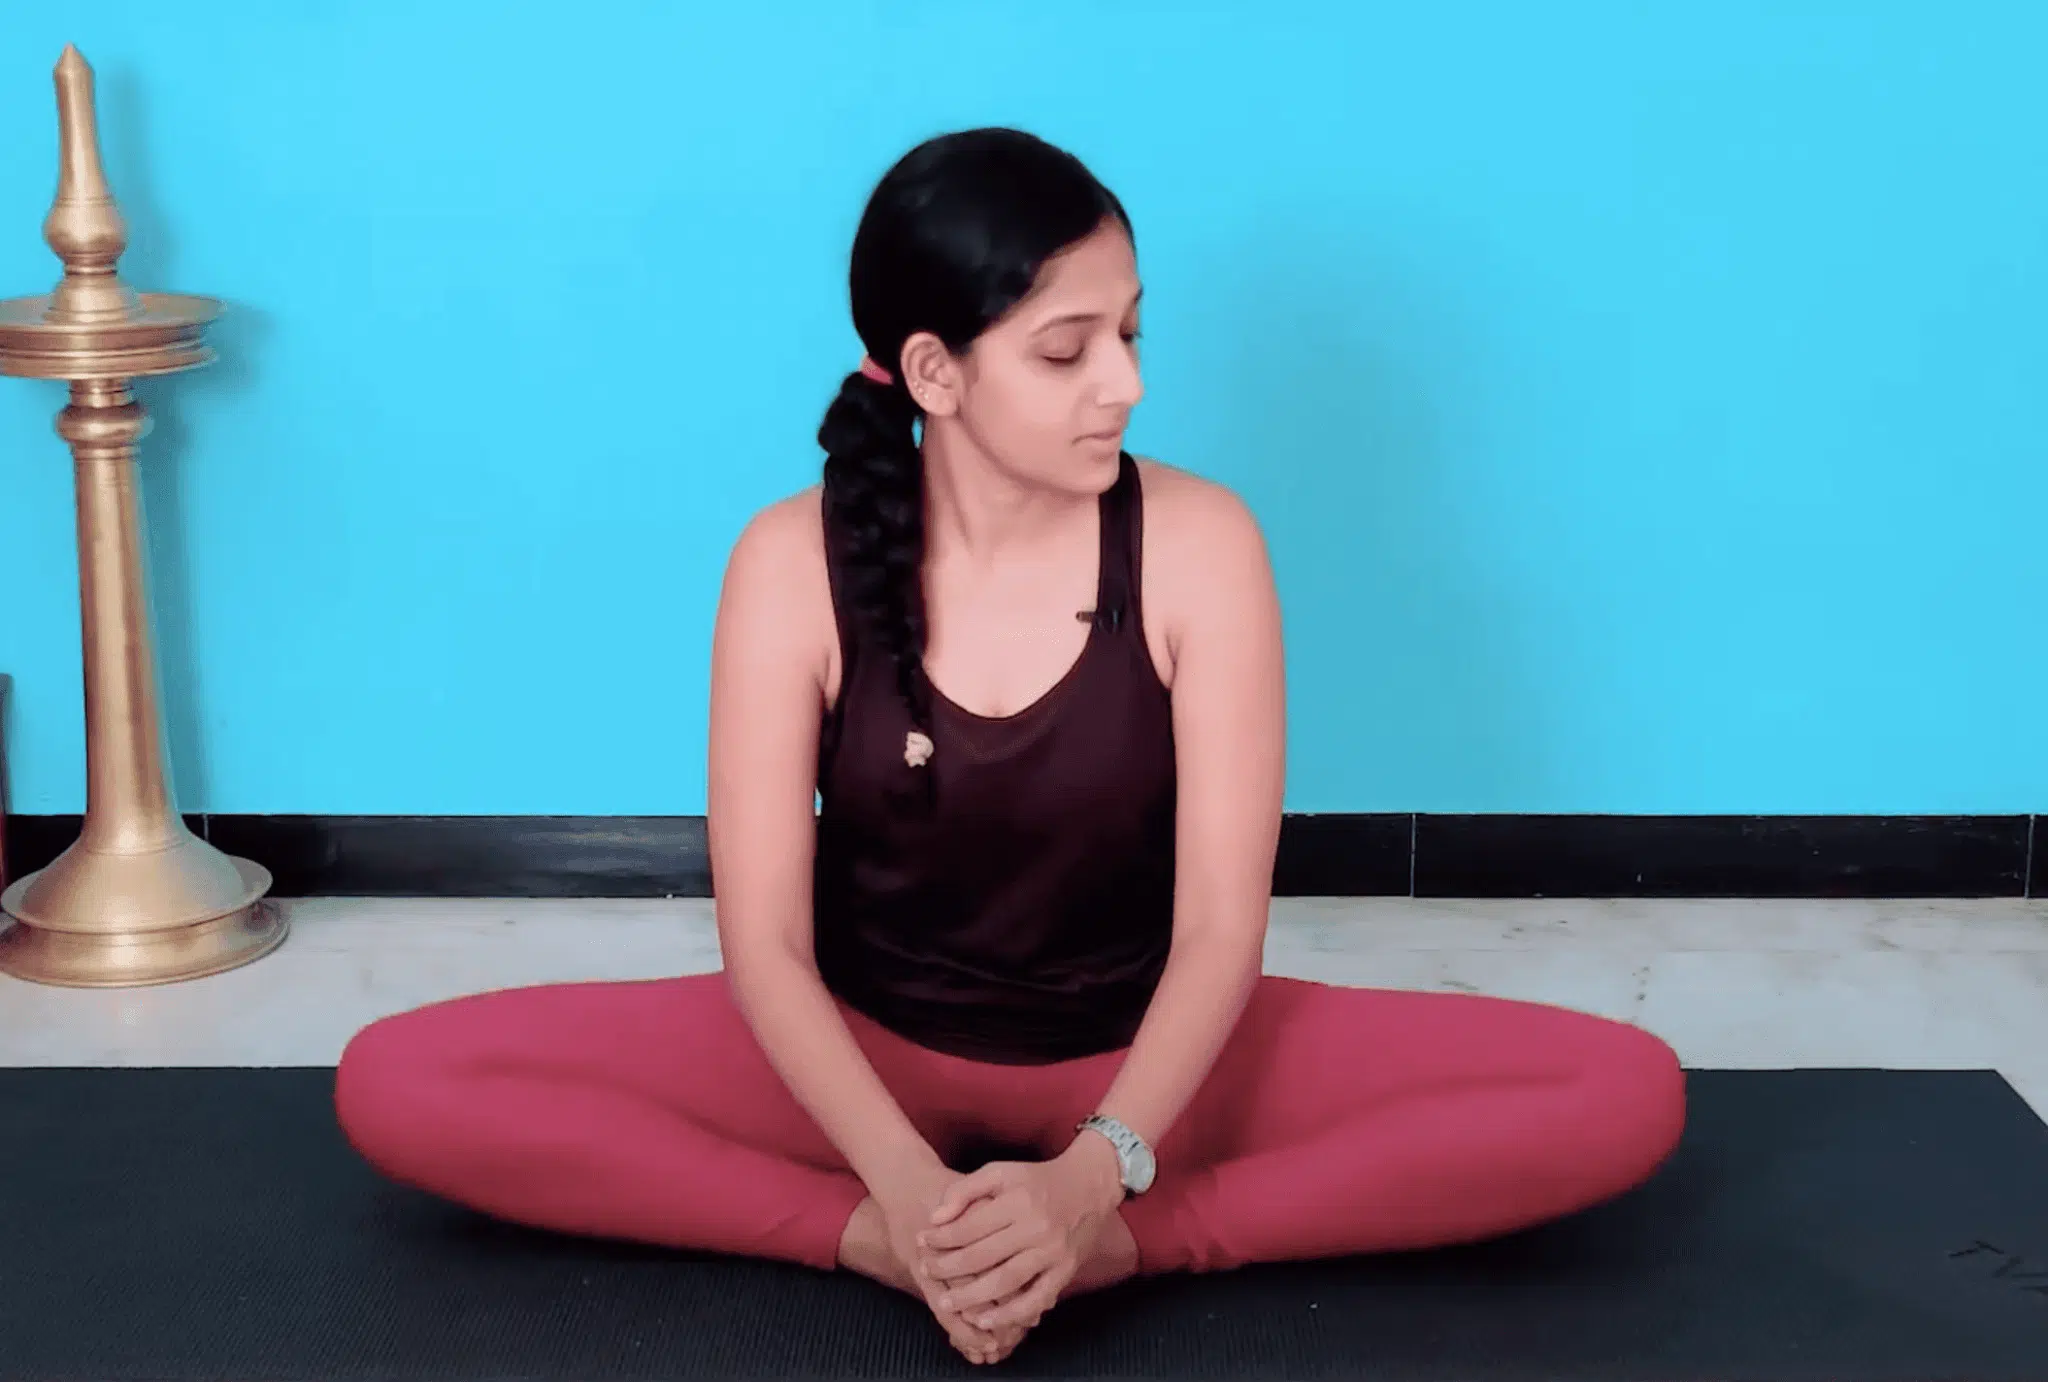
Sit on the floor and bring the bottoms of your feet together. Let your knees fall to the sides. Gently move your knees up and down like wings. This helps loosen your hips and warms up your legs.
Step 2: Do a Side Stretch
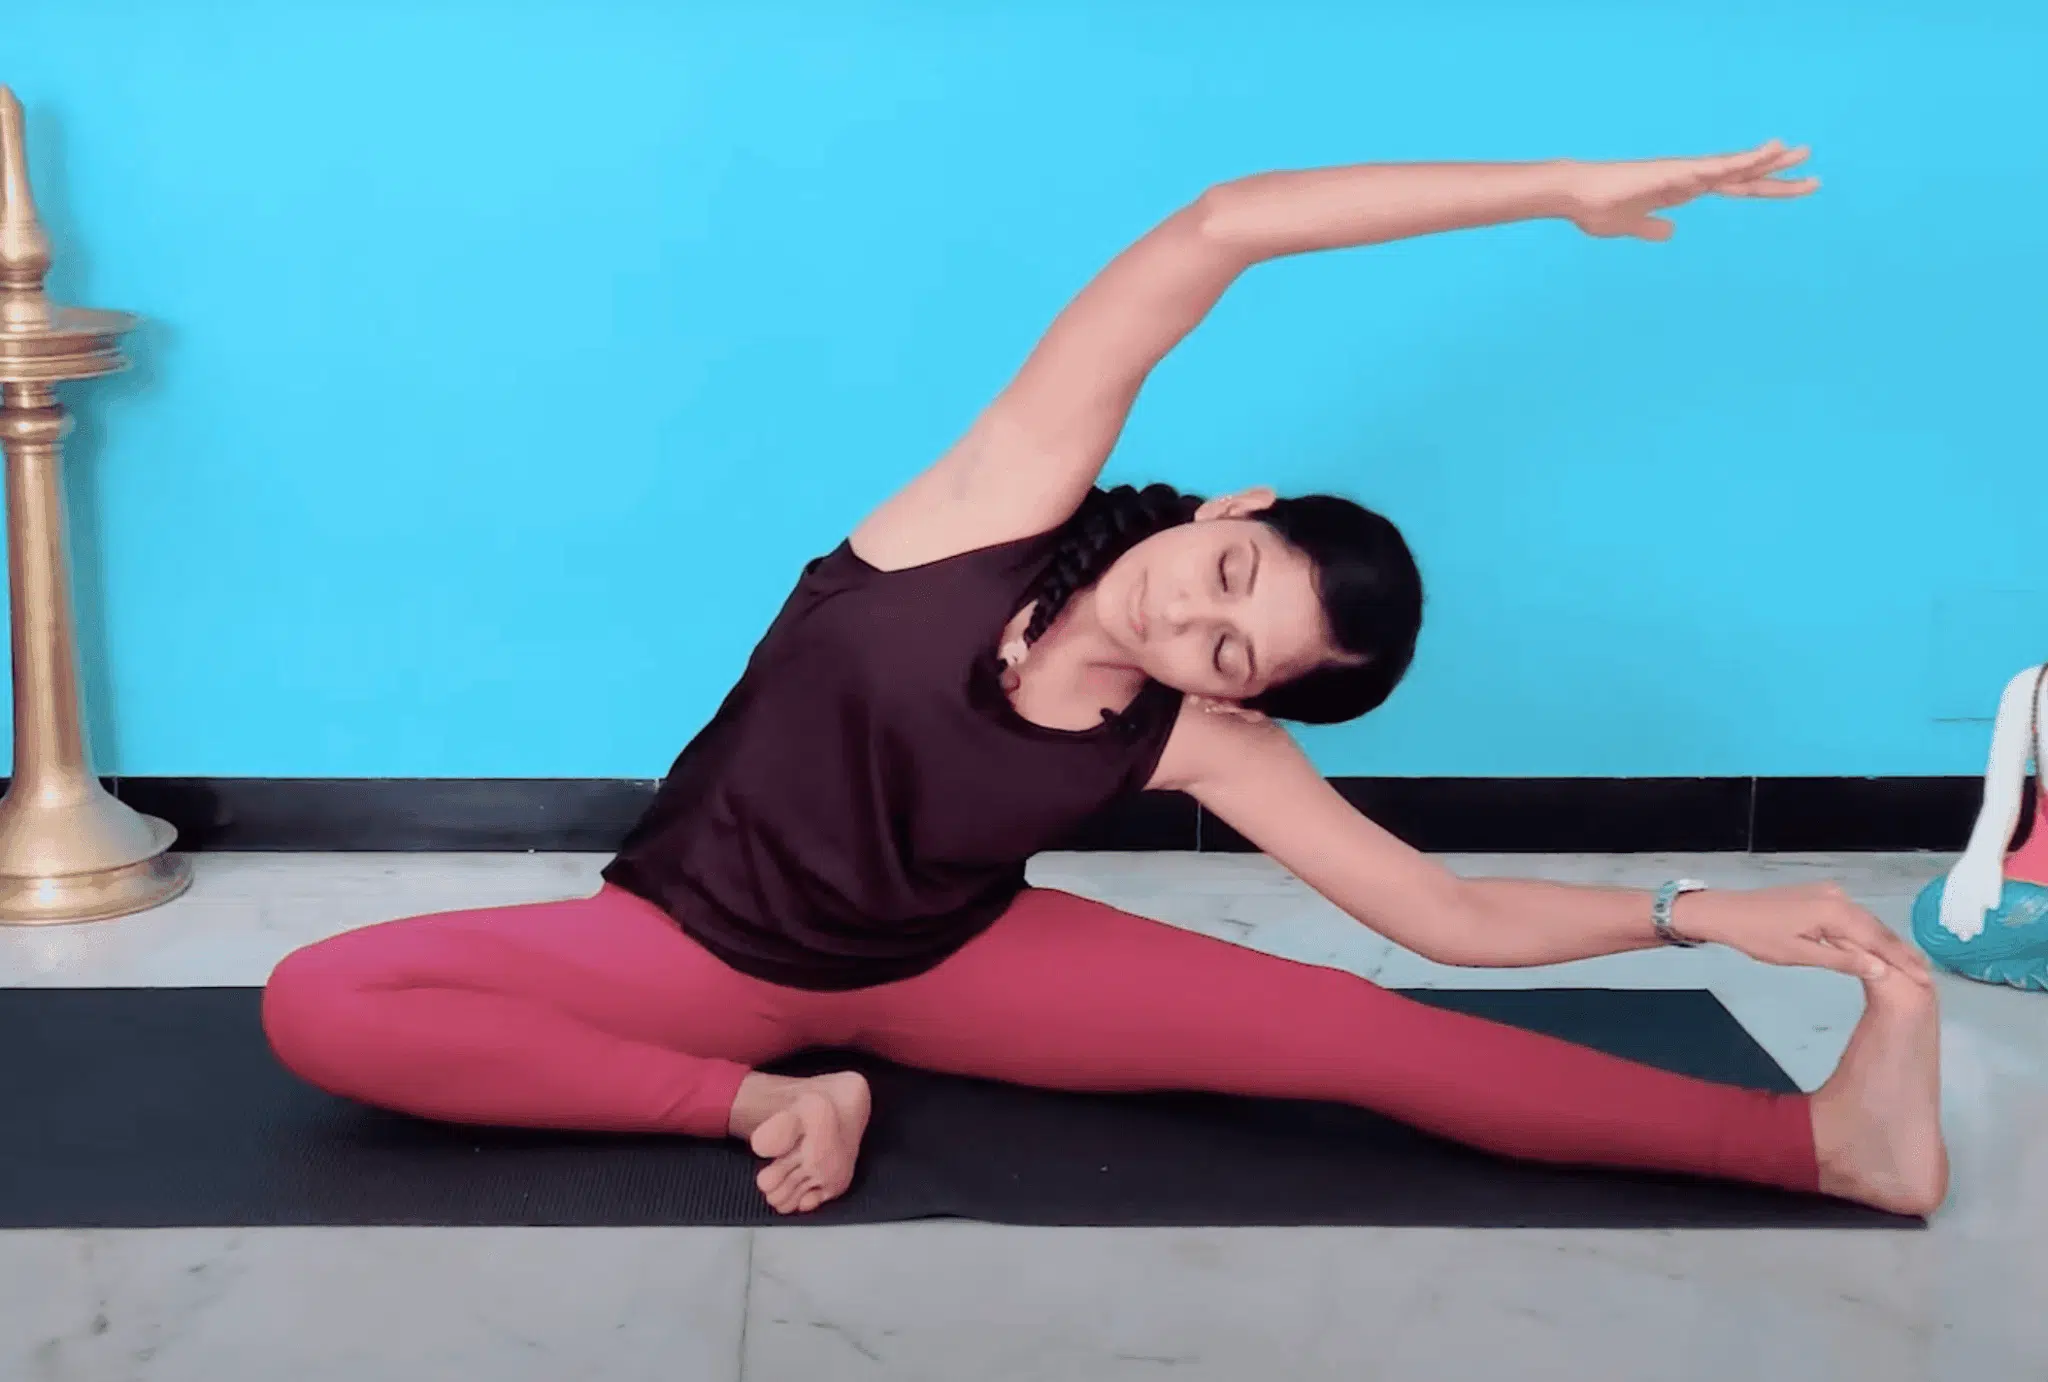
Stretch your right leg out to the side. Reach your left arm over your head and bend toward your right leg. Don’t worry if you can’t touch your foot. Repeat on both sides. This helps open your sides and legs.
Step 3: Open Both Legs
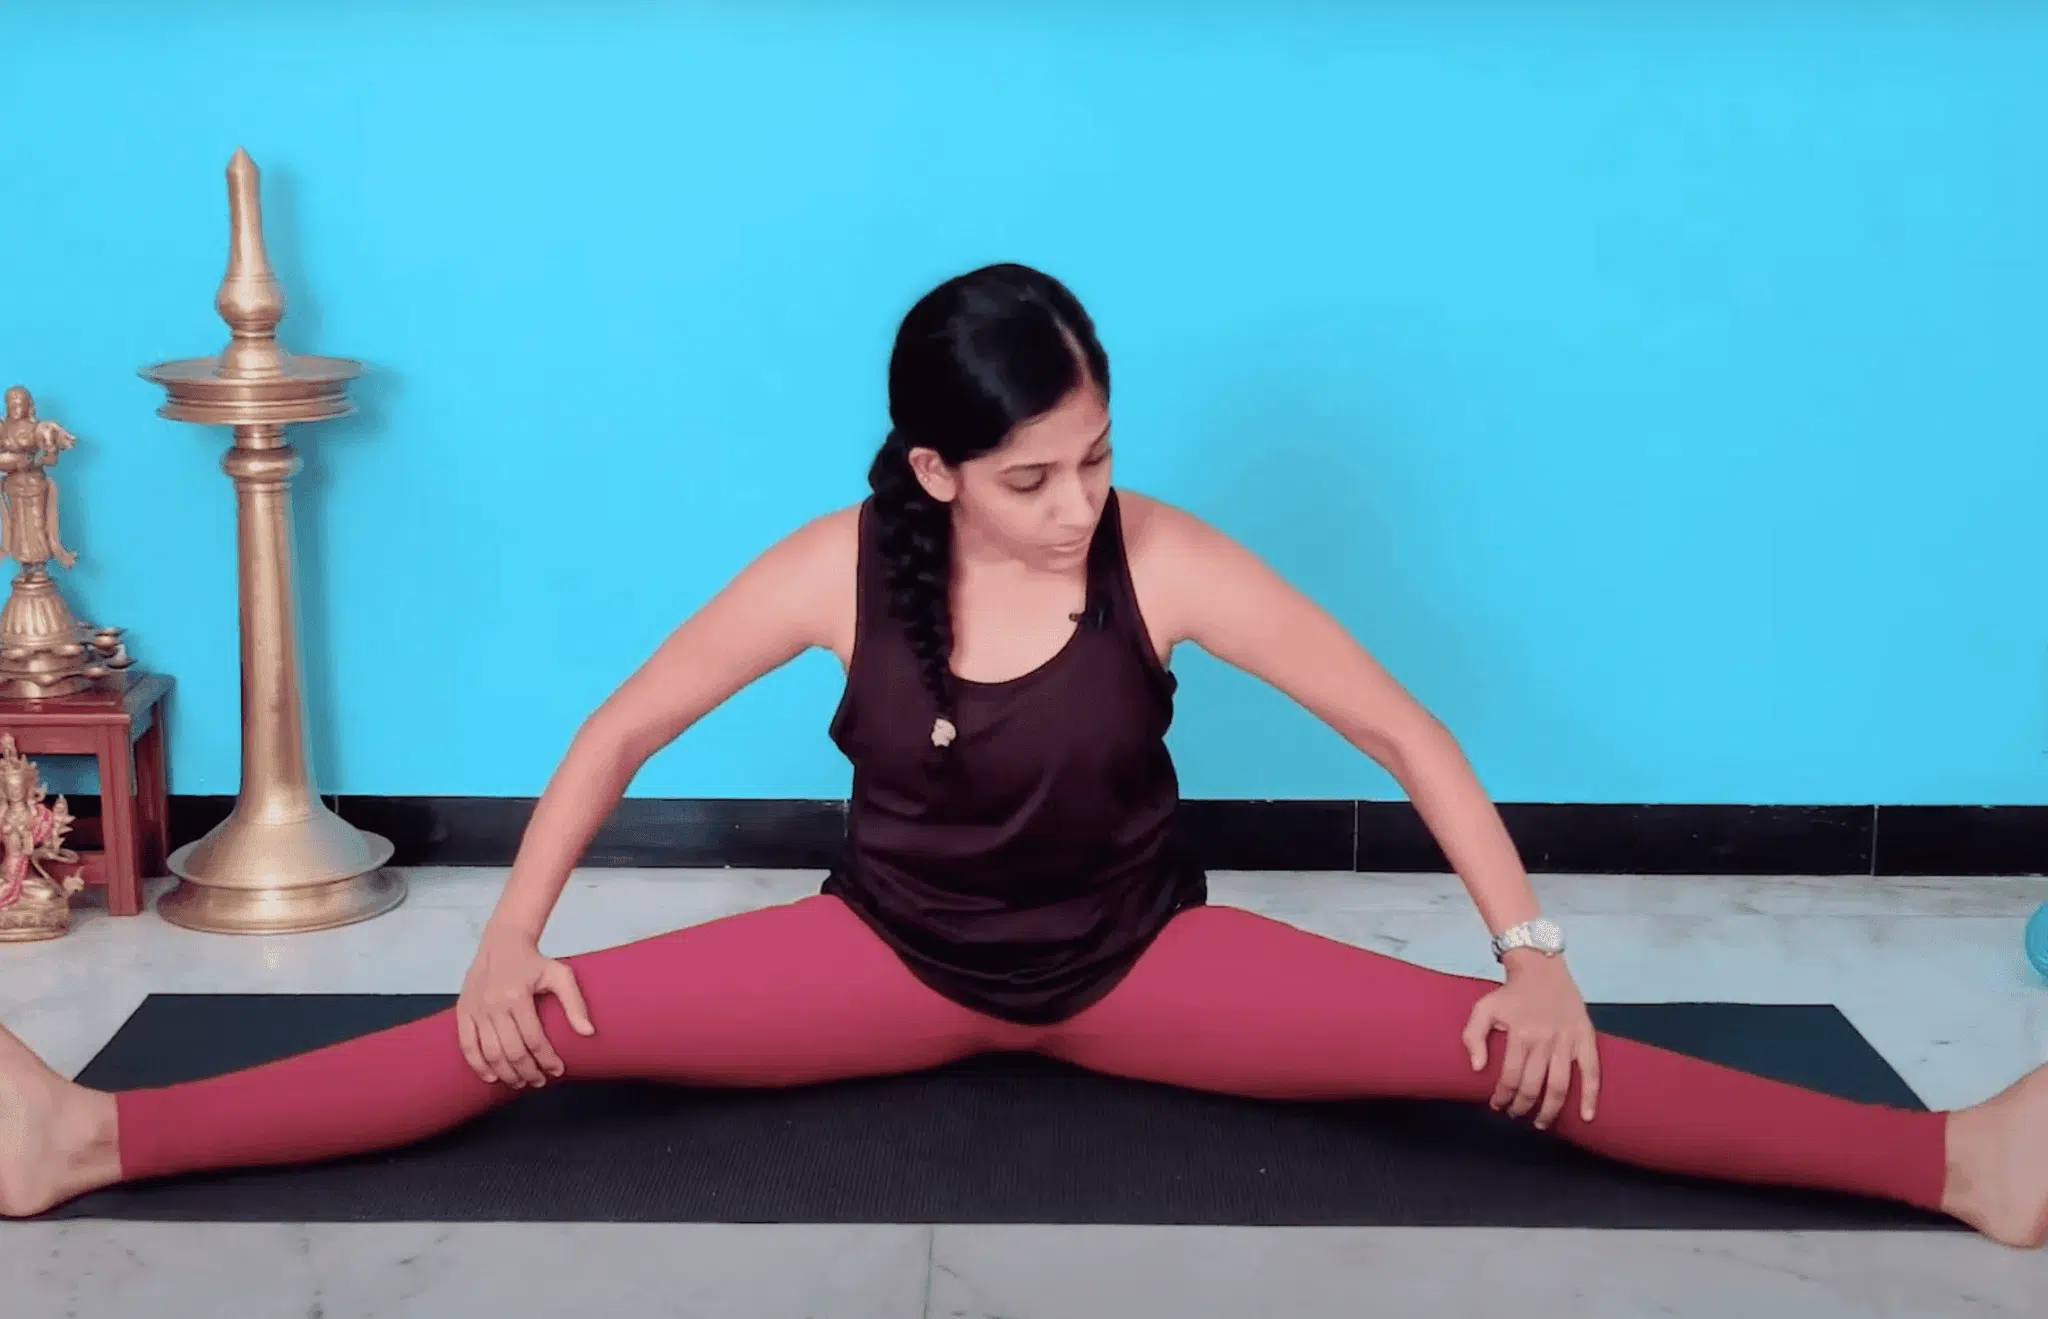
Now stretch both legs out wide in front of you. Keep your knees straight and your toes pointing up. Try pressing your hands on your thighs to help your legs stay open and strong.
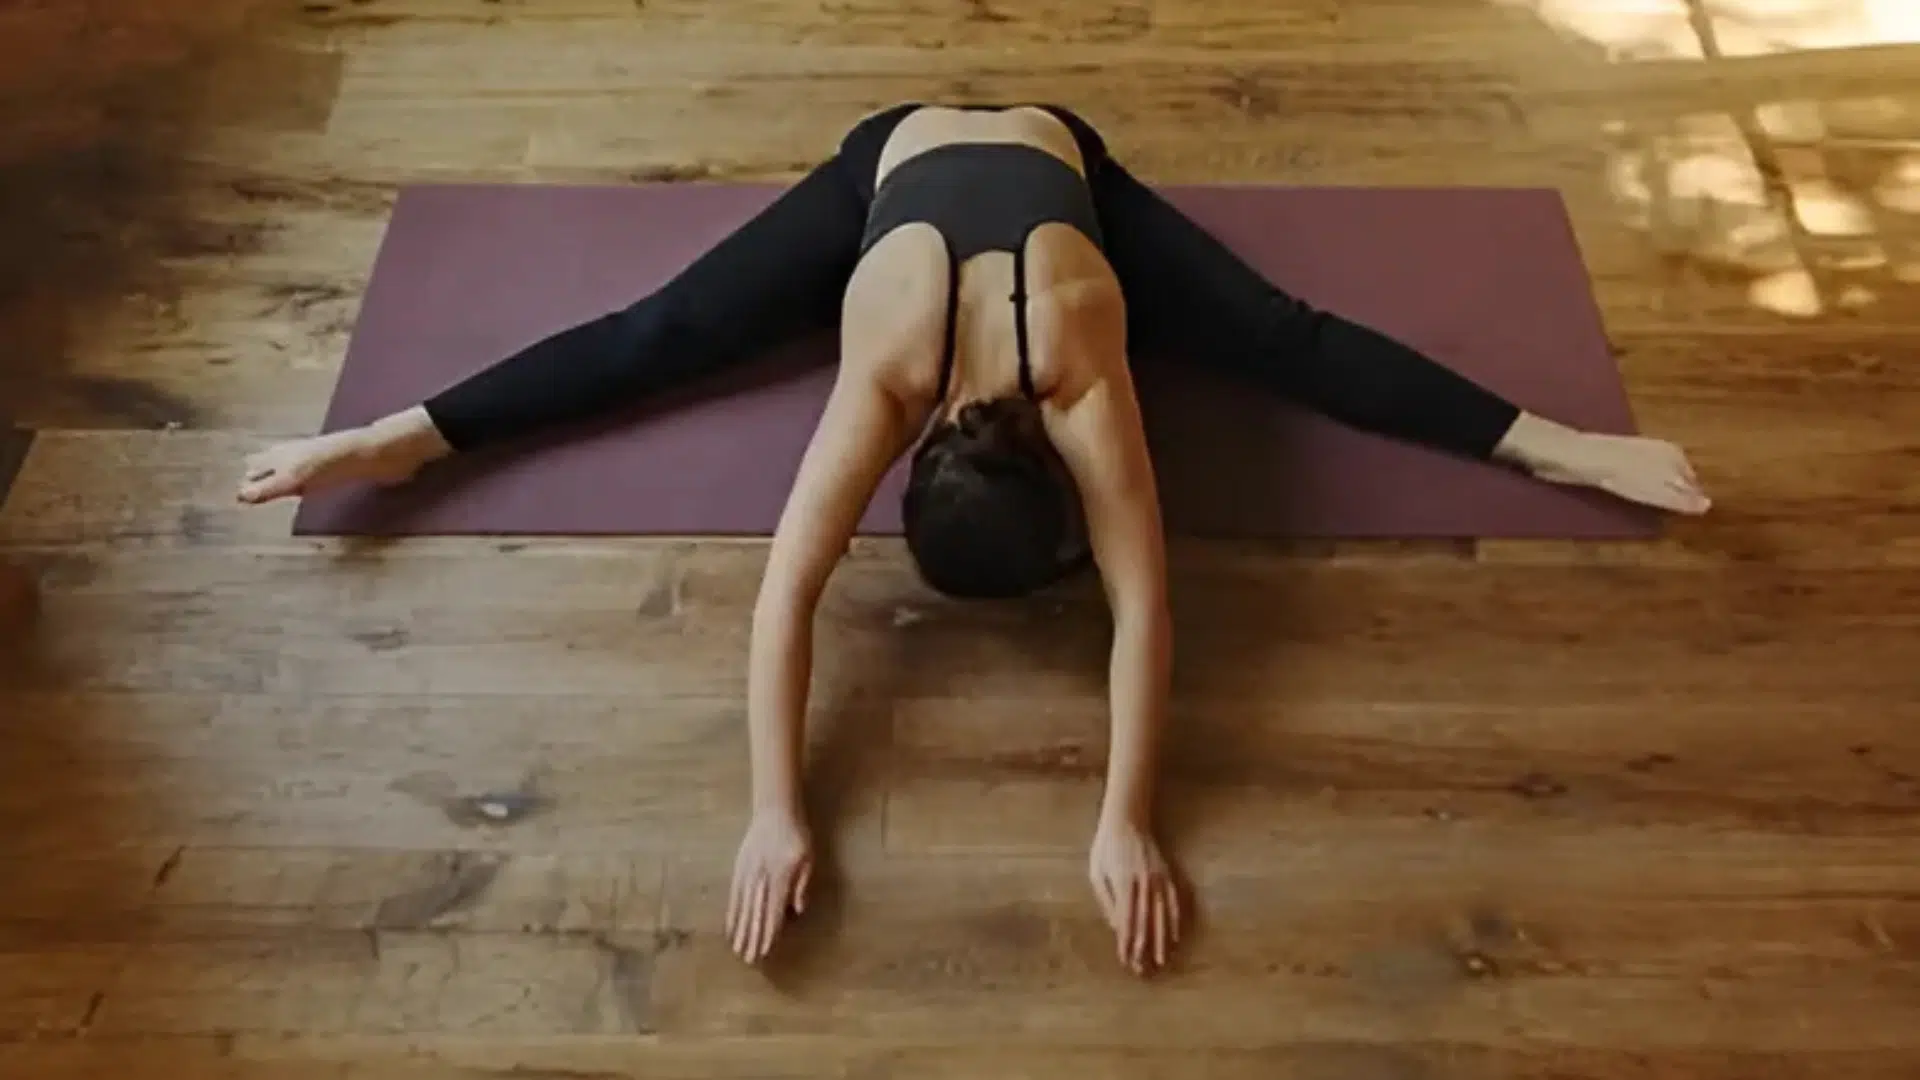
Step 4: Lean Forward Slowly
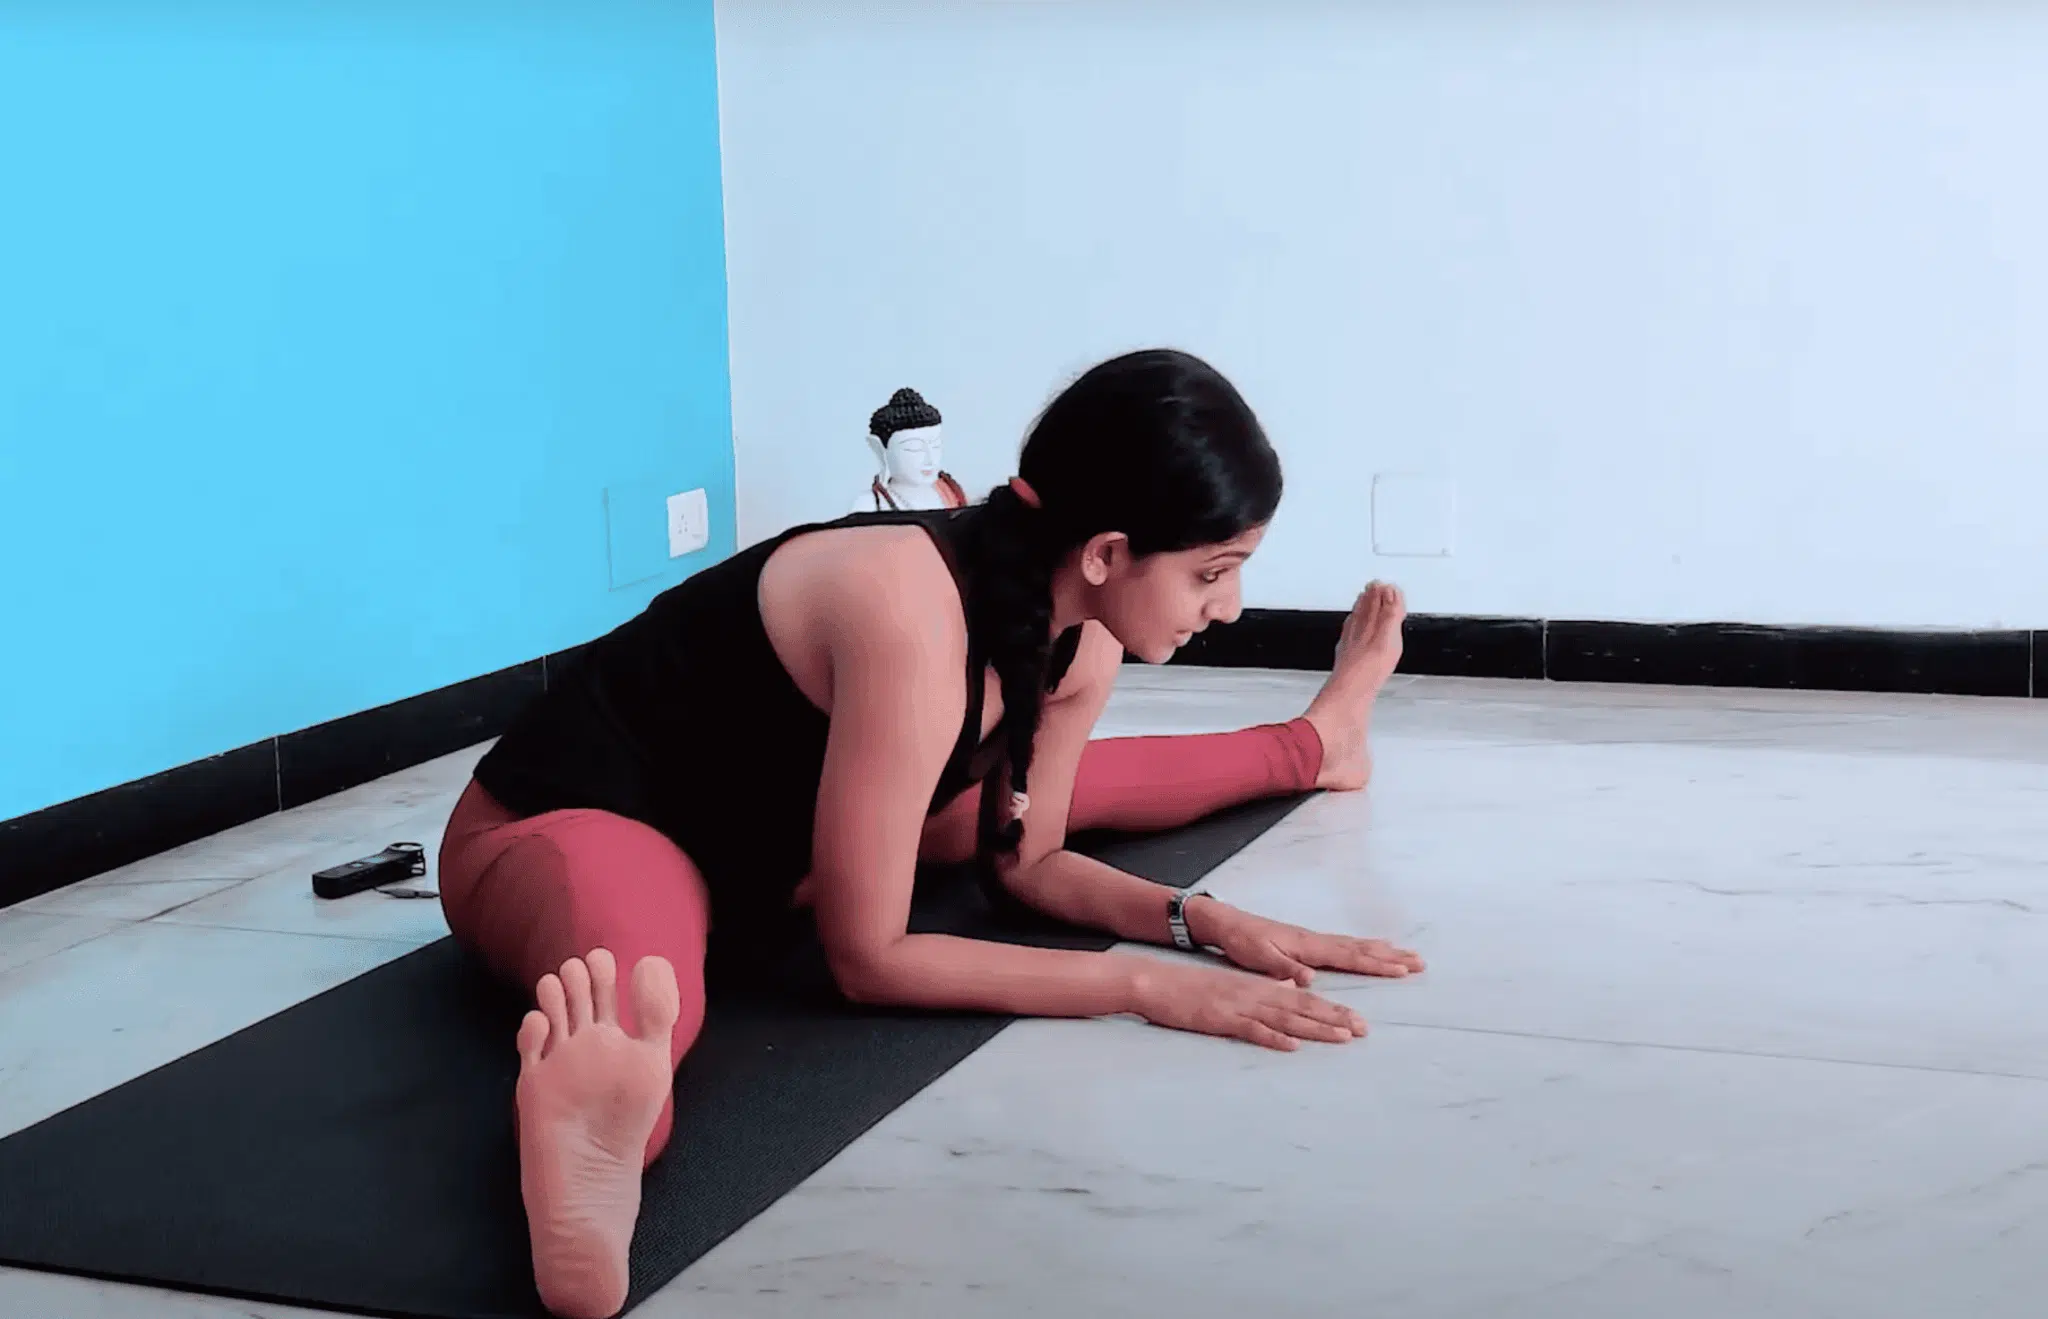
Place your hands on the floor in front of you. Start walking them forward. Stop if it feels too tight. If possible, lower your elbows further. Breathe and keep your back as straight as you can.
Step 5: Go As Far As You Can
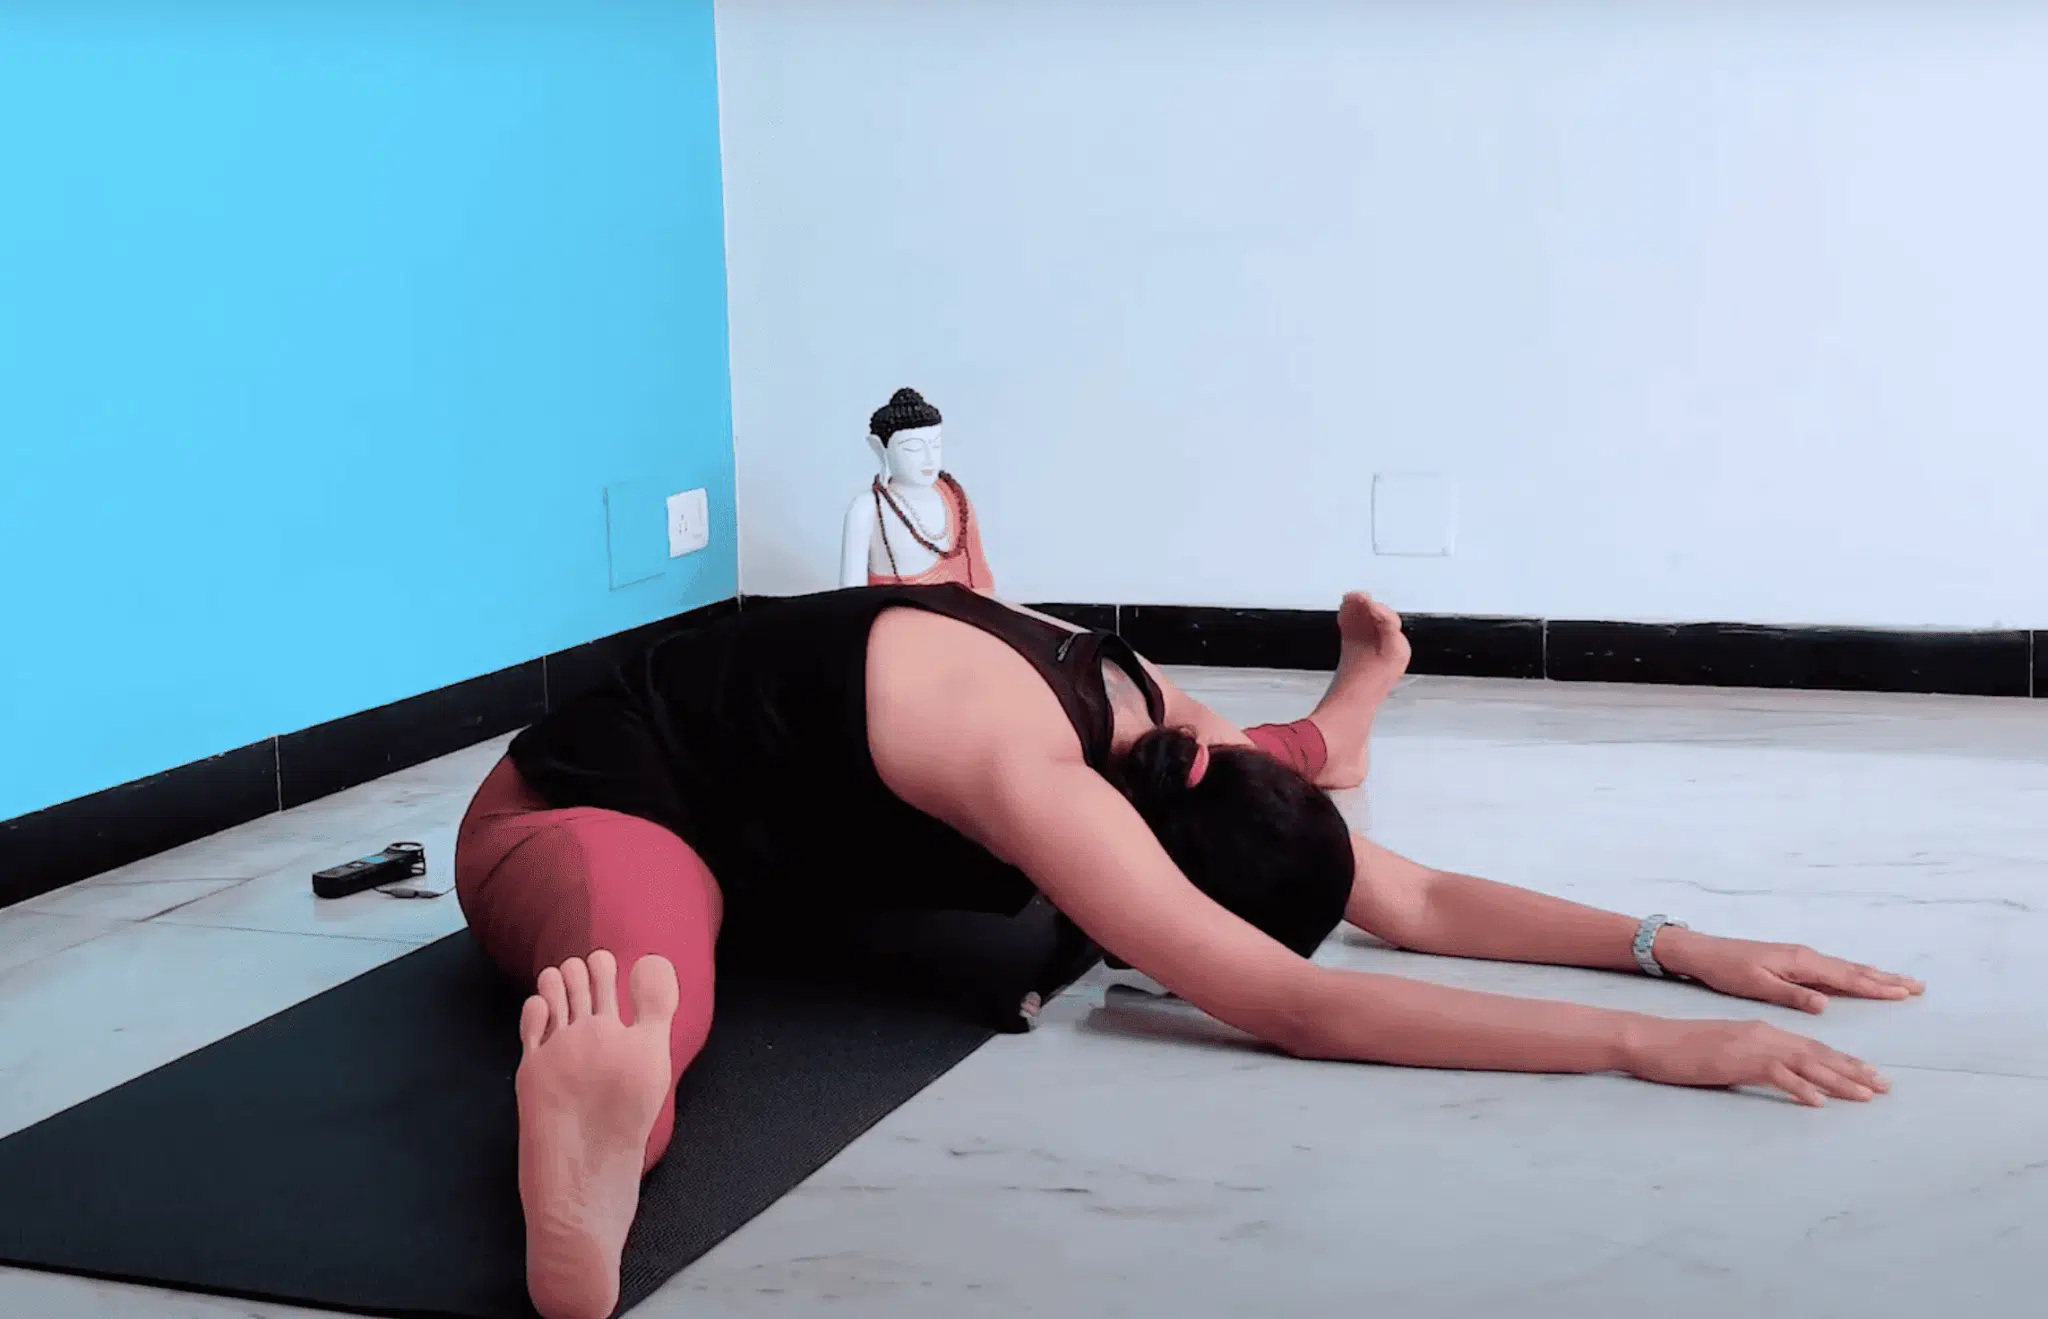
Hold your ankles, feet, or any part of your legs. Gently bend forward and try to bring your chest closer to the floor. Don’t force it. Go as far as you can and take slow, deep breaths.
Keep practicing a little every day, and you’ll get better over time. Just go slow, breathe, and have fun.
For a better reference and guidance, check out the video below:
From the above video, you’ll be able to see the steps more clearly and hence, will be able to do it more properly.
Benefits of Upavistha Konasana
This simple pose packs a serious punch when it comes to helping your body and mind feel better:
| Benefit Type | What It Does |
|---|---|
| Physical | Stretches hamstrings, inner thighs, and calves. Strengthens your spine and opens tight hips from sitting all day. |
| Mental | Calms your busy mind and helps you focus better, like hitting the pause button on stress. |
| Digestive | Gently massage your belly organs when you fold forward, helping your stomach work better after meals. |
Pretty amazing what a few minutes of sitting and stretching can do for your whole body!
Who Should Avoid Upavistha Konasana
This pose isn’t for everyone, and that’s okay. Here are a few times when you might want to skip it or try something else instead. Your body is unique, and what works great for your friend might not be the best choice for you right now – and there’s nothing wrong with that!
Skip This Pose If You Have
This pose isn’t for everyone, and that’s totally okay. Here are a few times when you might want to skip it.
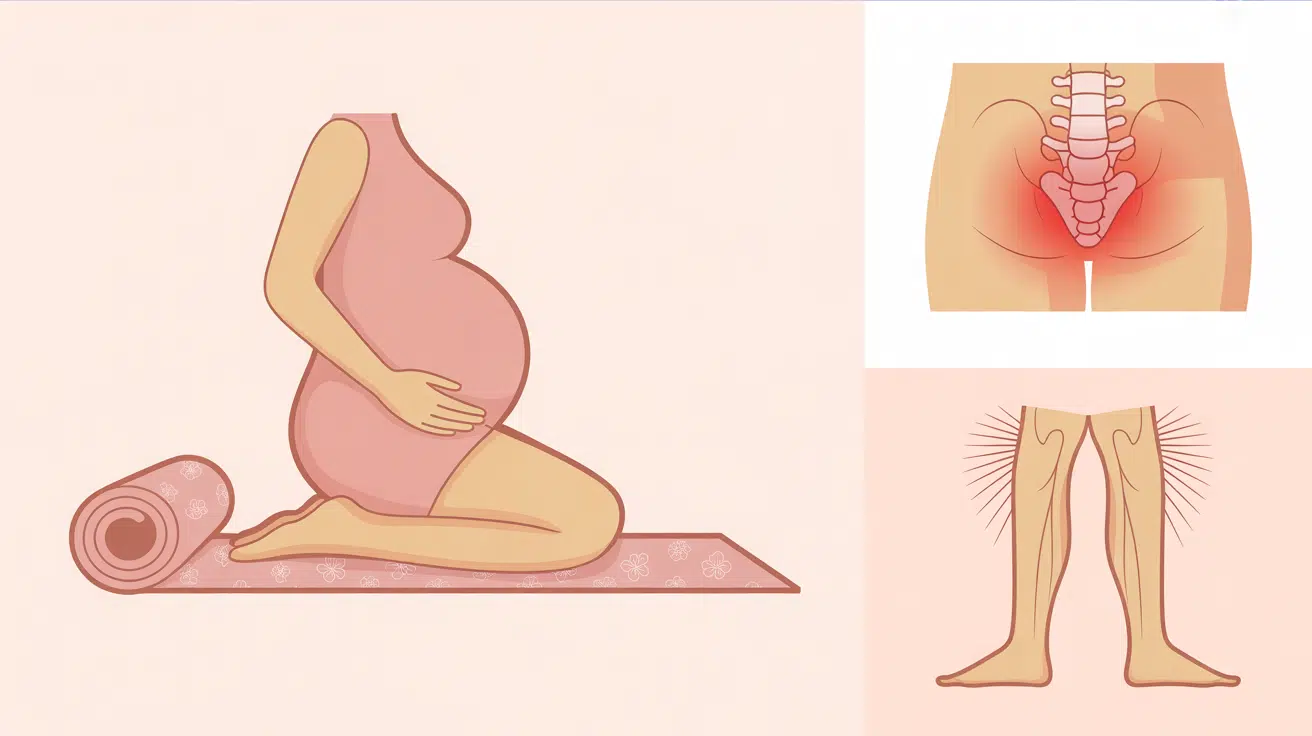
- Pregnancy: Your growing belly makes forward folding tricky and potentially uncomfortable.
- Lower Back Problems: If your back is already hurting, this pose might make it worse.
- Super Tight Hips: If spreading your legs wide feels like torture, don’t force it.
Always listen to your body. If something feels off, it’s better to pause than to push too hard.
Try These Instead
If the wide-legged forward bend feels too hard, try these easier poses that are still super helpful.
- Butterfly Pose: Sit with feet together, knees bent out to sides. Way gentler on tight hips.
- Child’s Pose: Kneel down and fold forward with knees apart. Great for back issues.
- Seated Forward Fold: Keep legs together and fold forward. Easier if wide legs feel impossible.
Listen to your body – it knows what’s best for you, and there’s always another pose that’ll work just as well.
Common Mistakes to Avoid
Don’t mess up this simple pose with these silly mistakes:
- Hunching Your Back: Don’t curl up like a scared turtle! Keep your back straight and chest up, even if you can’t bend very far.
- Pushing Too Hard: Your legs aren’t rubber bands – don’t try to force them to stretch. Go slow or you’ll just make things worse.
- Lazy Belly: Don’t let your stomach just hang there doing nothing. Tighten it up a little to keep your back safe.
Remember, it’s way better to barely bend forward with good posture than to flop over like a wet noodle!
Conclusion
So there you have it – Upavistha Konasana is like having a magic wand for your tight, grumpy hips. This simple sit-and-stretch move doesn’t just loosen you up; it chills out your brain and even helps your stomach feel better after lunch.
The coolest part? You can literally do this while watching TV or before bed. Just a few minutes every day, and your body will start feeling way less stiff. Don’t worry about being perfect – even if you barely lean forward, you’re still winning.
Want to keep feeling awesome? Check out our other easy yoga posts and find more moves that actually work for real people with real lives. Trust me, your future self is going to love how good you feel!