


Pickled cauliflower used to sound like something I would only see on a relish tray at someone else’s party. Then I tried it once, and I got why people keep a jar in the fridge.
You get a crunchy bite, a tangy kick, and a snack that feels way more fun than plain raw florets.
If you have ever ended up with cauliflower that just sits there, this fixes that fast. I will keep this simple with a base brine, clear spice options, and a few easy ways to adjust heat and sweetness.
By the end, you will know exactly how to make pickled cauliflower that stays crisp and tastes right.
Pickled Cauliflower Recipe at a Glance
Time: About 15–20 minutes total (10–15 minutes prep + 3–5 minutes to heat the brine).
Wait time: Good in 24 hours, best in 48 hours.
Skill level: Easy.
Tools: Jar or bowl with lid, small pot, knife, cutting board (a measuring cup and spoon help too).
Flavor options: Classic, spicy, turmeric ginger, mixed veg (pickled cauliflower and carrots).
Pickled Cauliflower Recipe Step by Step
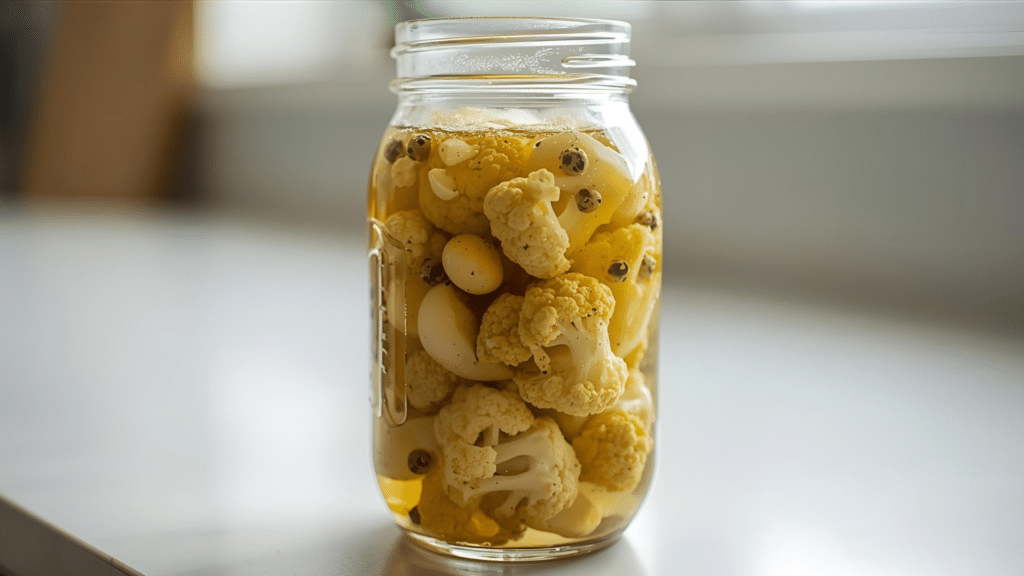
This is a simple refrigerator pickle that gives you crunchy, tangy cauliflower with barely any effort. You heat a quick vinegar brine, pour it over packed florets, and let the fridge do the rest. It tastes good after a day, but the flavor is best after two days.
Ingredients You Will Need
- 1 medium head of cauliflower, cut into bite-sized florets
- 2 cups distilled white vinegar
- 2 cups water
- 2 tablespoons salt
- 2 tablespoons white sugar (you can reduce this if you want)
- 1 tablespoon whole black peppercorns
- 1 tablespoon whole mustard seeds
- 1 tablespoon whole coriander seeds
- Optional: red pepper flakes (if you want heat)
Serves: Makes about 2 jars (size depends on your jars)
Cooking time: About 15 to 20 minutes active time, plus chilling time
Step 1: Prep the Cauliflower
Cut the cauliflower into florets that are mostly the same size. Keep them bite-sized so they pack well and pickle evenly. If you have a floret that feels too big, split it down the middle.
Step 2: Add Whole Spices to the Jars
Split the whole spices between your jars so it is easy to divide them evenly. Add about half the peppercorns, mustard seeds, and coriander to each jar. This also helps you avoid straining spices out of the brine later.
Step 3: Make the Hot Brine
Add vinegar, water, sugar, and salt to a non-reactive pot. Heat until it reaches a boil. Do not put your face over the pot because vinegar fumes can sting.
Boiling helps dissolve the salt and sugar and makes the brine hot enough to pour safely into the jars.
Step 4: Pour the Brine into the Jars
Turn off the heat. Carefully pour the hot brine into each jar until the cauliflower is covered. Leave a little space at the top so you can close the lid cleanly. If you packed the cauliflower well, it should not float much.
Step 5: Pack the Cauliflower Tightly
Pack the florets into the jars like Tetris. A tighter pack helps stop floating once the brine goes in. If you are using a narrow-mouth jar, make sure your florets are small enough to fit easily.
Step 6: Wait, Then Eat
They taste good after about 24 hours. For the best flavor, wait 48 hours. They usually stay good for about 3 to 4 weeks in the fridge, as long as everything stays submerged.
Crunch Control Cheat Sheet (So It Never Gets Mushy)
Before you start, use this quick chart to keep your pickled cauliflower crisp.
| Problem | Why It Happens | Quick Fix |
|---|---|---|
| Mushy cauliflower | Florets too small, brine too hot | Cut 1.5–2 inch florets, pour brine carefully |
| Hard, raw center | Florets too big | Split big florets and trim thick stems |
| Floats above brine | Loose packing | Pack tight, add a small weight, keep submerged |
| Bitter spice taste | Ground spices over extract | Use whole spices only |
| Soft after a few days | Fridge temp swings | Store at the back of the fridge |
| Too sharp and harsh | Low sugar balance | Add a little sugar next time |
| Brine will not cover | Tall jar, big florets | Use a bowl or make extra brine |
| Cloudy brine | Dirty jar or sediment | Clean jars, use whole spices, keep cold |
After this, your pickles should stay crunchy and snack-ready.
Jar Size + Brine Coverage (Fix for the Most Common Problem)
If your brine never covers the cauliflower, you are not doing anything wrong. Cauliflower is bulky, it traps air, and it loves to float. Use the tips below so every floret stays under the brine and pickles evenly.
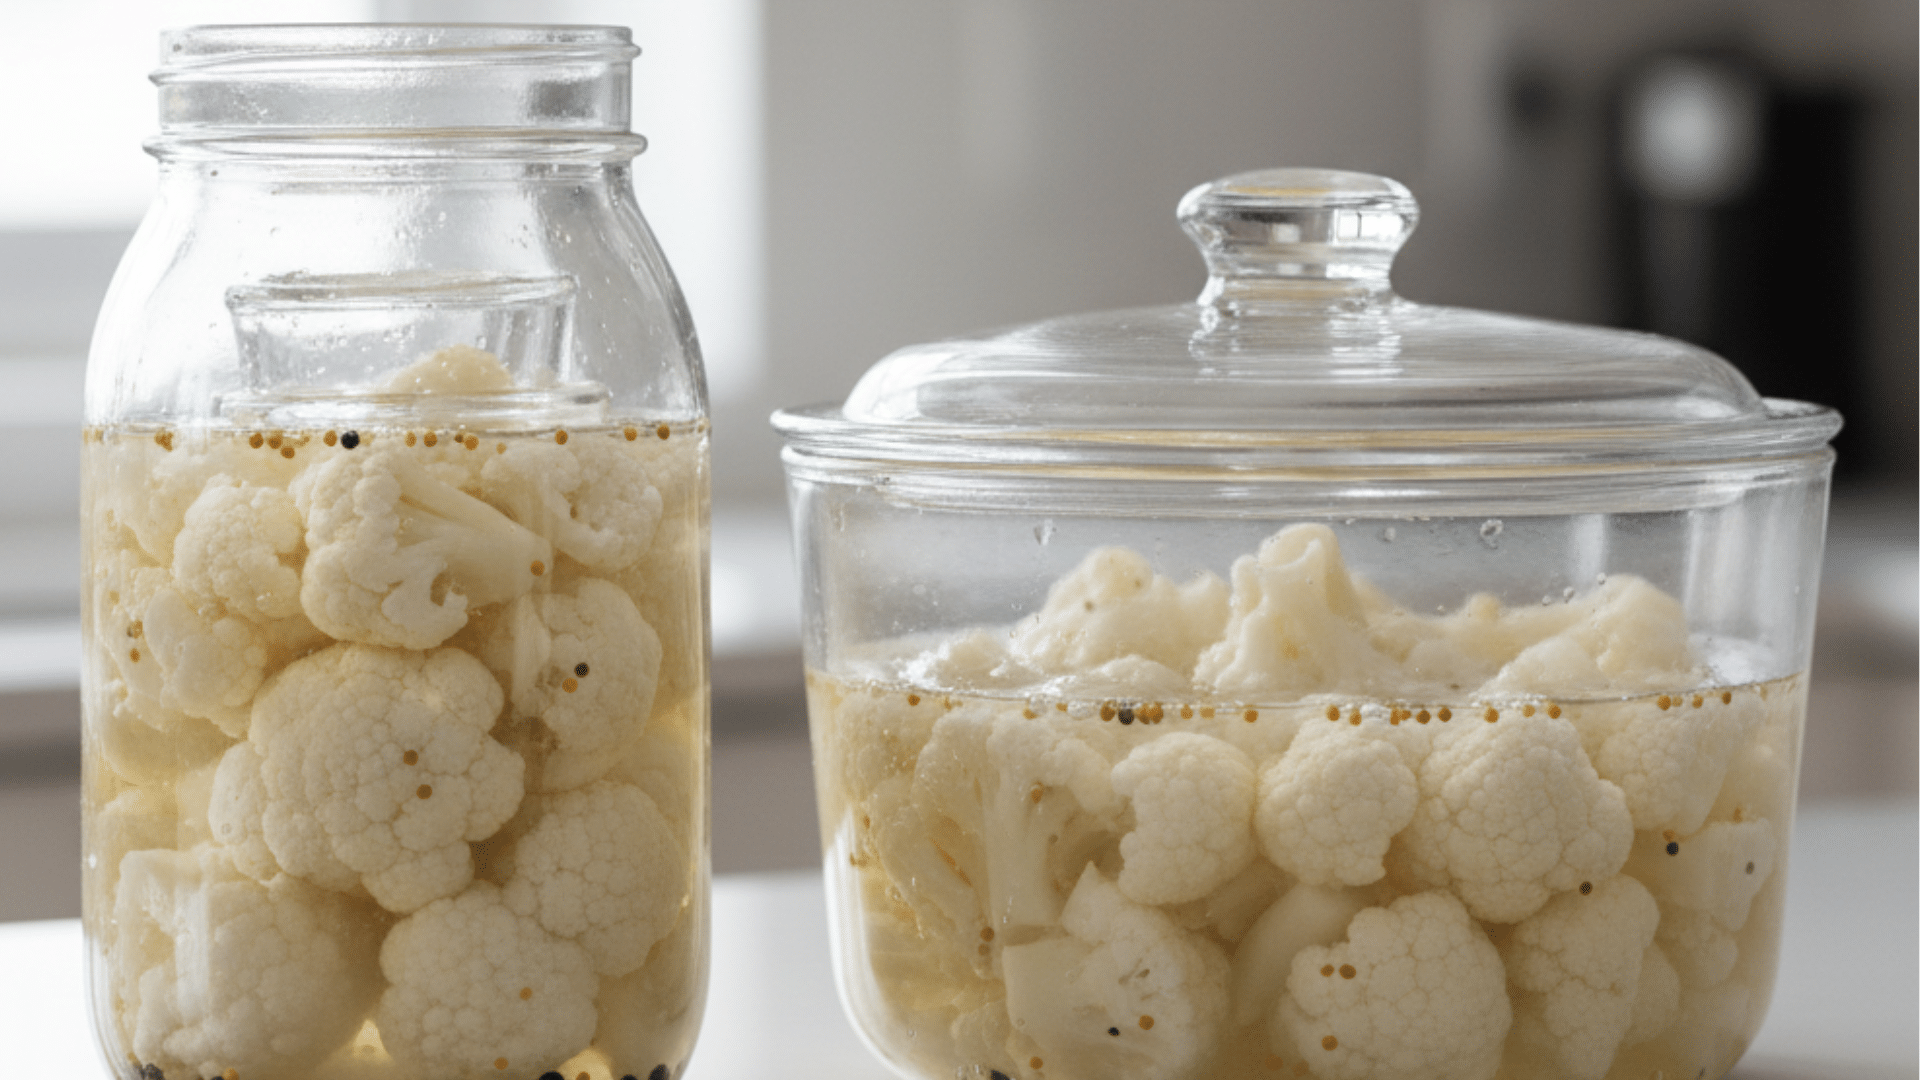
The Best Containers for Pickled Cauliflower
Wide-mouth quart jar (32 oz): This is the easiest jar for cauliflower because the opening is wider. You can pack florets without breaking them. You also get fewer air gaps, which helps the brine reach everything.
Two smaller jars (16 oz each): Smaller jars make brine coverage simpler. You can pack tighter, control floating better, and split batches into two flavors. This is also helpful when one large head does not fit neatly in one jar.
Large lidded bowl (often easiest for full submersion): A bowl is the least frustrating option. You can spread the florets out, pour brine, and fully submerge them with almost no effort. This is great when you are doubling the recipe or adding carrots and peppers.
Why Your Brine Didn’t Cover Everything
Tall jar + large florets: Tall jars look convenient, but big florets stack badly and trap pockets of air. That air pushes the brine level down and makes it seem like you do not have enough liquid.
Loose packing: If the cauliflower is dropped in without packing, it floats as soon as the brine goes in. Then the top pieces sit above the brine, soften faster, and taste uneven.
Too little brine: Even with the same recipe, different cauliflower heads vary in size and density. If your jar is packed very tightly, it may simply need more brine to reach the top.
Simple Fixes That Work Every Time
Cut smaller florets: Aim for bite-sized florets that fit through the jar mouth easily. Smaller florets pack tighter and leave fewer air gaps. They also pickle faster and more evenly.
Switch to a bowl: If you keep struggling with coverage, use a bowl with a lid. You will get full submersion right away, and you can stir once after cooling to release trapped air.
Pack tighter: Pack the florets like Tetris. Slide flatter pieces down the sides and fill gaps with small florets. Tight packing reduces floating and helps keep everything under the brine.
Make 25–50% extra brine: This is the best insurance move. Extra brine saves you when your cauliflower is bigger than average or your jar shape wastes space. You can always discard the extra brine.
Use a weight: A weight keeps the top florets under the brine. Use a small glass ramekin, a fermentation weight, or a zip bag filled with water. If the cauliflower stays submerged, it stays crisp and safe longer.
Quick Brine Scaling Guide (No Guessing)
Use this simple rule so you stop running out of brine.
Rule of thumb: Start with 1 cup of brine per 16-oz (2-cup) container size.
- 16 oz jar: start with 1 cup brine
- 32 oz jar (quart): start with 2 cups brine
- 64 oz jar: start with 4 cups brine
Always fully submerge the cauliflower. If any pieces sit above the brine, they can dry out, soften, and taste off. Add more brine, repack tighter, or use a weight until every floret is covered.
Flavor Builder Matrix (Pick Your Style)
Over time, you’ll probably end up with a few pickled cauliflower versions you keep coming back to. Some are clean and classic, some bring heat, and some have that golden turmeric bite.
Use the base brine you already have, then pick one style below.
1. Classic Deli Style (Clean + Tangy)
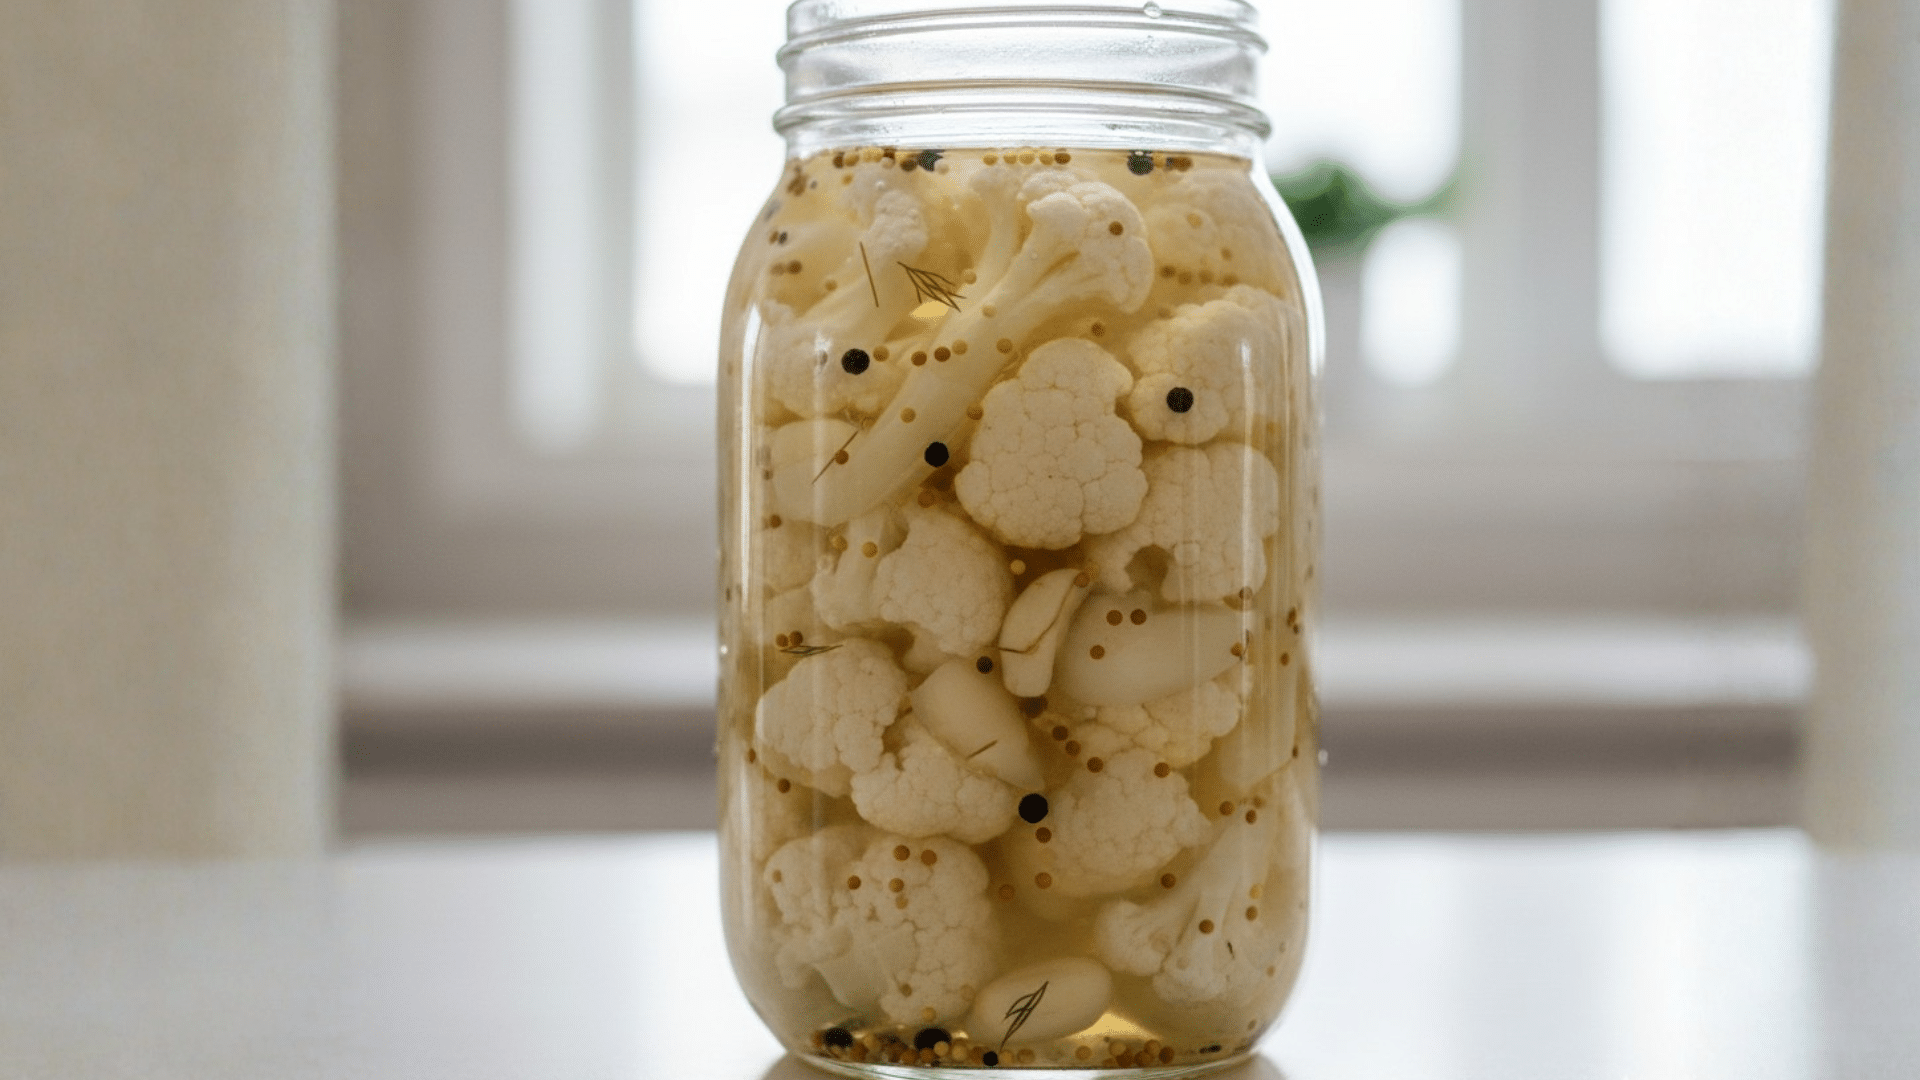
This is the version you make when you want a straight, no-drama pickle flavor. It tastes sharp, savory, and snackable, and it works with salads, sandwiches, and snack plates.
The garlic and whole spices give you that classic deli smell and bite without overpowering the cauliflower.
Serves: About 8–10 (makes 1 quart jar)
Ingredients
- 3–4 cups cauliflower florets (bite-sized)
- 2 cups white vinegar
- 2 cups water
- 2 tablespoons salt
- 2 tablespoons white sugar (optional, for balance)
- 1 teaspoon mustard seeds
- 1 teaspoon black peppercorns
- 2 garlic cloves, smashed
- 1/2 teaspoon dill seed (optional)
Method
- Pack cauliflower into a wide-mouth quart jar.
- Add mustard seeds, peppercorns, garlic, and dill seed if using.
- Bring vinegar, water, salt, and sugar to a boil in a non-reactive pot.
- Pour hot brine over the cauliflower until fully covered.
- Tap the jar to release bubbles, then top up if needed.
- Cool to room temperature, then refrigerate.
- Eat after 24 hours, best after 48 hours.
2. Spicy Pickled Cauliflower (Heat Ladder)
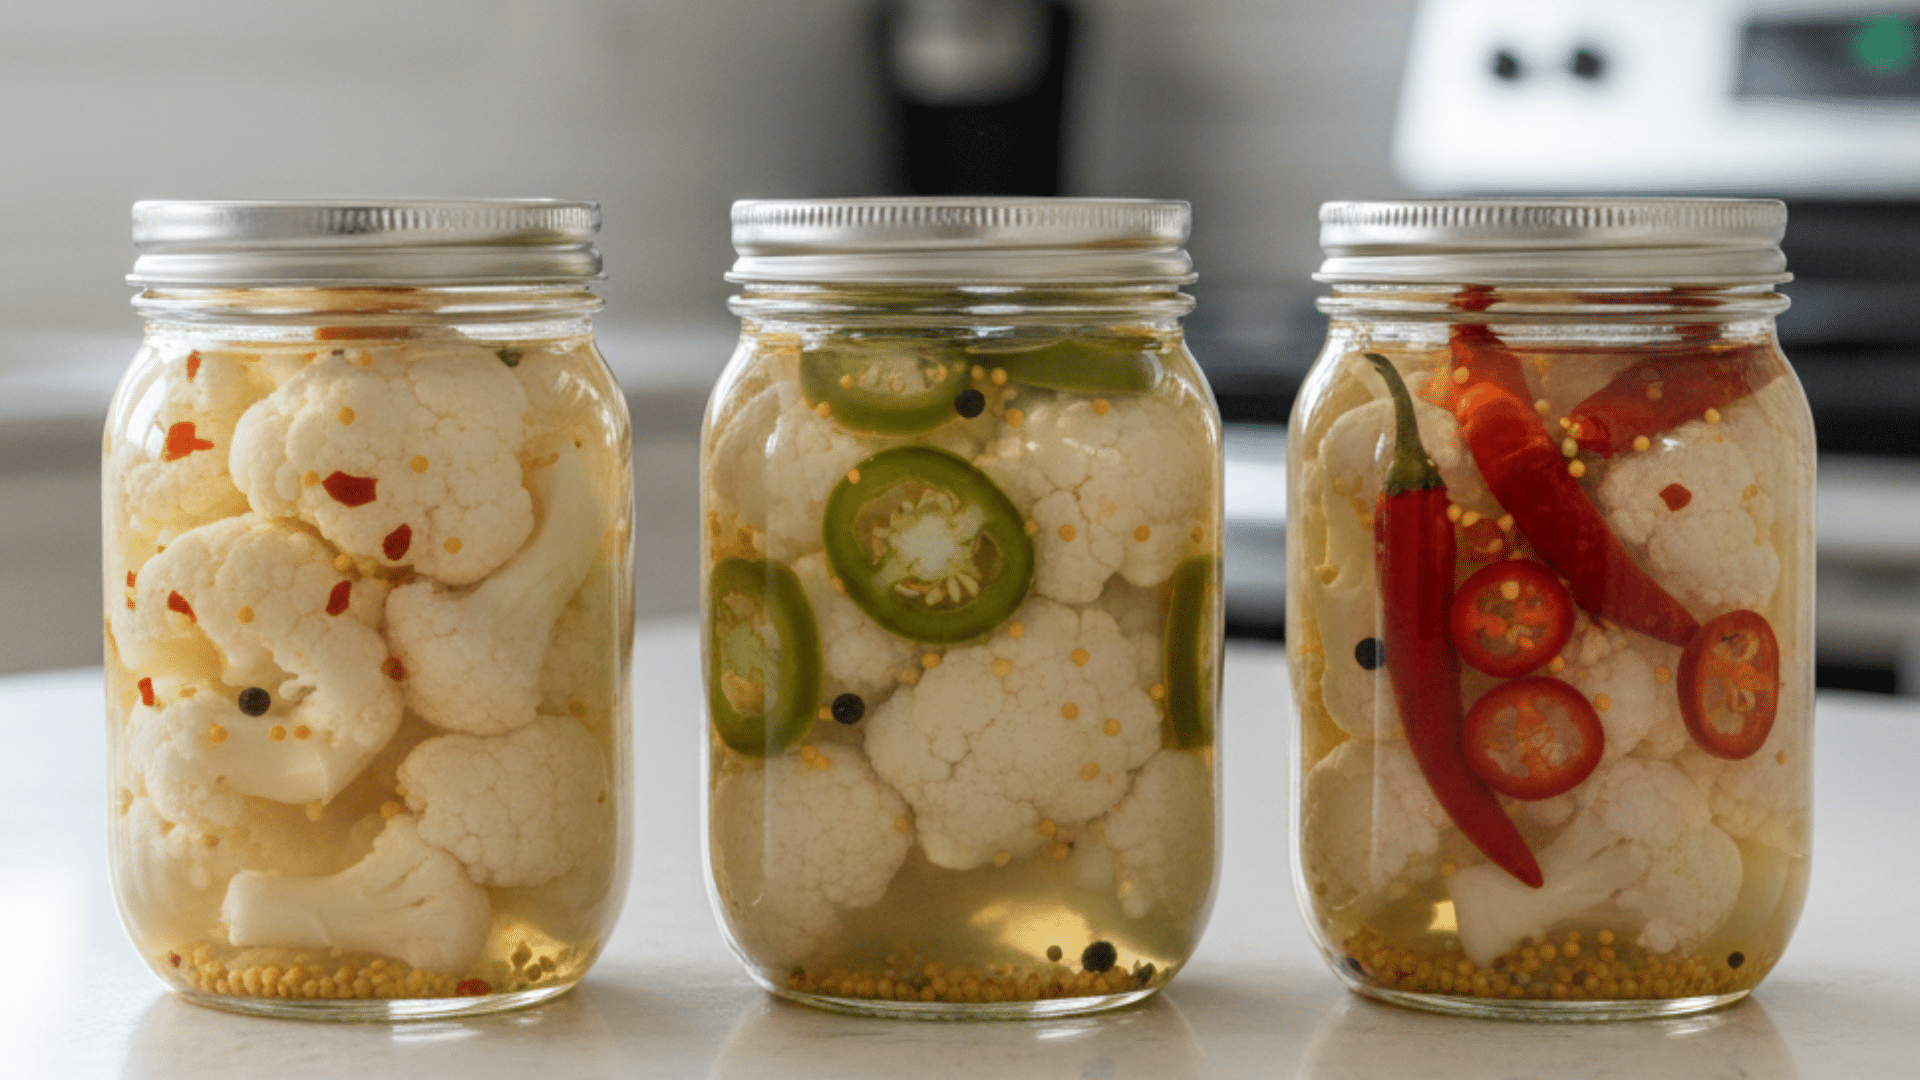
This one is for when you want heat you can actually control. The key is choosing one heat level and sticking to it, because the spice gets stronger as it sits. Keep your chiles easy to spot so nobody bites one by surprise.
If you want the safest heat, use flakes. If you want a brighter bite, use fresh jalapeño or serrano. If you want real heat, Thai or arbol chiles do the job.
Serves: About 8–10 (makes 1 quart jar)
Ingredients
- 3–4 cups cauliflower florets
- 2 cups white vinegar
- 2 cups water
- 2 tablespoons salt
- 2 tablespoons white sugar (optional)
- 1 teaspoon mustard seeds
- 1 teaspoon black peppercorns
Choose ONE heat level
- Mild: 1/2 teaspoon red pepper flakes
- Medium: 1 jalapeño or serrano, thinly sliced
- Hot: 2 Thai chiles (whole or slit) OR 2 dried arbol chiles, torn
Method
- Pack cauliflower into a quart jar.
- Add mustard seeds, peppercorns, and your chosen heat option.
- Boil vinegar, water, salt, and sugar until dissolved.
- Pour hot brine to fully cover everything.
- Release bubbles and press the cauliflower down if it floats.
- Cool, refrigerate, and wait 24–48 hours before eating.
3. Turmeric Ginger Pickled Cauliflower (Bright + Warm)
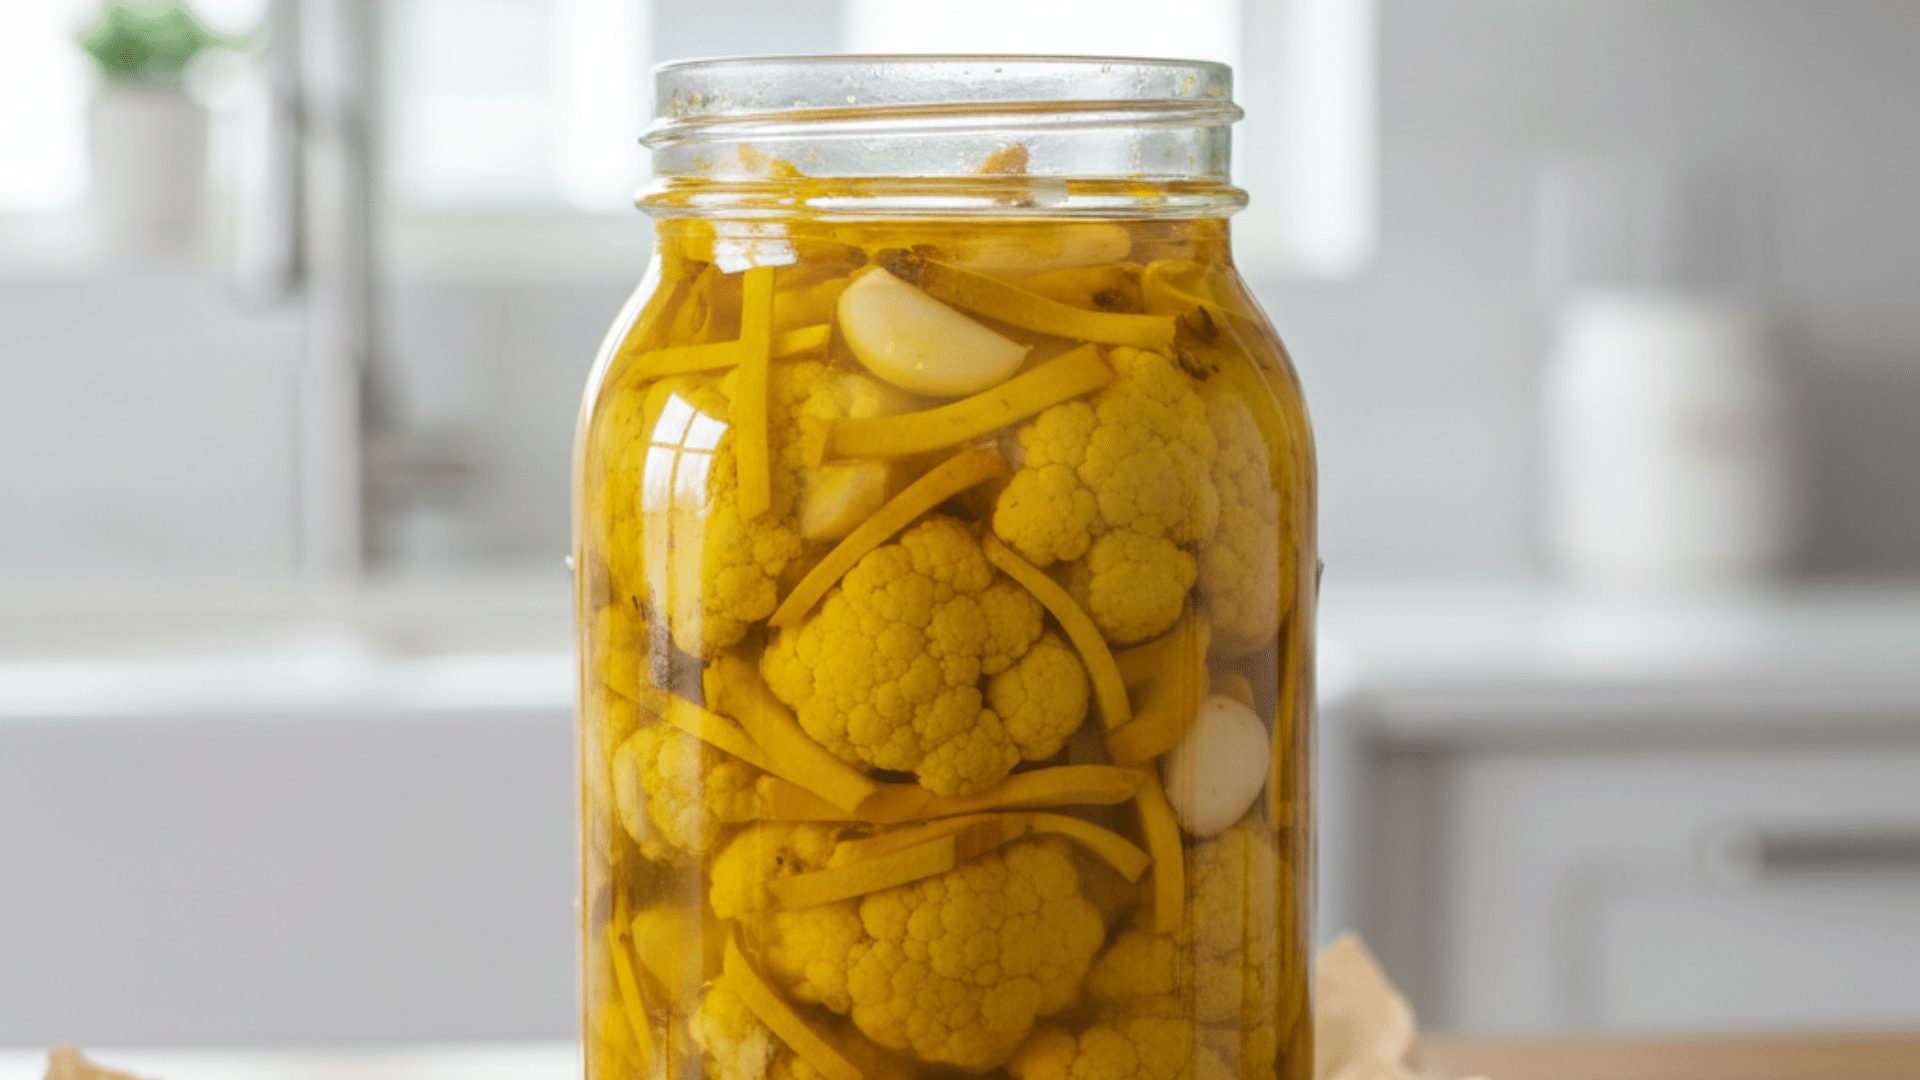
This is the golden jar that looks bold and tastes warm and sharp at the same time. Fresh ginger and turmeric give the brine a strong bite and a bright color that keeps getting deeper.
Turmeric stains fast, so protect your board with parchment and wear gloves if you care about your hands. If you cannot find fresh turmeric, you can still make a good batch using ground spices. Just start small so it does not taste dusty.
Serves: About 8–10 (makes 1 quart jar)
Ingredients
- 3–4 cups cauliflower florets
- 2 cups white vinegar
- 2 cups water
- 2 tablespoons salt
- 2 tablespoons white sugar (optional)
- 2 garlic cloves, smashed
- 2 tablespoons fresh ginger, thin slices or matchsticks
- 2 tablespoons fresh turmeric, thin slices or matchsticks
Powder swap (if needed): 1 teaspoon ground turmeric + 1 teaspoon ground ginger
Method
- Pack cauliflower into a quart jar and add garlic.
- Add fresh ginger and turmeric (or the ground spice swap).
- Boil vinegar, water, salt, and sugar until dissolved.
- Pour brine over the jar until everything is covered.
- Cool, refrigerate, and wait 48 hours for the best flavor.
4. Pickled Cauliflower and Carrots (Plus Optional Bell Pepper)
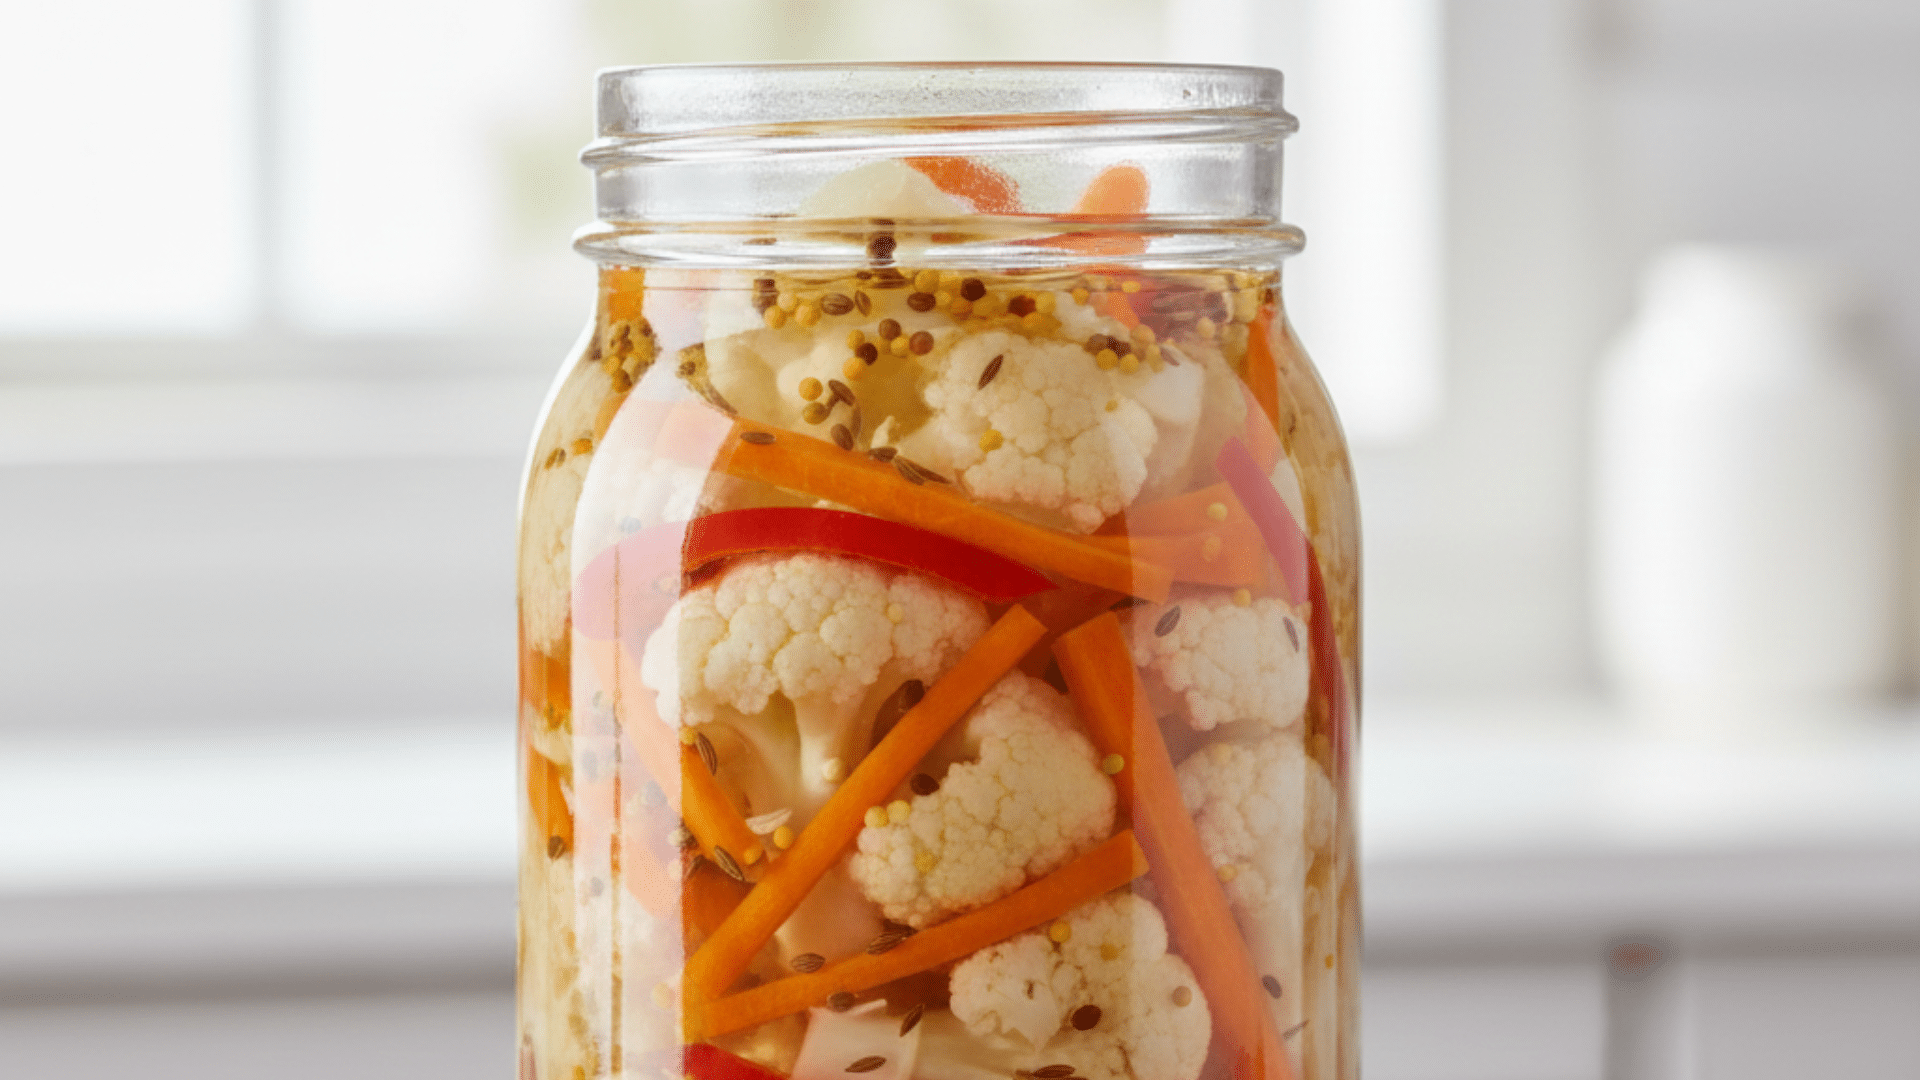
This one is perfect if you want more crunch and a jar that feels like a full pickle snack mix. The trick is cutting carrots the right way so they pickle at the same speed as cauliflower. Matchsticks or thin coins work best.
The spice blend here leans warm and a little earthy, which works really well with carrots and peppers. If you add onion and garlic, keep them sliced thin so they do not take over the jar.
Serves: About 8–10 (makes 1 quart jar)
Ingredients
- 2 cups cauliflower florets
- 1 cup carrots, cut into matchsticks or thin coins
- 1/2 cup bell pepper strips (optional)
- 2 cups white or apple cider vinegar
- 2 cups water
- 2 tablespoons salt
- 2 tablespoons white sugar (optional)
- 1 teaspoon mustard seeds
- 1/2 teaspoon coriander seeds
- 1/2 teaspoon cumin seeds
- 1/2 teaspoon turmeric
- 1/2 small onion, thinly sliced (optional)
- 2 garlic cloves, smashed (optional)
Method
- Pack cauliflower, carrots, and bell pepper into a quart jar.
- Add the spices, plus onion and garlic if using.
- Boil vinegar, water, salt, and sugar until dissolved.
- Pour hot brine to fully submerge everything.
- Release bubbles, cool, then refrigerate.
- Eat after 24 hours, best after 48 hours.
How To Store Pickled Cauliflower Safely
Before you put the jars away, follow these simple storage rules so your pickled cauliflower stays fresh, crisp, and safe to eat.
- Store only in the refrigerator. These are fridge pickles, not shelf-stable.
- Let jars cool to room temperature before refrigerating.
- Keep cauliflower fully submerged under brine at all times.
- Use clean jars, clean lids, and clean utensils every time.
- Store jars toward the back of the fridge, not in the door.
- Keep the lid tightly closed after each use.
- Eat within 2 to 4 weeks for the best taste and texture.
- Throw it out if you see mold, slime, fizzing, or smell anything off.
- Do not reuse brine for a new batch. Make fresh brine instead.
- Do not store at room temperature unless you follow a tested canning method.
Conclusion
Now you have a clear base method, plus simple ways to change the flavor without messing up the batch.
You also know how to cut florets for crunch, pack the jar so nothing floats, and scale brine so it always covers the veggies. Keep everything cold, keep it submerged, and give it at least two days for the best taste.
If you want one quick tip to remember, make your florets even and do not rush the fridge time.
Have you tried adding carrots, turmeric, or extra heat to your pickled cauliflower? Drop a comment with what you made, and check out my other blogs for more easy pickles and fridge friendly recipes.