


The information in this article is for educational purposes only and is not intended as medical advice. If you have a skin condition, are pregnant, or are under the care of a provider for any skin concern, consult a qualified professional before adding facial massage to your routine.
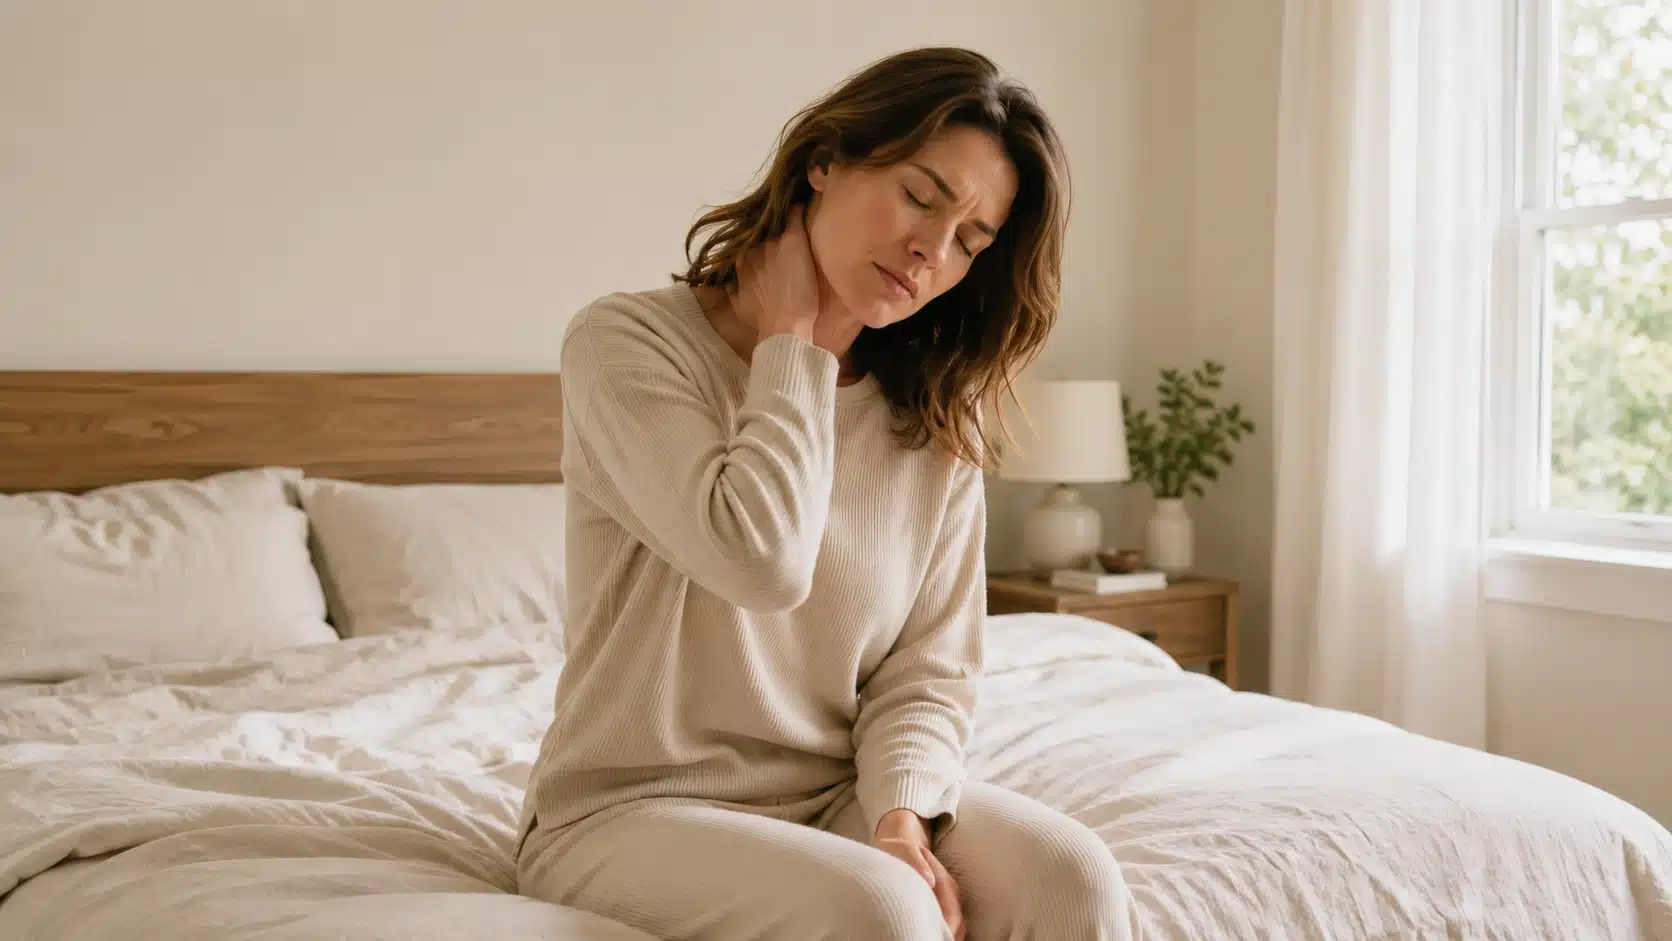
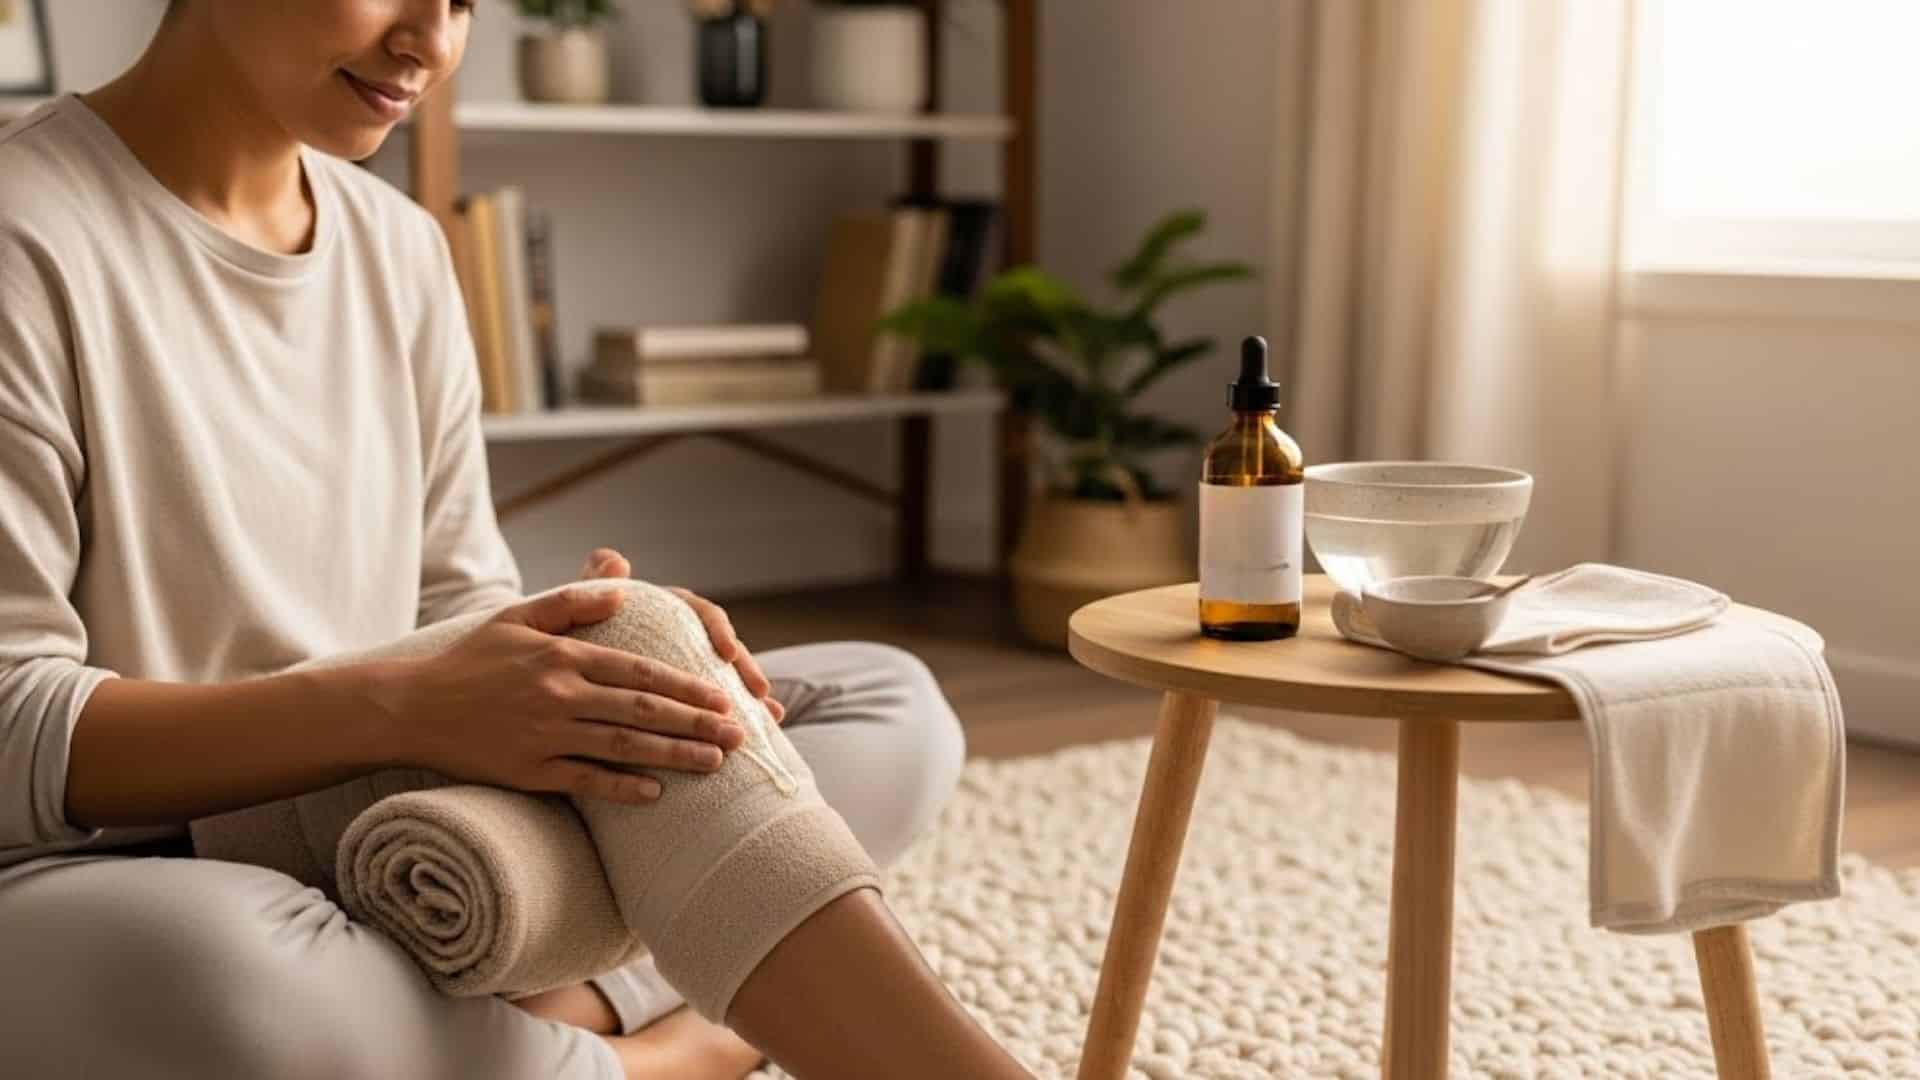
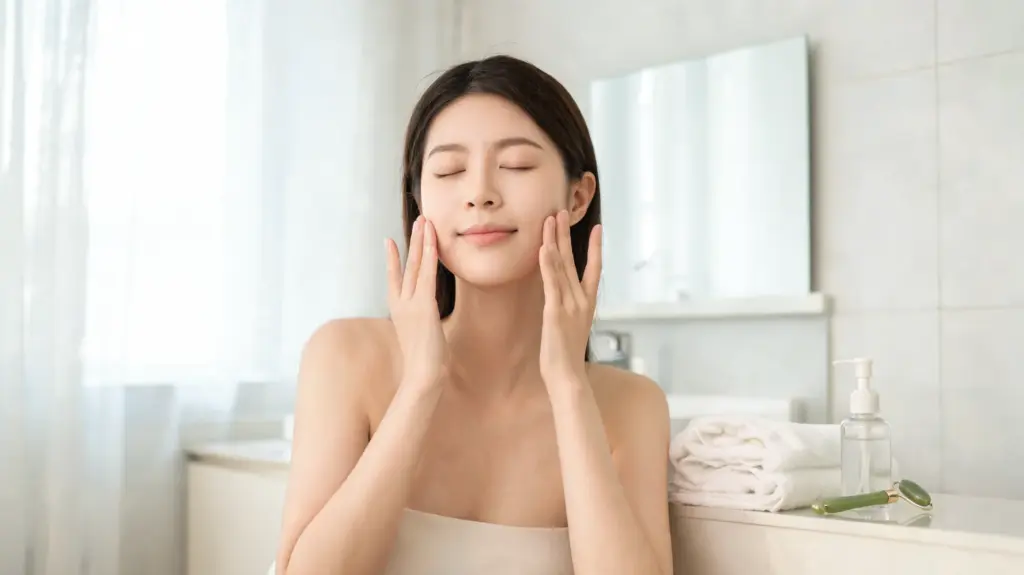
Have you ever followed a full skin care routine and still looked tired, puffy, or like your skin just was not responding? I have been there too. The missing piece for me was not another product. It was tough. Face massage is one of the oldest wellness practices in Ayurvedic care, and yet most people skip it entirely or do it wrong without realizing it.
The problem is that pressure, direction, and timing all matter. Done gently and consistently, facial massage benefits go far beyond relaxation.
Here, you’ll learn what facial massage does, when to do it, the main types, face massage benefits, simple area-by-area steps, tools, mistakes, and safety tips.
What Is Facial Massage and What Can It Really Do?
Facial massage uses your hands or a tool to apply light pressure and movement across the face, jaw, neck, and sometimes the scalp. It may help with puffiness, circulation, tension, product spread, and relaxation.
It does not change your bone structure. It also does not replace medical skin care, acne treatment, or aftercare from a licensed provider.
Think of it as skin support. Some changes, such as reduced puffiness, may be short-term. Other benefits, like a calmer routine or less jaw tightness, may feel better when you do it often and gently.
In Ayurveda, this kind of intentional touch has been part of self-care for thousands of years; the practice treats the skin as a vital organ that responds to consistent, loving attention.
- Best for: puffiness, dull-looking skin, jaw tightness, stress, and product spread
- Not for: painful acne, irritation, fresh procedures, broken skin, or unknown swelling
- Main method: gentle upward, outward, and drainage-focused strokes
- Best mindset: skin comfort, not permanent face reshaping
Once the basics are clear, timing matters next. A good massage can feel helpful, but doing it at the wrong time or with too much pressure can leave skin irritated.
When Should You Do a Face Massage?
Face massage works best when your skin is clean, calm, and not irritated. Timing should match your skin type, your schedule, and how much pressure your face can handle without redness or soreness.
Morning Massage for Puffiness: A morning massage can help when your face looks puffy from sleep, salt, allergies, or fluid that sits overnight. Keep it short and light. Move from the center of your face toward the ears, then down the neck. The result may not last all day, but it can help your face look more awake.
Night Massage for Tension: Night massage works well when your jaw, brow, or temples feel tight. Use a moisturizer, serum, or facial oil so your fingers glide without pulling. Slow circles around the jaw and brow can help you relax before bed and make the routine feel less rushed.
Start with 2 to 5 minutes, a few times per week. Daily massage can work if your pressure stays gentle and your skin feels calm.
Skip it if you have painful acne, sunburn, rash, infection, broken skin, recent procedures, or unexplained swelling.
If soreness, stinging, bruising, or additional breakouts appear, stop and give your skin a break. After timing comes technique. The type of facial massage you choose affects how the massage feels and which benefit you may notice first.
Types of Facial Massage Worth Knowing
Not every approach works the same way, and choosing the right one for your goal makes the routine more effective. Some focus on fluid movement, some on releasing tension, and others mainly on spreading the product smoothly across the skin.
| Type | Best For | How It Works | Best Tool |
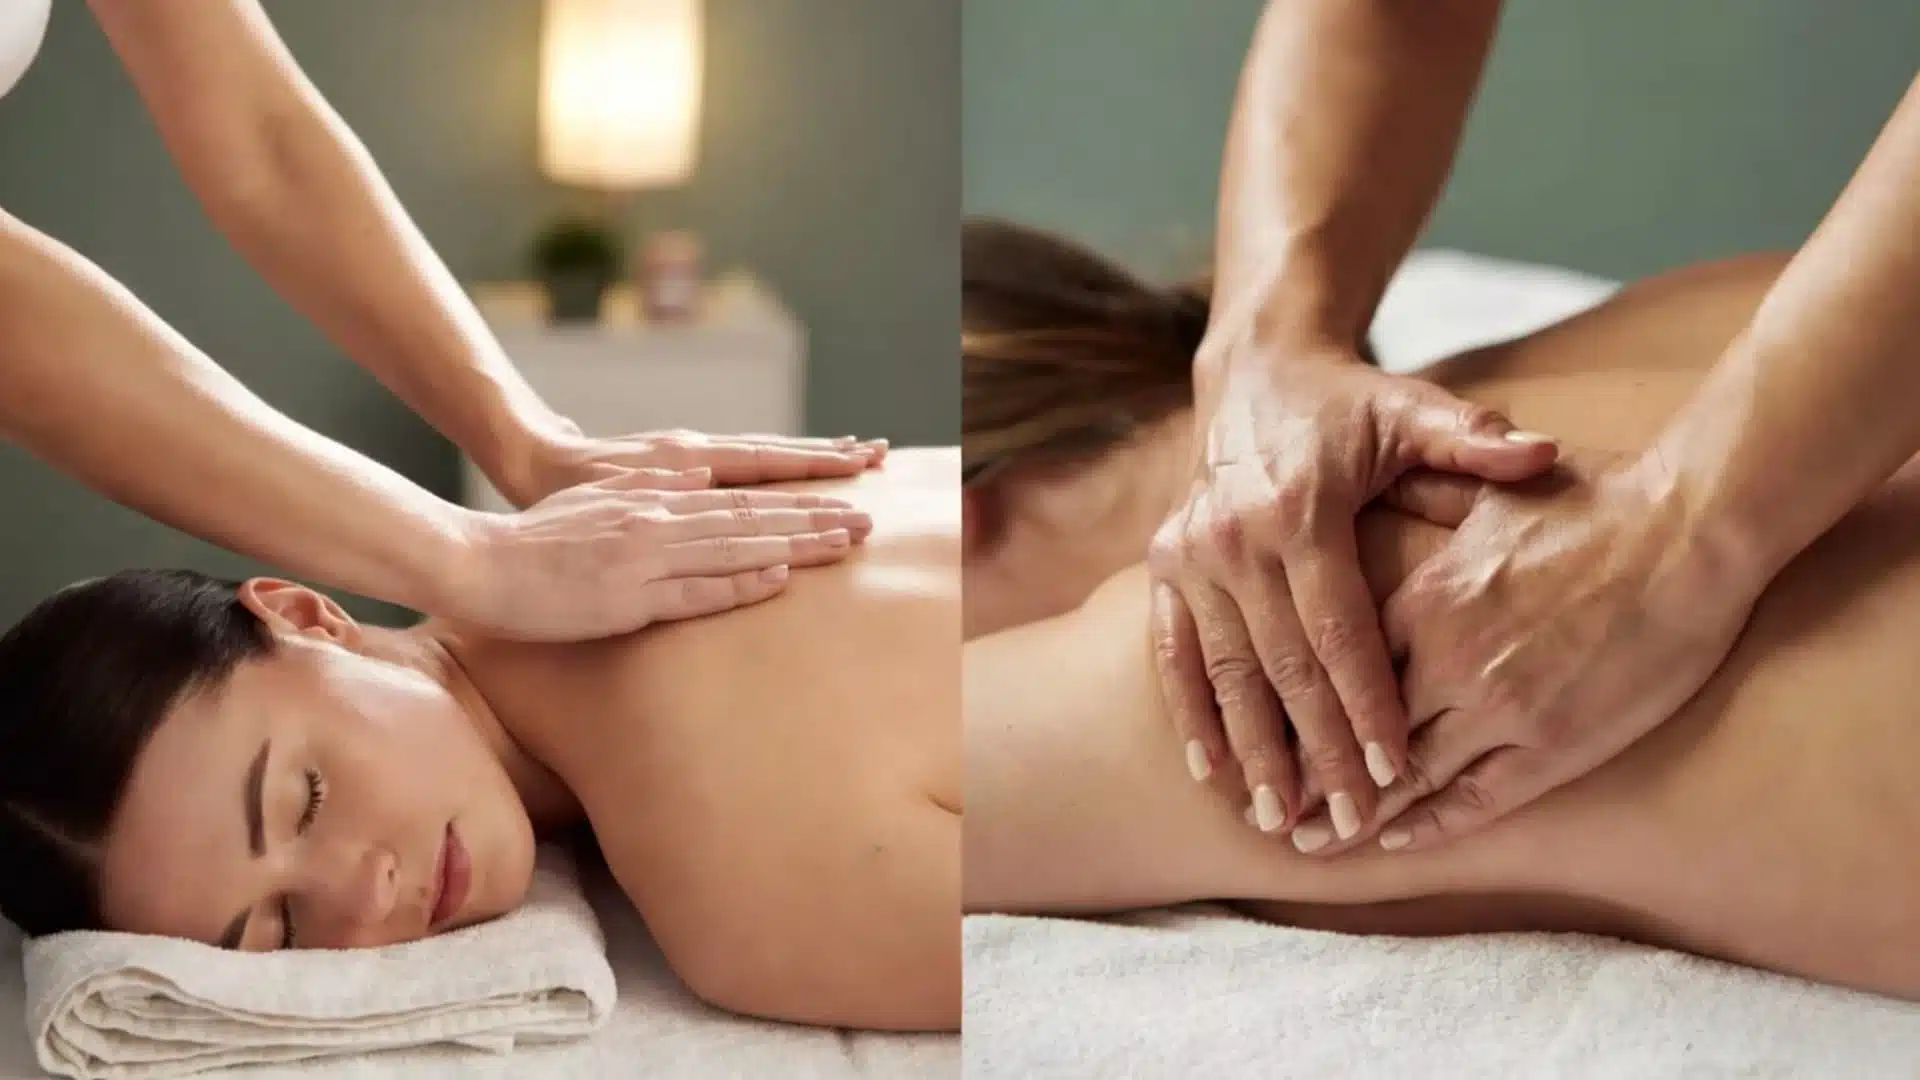
| Manual massage | Tension, product spread, and general care | Fingers glide in slow, deliberate strokes | Hands |
| Lymphatic-style massage | Puffiness and fluid buildup | Light sweeping motions toward drainage points | Hands or roller |
| Gua sha massage | Tension and a more defined look temporarily | Flat tool glides with oil across skin | Gua sha stone |
| Face roller massage | Quick cooling and mild puffiness care | Rolling motion outward across the skin | Jade or rose quartz roller |
| Acupressure-style massage | Localized tension points | Gentle sustained pressure on set areas | Fingertips |
Each type has its place. Many people combine manual massage with one tool, depending on the day and how much time they have. Once you know the type, the benefits become much easier to understand in context.
11 Real Face Massage Benefits for Skin and Wellness

Facial massage benefits depend on your technique, skin type, pressure, and consistency. Some results may show quickly, while others take steady practice. Face massage will not change your face shape, but it may reduce puffiness, relax tight muscles, and help your skin look fresher.
1. Natural Depuffing Without Products
Light drainage strokes can help move fluid away from puffy areas, especially around the cheeks, jaw, and under the eyes. Move from the center of your face toward the ears, then down the neck.
This simple motion may help your face look fresher within minutes, without relying on a separate depuffing cream.
2. Visible Skin Toning Over Time
Gentle upward and outward strokes may support the muscles beneath your skin when done often. This does not tighten skin permanently or change your face shape.
Still, steady massage can help your face look more rested and cared for, especially when paired with good sleep, hydration, and a simple skin routine.
3. Natural Circulation Support
Soft pressure can bring more blood flow to the skin surface, which is why your face may look warmer after a massage. This can help dull or tired-looking skin appear more awake.
Keep the pressure light, though. Redness should fade quickly and should never turn into soreness, stinging, or lasting irritation.
4. Fine Line Softening Through Muscle Release
Face massage may soften the look of lines caused by repeated muscle tension. The brow, forehead, jaw, and mouth area often hold stress from frowning, squinting, or clenching.
Gentle circles can relax those tight spots. Massage will not erase deeper lines, but it can help your face look less tense.
5. Better Product Spread
Massage helps serum, oil, or moisturizer spread more evenly across your skin. It does not push ingredients deeper than your skin allows, but it can improve contact and reduce product waste.
Use enough slip before you start, so your fingers glide smoothly instead of tugging or pulling at the skin.
6. Jaw Tension Relief
The jaw often holds stress from clenching, screen time, posture, or sleep grinding. Small circles near the jaw joint and along the jawline can ease that tight feeling.
Use moderate pressure only if it feels comfortable. If the area feels sore, switch to lighter strokes and give your face time.
7. Sinus Comfort Support
Light strokes from the sides of the nose across the cheeks and down the neck may help your face feel less heavy during mild congestion.
This does not treat an infection or replace care from a provider. Still, gentle movement can help ease discomfort when sinus pressure makes your cheeks feel tight.
8. Collagen Support Through Circulation
Massage is not a collagen treatment, and it cannot replace proven skin care or professional care. Still, better blood flow may support normal skin function because skin cells need oxygen and nutrients.
Think of facial massage as a supportive habit that may help your skin feel healthier over time.
9. Temporary Sculpted Look
When puffiness lowers and jaw tension eases, your face can look slightly more defined for a short time. Cheekbones may look clearer, and the jawline may look cleaner.
This effect comes from fluid movement and muscle relaxation, not bone changes. Repeat it gently when your skin feels calm.
10. Skin Barrier Support
Using enough slip during massage helps reduce friction from daily product application. Less rubbing and pulling can support the skin barrier, especially if your face gets dry, red, or sensitive.
Choose a moisturizer, serum, or oil that suits your skin, then move slowly instead of rushing through it.
11. Easier Skin Change Checks
Regular massage helps you notice how your skin normally feels under your fingers. Dry patches, tender spots, rough texture, or new sensitivity become easier to catch early. This can help you change products, reduce pressure, or pause the massage before a small issue turns into a bigger irritation.
These benefits work best with light pressure and a clear, consistent approach. The next step is learning how to actually move through each area of the face.
How to Work Through Each Part of Your Face
A good face massage should feel comfortable the entire time, never tight, stinging, or sore.
Start with clean hands and clean skin, and make sure you have enough slip from a moisturizer, facial oil, or serum so fingers glide freely without any pulling sensation.
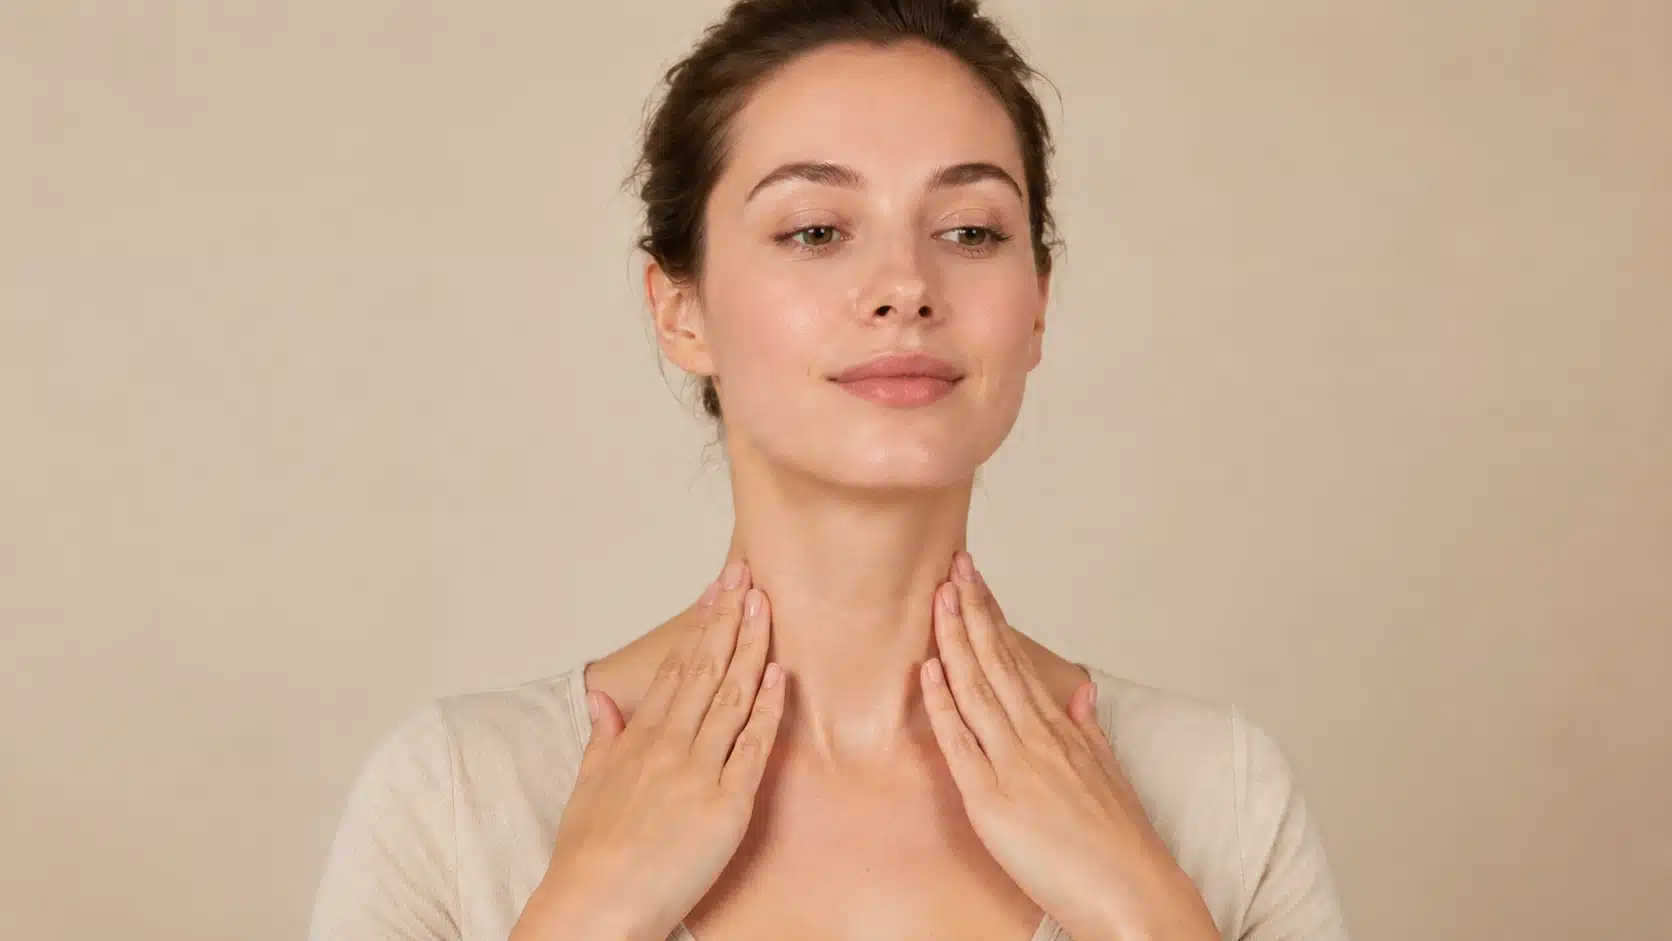
Step 1: Start at the Neck and Collarbone
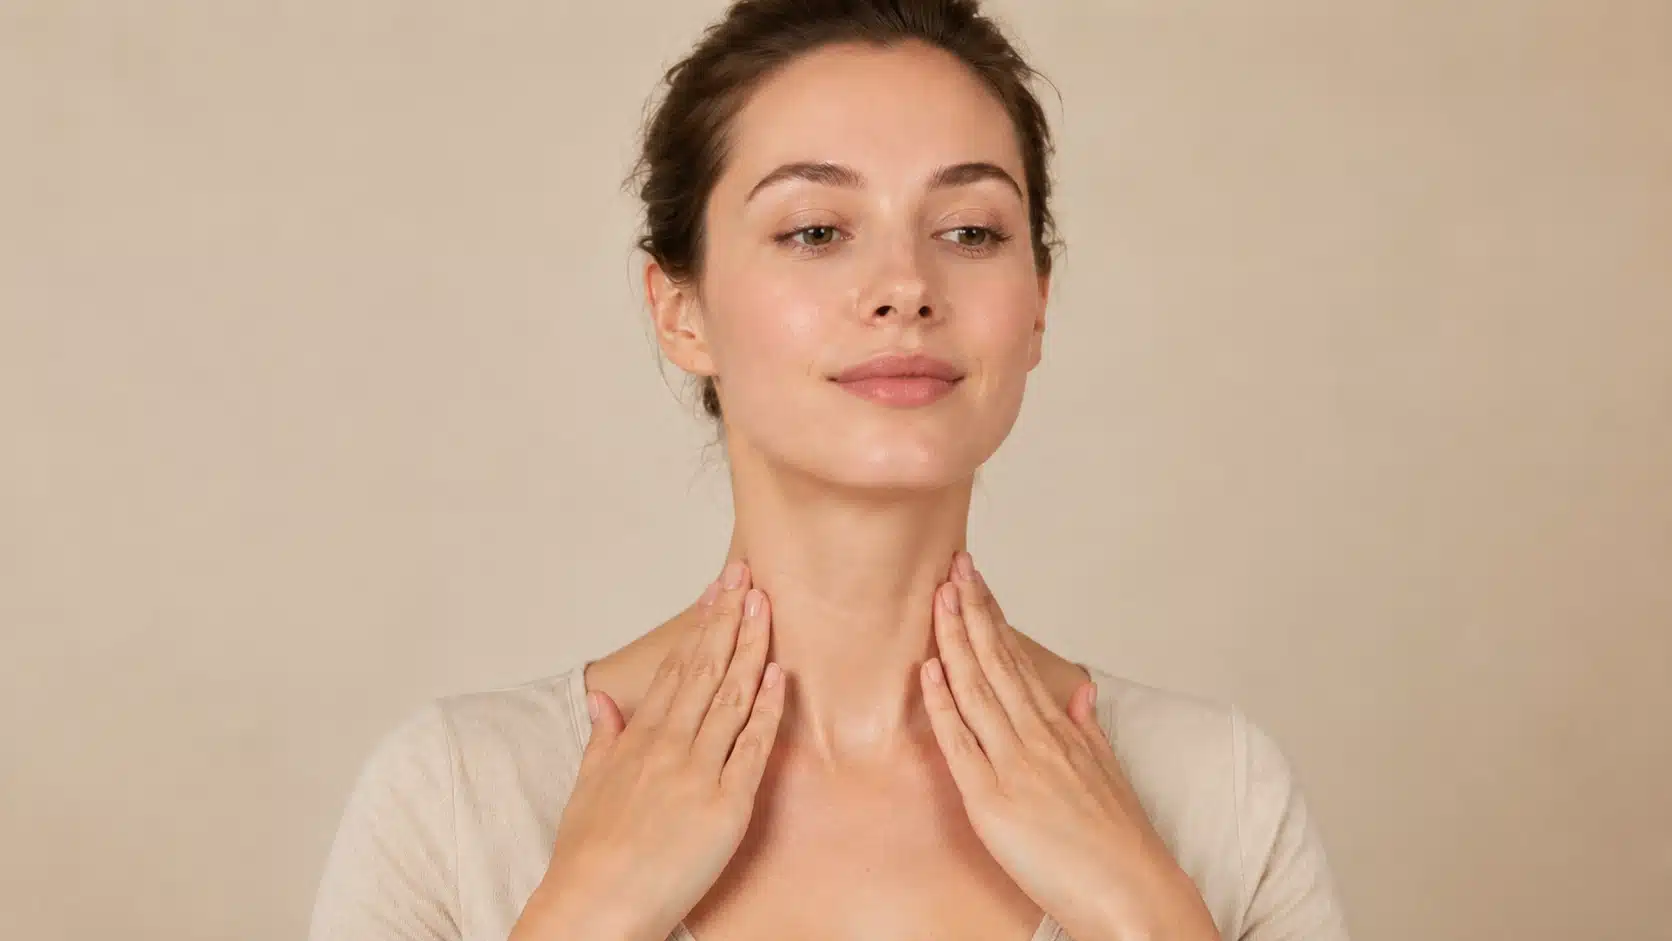
Begin with light downward strokes along the sides of the neck, moving toward the collarbone.
This opens the drainage pathway before working upward on the face. Skipping the neck means fluid from the face has nowhere to move toward.
Step 2: Move Along the Jawline and Chin
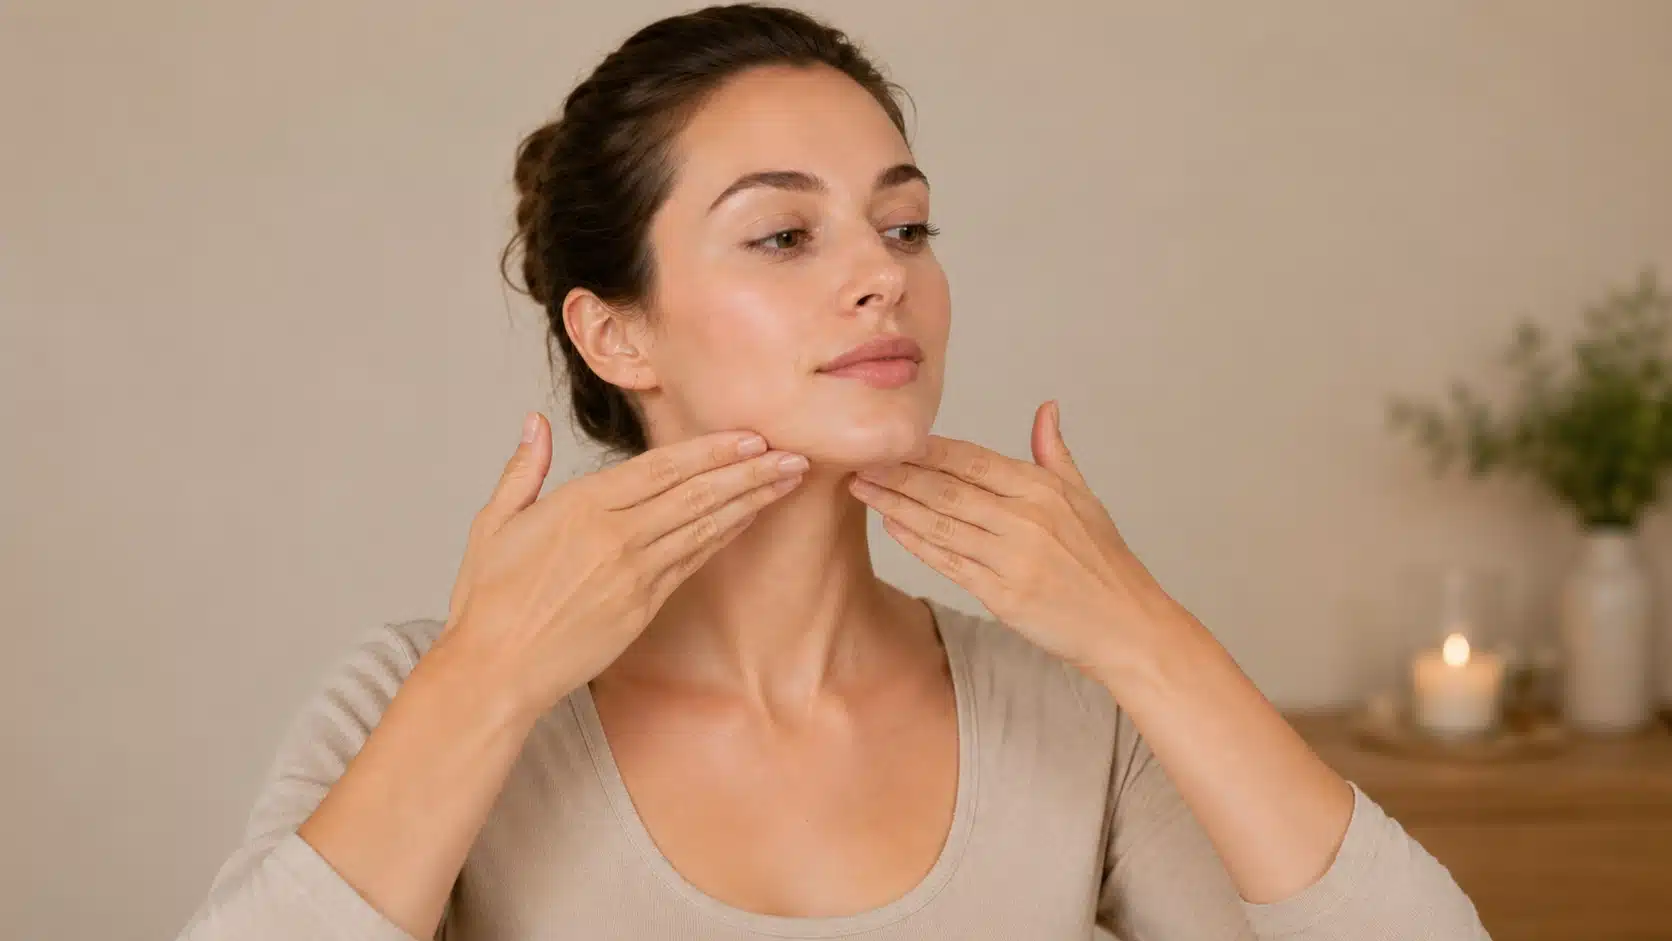
Place both thumbs under the chin and sweep outward along the jawline toward the ears using light upward pressure. Follow with small, gentle circles directly over the jaw muscles on both sides. Keep pressure moderate and never dig into the jaw.
Step 3: Sweep Across the Cheeks and Cheekbones
Starting from the sides of the nose, sweep outward across the cheeks toward the ears using flat fingers. This outward motion follows the direction of lymphatic drainage. Use lighter pressure on sensitive skin and move slowly rather than quickly.
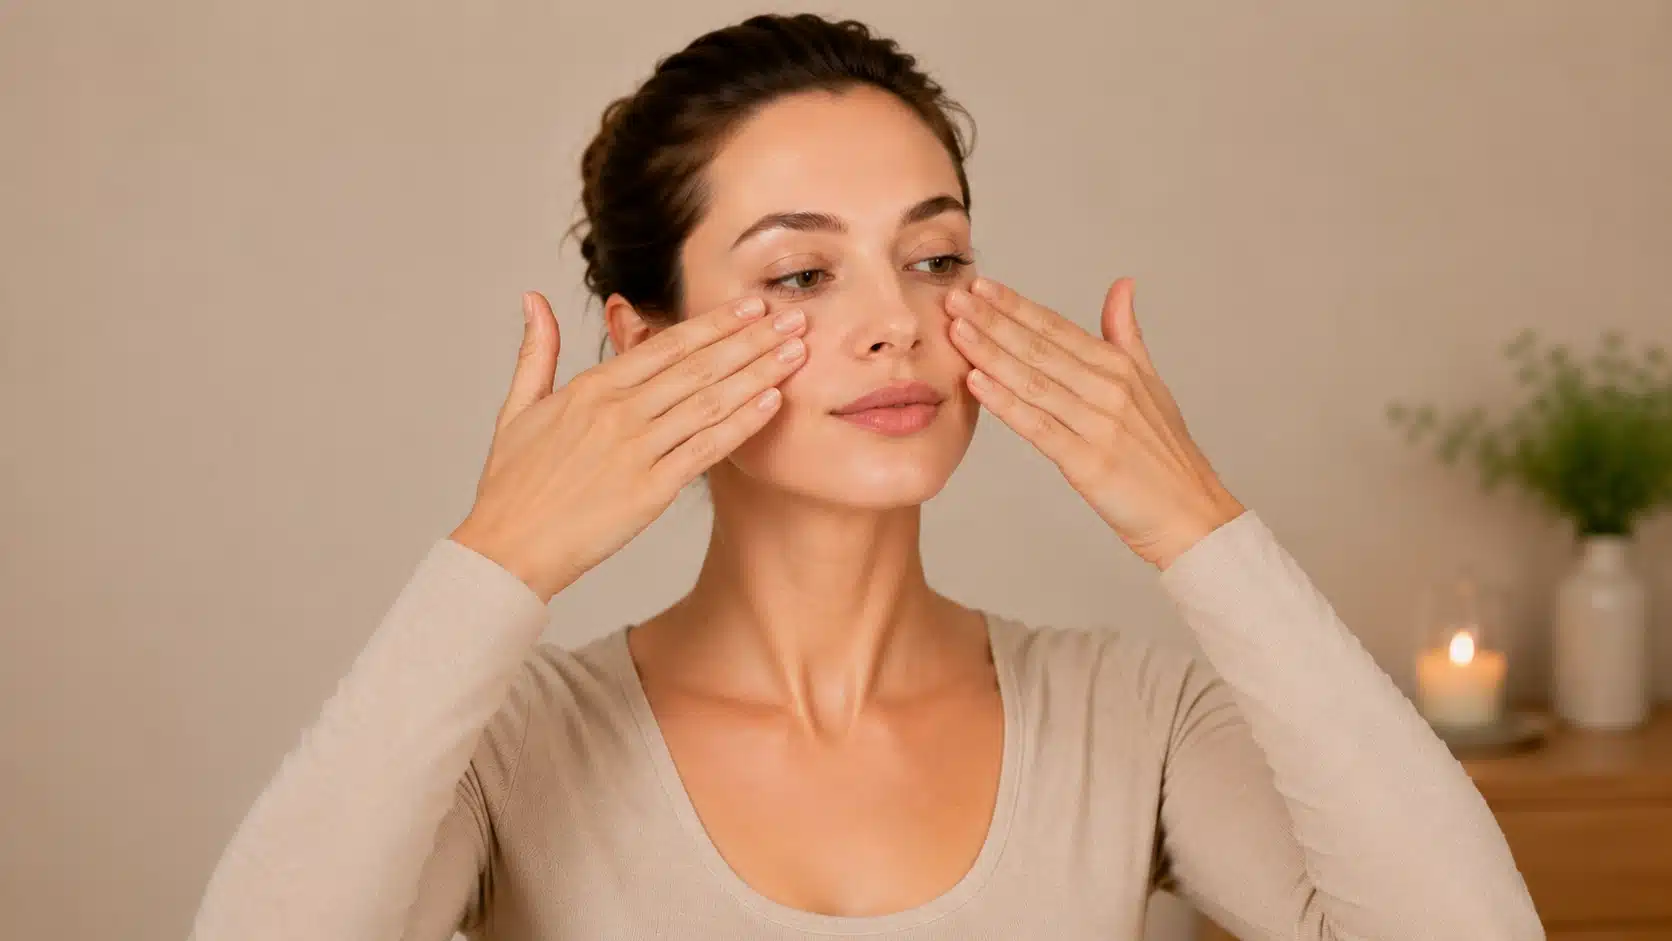
Step 4: Massage the Under-Eye Area Gently
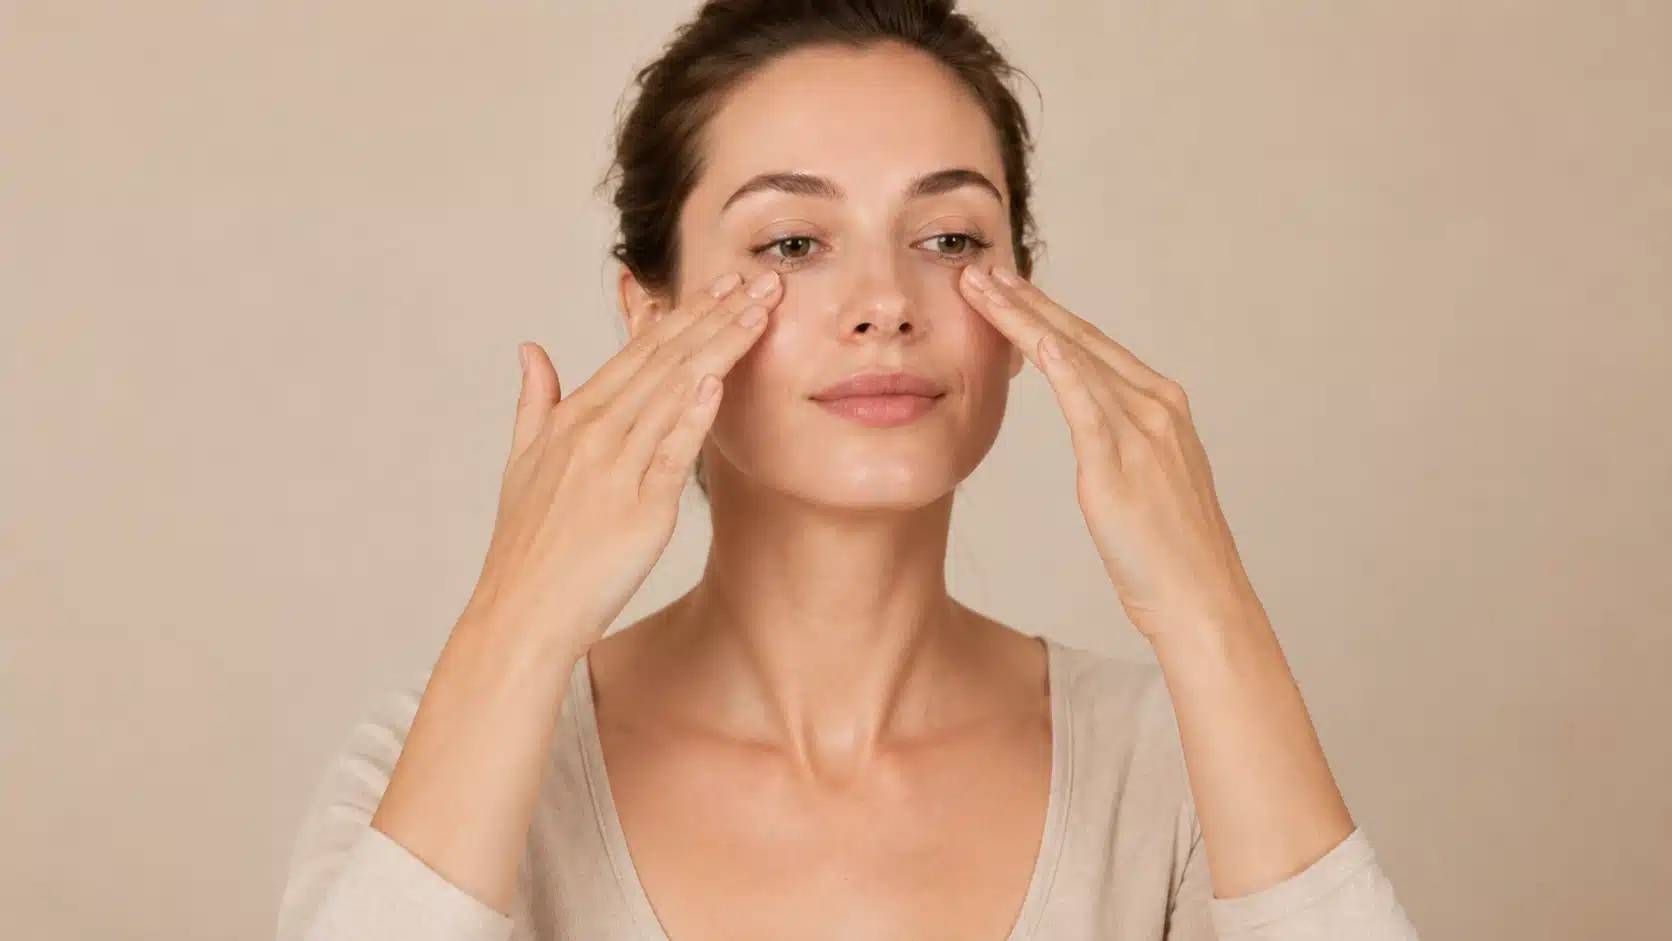
Use ring fingers only in this area since they naturally apply the least pressure. Move from the inner corner of the eye outward along the orbital bone toward the temple.
Never drag back and forth aggressively under the eye, as the skin here is the thinnest on the face.
Step 5: Relax the Forehead and Brow Area
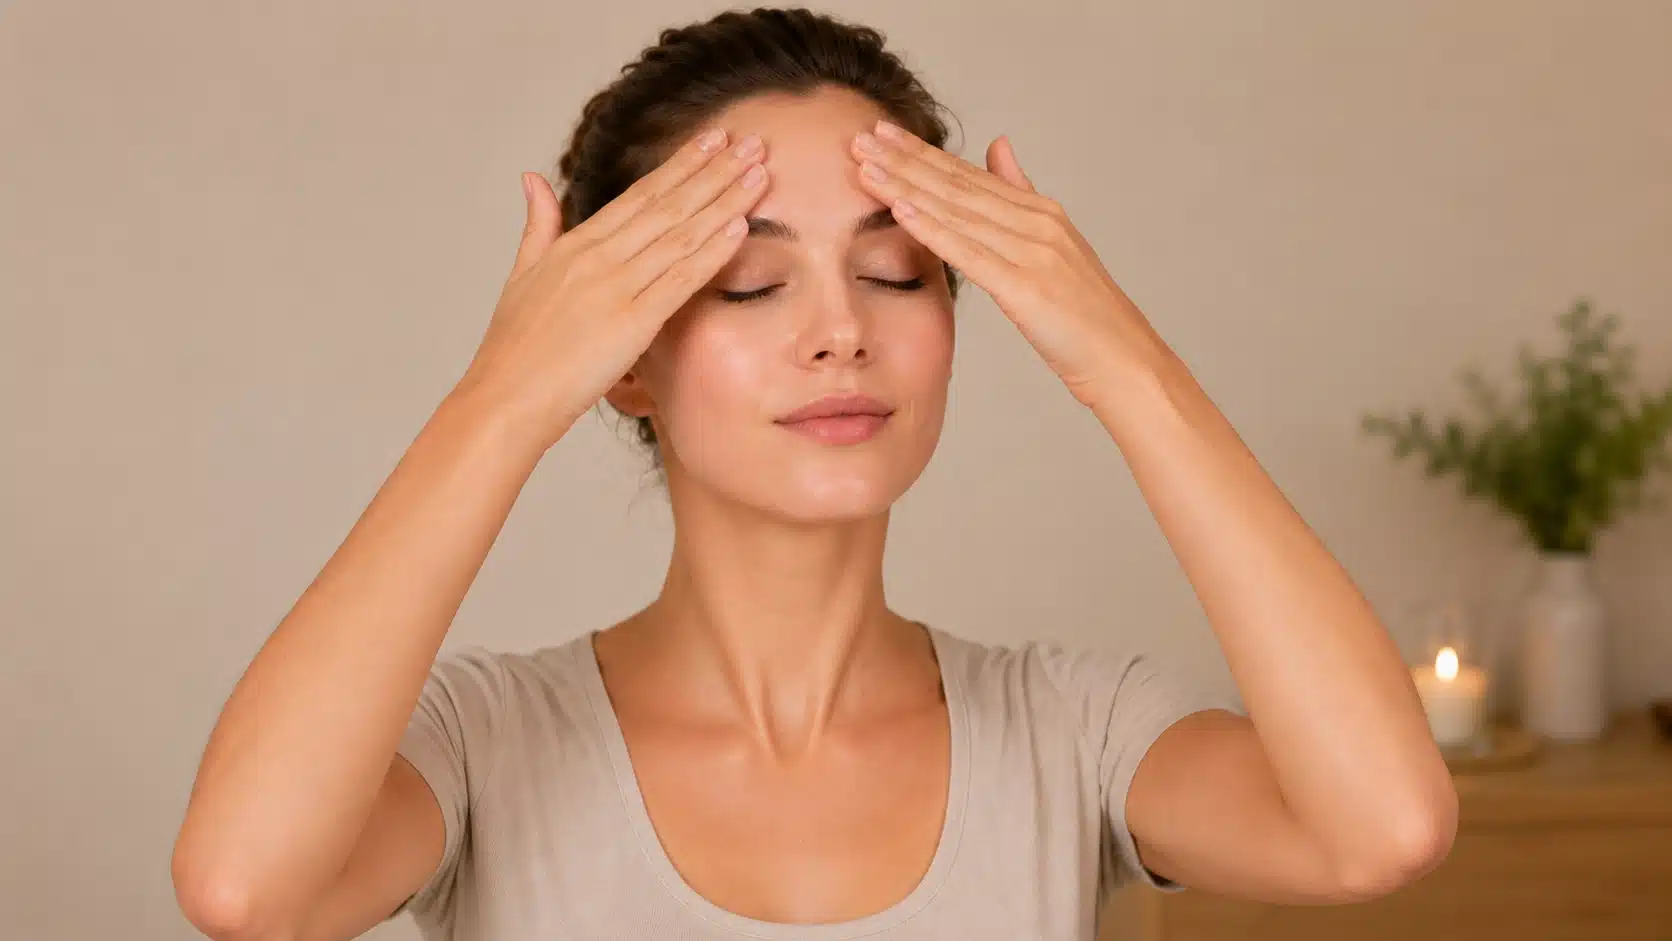
Use flat fingers to make slow upward strokes from the brows toward the hairline. Follow with small gentle circles starting between the brows and moving outward. Keep all pressure light, especially near the eye area.
Step 6: Finish With Downward Neck Strokes
End exactly where you started. Light strokes downward along the sides of the neck complete the drainage flow and signal the end of the routine. This closing step is often skipped, but it helps the whole sequence feel complete and connected.
Once this hand-based routine feels comfortable, tools can support the practice without replacing it.
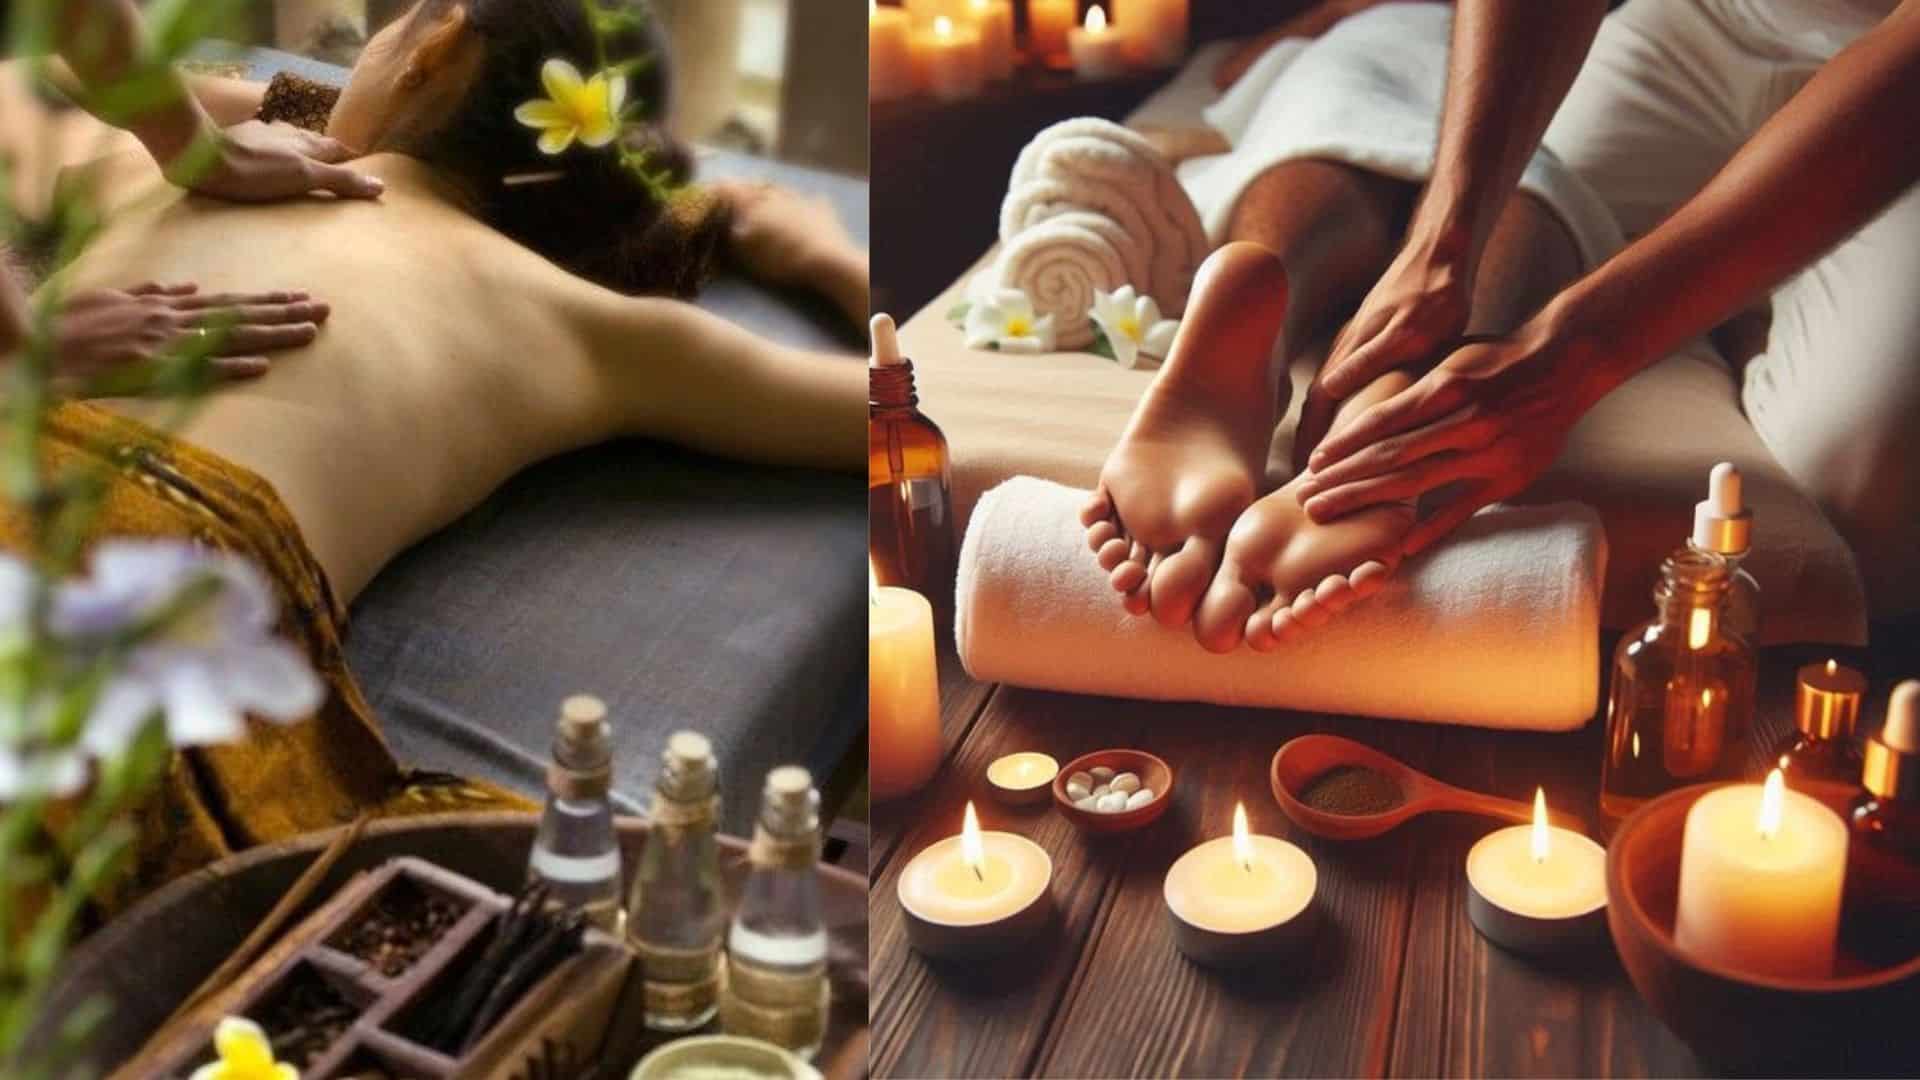
Tools That Help and How to Use Them Safely
Your hands are genuinely enough for a complete face massage. Tools may add cooling, a different pressure quality, or a smoother glide depending on the product and your skin.
The key is choosing tools that suit your skin rather than ones that simply look good online.
| Tool | Best Use | Pressure Level | Key Tip |
| Hands | Full routine and tension points | Light to medium | Always use a slip to avoid pulling on skin |
| Face roller | Cooling and mild puffiness care | Light | Roll outward, then down the neck, never back |
| Gua sha | Tension and a defined look | Light to medium | Keep the tool flat and the skin well-oiled |
| Chilled spoon | Quick eye area cooling | Very light | Avoid pressing hard on the orbital bone |
| Silicone brush | Gentle surface massage | Very light | Clean thoroughly after every use |
A few technique rules that apply regardless of tool: always move outward and upward on the face and downward on the neck. Never scrape hard enough to create redness that does not fade.
Never drag any tool on dry skin. Clean tools after each session so product buildup does not transfer back to the skin the next day.
Tools are helpful, but they also make it easier to press too hard without realizing it. Knowing the common mistakes before starting saves a lot of frustration.
What Oil or Product Should You Use for Slip?
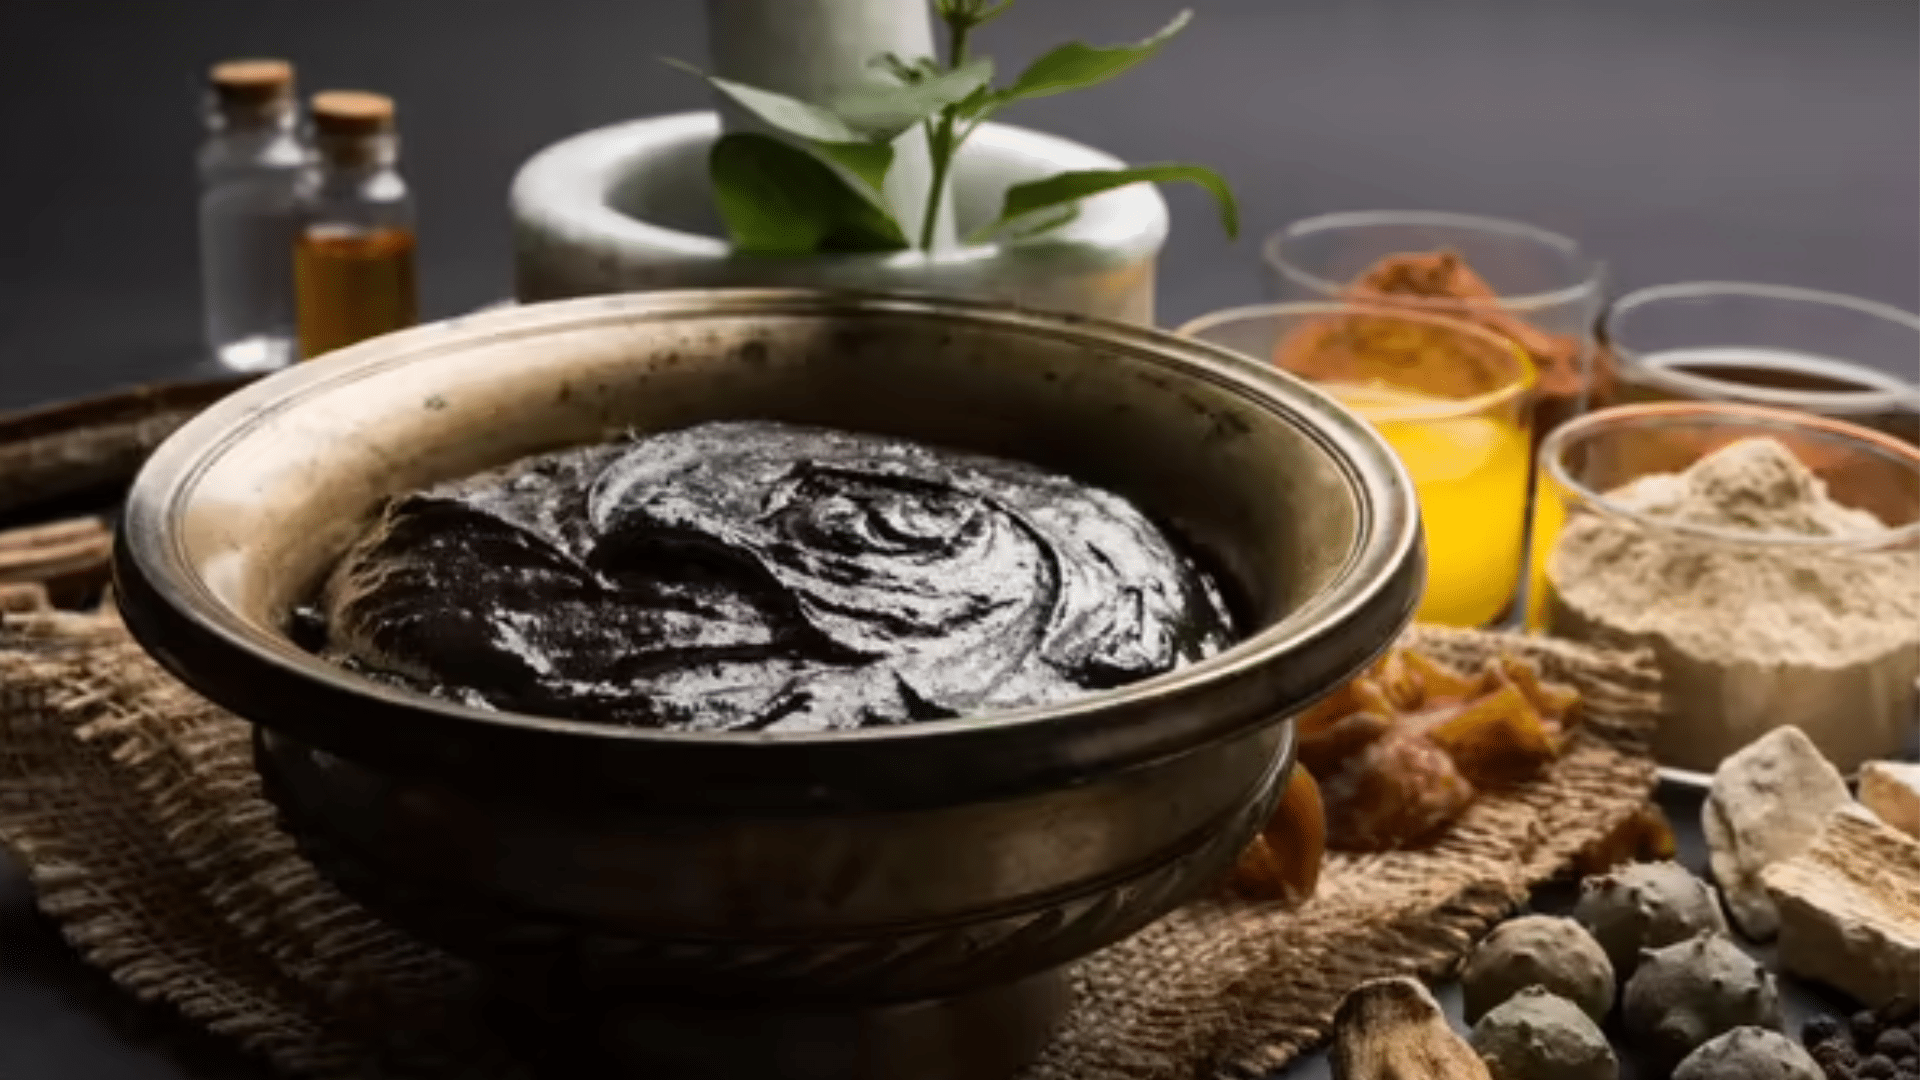
This is one of the most practical questions I get, and it is worth addressing directly before covering mistakes. You need something that lets your fingers or tool glide freely without dragging skin. A light facial oil, serum, gel moisturizer, or cream all work. If your skin clogs easily, choose a non-comedogenic option.
In Ayurveda, the choice of oil is taken seriously and matched to your dosha and the season. Sesame oil is warming and grounding for drier Vata skin, while lighter options like sunflower or jojoba suit more reactive Pitta skin. Whatever oil you choose, the quality matters as much as the type.
Best rosehip oils for facial care is a good starting point if you want a lightweight, non-comedogenic option that works for most skin types. Whatever you choose, apply it before you begin, not halfway through.
Common Mistakes to Avoid
Face massage should leave your skin calm and comfortable. Mild redness that fades fast is normal, but soreness, stinging, sensitivity, or breakouts usually mean your pressure, timing, or product needs adjustment.
- Pressing too hard: Facial skin only needs light pressure. Too much force can cause soreness, broken capillaries, and bruising, especially around the eyes and cheeks.
- Massaging dry skin: Never drag fingers across bare skin. Use oil, serum, or moisturizer first so your hands glide without pulling.
- Using dirty tools: Wash gua sha stones, rollers, and brushes after every use. Product buildup can move bacteria back onto your skin.
- Massaging active acne: Skip painful or inflamed breakouts. Pressure can irritate the spot and spread bacteria to nearby pores.
- Starting with long sessions: Begin with two to five minutes. Long sessions can leave beginner skin red, sore, or overstimulated.
- Skipping the neck: Start and end at the neck. This helps fluid move downward instead of staying on the face.
- Using strong actives first: Avoid retinol, exfoliating acids, or strong vitamin C before massage. Use a calming moisturizer or oil instead.
When pressure stays light, and skin leads the pace, face massage fits into a daily routine without adding stress or causing damage. That steady, gentle approach is where the real benefits of face massage live over time.
Frequently Asked Questions
What should I use for slip during a face massage?
Use a product that lets your fingers glide without pulling your skin. A light facial oil, serum, gel moisturizer, or cream can work well. If your skin clogs easily, choose a non-comedogenic product and avoid heavy oils that feel greasy or sit on top.
Can I do a face massage before makeup?
Yes, you can do a short face massage before makeup if your skin handles it well. Keep pressure light, use a small amount of product, and give your skin a few minutes to settle. If your face gets red easily, do it at night instead.
Should I wash my face again after a facial massage?
You usually do not need to wash again if you used clean hands, clean tools, and a skin care product that suits your face. Wash again only if the product feels too heavy, your skin feels greasy, or you used a massage oil you do not want under other products.
Wrap Up
Getting the most from face massage benefits is not complicated, but it does take patience and consistency. The process is simple: check your skin, choose the right time, use enough slip, move in the right direction, keep pressure light, and finish at the neck every time.
Some facial massage benefits appear quickly, such as reduced morning puffiness or jaw relief. Others, a steadier glow, better product performance, and skin that feels genuinely cared for, come from making it a regular part of your routine. Consistency matters more than duration. Five calm minutes done four times a week will outperform a twenty-minute session you do once and forget.
I would love to know where you are starting. Are you dealing with jaw tension, morning puffiness, or just wanting a calm skin care moment? Drop your experience or question in the comments below.