


I used to think splits were only for dancers or super flexible people. Turns out, that’s not true at all.
You can learn how to do the splits for beginners at any age, no special background needed. I started from scratch, and I’m here to help you do the same.
In this post, I’ll show you a simple routine you can follow daily. You’ll learn which stretches matter, how to stay safe, and how to keep making progress.
We’ll also cover tips for staying motivated and what to do once you’ve got the basics down. If you’ve been curious but didn’t know where to start, this guide is for you. Let’s take it one step at a time.
Are the Splits Right for You?
Learning the splits offers real advantages for your body. Your overall flexibility improves significantly with regular practice.
This increased flexibility helps prevent injuries during daily activities. Your posture becomes better as tight hip muscles loosen up.
Balance improves when your leg muscles work more efficiently together. Many people notice a reduction in lower back pain after gaining hip flexibility.
Most people can safely work toward the splits. However, some conditions require extra caution or medical clearance first.
Avoid split training if you have recent hip, knee, or back injuries. Pregnancy may limit certain stretching positions, so consult your doctor.
People with joint conditions should get professional guidance before starting. Listen to your body and stop if you feel sharp pain.
These are the three common types of splits:
- Front splits: One leg forward and one leg back; usually the easiest for beginners.
- Middle splits: Both legs extended to the sides; takes more time and hip flexibility.
- Oversplits: Go beyond 180° using elevation; best for advanced practice only.
How to Do the Splits for Beginners: Daily Routine (10–15 Minutes)
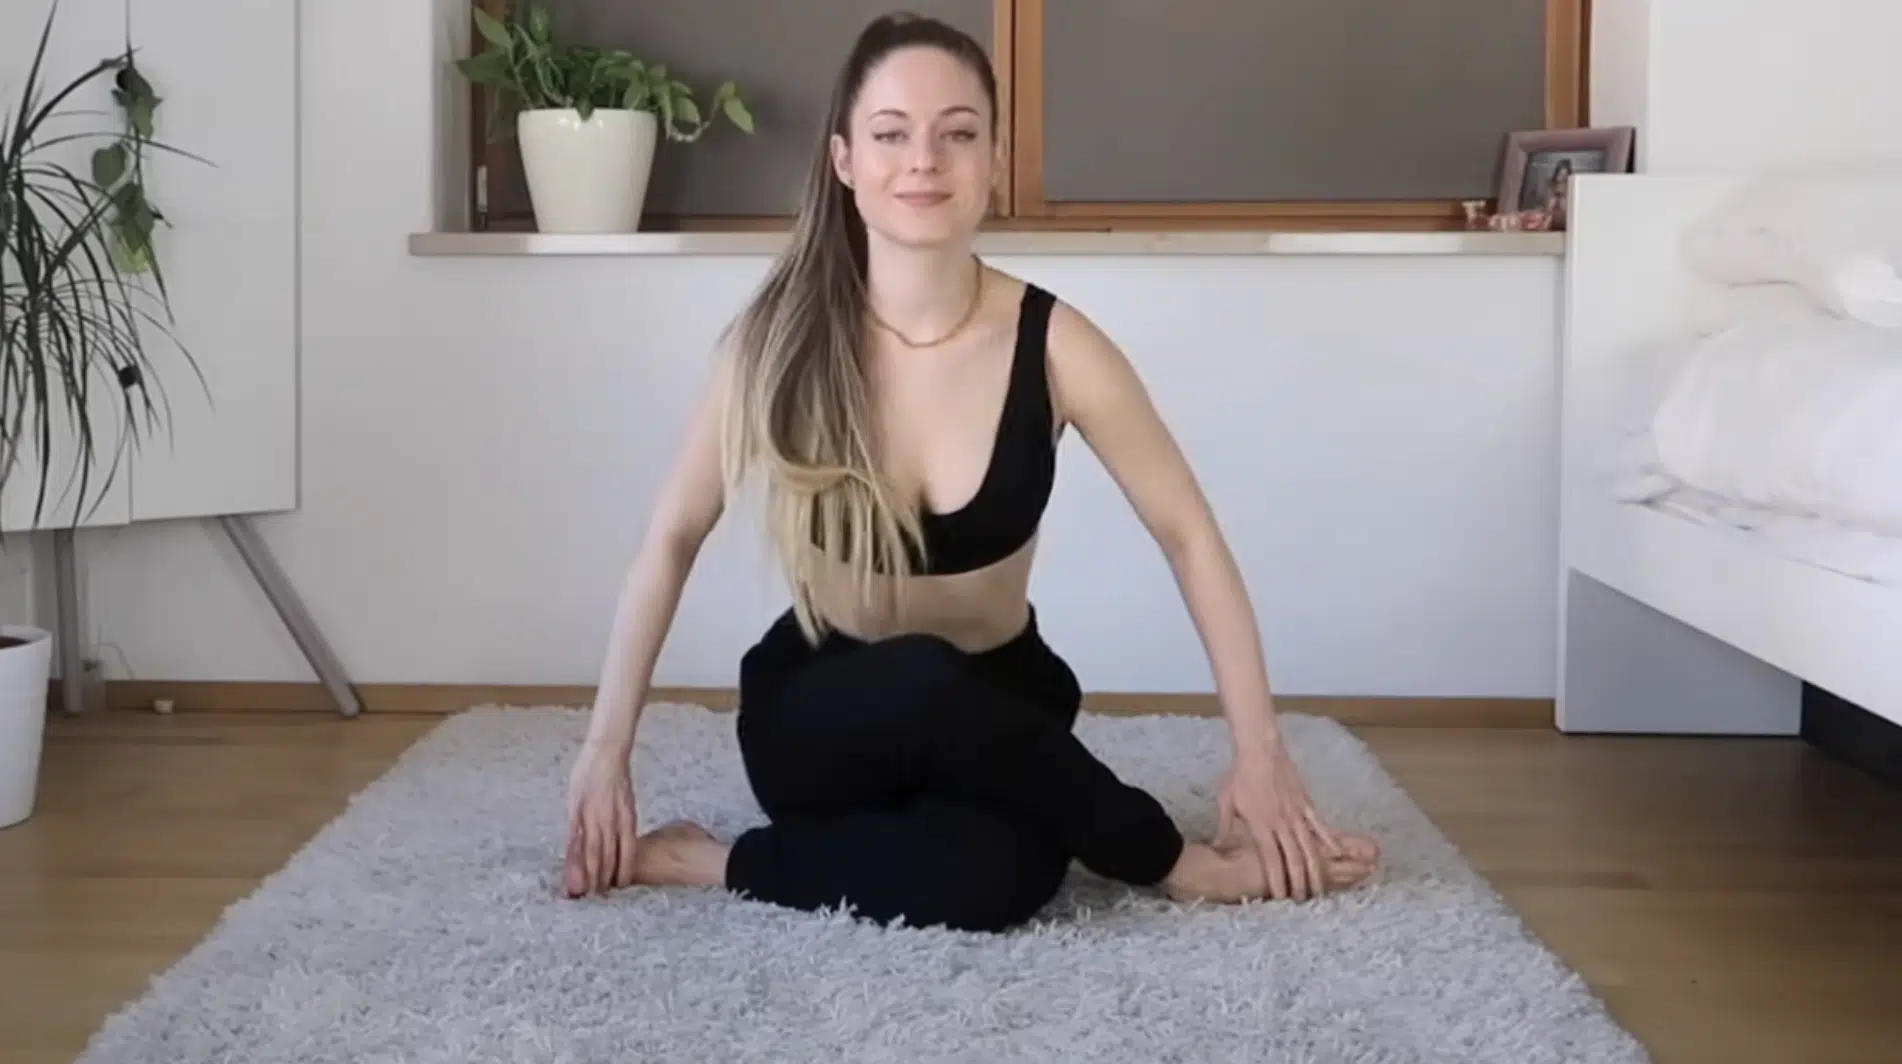
Step 1: Warm Up Your Hips and Spine
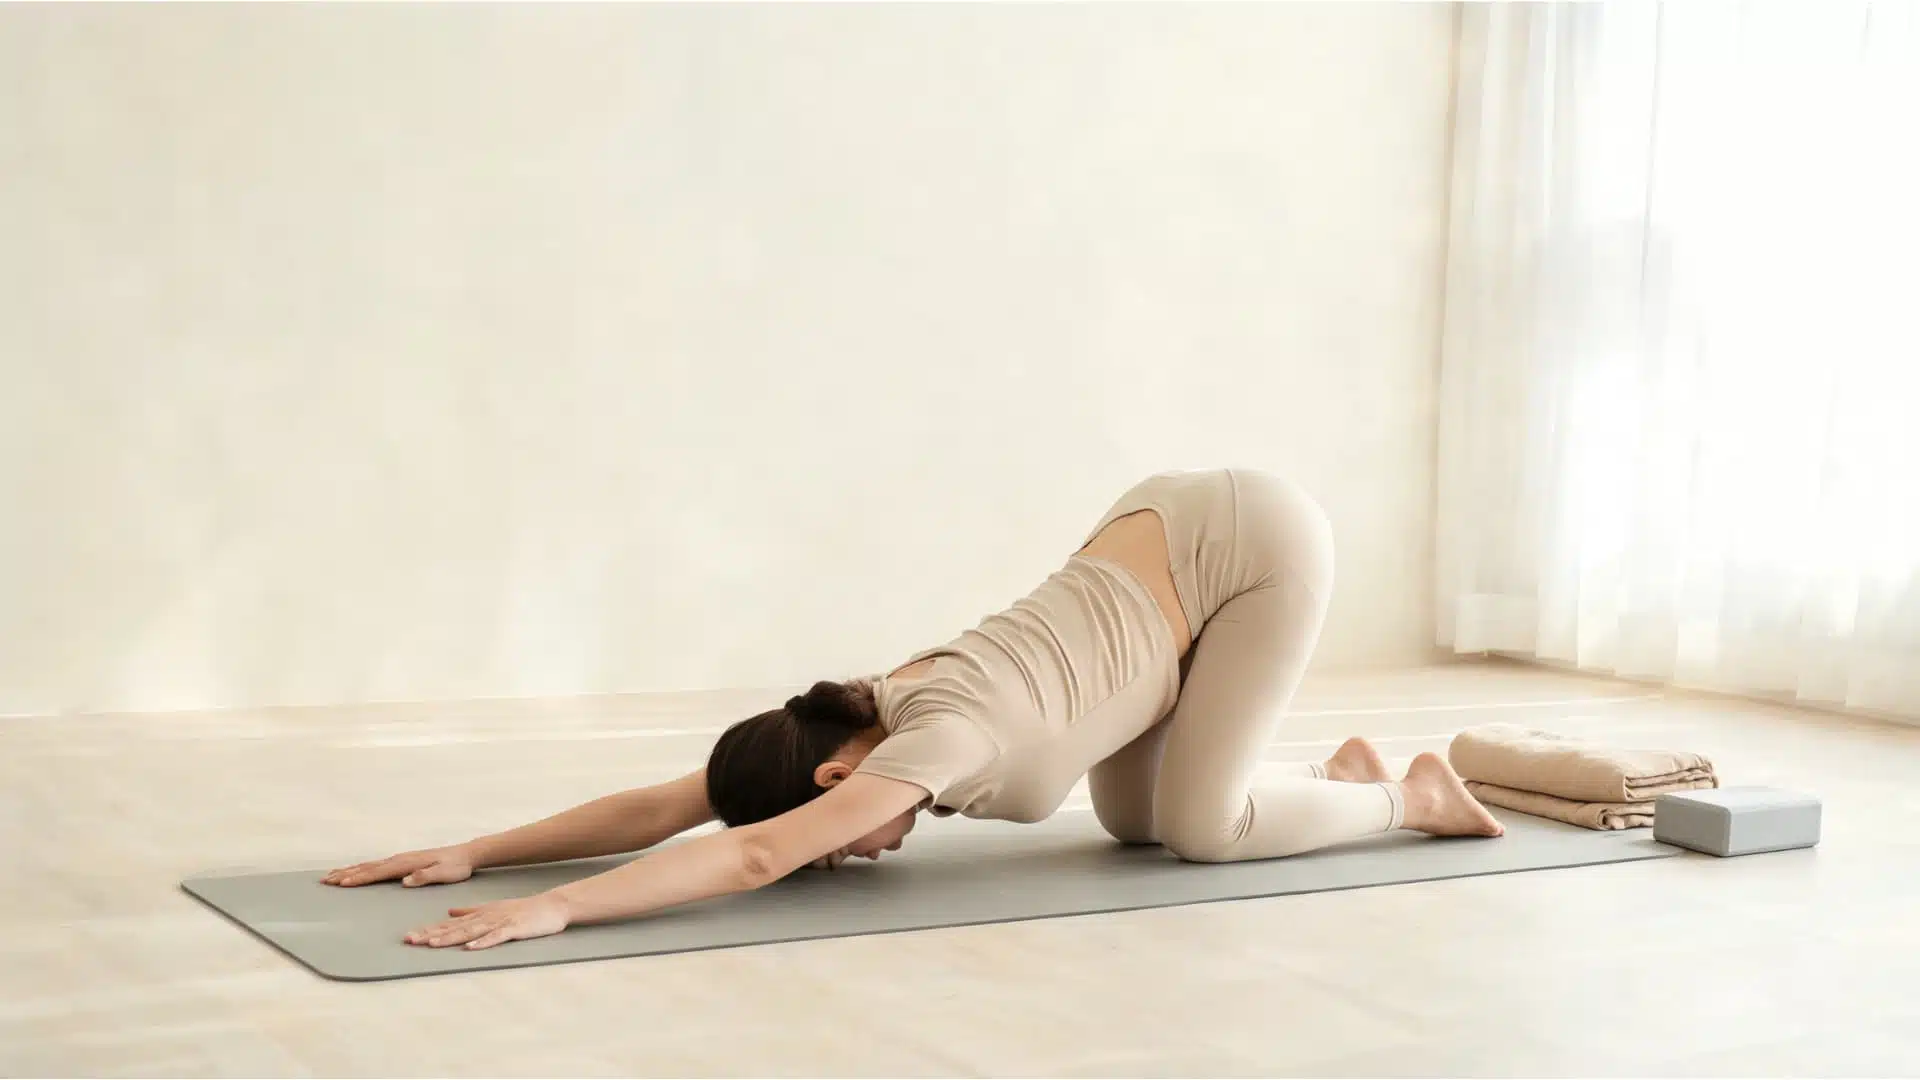
Begin your routine in an easy seated position with your legs crossed. Gently fold your upper body forward to release tension in your hips and lower back.
Switch the cross of your legs and repeat the forward fold.
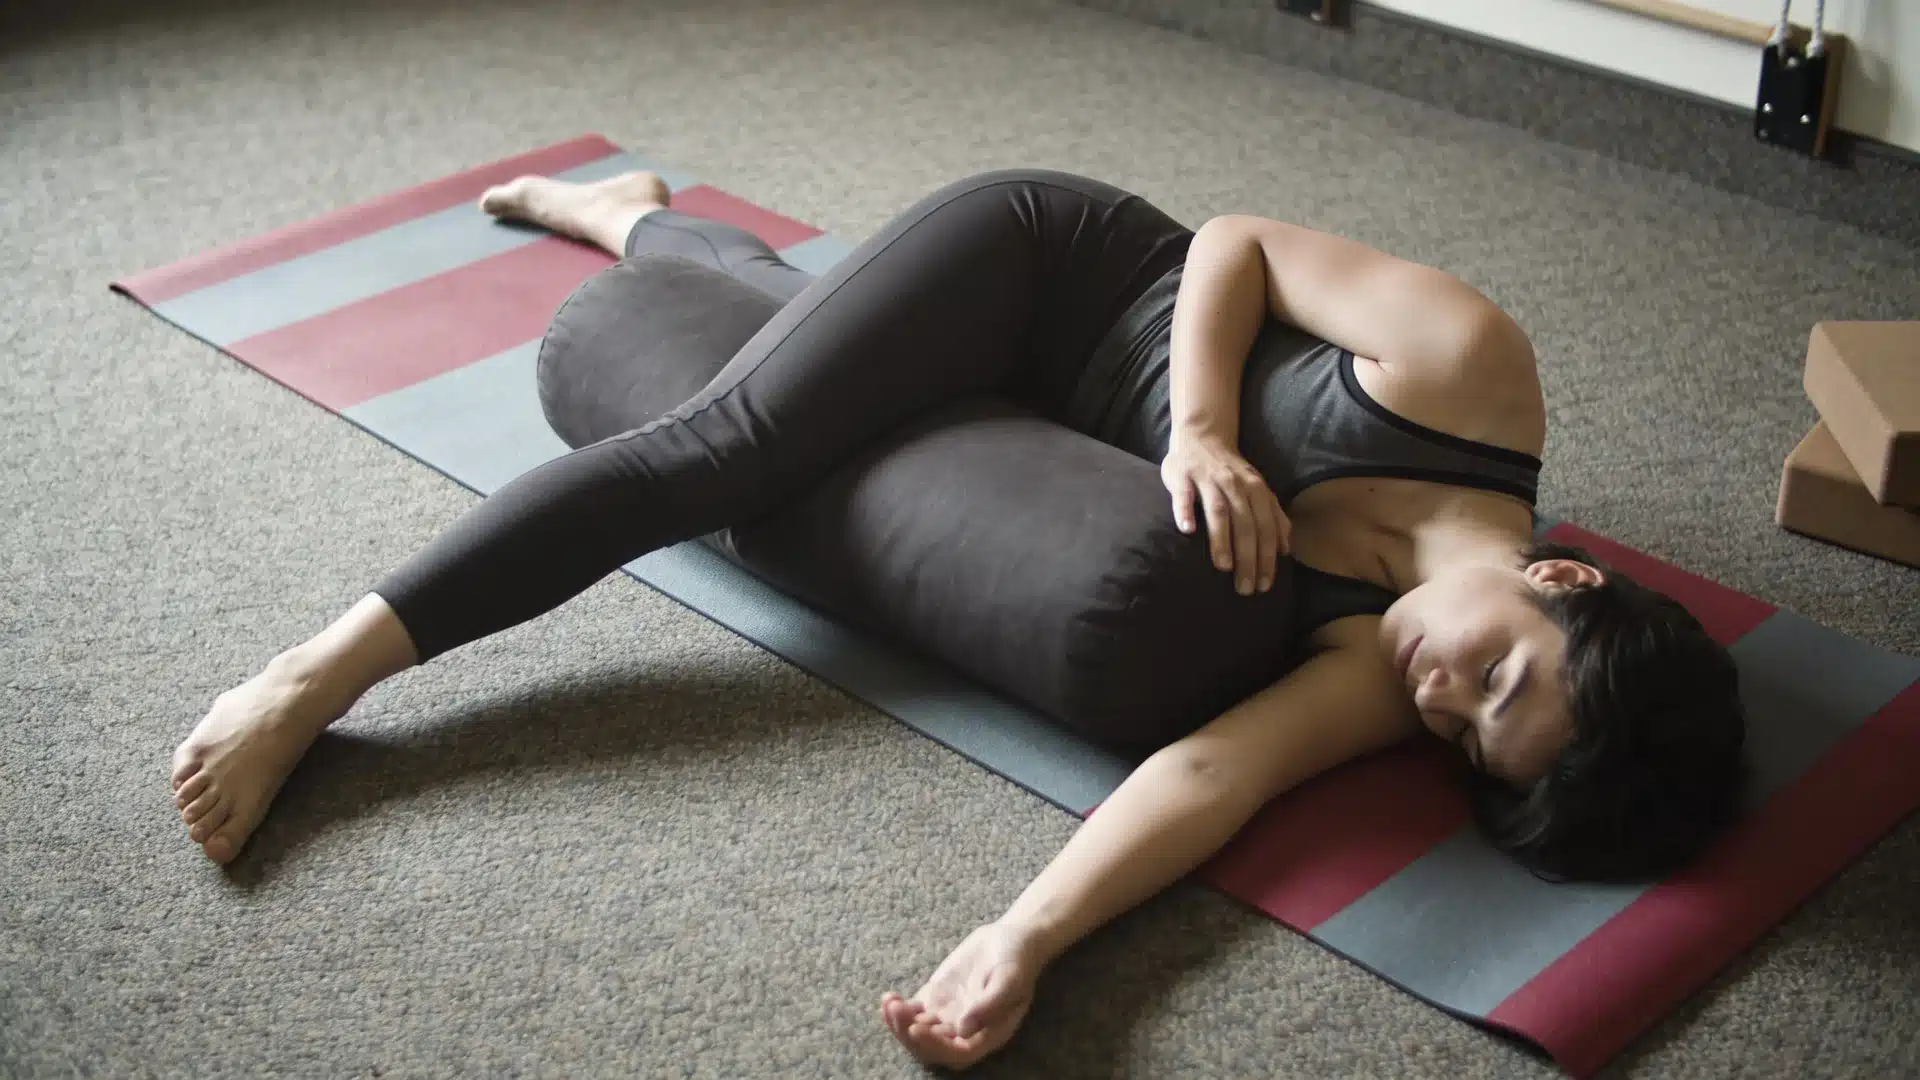
Next, bring the soles of your feet together into a butterfly pose. Lean forward with your head toward your feet and gently rock side to side to further open up your hips.
Step 2: Prep Hamstrings and Hip Flexors
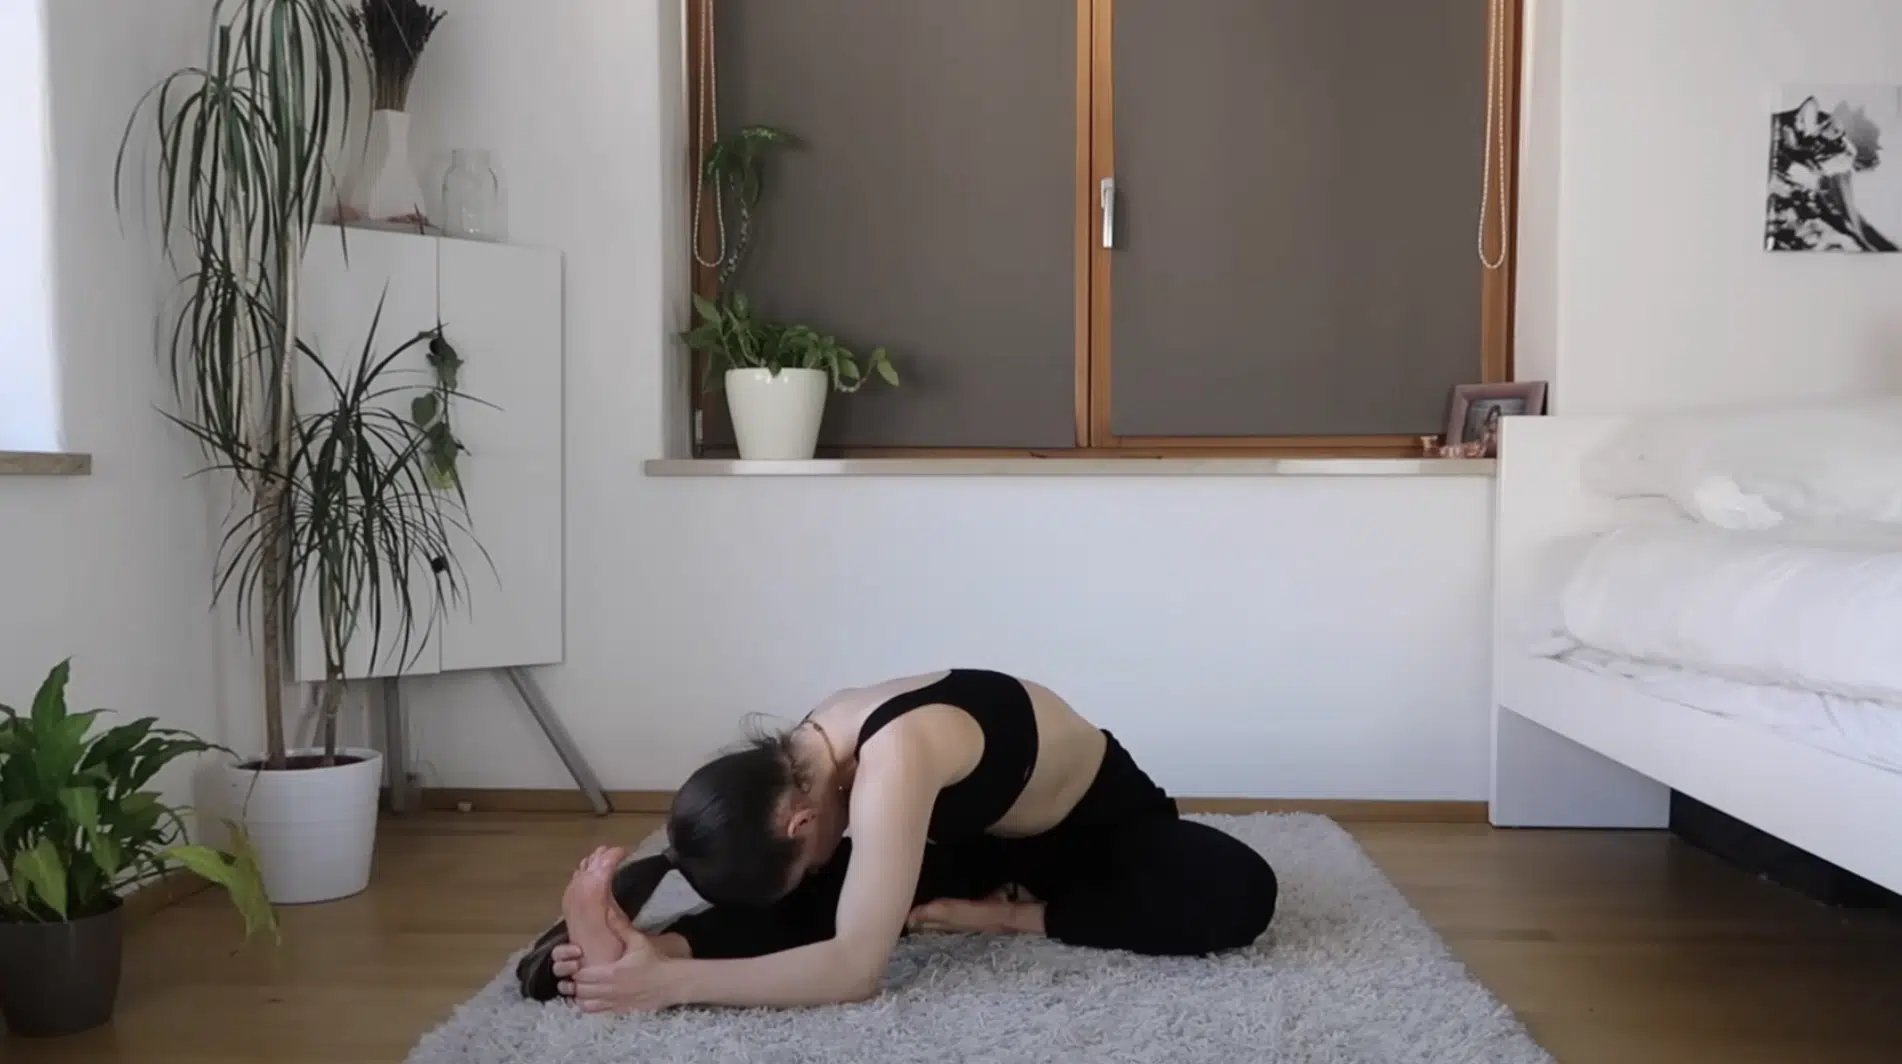
Extend one leg straight in front of you and place the other foot against your inner thigh. Slowly fold forward over the extended leg, aiming to reach as far as you can.
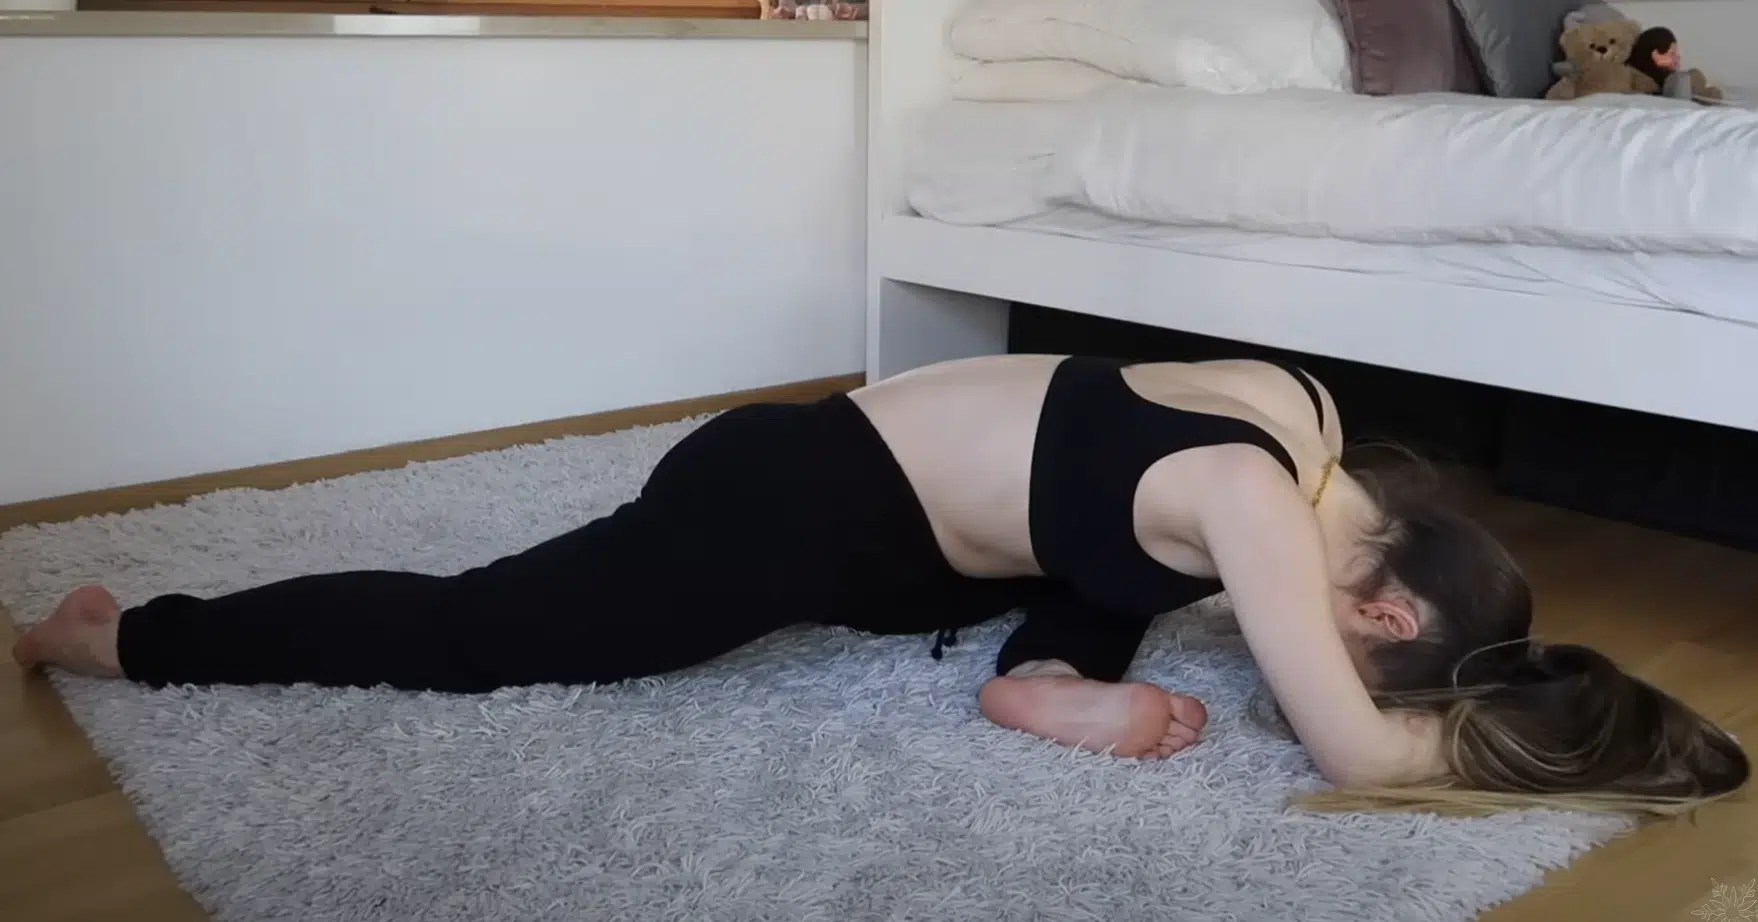
If you’re able, pulse gently toward your shin. Transition into a half-split by sliding the back leg behind you while keeping the front leg straight. Flex your foot to deepen the stretch.
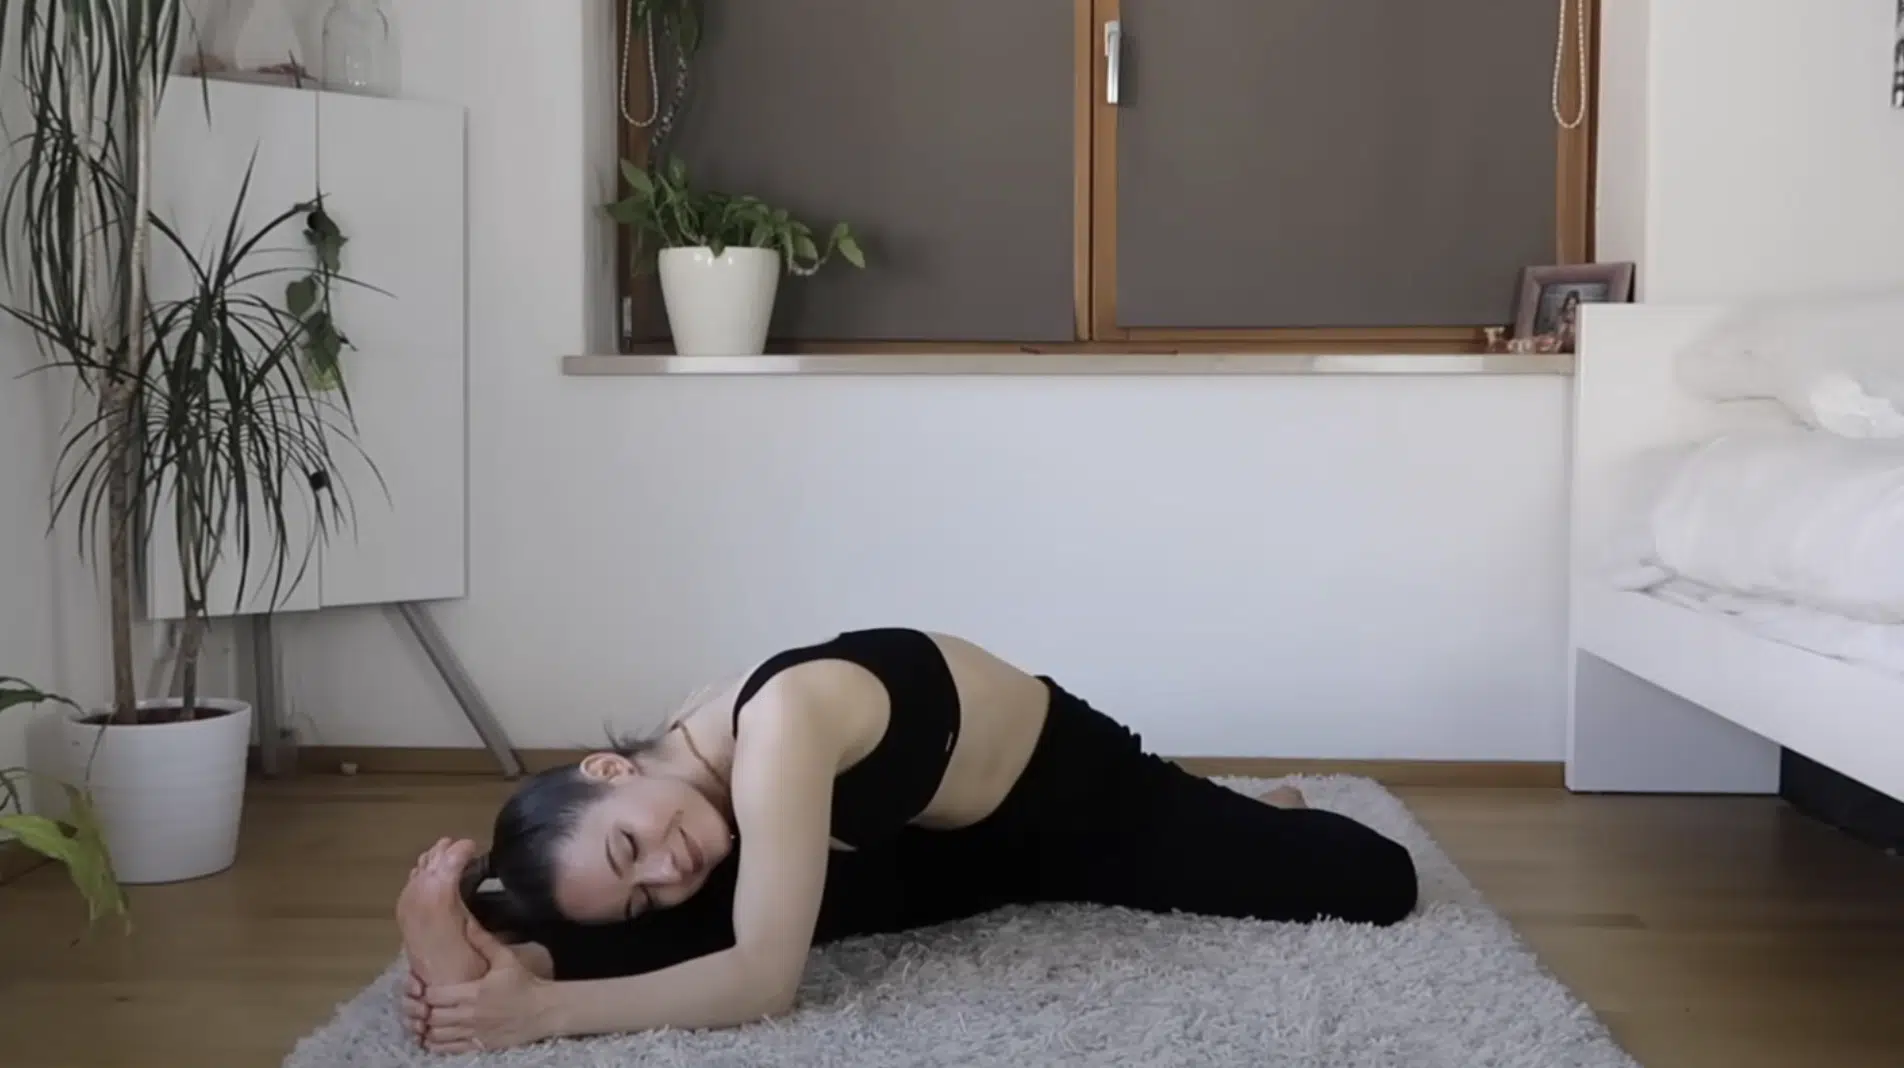
Then, bend the front leg and move into pigeon pose to stretch the hip of the bent leg. Finally, stack your knees into cow face pose or modify by placing the bottom foot flat, then fold forward to deepen the hip stretch.
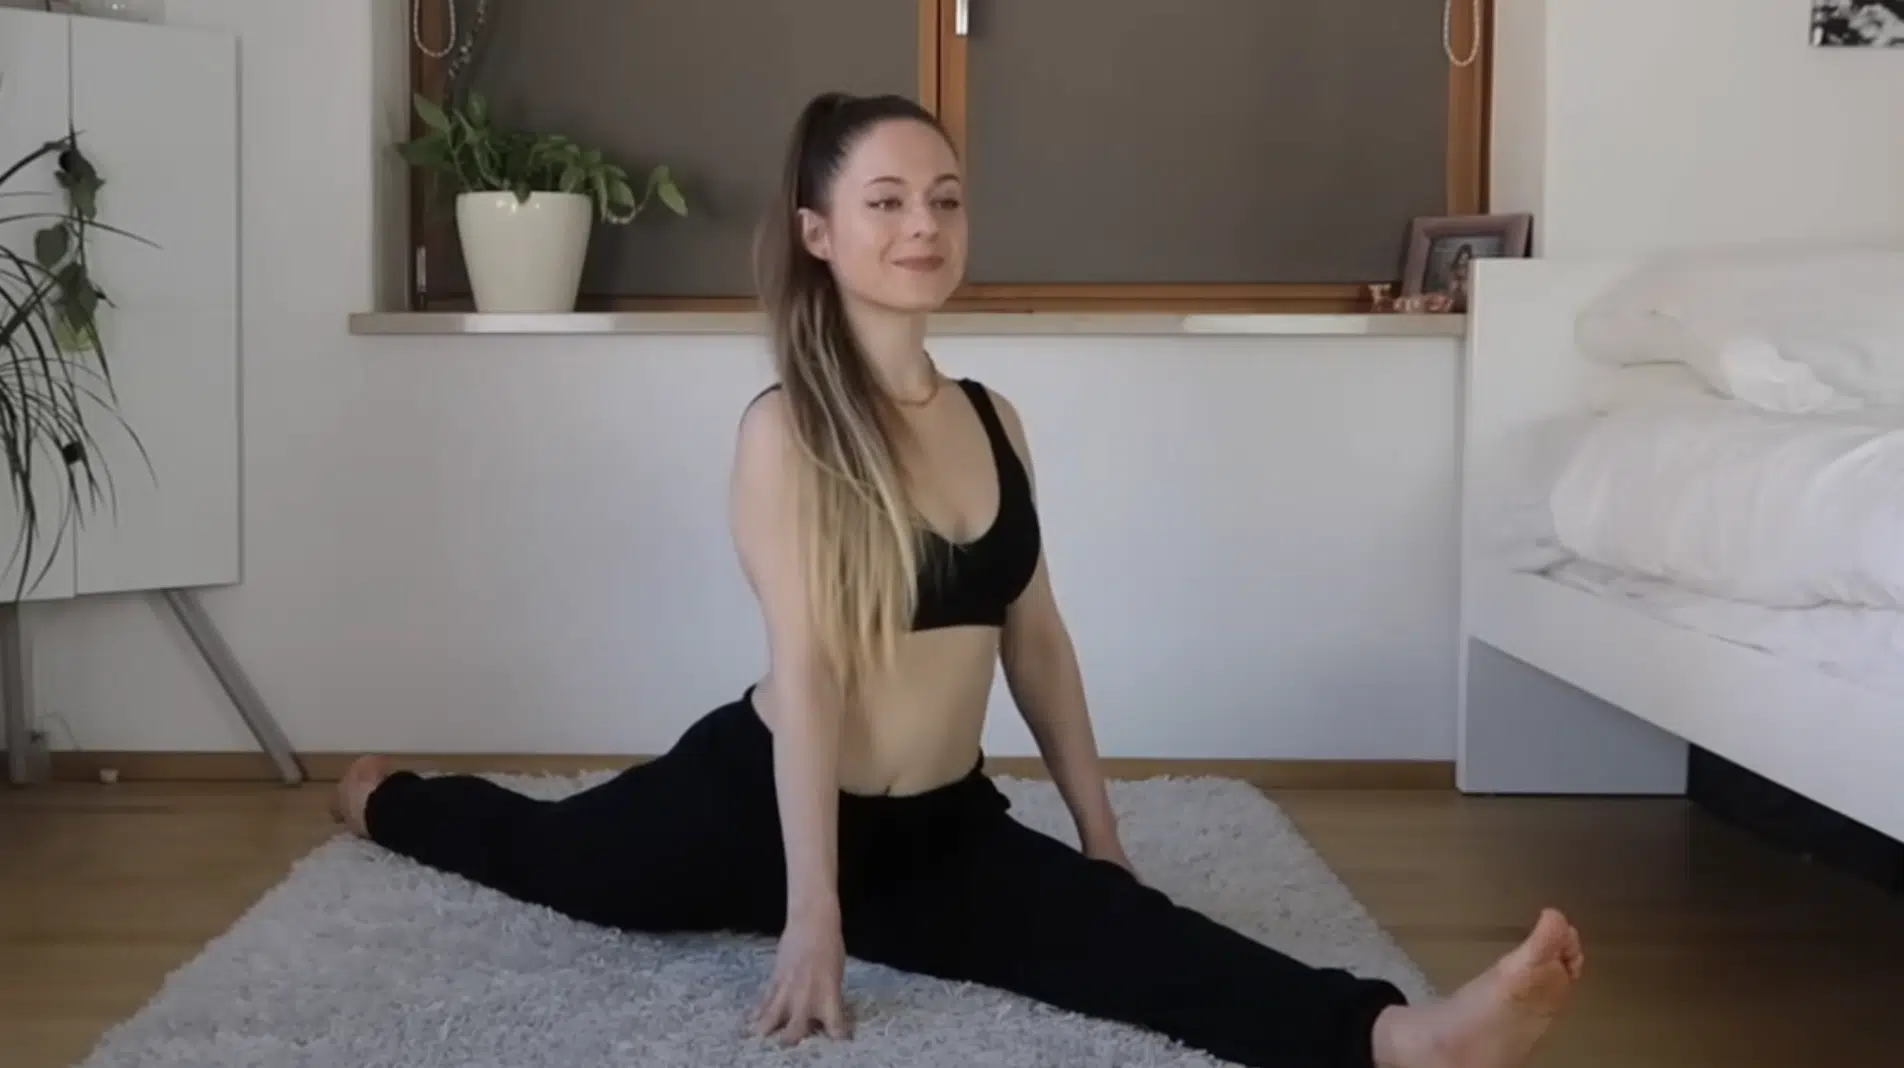
Step 3: Middle Splits Work
Sit with your legs bent in a relaxed middle split position. Gently fold forward and rock side to side to loosen your hip flexors. From here, stretch both legs straight into a comfortable middle split.
Flex your feet and lean forward with your body facing the floor. You can use props, a wall, or even a partner for support if you need help holding the position.
Step 4: Forward Fold and Lunges
Extend both legs in front of you and reach into a seated forward fold. Begin with light pulses, then gradually move deeper into the stretch.
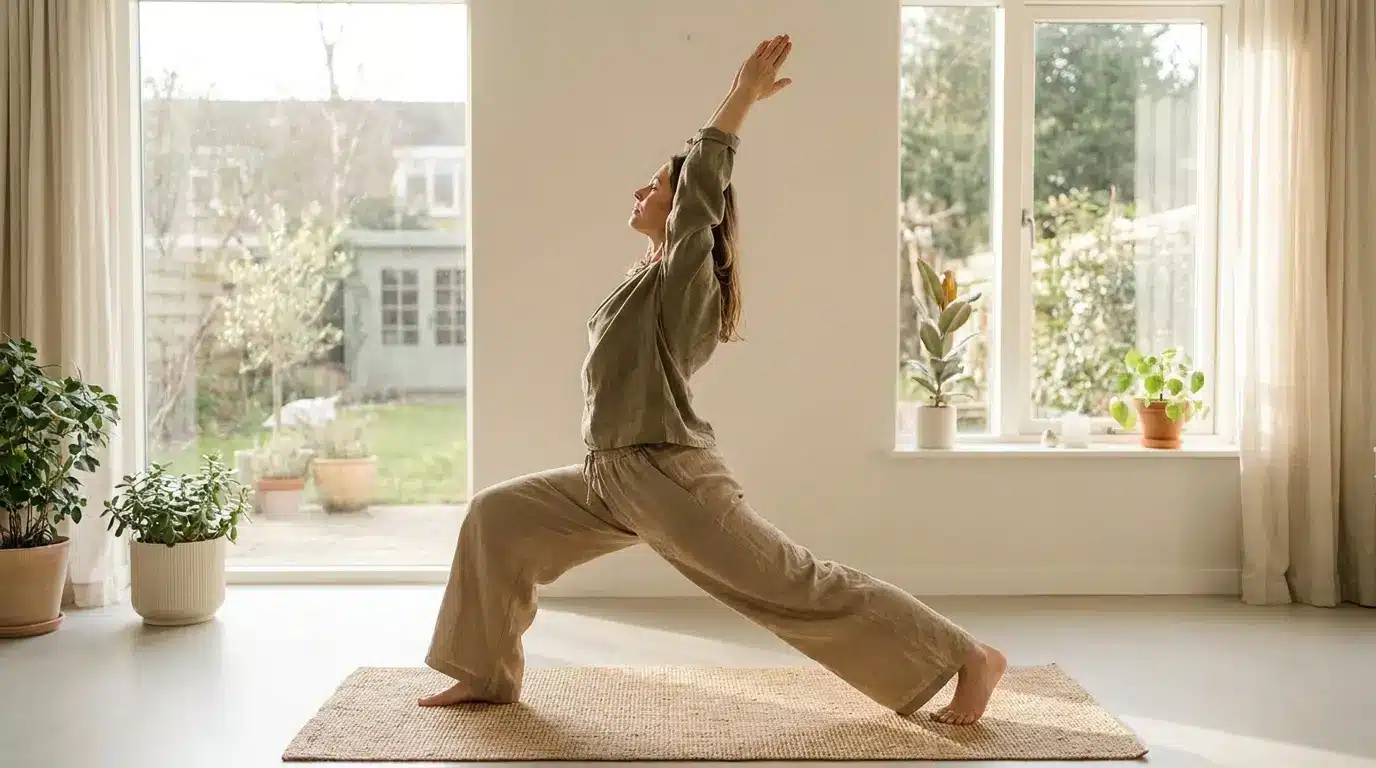
Transition to a low lunge by bending the front leg and placing the back knee on the floor. Press your hips down to stretch the hip flexors.
From here, shift into a reverse lunge by straightening the front leg and flexing the foot to target the hamstrings.
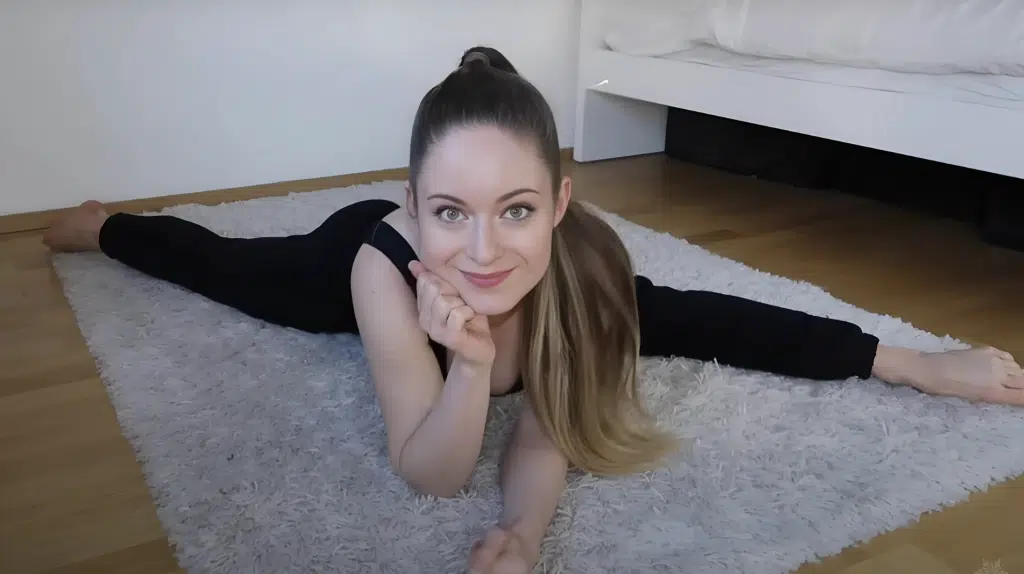
Step 5: Full Split Practice
Slide slowly into a front split position on one side, going only as far as your body allows. Hold the stretch wherever you are, whether high or low, and focus on maintaining proper form. To deepen the stretch, flex your front foot.
For a more advanced variation, fold your upper body forward and try to bring your head toward your shin.
Repeat the same sequence on the opposite leg. Finish with a butterfly pose, gently rocking your hips to release any tension.
Watch out the video for a detailed overview:
How to Learn to Do the Splits: 30-Day Flexibility Plan
Ready to take your flexibility to the next level? This 30-day plan breaks down your split training into manageable steps to help you make steady progress without strain.
Week-by-Week Progression
- Week one: focuses on learning proper form and building habits. Practice the basic routine daily for consistency.
- Week two: introduces longer holds and slight depth increases. Your muscles should feel more familiar with the movements.
- Week three: adds variety with different stretch angles. This prevents adaptation plateaus in your progress.
- Week four: combines everything while testing your improved flexibility. You should notice significant changes by now.
Rest and Recovery Planning
Take one complete rest day every week from stretching. Your tissues need time to adapt and recover. Active recovery with gentle walking or light yoga works well. Avoid intense stretching on these recovery days.
Sleep and proper nutrition support your flexibility gains. These factors matter more than many people realize.
Measuring Your Progress
Take photos from the same angle each week. Visual progress often shows before you feel major changes. Measure how close your hips get to the floor. Use a ruler or measuring tape for objective tracking.
Note improvements in daily activities like reaching or bending. Functional flexibility gains matter most for everyday life.
How to Do the Splits: Advanced Next Steps
Step 1: Hold your split positions longer to deepen flexibility over time.
Step 2: Add gentle pulses or forward reaches while holding the split.
Step 3: Practice on soft mats or blocks to build strength and variety.
Step 4: Begin middle splits training with wide-legged seated stretches.
Step 5: Use wall support at first, then reduce as flexibility improves.
Step 6: Do 15–20 hip bridges twice a week to strengthen your glutes.
Step 7: Practice single-leg stands for 30 seconds to improve balance and control.
Motivation and Consistency Tips
Staying consistent with your split training can be challenging, but with the right mindset and tracking habits, it becomes much easier.
Here are some strategies to help you stay on track and celebrate your progress.
1. Keeping a Practice Journal
Writing things down can boost awareness and motivation.
- Note how each stretching session felt: tight spots, ease of movement, or improvements.
- Track your mood and energy levels before and after each session.
- Record any questions, discomfort, or concerns that arise, so you can adjust your routine as needed.
2. Photo Tracking Method
Visual feedback is one of the best ways to stay motivated.
- Take weekly photos in the same position and lighting.
- Focus on hip height and leg positioning for objective progress markers.
- Share your progress with supportive friends or online communities to stay encouraged.
Troubleshooting and Common Mistakes
- Sharp pain means stop immediately. Mild discomfort is normal during stretching.
- Always warm up before stretching. Cold muscles tear more easily.
- Don’t compare your progress to others. Everyone’s body is different.
- Never skip rest days. Your muscles need time to recover.
- Focus on form over depth. Good alignment prevents injury.
- Be patient with your progress. Flexibility takes months to develop.
Conclusion
Learning how to do the splits for beginners doesn’t have to feel overwhelming. You’ve got simple steps, clear routines, and a plan you can follow without pressure.
I’ve shared everything that helped me stay consistent, build flexibility, and avoid injury.
The best part? You don’t need to be perfect, just show up each day and do what you can. Your body will adapt over time, and little wins will add up before you know it.
If you found this guide helpful, take a look at some of my other blog posts. You’ll find more tips and routines to support your progress and keep you motivated, no matter where you’re starting from.