


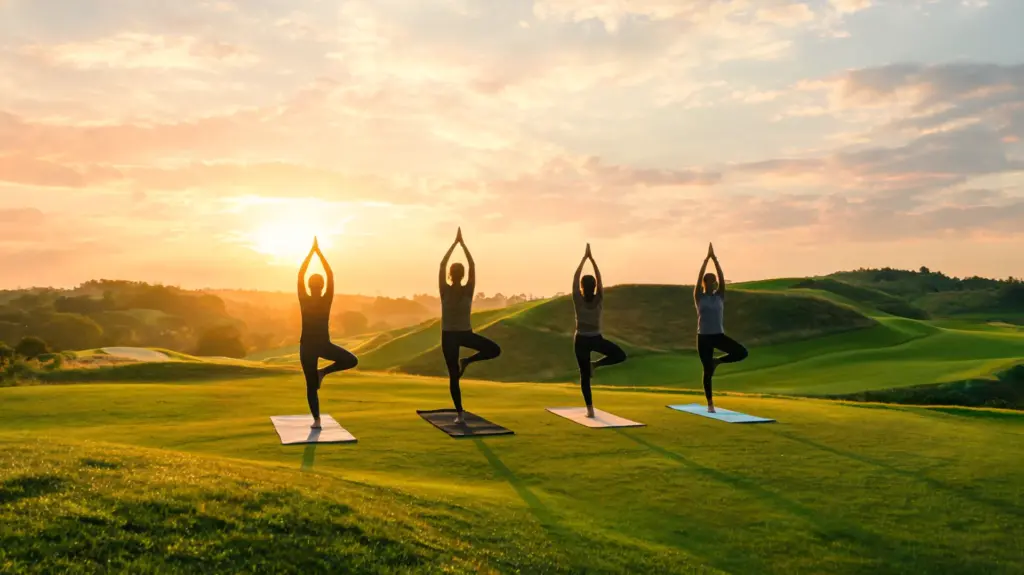

Are your hips so tight that your backswing feels blocked, or does lower back stiffness ruin your focus by the back nine? Golf places immense rotational strain on the body, and hidden tightness quickly robs you of power.
Fortunately, incorporating yoga for golfers into your routine directly targets these restrictions, unlocking freer shoulder turns and more fluid weight transfers.
By dedicating just a few minutes to targeted movement, you will build the precise mobility and core stability your body needs to swing freely.
By the end of this guide, you will know exactly how to protect your joints, boost your clubhead speed, and play pain-free.
| Disclaimer: This article is for informational and educational purposes only. It does not constitute medical advice and should not replace consultation with a qualified healthcare provider. Always consult a doctor before making changes to your exercise routine, especially if you have existing back, hip, knee, or shoulder conditions. |
| Difficulty | Beginner to Intermediate |
| Duration | 10 minutes (warm-up) / 15 minutes (cooldown) / 20 minutes (full session) |
| Props Needed | Yoga mat, optional block, and chair for modifications |
| Best Time | Pre-round warm-up or post-round recovery; full mobility sessions on off days |
| Avoid If | Acute disc herniation, recent hip replacement, active knee injury (modify with chair or reclined alternatives) |
Why Yoga Works for the Golf Swing
Golf is a rotational sport. Every swing requires the hips and thoracic spine to rotate in opposite directions while the feet stay grounded and the core holds tension. That movement pattern breaks down when any one link is stiff: tight hips force the lower back to rotate beyond its range, restricted thoracic mobility limits shoulder turn, and a weak core bleeds power before the club reaches the ball.
Yoga addresses each of these directly. Regular practice creates measurable changes in hip flexor length, thoracic extension, glute activation, and proprioception, which is the body’s awareness of where it is in space. For golfers, that translates to a fuller backswing, cleaner weight transfer, less lower back strain after a round, and better balance through the follow-through.
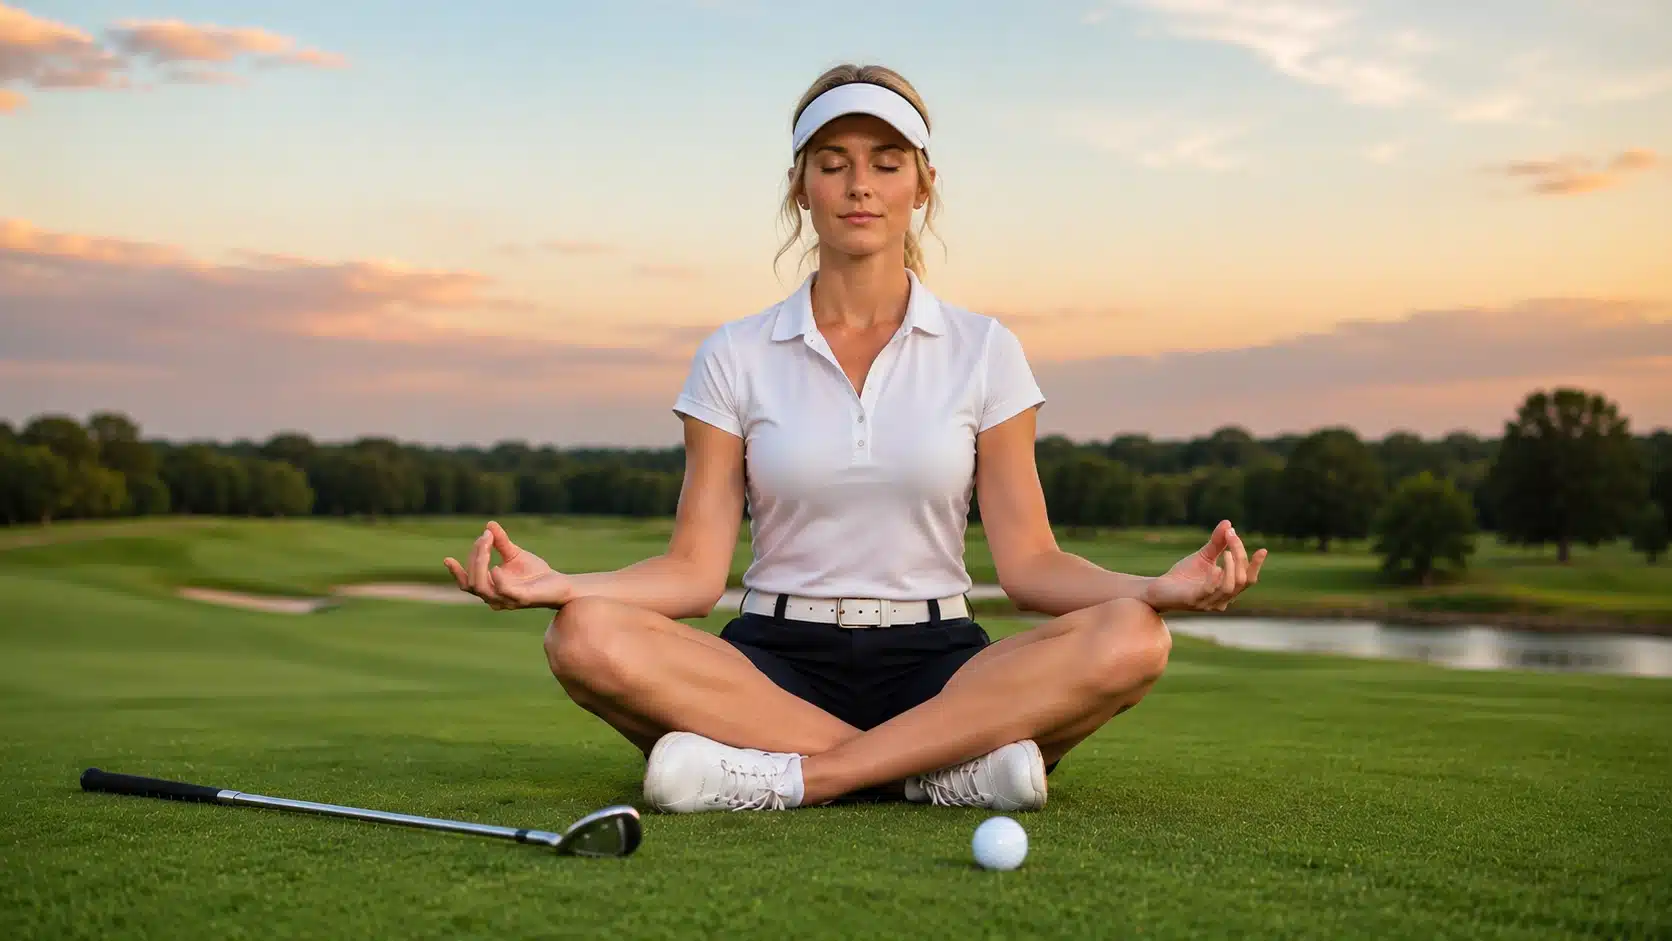
The breathing component matters too. Controlled nasal breathing activates the parasympathetic nervous system, which reduces cortisol and muscle tension. Golfers who practice breath awareness carry that skill onto the course, using it to reset focus after a poor shot or calm nerves before a tight tee shot.
The Five Movement Targets for Golfers
Before selecting poses, it helps to understand which physical areas most directly affect swing mechanics. Targeting these five areas makes a yoga routine genuinely useful for golf rather than general conditioning.
- Hip Rotation: The hips initiate the downswing and drive the follow-through. Tight hip flexors and external rotators restrict this movement, forcing the lower back to compensate. Poses like Pigeon and Low Lunge with Rotation address this directly.
- Thoracic Spine Mobility: The thoracic spine is the segment between the shoulder blades and the lower back. Greater thoracic rotation means a fuller backswing without straining the lumbar spine. Cat-Cow and Cobra both mobilize this region, and they fit naturally into a broader hip and joint mobility routine on off days.
- Shoulder Mobility: Restricted shoulders reduce swing arc and create tension through the arms and neck. Downward Dog and Thread the Needle open the posterior capsule and upper back to restore range of motion.
- Core Stability: A stable core transfers force efficiently from the lower body to the club. Bird Dog and Bridge Pose build the deep stabilizers without adding the spinal compression that can aggravate disc issues.
- Ankle Mobility: The lead ankle dorsiflexes significantly during the downswing to allow hip rotation and weight transfer. Chair Pose trains this movement under load in a position that closely mirrors the golf address stance.
When you know which link in your swing is breaking down, you can prioritize the poses that address it directly rather than working through a generic sequence.
10-Minute Yoga Warm-Up Before Golf
A pre-round warm-up should prepare the body for movement, not fatigue it. The goal is to wake up the spine, open the hips, activate the core, and settle the breath.
Deep stretching before golf can temporarily reduce muscle stiffness in a way that actually decreases power output, so keep this sequence active and controlled rather than long-held and passive.
- Cat-Cow Pose (1 minute): Start on hands and knees, then round and arch the back slowly with each breath to warm the spine and ease lower back stiffness.
- Downward Dog (1 minute): Lift the hips back and press through the hands to wake up the shoulders, calves, hamstrings, and upper back.
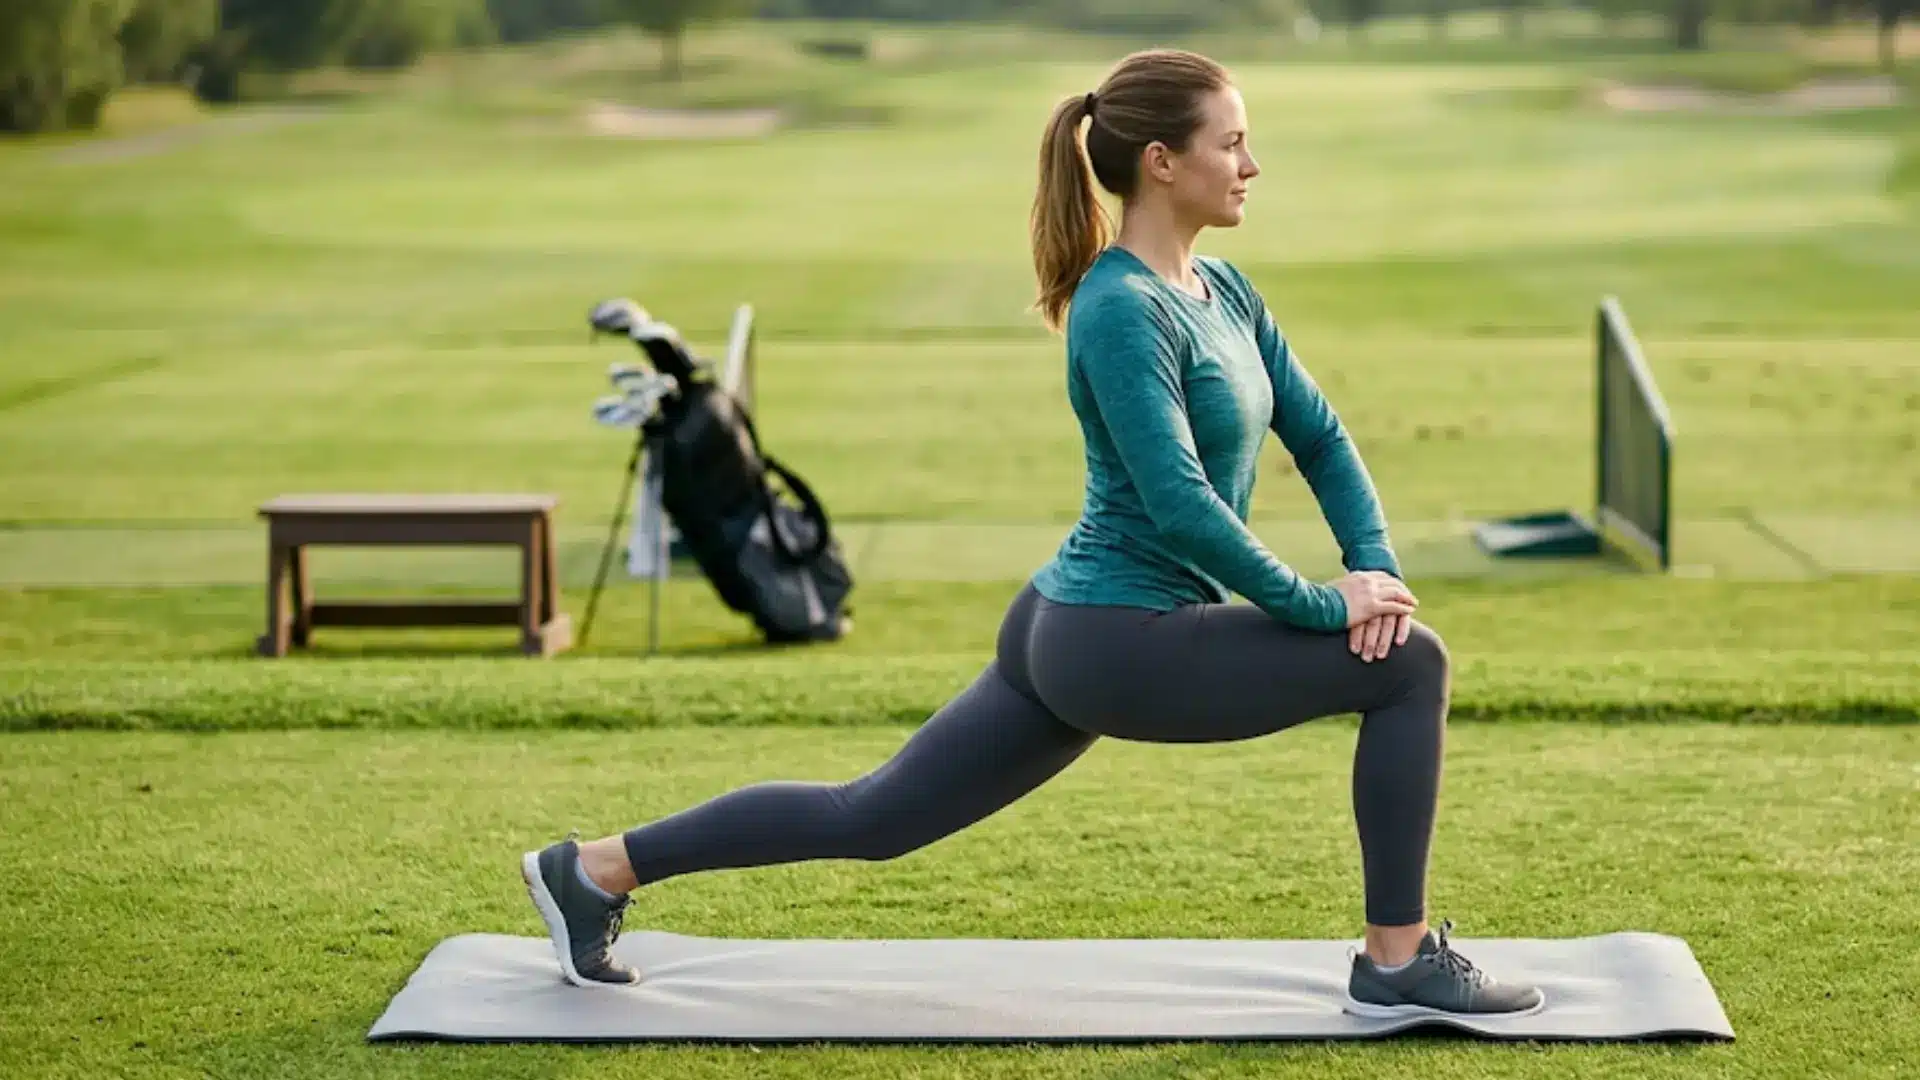
- Low Lunge with Rotation (2 minutes): Step one foot forward, lower into a lunge, and rotate toward the front leg to open the hips and upper back for a smoother backswing.
- Chair Pose (1 minute): Bend the knees and sit the hips back to activate the legs, glutes, and core while training the golf address posture.
- Bird Dog (2 minutes): Extend the opposite arm and leg from the tabletop position to build balance, core control, and coordinated movement through the swing.
- Standing Side Bend (1 minute): Reach one arm overhead and lean gently to each side to open the ribs, waist, and side body before rotation.
- Breathwork (2 minutes): Stand tall, inhale slowly through the nose, exhale fully, and let focus settle before the first shot.
Use this sequence before a practice session, range work, or a full round. It takes ten minutes and leaves the body ready without leaving it tired.
The Best Yoga Poses for Golfers
Each pose below targets one or more of the five movement areas covered above. The instructions include anatomically specific cues, not just the pose name. Modifications are included for beginners, people with injuries, and those looking to progress.
Pose 1: Cat-Cow
Best for: Spine mobility, lower back warm-up
Cat-Cow moves the spine through its full flexion-extension range. For golfers, this targets the thoracic and lumbar segments simultaneously and reduces the morning or post-sitting stiffness that makes early rotation feel forced.
How to do it:
- Start on hands and knees with wrists under shoulders and knees under hips.
- Inhale slowly as the belly moves toward the mat, the chest opens forward, and the tailbone lifts.
- Exhale as the back rounds upward and the chin draws toward the chest.
- Move between both shapes with each breath, keeping the movement smooth rather than abrupt.
Beginner modification: Sit in a chair and perform the same spinal flexion and extension through the upper and lower back without going to the floor.
Advanced variation: Add a lateral C-curve to each side at the peak of each inhale to work the obliques and intercostals alongside the spine.
Common mistake: Moving too fast and letting the breath lead rather than following it. Slow the movement down until each position takes a full breath cycle.
Pose 2: Bird Dog
Best for: Core stability, balance, lower back support
Bird Dog builds strength in the multifidus and transverse abdominis, the deep stabilizers that protect the lumbar spine during rotation. It also trains the body to maintain a neutral pelvis while the limbs move independently, which directly mirrors the demand placed on the core through the golf swing.
How to do it:
- Start on hands and knees, hands under shoulders, knees under hips, gaze down toward the mat.
- Slowly extend the right arm straight forward and the left leg straight back behind you.
- Keep the hips level and avoid letting the lower back arch or rotate.
- Hold for three to five slow breaths, then return and repeat on the opposite side.
Beginner modification: Keep the toes of the lifted leg touching the floor for extra stability while building the pattern.
Advanced variation: Draw the lifted elbow and knee together beneath the torso, then re-extend. This adds anti-rotation demand through the core.
Common mistake: Letting the hip of the lifted leg rotate outward. Keep both hip bones pointing straight down at the mat throughout the hold.
Pose 3: Downward Dog
Best for: Hamstrings, shoulders, calves, upper back
Downward Dog lengthens the posterior chain from the heels through the calves, hamstrings, and into the thoracic spine while simultaneously loading the shoulders in a way that improves posterior capsule mobility. Tight hamstrings alter pelvic tilt at address, which affects the entire spinal angle of the swing. This pose addresses that connection directly.
How to do it:
- Start on hands and knees, spread the fingers wide, and tuck the toes under.
- Press through both hands and lift the hips up and back toward the wall behind you.
- Bend the knees as much as needed if the hamstrings or calves feel too tight to work in.
- Let the head rest between the arms and breathe for five to eight slow breaths.
Beginner modification: Place hands against a wall at hip height and hinge forward from the hips into an L-shape. This gives the same spinal lengthening without the floor-based load.
Advanced variation: Pedal the heels alternately, pressing one heel toward the floor at a time to isolate each calf and hamstring more specifically.
Common mistake: Collapsing through the shoulders and allowing the chest to sink toward the floor. Keep the shoulder blades wide and the armpits pressing back toward the hips.
Pose 4: Low Lunge with Rotation
Best for: Hip flexors, thoracic rotation, backswing mobility
This pose is one of the highest-value yoga moves for golfers because it targets hip flexor tightness and thoracic rotation at the same time. Tight hip flexors tilt the pelvis anteriorly, which flattens the lumbar curve and limits rotation. The low lunge stretch form guide covers alignment cues in more depth for anyone new to this position. Adding the thoracic twist to the lunge trains the upper and lower body to decouple, which is exactly what the backswing requires.
How to do it:
- Start on hands and knees, then step the right foot forward between the hands.
- Lower the left knee to the mat and position the right knee directly above the right ankle.
- Place the left hand on the mat beside the right foot for support.
- Slowly rotate the chest to the right, reaching the right arm up toward the ceiling.
- Hold for three to five breaths, then lower the hand and repeat on the left side.
Beginner modification: Keep the top hand resting on the thigh instead of reaching overhead. This reduces the demand on shoulder mobility while still opening the hip and upper back.
Advanced variation: Lift the back knee off the floor into a high lunge before adding the rotation. This increases the hip flexor stretch and the demand on balance.
Common mistake: Letting the front knee cave inward when the twist is added. Keep the knee tracking over the second toe throughout the rotation.
Pose 5: Pigeon Pose
Best for: Hip external rotation, piriformis, lower back tension
The piriformis and deep hip external rotators are often the limiting factor in a full hip turn. Pigeon Pose targets these muscles specifically by placing the front leg in a position of external rotation under load. For golfers who feel lower back stiffness during or after a round, restricted hip mobility is frequently the contributing cause. Releasing this area directly addresses the problem at its source.
How to do it:
- From hands and knees, bring the right knee forward toward the right hand.
- Place the right shin across the front of the mat and slide the left leg straight back.
- Keep the top of the left foot resting on the mat and point both hips toward the front.
- Stay upright with hands on the mat for support or fold the chest slightly forward.
- Hold for five to eight breaths, then come out slowly and repeat on the left side.
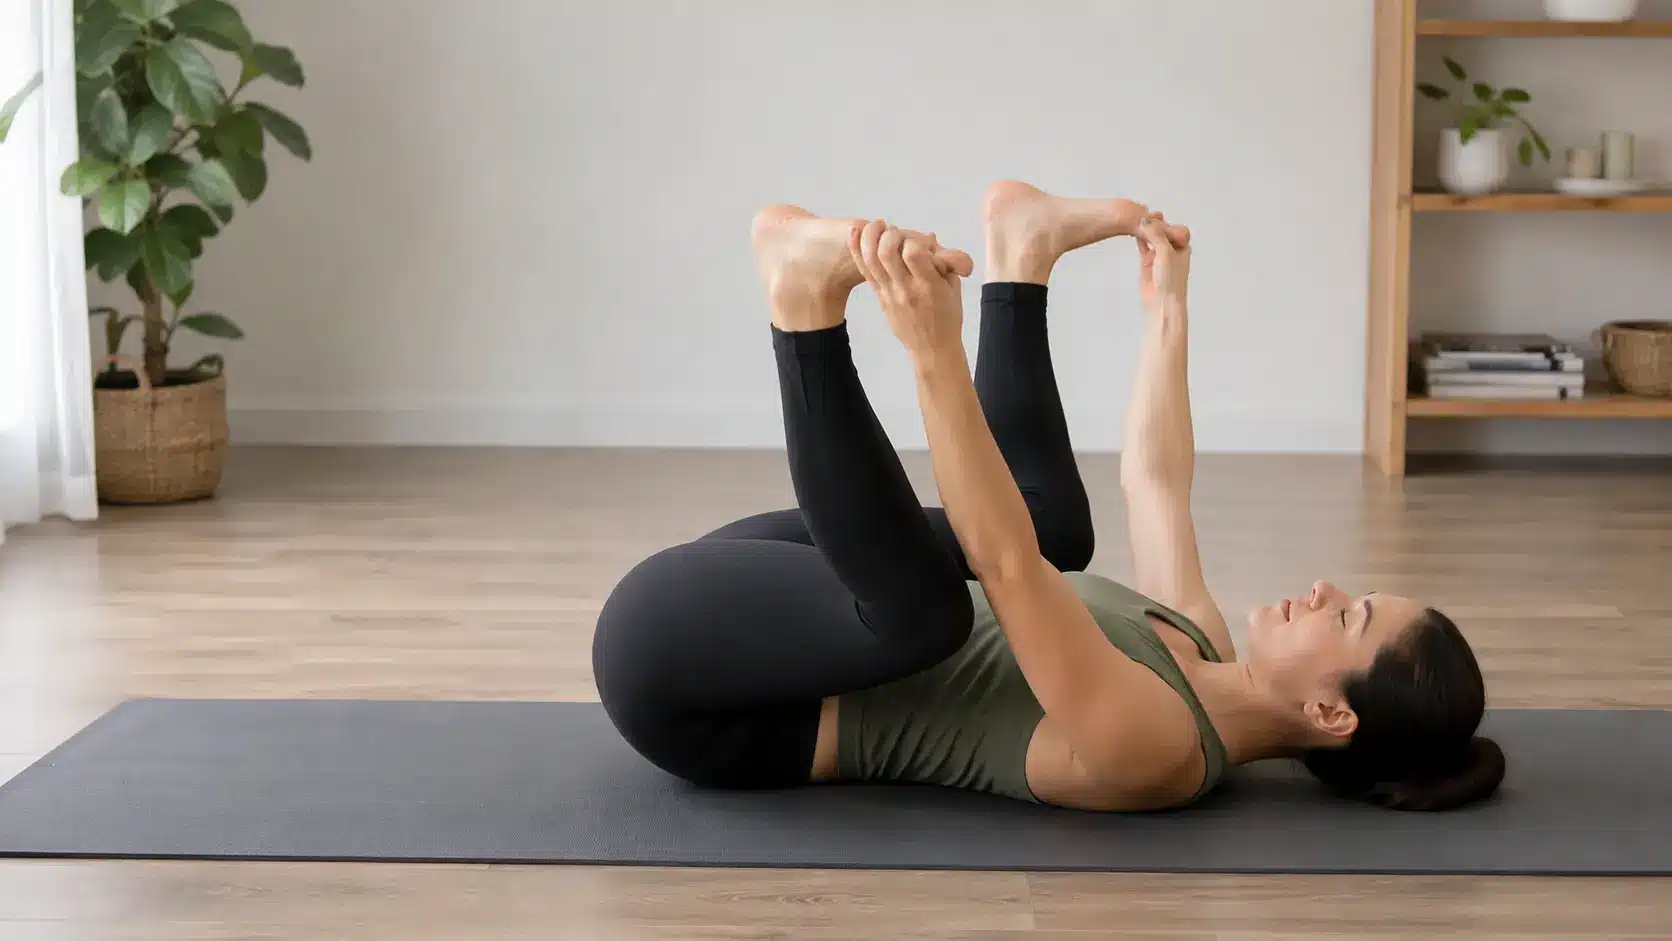
Beginner modification: Perform a Reclined Figure-Four lying on the back instead. Cross one ankle over the opposite thigh and gently draw the legs toward the chest. This gives the same hip external rotation stretch with no pressure on the knee or lower back.
Advanced variation: Walk the hands forward and fold the torso toward the floor, deepening the stretch through the glutes and external rotators.
Common mistake: Letting the front hip drop to one side. Use a folded blanket or block under the front hip to keep the pelvis level throughout the hold.
Pose 6: Chair Pose
Best for: Legs, glutes, ankle mobility, golf stance
Chair Pose closely mirrors the athletic stance at golf address: knees slightly flexed, hips back, spine inclined forward, weight distributed through the full foot. Holding this position under load trains the quads, glutes, and core while improving ankle dorsiflexion. The ankle mobility component is often overlooked in golf fitness but directly affects how much hip rotation the lead leg can produce on the downswing.
How to do it:
- Stand with feet hip-width apart and toes pointing forward.
- Bend both knees slowly and move the hips back as if sitting into a chair.
- Keep the chest lifted and the knees tracking in the same direction as the toes.
- Reach the arms forward or overhead and hold for five to eight breaths.
- Press through the feet to stand back up.
Beginner modification: Hold the position for two to three breaths instead of five and use a wall or chair for support behind you.
Advanced variation: Rise onto the balls of the feet while in the lowered position to add a calf and ankle stability challenge.
Common mistake: Letting the knees drift forward past the toes, which shifts load away from the glutes and into the knees. Prioritize sitting the hips back over going deeper.
Pose 7: Warrior 2
Best for: Leg strength, hip mobility, lateral stability
Warrior 2 builds strength through the quads, adductors, and glutes while training the hips to stay stable in an open position. The arm position, extended out to each side at shoulder height, also loads the rotator cuff in a way that improves shoulder endurance over a long round. The pose trains the kind of lateral stability needed to resist swaying on the backswing.
How to do it:
- Stand with feet together, then step the left foot wide back behind you.
- Turn the right foot to face the front of the mat and the left foot slightly outward.
- Bend the right knee to hover over the right ankle, keeping the left leg straight.
- Extend both arms out to the sides and gaze over the right hand.
- Take five slow deep breaths through the nose before standing up and repeating on the left side.
Beginner modification: Reduce the depth of the bend in the front knee and hold for two to three breaths before building to five.
Advanced variation: From Warrior 2, straighten the front leg and reach the front arm forward and down into Triangle Pose on the same side to link both poses in sequence.
Common mistake: Letting the front knee collapse inward. Think of driving the inner knee out toward the little toe side of the foot to maintain alignment.
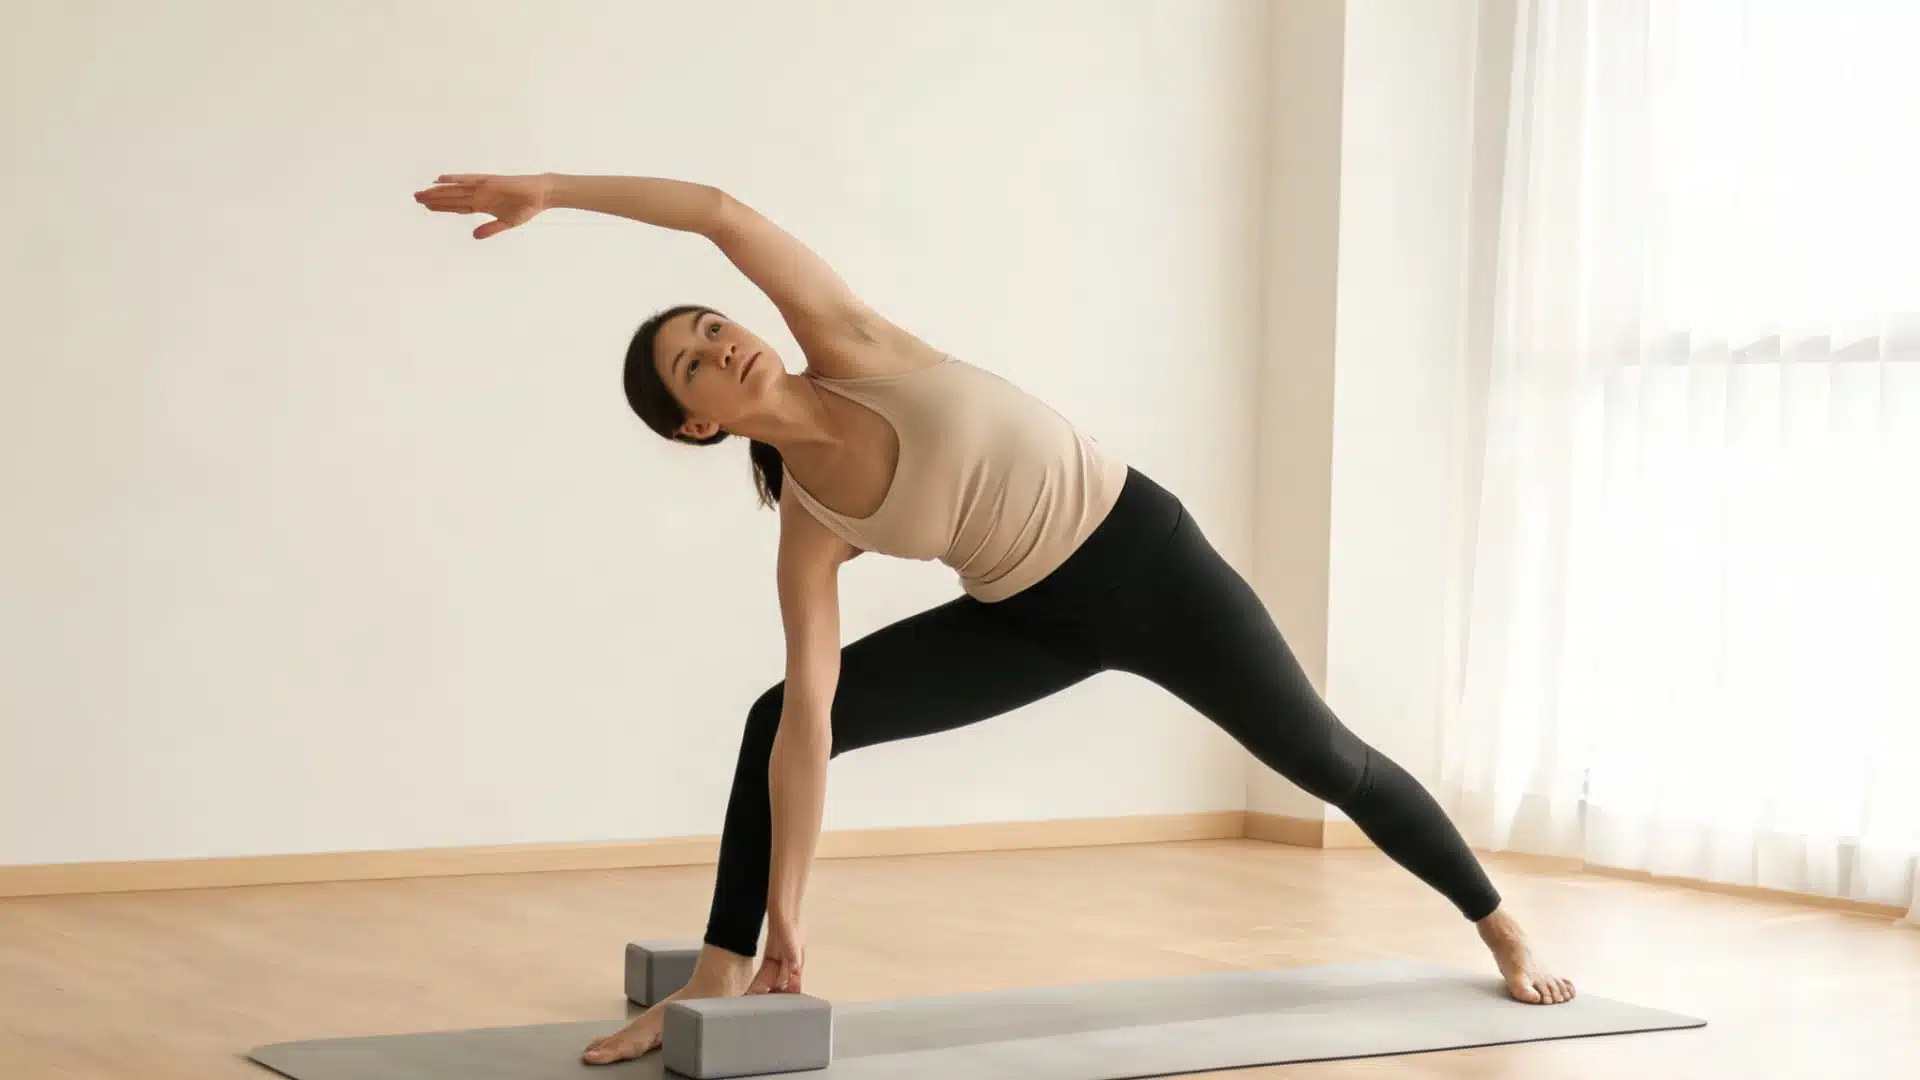
Pose 8: Triangle Pose
Best for: Hamstrings, side body, thoracic rotation, hip opening
Triangle Pose lengthens the hamstrings, opens the lateral hip, and creates space through the intercostals and obliques. For golfers, the thoracic rotation component of Triangle directly trains the upper body turn needed in the backswing while keeping the hips stable. The lateral stretch through the ribs improves rib cage mobility, which supports both swing rotation and breathing capacity during a round.
How to do it:
- Stand with feet wide apart, right foot facing forward and left foot turned slightly out.
- Extend both arms to the sides and reach the right hand forward over the right leg.
- Lower the right hand to the shin, ankle, or a block placed beside the right foot.
- Lift the left arm toward the ceiling and turn the chest gently toward the left side.
- Hold for five to eight breaths, then come back up slowly and repeat on the left side.
Beginner modification: Place the lower hand on a yoga block rather than reaching to the floor. This keeps the spine long and prevents rounding through the upper back.
Advanced variation: Bind the lower hand behind the back and reach it toward the inner thigh to deepen the thoracic rotation and open the shoulder.
Common mistake: Letting the chest face the floor instead of rotating toward the ceiling. The goal is thoracic rotation, not a forward fold. Keep lifting the upper arm and opening the chest.
Pose 9: Cobra Pose
Best for: Thoracic extension, chest opening, posture correction
Golfers who sit for long periods before a round arrive at the first tee with a flexed thoracic spine and internally rotated shoulders. Cobra counteracts this by extending the thoracic spine and opening the anterior chest wall. This directly improves posture at address and allows the shoulders to rotate through a fuller range without pulling on the upper back.
How to do it:
- Lie on the belly with legs extended and hands placed beside the chest, elbows close to the sides.
- Press the tops of the feet into the mat.
- Inhale and lift the chest slightly forward and up, keeping the shoulders away from the ears.
- Exhale and lower the chest back to the mat. Keep each lift comfortable, not forced.
Beginner modification: Only lift the chest as high as feels comfortable without any pressure in the lower back. A small lift of two to three inches is sufficient and effective.
Advanced variation: Move into a full Upward-Facing Dog by pressing through the hands and lifting the thighs off the mat, shifting the load into the arms and shoulders.
Common mistake: Using the lower back to create the lift rather than the upper back extensors. Think of lengthening forward through the crown of the head as the chest rises, not crunching the lumbar spine.
Pose 10: Bridge Pose
Best for: Glutes, hamstrings, hip extension, lower back support
Bridge Pose activates the glutes and hamstrings in a hip extension pattern that closely mirrors the hip drive of the downswing. Strong glutes protect the lower back by doing more of the rotational work that otherwise falls to the lumbar spine. Dedicated glute and hip strength work complements this pose well for golfers who need more lateral stability through the stance leg. This pose is particularly useful for golfers who sit for long periods before playing, since sitting inhibits glute activation through a mechanism called reciprocal inhibition.
How to do it:
- Lie on the back with knees bent, feet flat on the mat, and arms resting beside the body.
- Press both feet into the mat and lift the hips toward the ceiling.
- Squeeze the glutes at the top and hold for three to five breaths.
- Lower the hips back to the mat slowly, vertebra by vertebra.
Beginner modification: Hold at a height where there is no discomfort in the lower back. A partial lift is effective as long as the glutes are engaged.
Advanced variation: Lift one foot off the floor and perform a single-leg bridge. This increases the glute demand on the planted side and adds a core stability challenge.
Common mistake: Using the lower back to push the hips up rather than driving through the heels and squeezing the glutes. If the lower back tightens at the top, reduce the height of the lift.
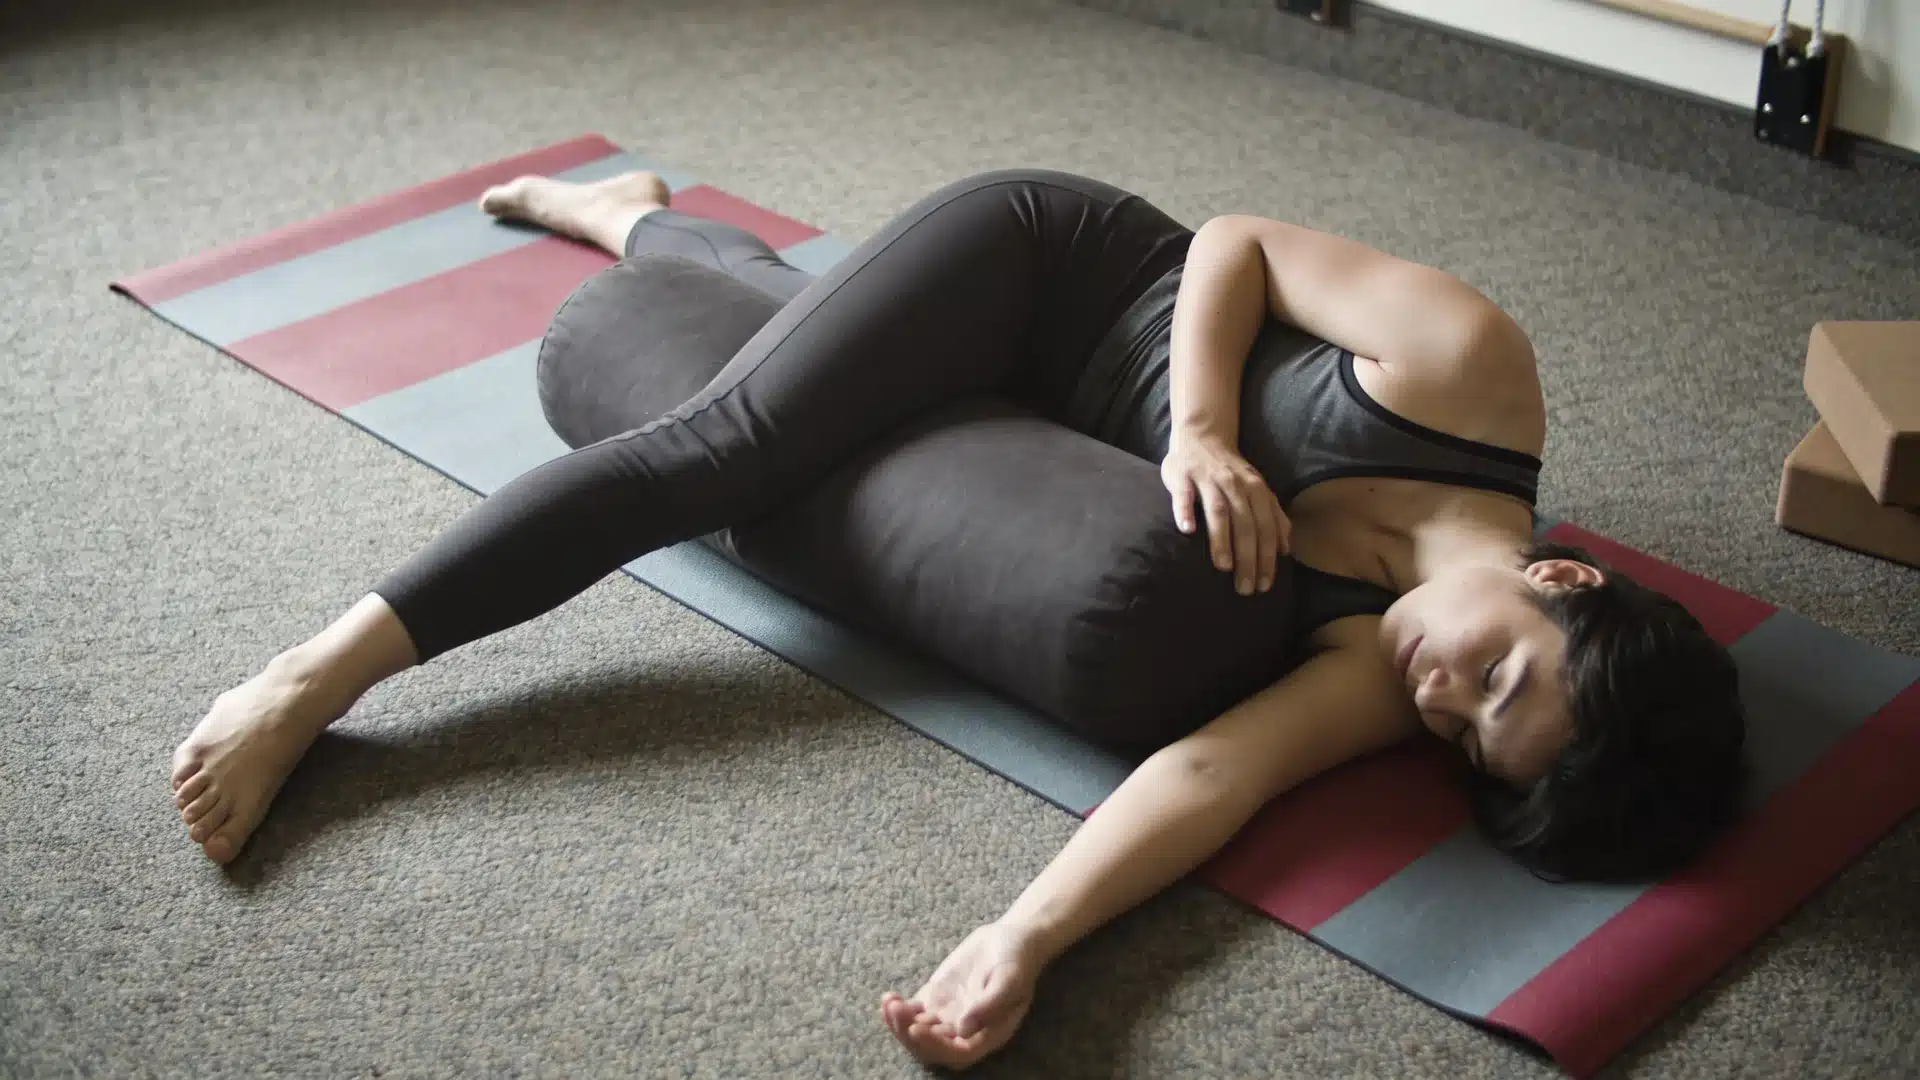
Pose 11: Reclined Twist
Best for: Spinal decompression, lower back recovery, cooldown
After a round, the lumbar spine has absorbed hours of repeated rotational load. Reclined Twist gently decompresses the lower back, restores passive spinal rotation in the opposite direction of the dominant swing, and activates the parasympathetic nervous system through long, slow exhalation. It is one of the most effective single poses for post-round recovery.
How to do it:
- Lie on the back and bend both knees, drawing them toward the chest.
- Stretch both arms out to the sides and slowly lower both knees to the right side of the mat.
- Keep both shoulders resting on the mat. If the top shoulder lifts, reduce the depth of the twist.
- Hold for five to eight slow breaths, then bring the knees back to center and lower to the left side.
Beginner modification: Place a pillow, folded blanket, or block under the knees to reduce the rotational range and support the outer hip.
Advanced variation: Straighten the top leg and gently press it toward the floor to add a lateral hip and iliotibial band stretch.
Common mistake: Forcing the knees all the way to the floor when the shoulder lifts off the mat. The twist happens in the spine, not in how close the knees get to the ground. Prioritize keeping both shoulders grounded.
15-Minute Yoga Routine After Golf
Post-round yoga should be slow, passive, and restorative. The nervous system is already taxed from hours of concentration and physical output. This is not the time for effort. The goal is to release accumulated tension in the hips, lower back, and shoulders, then help the body shift toward recovery.
- Reclined Figure-Four (3 minutes): Lie on the back, cross one ankle over the opposite thigh, and gently draw both legs closer to release the hips and glutes.
- Reclined Twist (3 minutes): Drop both knees to one side while keeping the shoulders grounded to ease lower back tension and restore gentle spinal rotation.
- Bridge Pose (2 minutes): Press the feet into the floor and lift the hips to reactivate the glutes and support the lower back after the round.
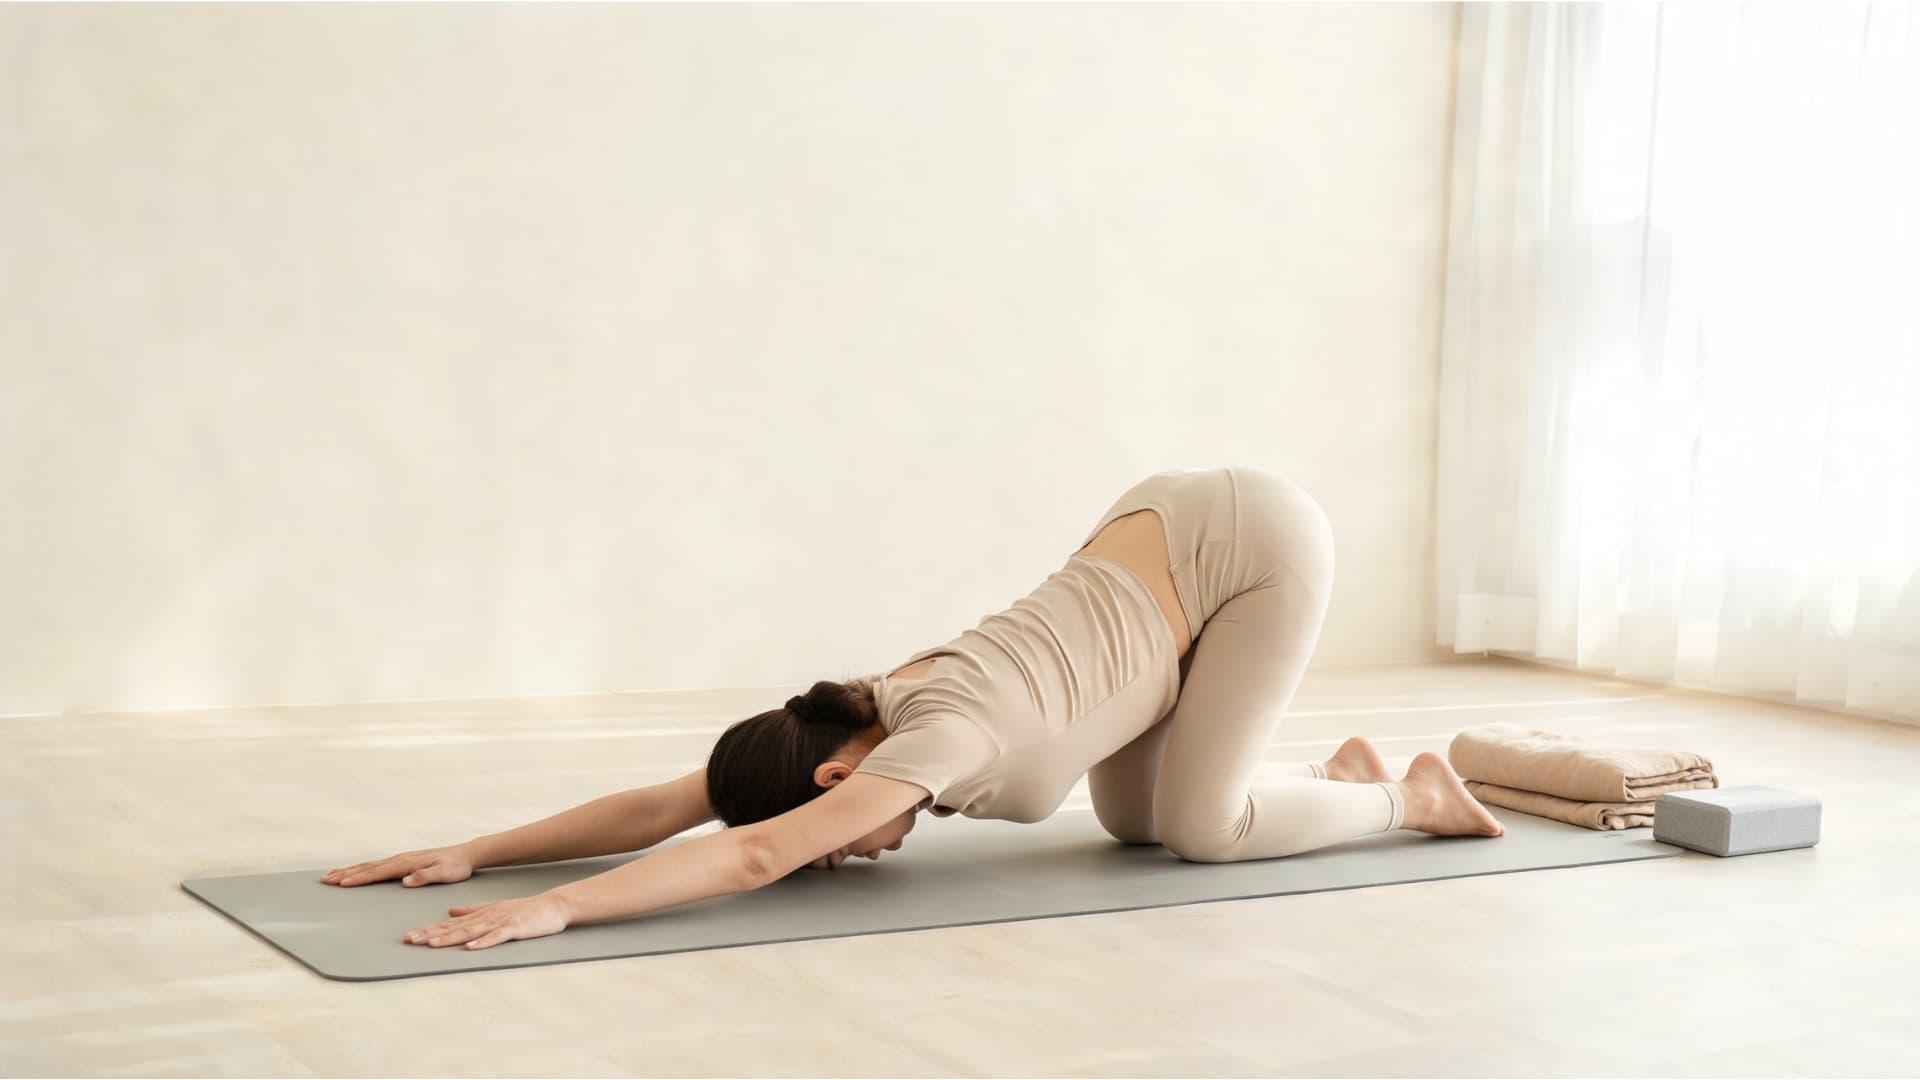
- Child’s Pose (2 minutes): Sit the hips back toward the heels and stretch the arms forward to relax the spine, shoulders, and hips.
- Cobra Pose (2 minutes): Lie on the belly and gently lift the chest to open the front of the body and counter the rounded posture that builds up during a round.
- Legs Up the Wall (2 minutes): Rest the legs vertically against a wall to reduce heaviness in the legs and help the body shift into recovery mode.
- Slow Breathing (1 minute): Breathe slowly through the nose and extend each exhale to calm the body after physical and mental effort on the course.
Move through each pose without rushing. If a position feels uncomfortable, adjust the depth or skip it. The body recovers better when the practice feels easy rather than effortful.
Yoga for Common Golf Pain Areas
Golf places repeated rotational and postural stress on specific regions of the body. Rather than working through a generic sequence, targeting the area that is actually tight or sore produces faster results. The table below maps common pain areas to the poses that address them most directly.
| Pain Area | Best Yoga Poses | Why They Help |
|---|---|---|
| Lower Back Stiffness | Bird Dog, Bridge, Reclined Twist, Cat-Cow | Build core support, restore spinal mobility, activate glutes, and decompress the lumbar spine after repeated rotation. |
| Tight Hips | Pigeon, Low Lunge, Reclined Figure-Four, Warrior 2 | Open hip flexors and external rotators to reduce pressure on the lower back during the swing and improve rotation range. |
| Shoulder Tightness | Downward Dog, Thread the Needle, Cobra, Child’s Pose | Improve posterior capsule mobility, open the chest, and restore upper-back movement for a fuller, more fluid swing. |
| Knee Support | Chair Pose, Bridge, Warrior 2, Ankle Mobility Drills | Strengthen the quads and glutes, improve knee-over-toe alignment, and support better weight distribution through the stance. |
Start with the area that feels most restricted after golf, build consistency there first, and then expand to a fuller routine over time.
Breathing Techniques for Golfers on the Course
The breathing work in yoga translates directly to performance on the course. Two techniques are particularly practical for golfers who deal with nerves, frustration, or focus drift during a round.
Box Breathing Before a Tee Shot
Inhale for four counts through the nose, hold for four counts, exhale for four counts, and hold again for four counts before inhaling again. Two cycles of box breathing lower heart rate, reduce cortisol, and bring attention into the present moment. This takes under thirty seconds and can be done during practice swings without anyone noticing.
One-Breath Reset After a Poor Shot
Stand tall, take a single slow nasal inhale to a count of four, then exhale fully to a count of six. The extended exhale activates the vagus nerve, which directly suppresses the stress response. Shift attention to the next target immediately after the exhale. This technique prevents one bad shot from creating a cascade of tension through the following holes.
These are the same breath patterns used in yoga practice, applied in the specific moments where golfers tend to lose focus or tighten up. They require no equipment and no time off the course to use.
Weekly Yoga Plan for Golfers
A weekly plan keeps yoga useful for golf rather than turning it into another obligation. The structure below balances mobility, strength, recovery, and pre-round preparation across the week without requiring long daily sessions. Consistency over six to eight weeks produces more change in hip mobility and core stability than a single long session ever will.
| Day | Routine |
|---|---|
| Monday | 20 minutes: hip, spine, shoulder, and ankle mobility sequence |
| Tuesday | Strength poses: Chair Pose, Bird Dog, Bridge, and Warrior 2 |
| Wednesday | Rest or 10 minutes of gentle stretching |
| Thursday | Rotation-focused session: Low Lunge with Rotation, Triangle, Pigeon, Reclined Twist |
| Friday | 10-minute pre-round warm-up sequence |
| Saturday | Golf plus 15-minute post-round cooldown |
| Sunday | Recovery yoga: slow holds, Reclined Twist, Child’s Pose, breathwork |
Adjust the timing to fit your schedule. The framework matters more than the exact duration. A consistent 10-minute session three times a week produces better results than an occasional 60-minute session once every two weeks.
Beginner Tips Before Starting Yoga for Golf
If you are new to yoga, the first priority is building consistent movement habits, not achieving deep poses. These guidelines will help you start safely and get useful results faster.
- Start with 10 minutes: A short routine is easier to repeat and still delivers real changes in flexibility and control.
- Do not force range of motion: Move to the edge of comfortable resistance, not into pain. The stretch you can repeat is more useful than the stretch you force once.
- Use props freely: Blocks, a folded blanket, or a chair allow you to keep better form at a shallower depth rather than collapsing into poor position to reach further.
- Breathe slowly throughout: Slow nasal breathing helps the nervous system relax into each pose and accelerates the release of tight tissue.
- Stop if you feel sharp or shooting pain: Discomfort from a deep stretch is normal. Sharp, shooting, or joint pain is a signal to stop and adjust.
- Commit for four to six weeks: Mobility changes are cumulative. The biggest improvements tend to appear between weeks three and six, not in the first session.
The yoga and golf connection becomes most clear once the body has had enough time to adapt. Start where you are, stay consistent, and let the movement build from there.
Common Mistakes Golfers Make With Yoga
Yoga works for golf when it is applied with the right intent and structure. Several patterns limit results or create unnecessary risk.
- Stretching too aggressively before playing: Long passive holds before a round temporarily reduce muscle force output. Stick to active, controlled movements in the warm-up and save deep stretching for after the round.
- Skipping strength-focused poses: Flexibility without stability creates a different problem. Golfers need control through their range of motion, not just access to it. Bird Dog, Bridge, Chair Pose, and Warrior 2 build that control.
- Ignoring the breathing work: Breathwork is not a soft addition to the practice. It directly changes physiological state and produces real performance benefits on the course.
- Only stretching the hips: The thoracic spine, shoulders, ankles, and core all affect swing mechanics. A hip-only routine leaves most of the system unaddressed.
- Skipping the warm-up before deep poses: Cold tissue resists change and is more vulnerable to strain. Two to three minutes of Cat-Cow and gentle movement before deep hip or shoulder work makes every subsequent pose more effective and safer.
- Using poor alignment to reach further: A shallower pose with clean alignment produces better neuromuscular adaptation than a deeper pose with collapsed form. Depth is never the goal on its own.
Frequently Asked Questions
Does yoga help golf swing rotation?
Yes, consistently practiced yoga improves golf swing rotation by increasing thoracic spine mobility, opening the hip flexors and external rotators, and building the core stability that allows force to transfer through the swing without energy leaking into compensatory movement patterns. Low Lunge with Rotation, Triangle Pose, and Reclined Twist are the most directly useful poses for this.
What yoga poses are best for lower back pain in golfers?
Bird Dog, Bridge Pose, Cat-Cow, and Reclined Twist target the core, glute activation, and spinal mobility that most directly protect and relieve the lower back. Pigeon Pose and Reclined Figure-Four address the hip tightness that is often the upstream cause of lower back strain in golfers. If lower back pain is acute or associated with nerve symptoms, see a physical therapist before beginning.
How often should golfers do yoga?
Three sessions per week produce measurable changes in flexibility and stability within four to six weeks for most people. The sessions do not need to be long. A 10-minute pre-round warm-up, a 20-minute mid-week mobility session, and a 15-minute post-round cooldown represent a realistic and effective starting point.
Is yoga better before or after golf?
Active, dynamic yoga sequences work best before golf as a warm-up. Long passive holds and restorative poses work best after a round as a recovery tool. Deep stretching before golf can temporarily reduce muscle stiffness in a way that decreases power output, so the timing and type of yoga matter. The pre-round and post-round routines in this guide are designed with this distinction built in. Research on yoga timing and output shows that the sequence type matters as much as the session itself.
Can yoga prevent golf injuries?
Yoga reduces the risk of common golf injuries by improving the mobility and stability that the swing demands. The most common golf injuries affecting the lower back, shoulder, and knee often develop from a restricted range of motion that forces adjacent joints to overwork. A consistent yoga practice addresses those restrictions before they become injuries. It is not a substitute for medical care, but it is an effective preventive strategy.
Does Rory McIlroy do yoga?
There is no widely documented evidence that Rory McIlroy practices yoga as a regular part of his training. His fitness work is primarily focused on strength, mobility drills, and rotational power. Golfers at every level can benefit from yoga for the same underlying physical reasons, regardless of what specific professionals choose to include in their routines.
What is the best yoga pose for golf flexibility?
Low Lunge with Rotation addresses more of the specific flexibility demands of the golf swing than any other single pose. It opens the hip flexors, which restrict pelvic rotation, while simultaneously training thoracic rotation to the same side as the leading shoulder in the backswing. Pigeon Pose is the strongest single-pose intervention for tight hips specifically.
These are the questions that come up most often from people starting a yoga practice with golf improvement in mind. If your body has a specific limitation not covered here, the pain area table above is the best starting point for building a targeted routine.
Final Verdict
A stiff body will inevitably limit your swing and lead to post-round aches, but a dedicated yoga for golfers routine is the ultimate tool to unlock your true athletic potential.
By consistently practicing these targeted movements, you will build the precise hip rotation, thoracic mobility, and core stability required for a powerful, repeatable swing.
Best of all, you now have a structured weekly blueprint that easily fits into your busy schedule without leaving you fatigued.
Do not let preventable tightness hold your game back or cause unwanted injuries on the course.
Try these simple poses before your next round, and share your thoughts below on how much smoother your swing feels.