


| Difficulty | Beginner |
| Duration | 20 to 60 seconds per side; 1 to 3 rounds |
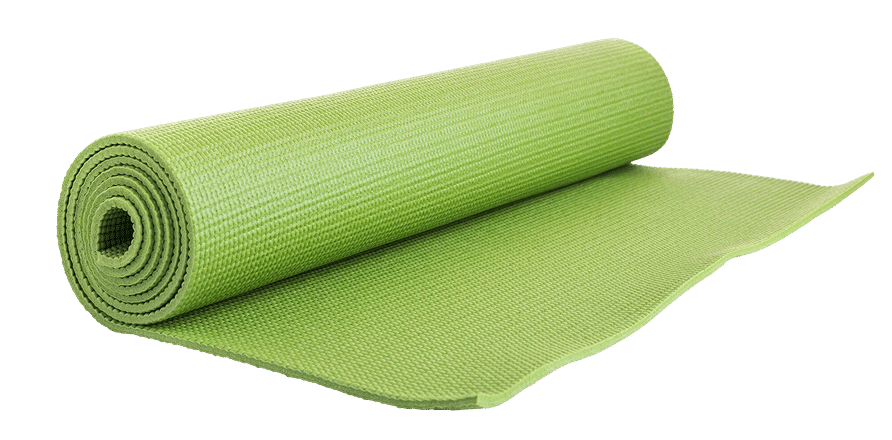
| Props Needed | Yoga mat; optional: blocks, folded blanket under the knee |
| Best Time | After a workout, after long sitting, or mid-flow after Downward Dog |
| Avoid If | Acute knee, hip, or lower-back injury; groin strain; recent hip replacement |
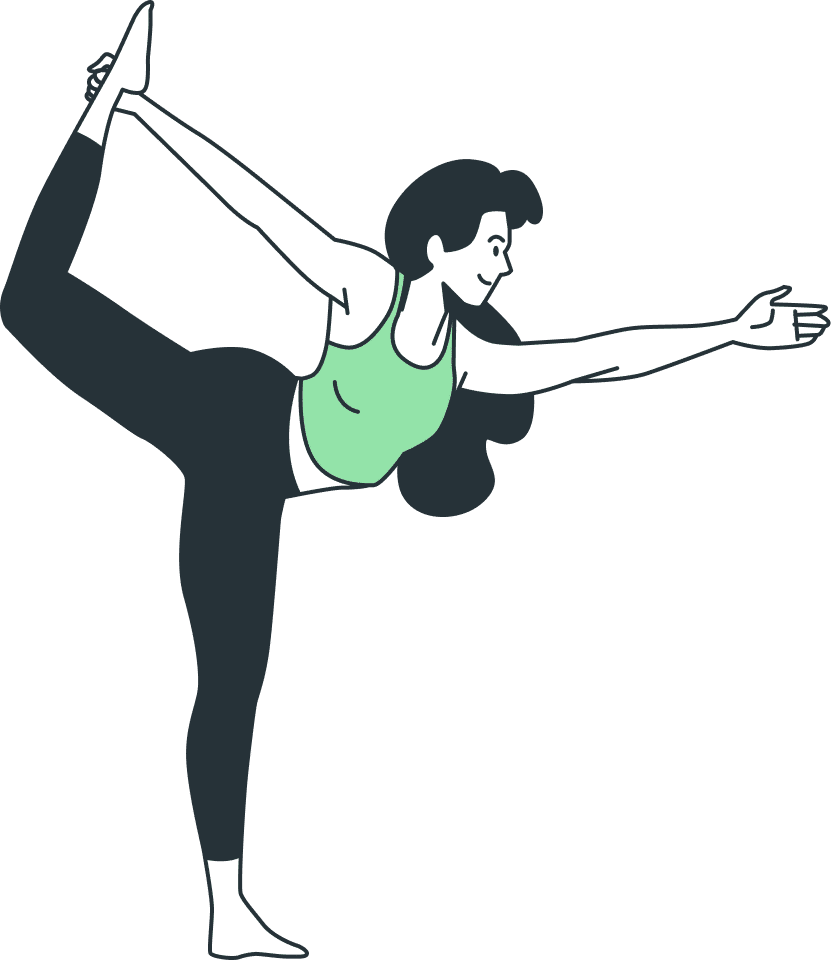
Ever stepped onto your mat, moved into a lunge, and felt your hips say, “Not today”? That’s where the low lunge stretch can change the whole feel of your practice. This pose looks simple, but when you set it up well, it gives your hips space, your legs support, and your body a calmer way to open up.
The low lunge yoga pose is often used in beginner classes, warm-ups, and post-workout stretching because it meets you where you are.
Tight from sitting? New to yoga? Trying to move with less stiffness? You’re in the right place. Let’s walk through the pose in a clear, friendly way so you can use it with more confidence today, safely, and comfortably too.
What Is the Low Lunge Stretch?
The low lunge stretch is a floor-supported hip opener that creates length through the front of the back hip, particularly through the hip flexors, which can feel shortened after long hours of sitting.
Unlike standing lunges, the back knee rests on the mat, which reduces balance demand and lets you focus on the stretch itself. That makes it well-suited for beginners, people easing into hip flexor pain relief work, runners, cyclists, and anyone with a tight or stiff pelvis.
The stance length, knee position, and arm variation can all be adjusted, so the pose can feel gentle or more intense depending on what your body needs. This is why it shows up in warm-ups, cool-downs, beginner yoga classes, and hip mobility sequences alike.
Is the Low Lunge Yoga Pose the Same as Anjaneyasana?
Yes, the low lunge yoga pose is widely known as Anjaneyasana in yoga. The name is often linked with a kneeling lunge position used in many modern yoga classes. You may also hear teachers call it “low lunge,” “kneeling lunge,” or “low crescent lunge,” depending on the class style.
The main difference is usually how the pose is taught, not what it is called. In a gentle or beginner class, the focus may stay on comfort, steady breathing, and hip opening. In a stronger flow class, the same pose may include lifted arms, more chest opening, or a deeper shape.
So, if you see Anjaneyasana in a yoga sequence, don’t let the Sanskrit name make it feel advanced. It often points to the same low lunge base you’re about to learn.
How to Do the Low Lunge Stretch Correctly
The low lunge stretch works best when you build it slowly. Set your base first, then move into the hip stretch with control. Use these six steps to practice it safely and clearly.
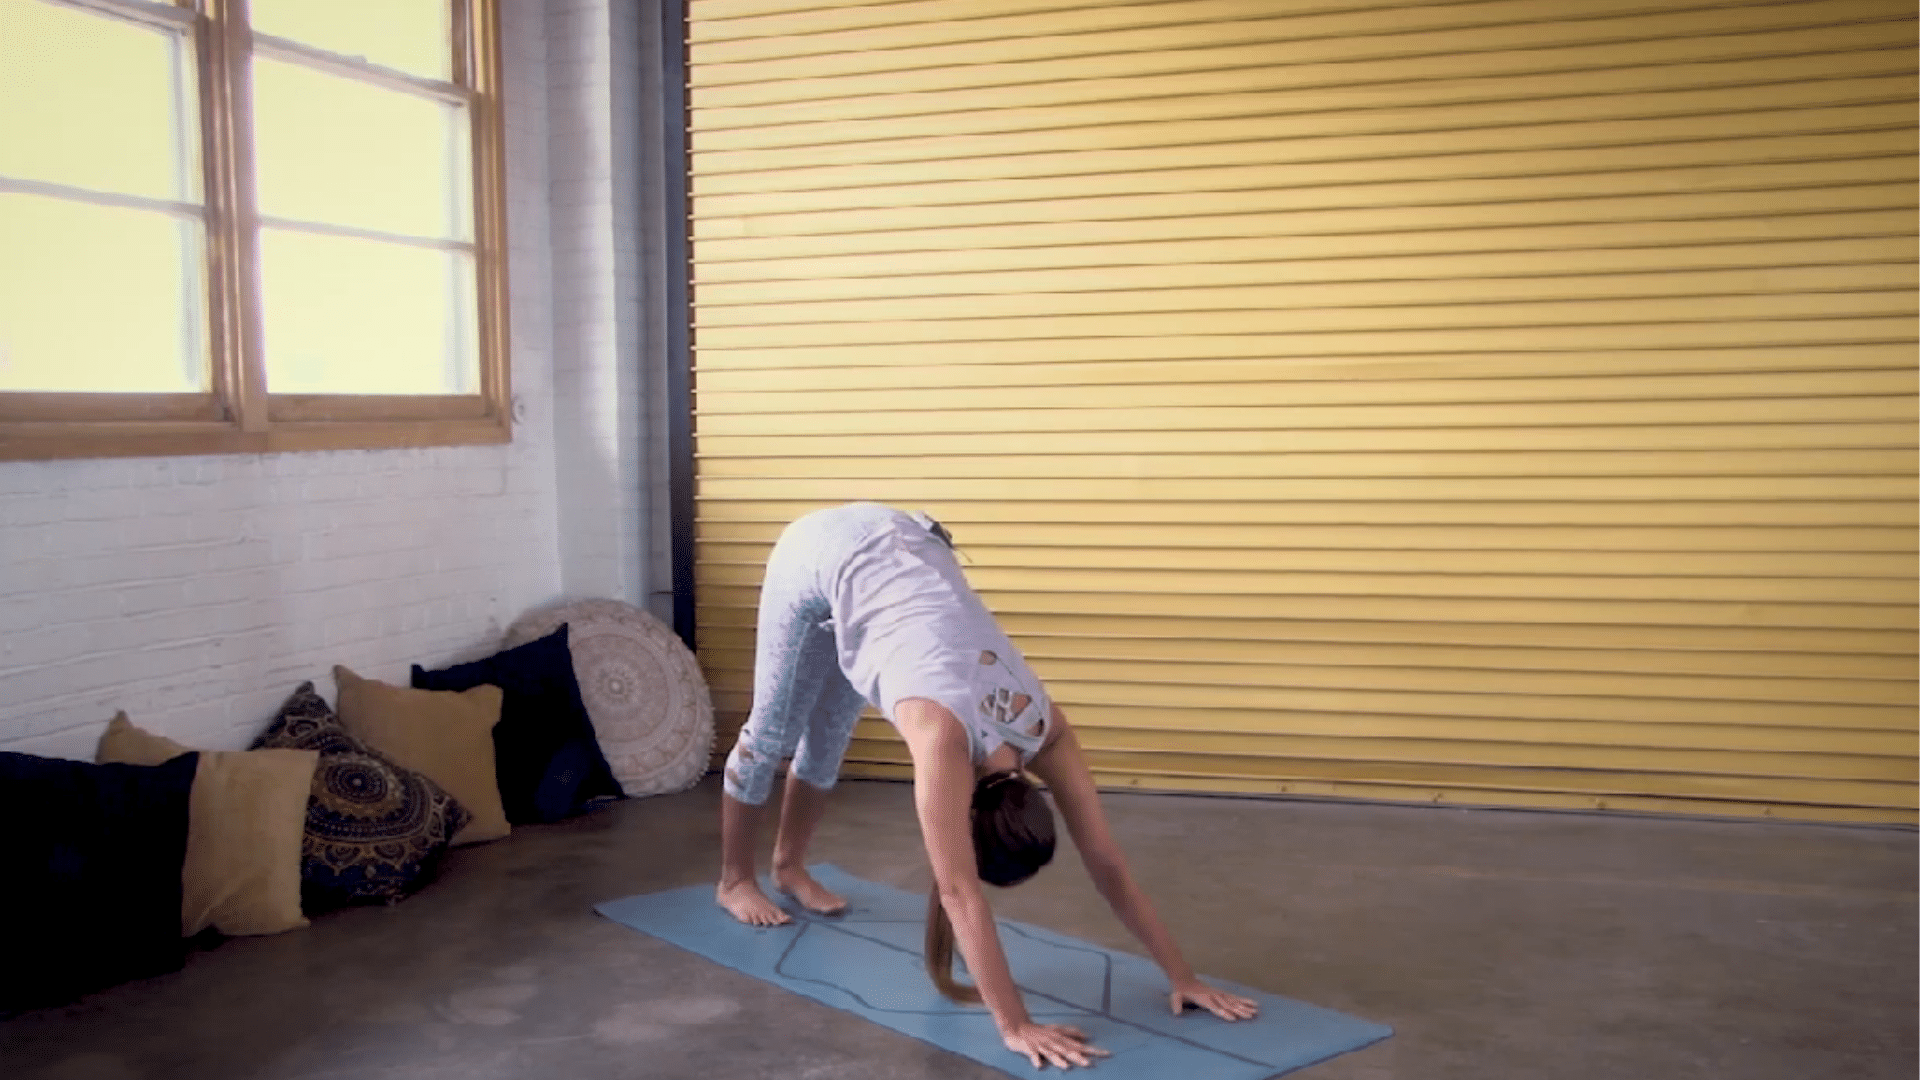
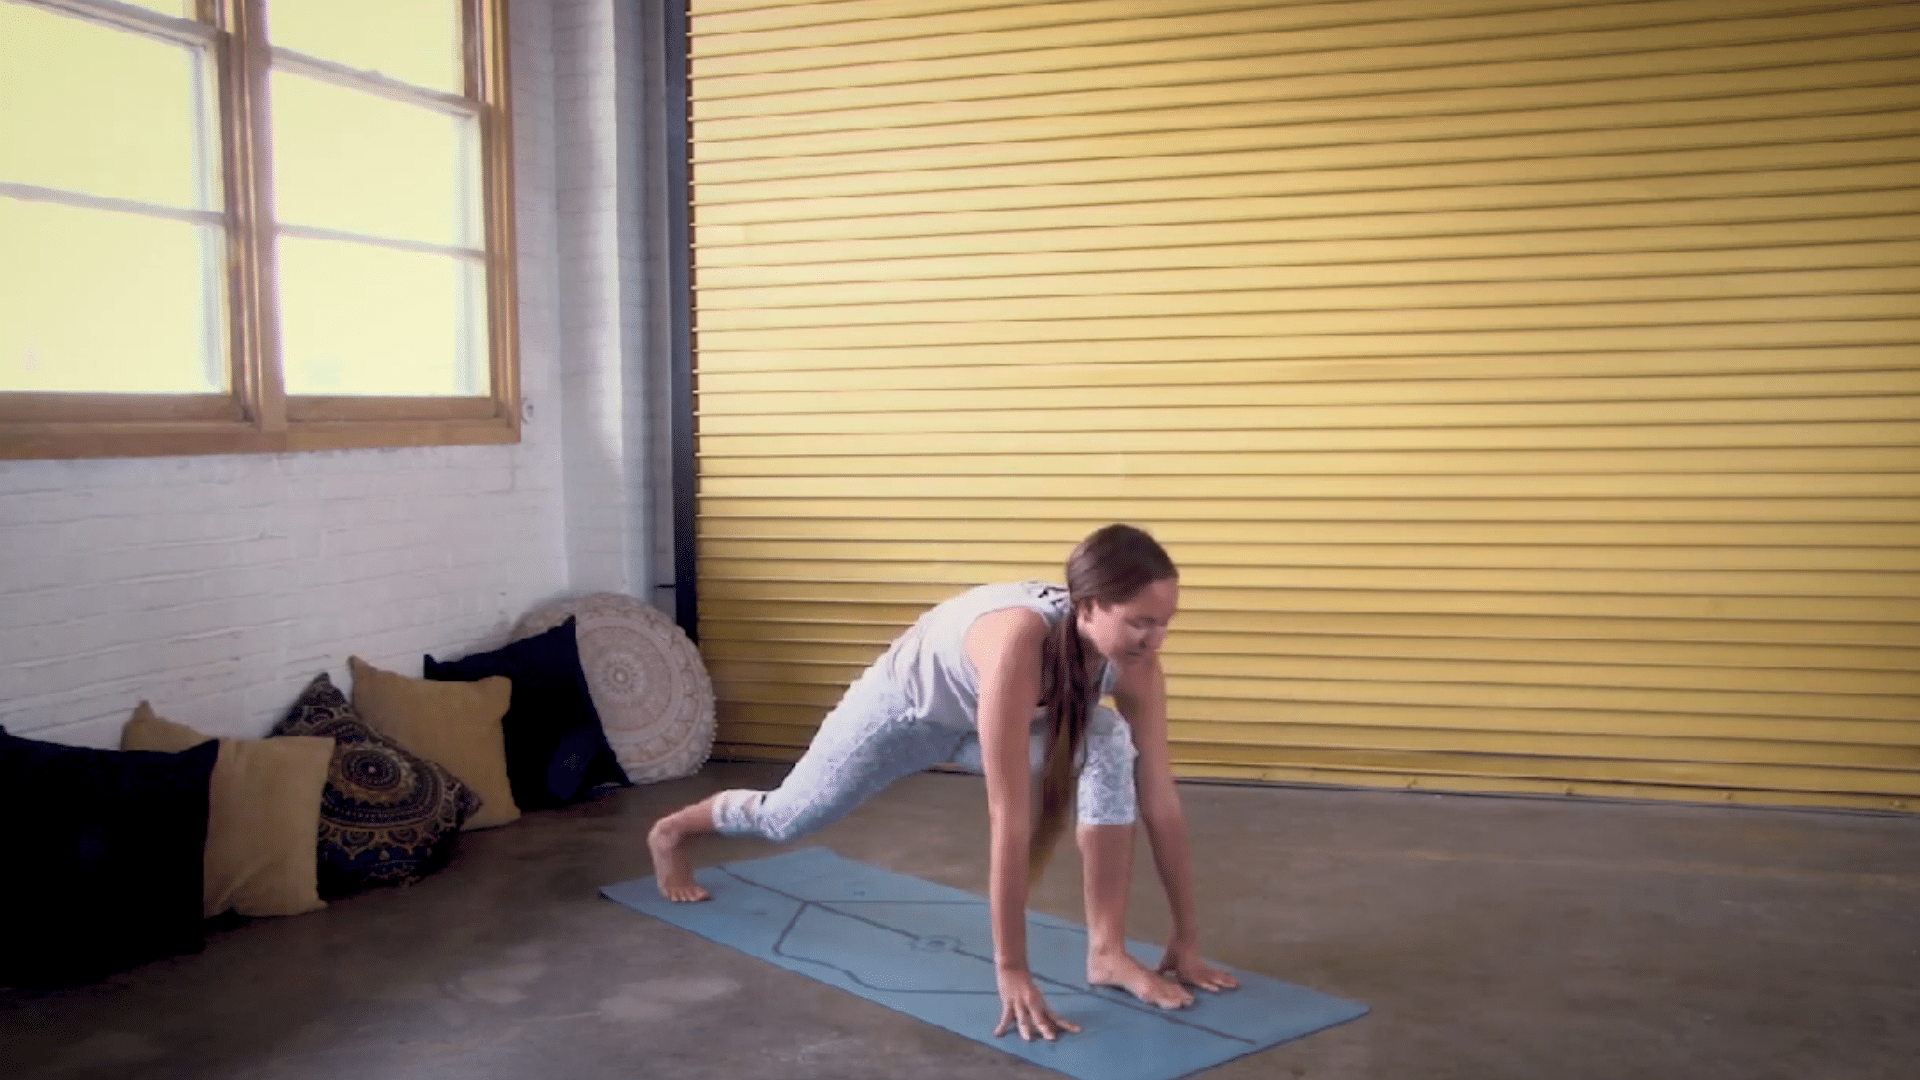
Step 1: Start From a Stable Position
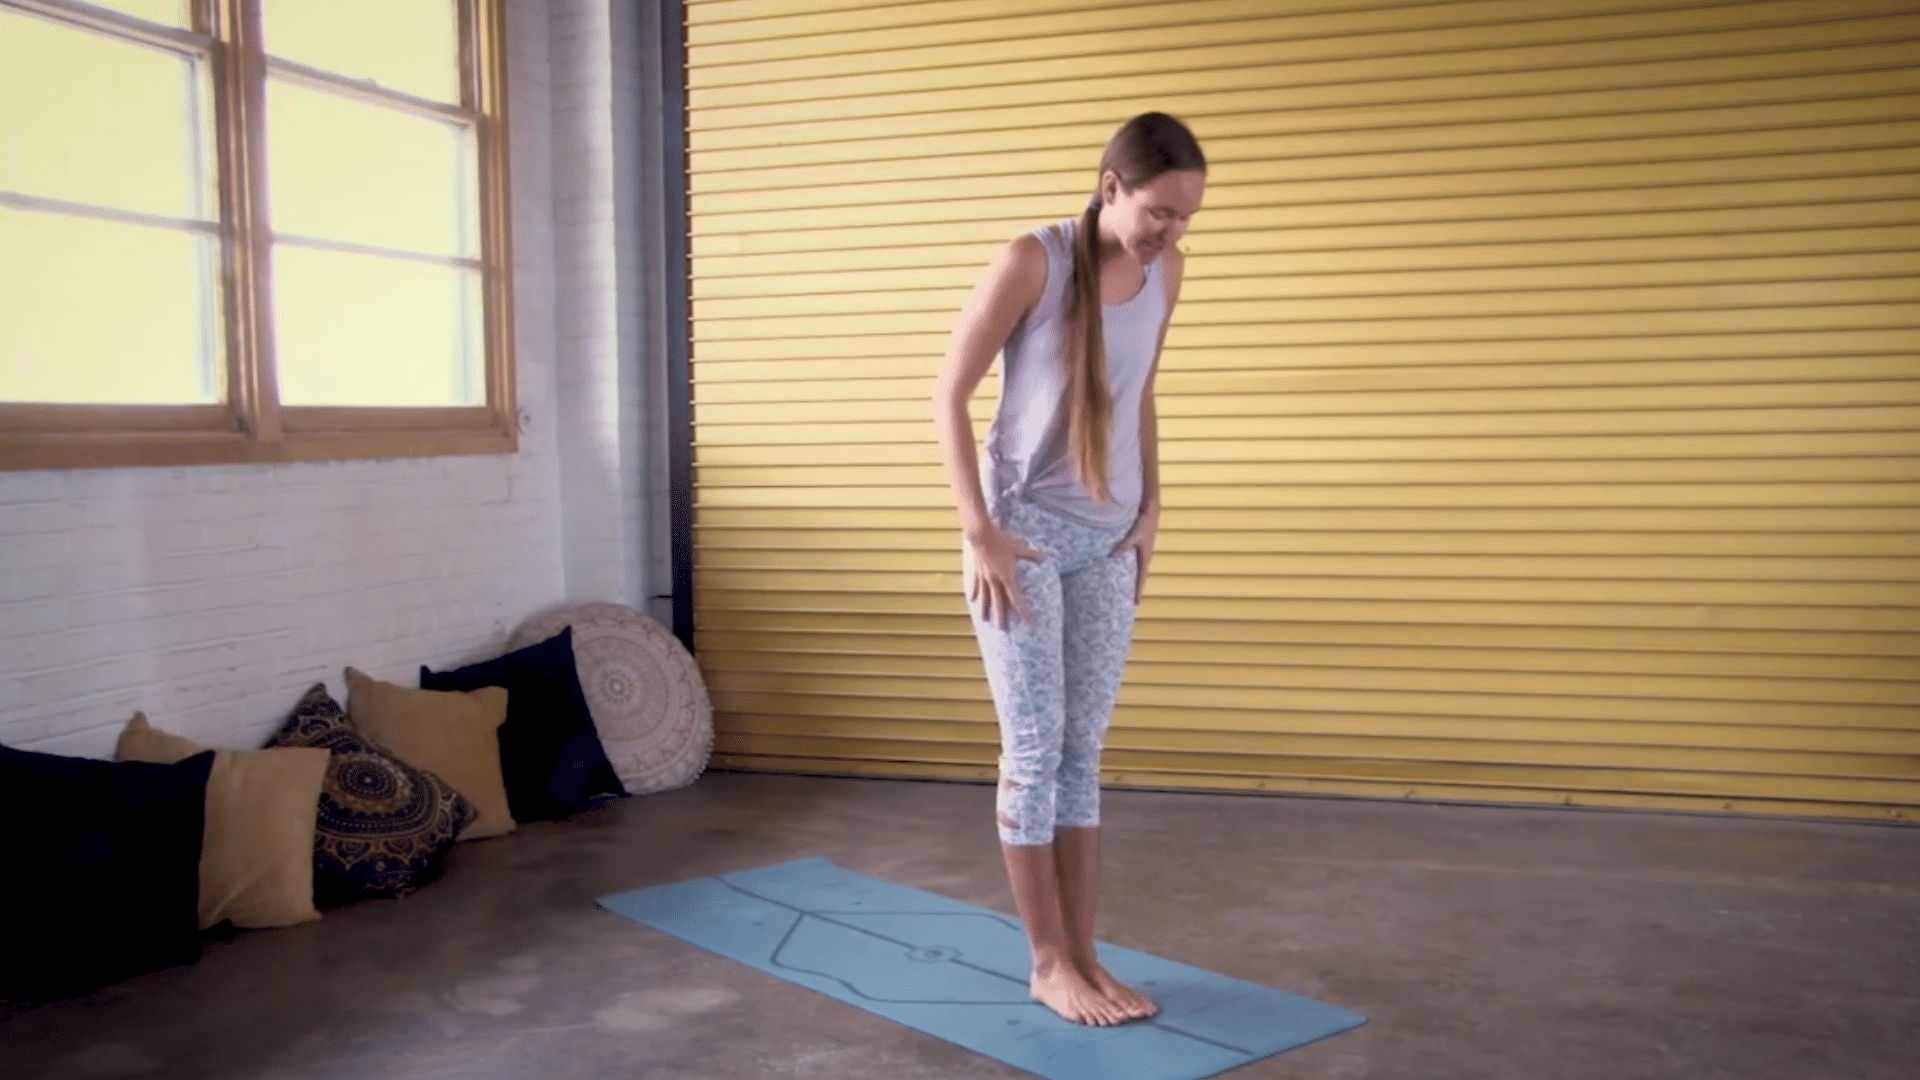
Begin in a forward fold with your knees slightly soft, or come onto your hands and knees if that feels more comfortable. If you start standing, fold from your hips and let your hands reach toward the floor or yoga blocks. Don’t worry about touching the mat.
Your first goal is to feel steady before moving. Keep your breath calm, your feet grounded, and your spine as long as you can. This gives you a safer start for the low lunge stretch.
Tip: Keep your knees bent if your hamstrings feel tight. This helps your back stay long and keeps the first step from feeling forced or uncomfortable.
Step 2: Step One Leg Back Into a Lunge
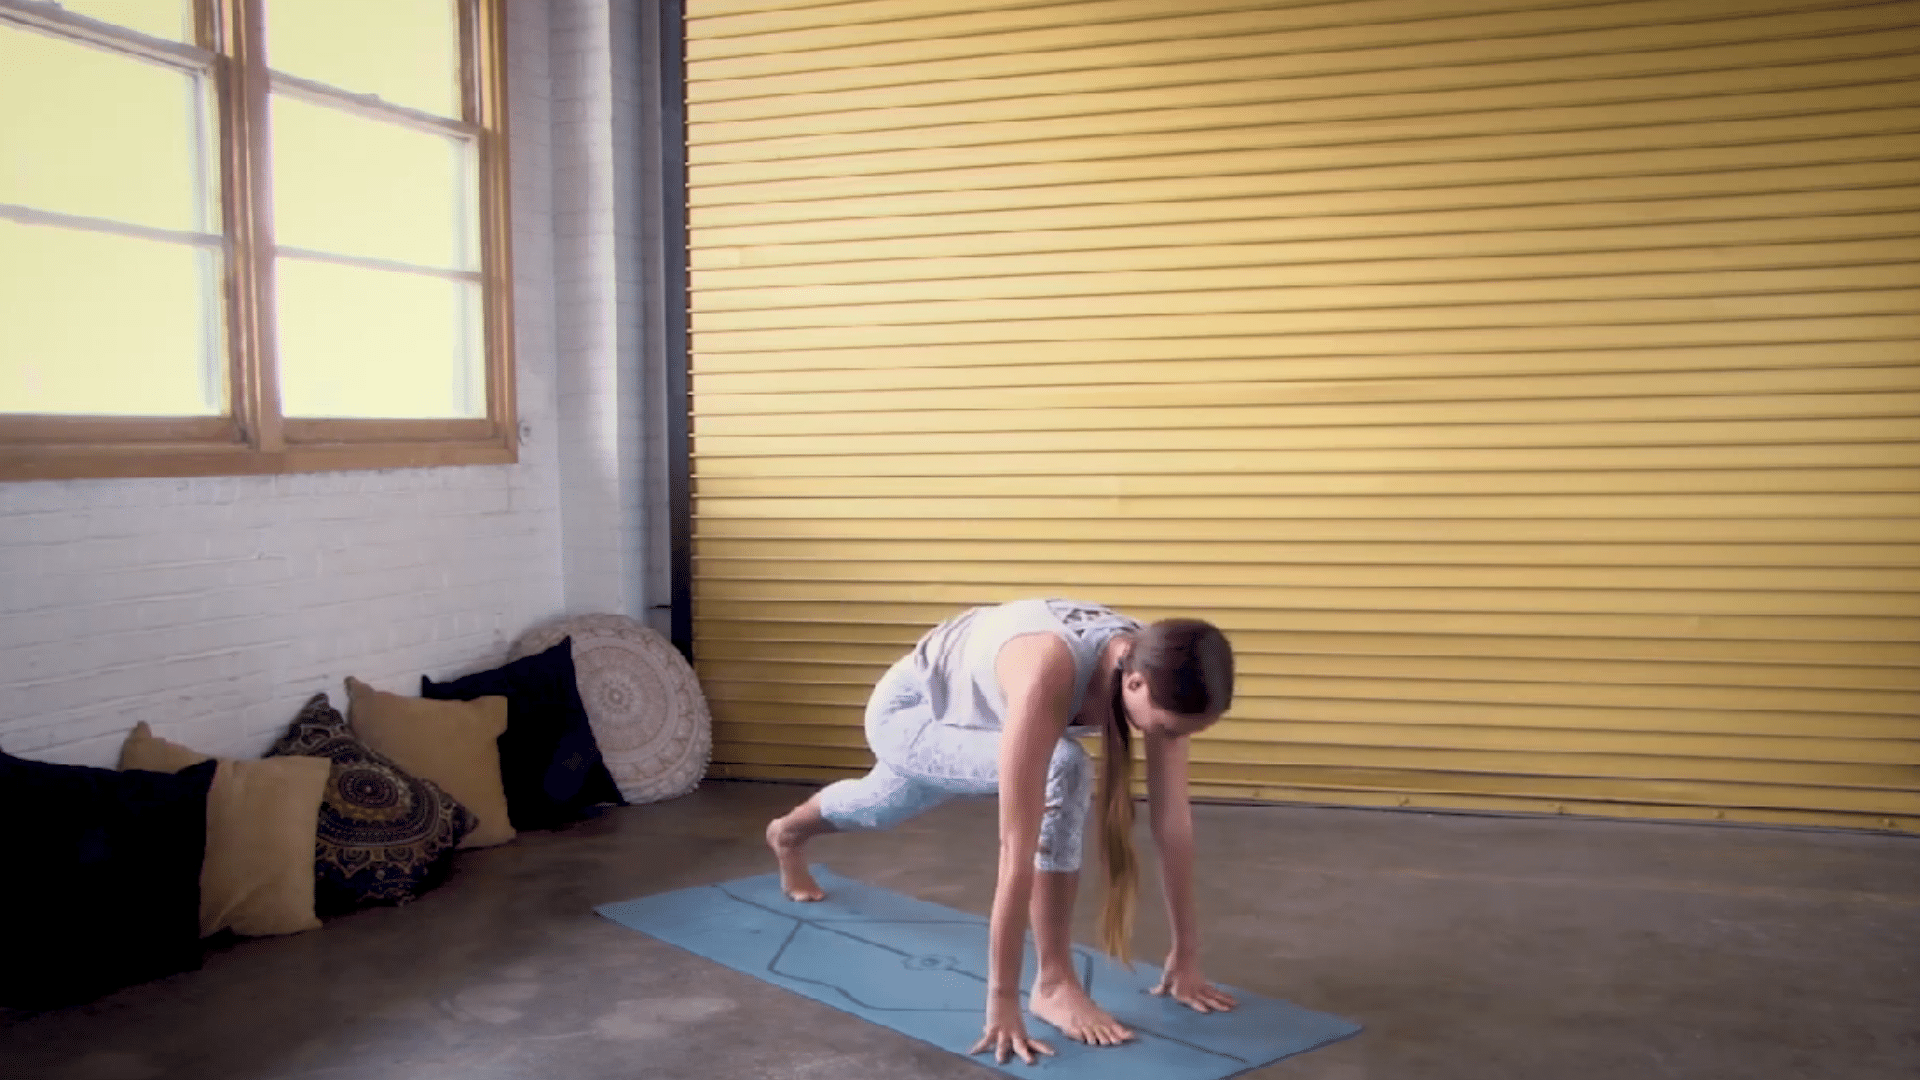
Keep one foot planted near the front of your mat and step the other foot back into a lunge. Take enough space so your front leg feels free, but don’t step so far that your balance disappears.
Before you lower down, pause and check your front knee. It should sit above your ankle, not push far toward your toes. Press through your front foot so the leg feels active and steady while your body prepares to settle lower.
Tip: Press through the big toe side of your front foot. It helps your knee track better and keeps the front leg from wobbling.
Step 3: Lower the Back Knee With Control
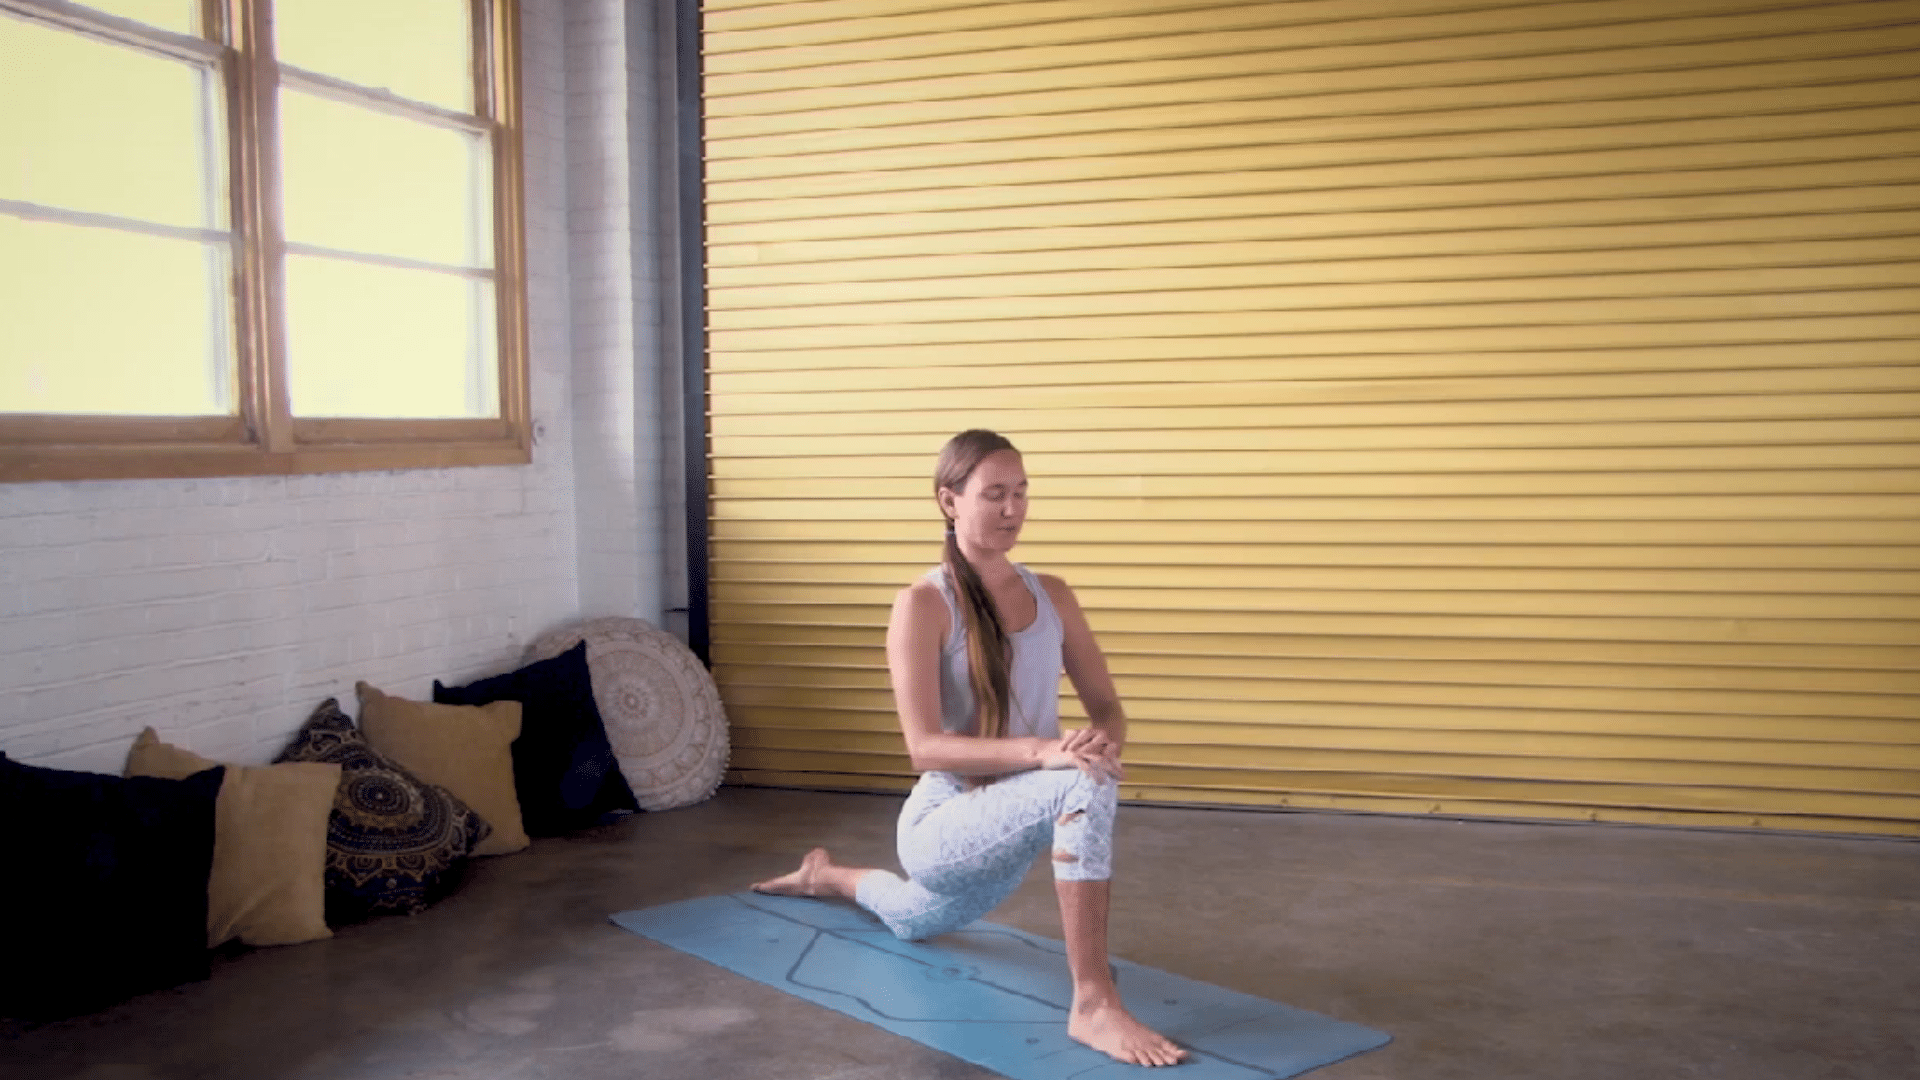
Now gently lower your back knee to the mat. Move slowly instead of dropping your weight down. This helps you notice whether the knee, hip, or lower back feels uncomfortable. Once the knee touches the floor, let the back leg settle, but keep some activity through both legs.
The floor gives support, but your body should not collapse into it. If the mat feels too firm, place something soft under the knee before staying in the pose.
Tip: Use a folded blanket or cushion under your back knee. A softer surface lets you focus on the hip stretch rather than on pressure.
Step 4: Set Your Feet, Hips, and Spine
Untuck the back toes if that feels comfortable, and let the top of the back foot rest on the mat. Now notice your hips and shoulders. Try to face them toward the front of the mat without forcing them into a perfect shape. Lift through your spine, keeping your chest open but relaxed.
If your front hip pulls forward, draw it back slightly. The pose should feel aligned, but not stiff or locked into place.
Tip: If one hip turns out, adjust gently. Small changes work better than forcing your body into an unnatural shape.
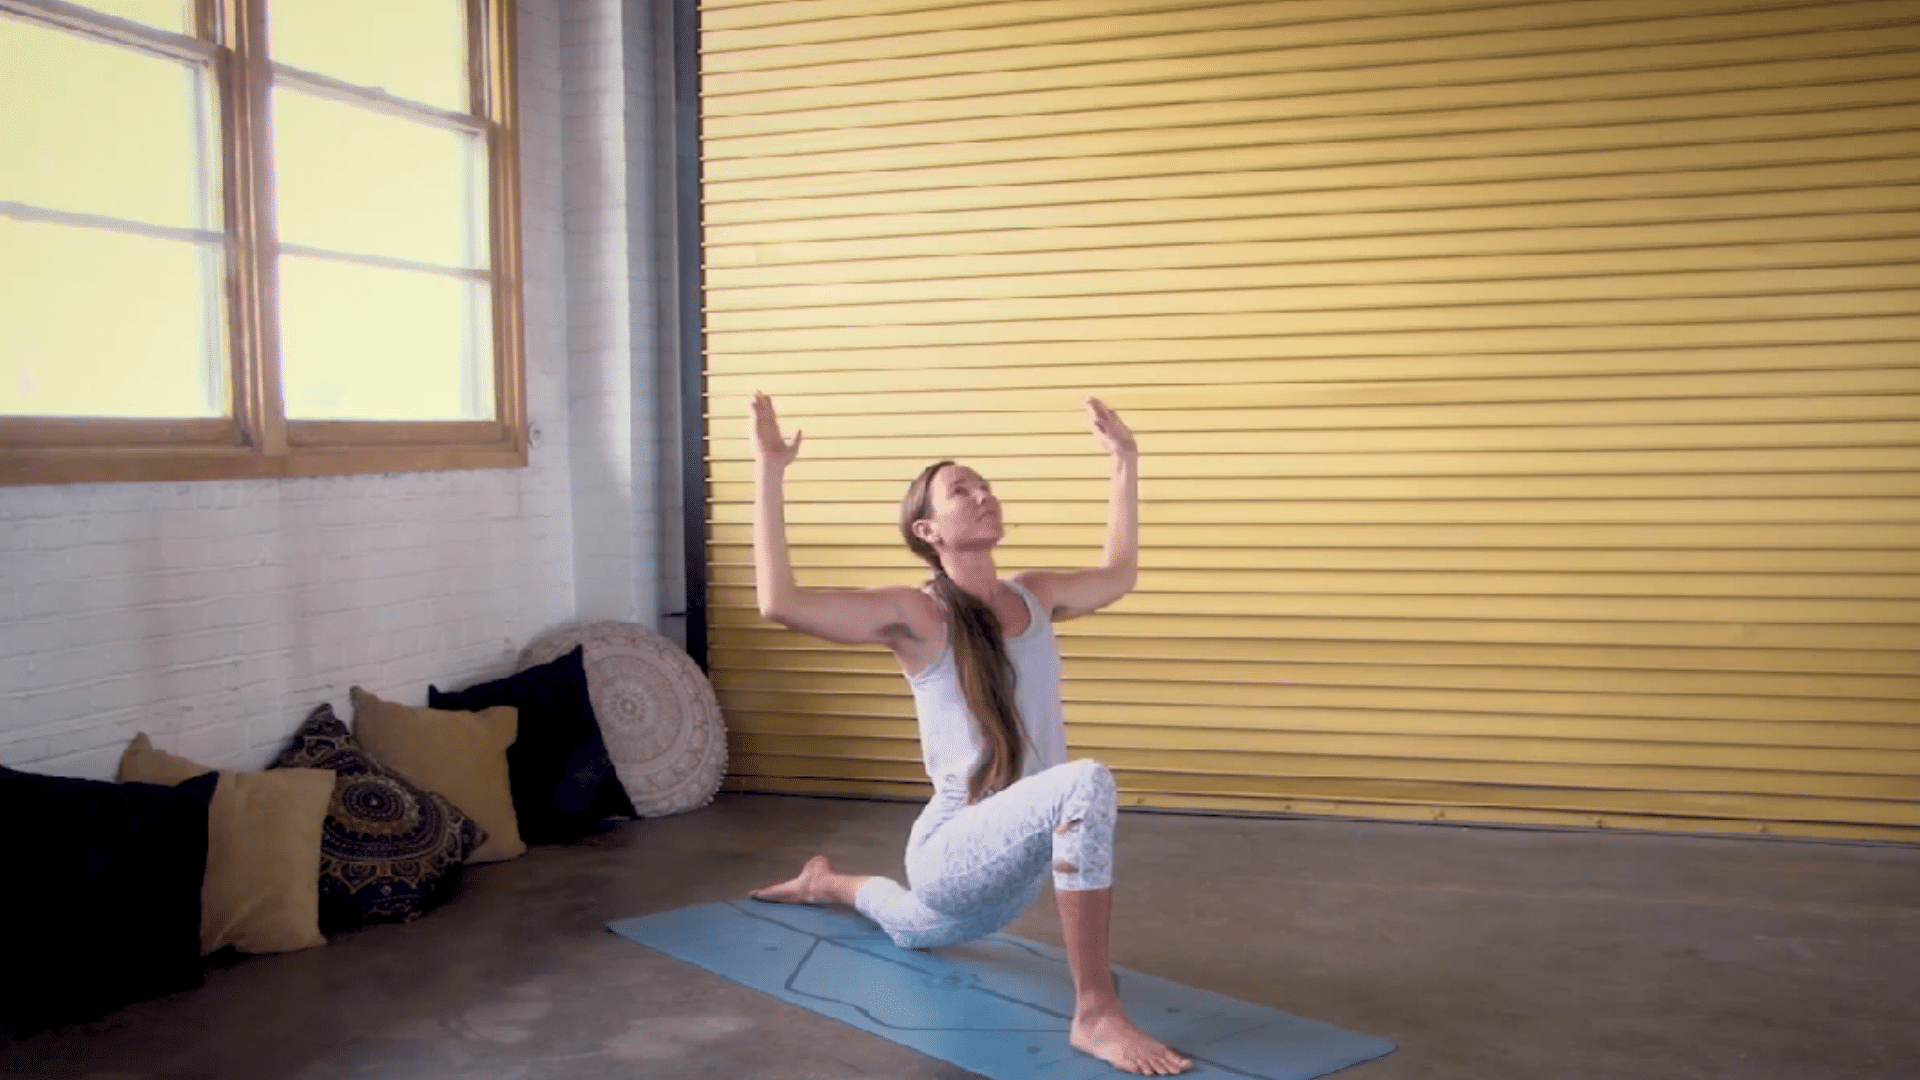
Step 5: Choose Your Upper-Body Position and Hold
Choose the arm position that lets you breathe well. You can keep your hands on the mat, place them on blocks, bring them to your heart, or reach them overhead. Pick the version that feels steady today. Once you’re settled, hold for 5 to 10 slow breaths, or about 20 to 60 seconds per side.
Let the stretch build with time. You don’t need to push your hips down to make the pose work.
Tip: Lower your arms if your shoulders tense up. A simple hand position often helps you feel the hip stretch more clearly.
Step 6: Come Out Slowly and Switch Sides
To come out, bring both hands down for support. Tuck your back toes, lift the back knee, and step back with control. Pause for one breath before moving to the other side. Your second side may feel tighter, easier, or less balanced. That’s normal.
Treat it as a new side, not a copy of the first one. Move slowly and repeat the same setup so both hips get clear, steady attention.
Tip: Don’t rush out of the pose. A slow exit helps protect your balance and shows you how your hips feel afterward.
For a step-by-step tutorial, watch the video:
How Low Lunge Should Feel in Your Body
Once you’re in the low lunge stretch, your body gives clear feedback. This section helps you read those signals, so you know whether the pose is helping your hips or creating extra strain. Use these checks after you’ve set up the pose:
- The stretch feels clear, not sharp: You should feel a steady pull near the front of the back hip, not pain in the knee, groin, or lower back.
- Your front leg feels stable: The front foot should feel grounded enough that you’re not gripping the mat or wobbling through the pose.
- Your lower back feels spacious: If your back feels pinched or compressed, the pose is too deep, or your torso needs more lift.
- Your hips feel active, not collapsed: The pose should feel supported by your legs, not like you’re sinking all your weight into the floor.
- Your breath stays steady: If your breath gets stuck, your body is telling you to reduce the depth.
- You can exit with control: A good low lunge should be easy to leave slowly, without pushing off hard or losing balance.
Low Lunge Stretch Variations and Modifications
The low lunge stretch can be adapted for beginners, people managing injury, and more experienced practitioners looking for a stronger demand. Start with whichever version solves your primary issue first.
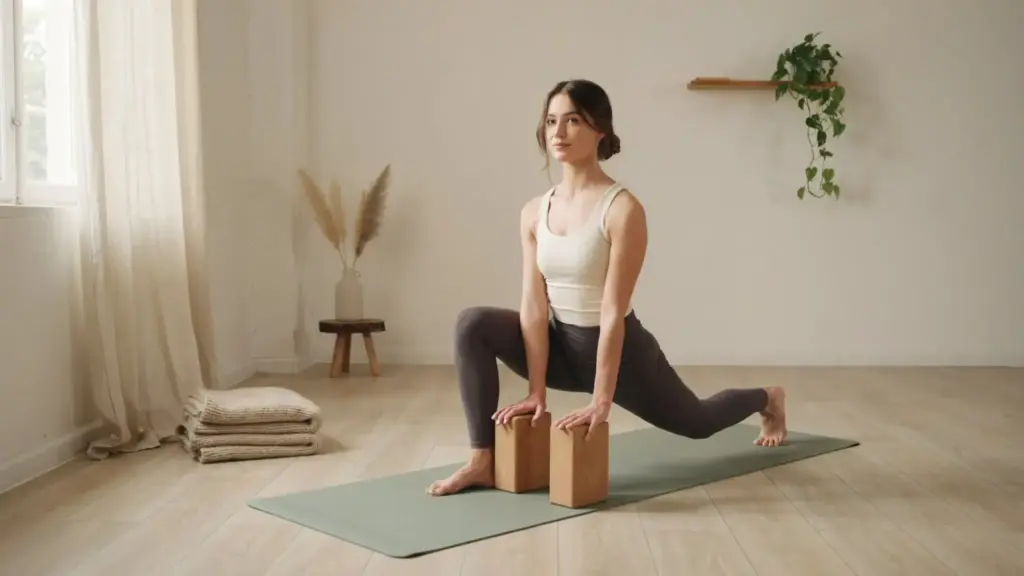
1. Beginner: Low Lunge With Yoga Blocks
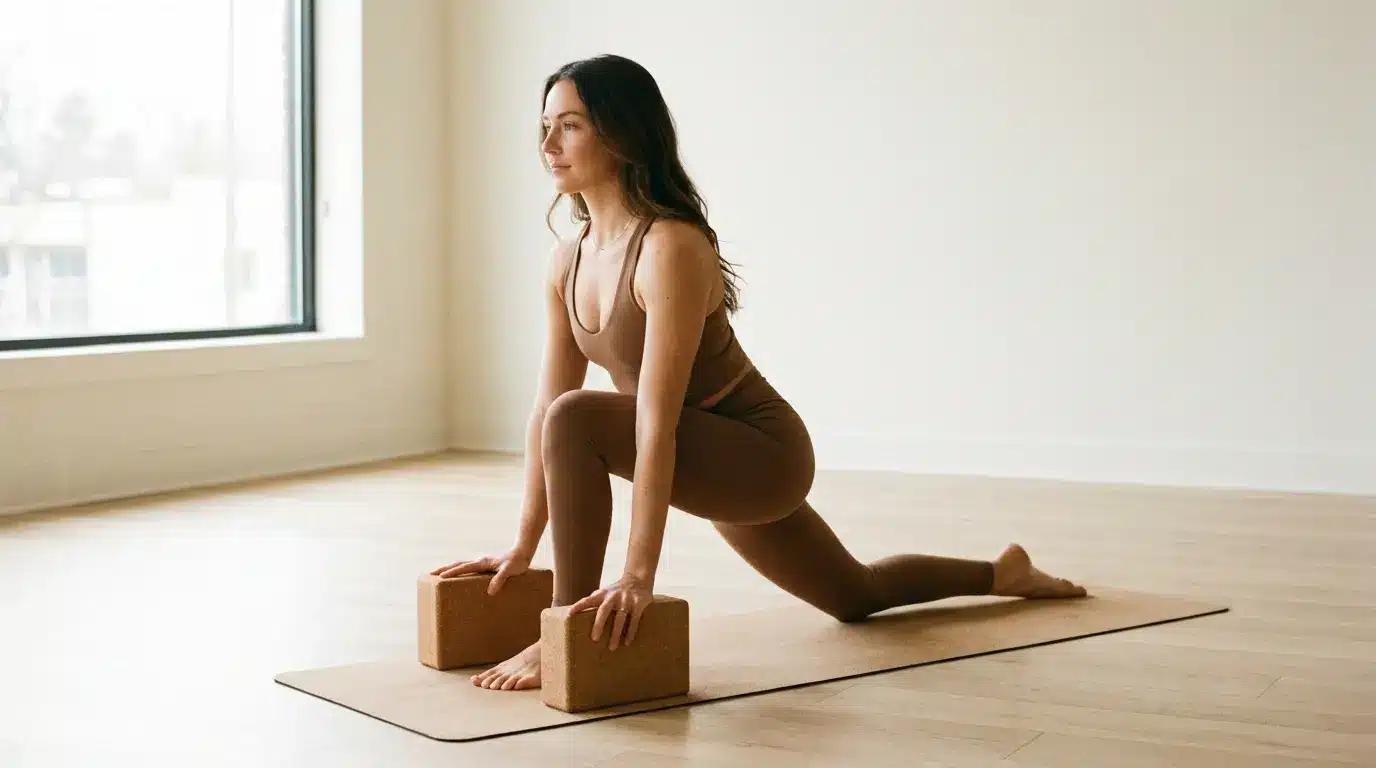
Blocks raise the floor so your hands do not have to drop as far. This prevents chest collapse and back rounding when the mat feels too far away. Place your hands on the tallest setting first, then lower one level only if your spine stays easy.
For more guidance on choosing the right props, the yoga blocks for beginners resource covers what to look for. Keep your neck relaxed and look slightly ahead of the mat rather than down.
2. Beginner: Low Lunge With Hands on Front Thigh
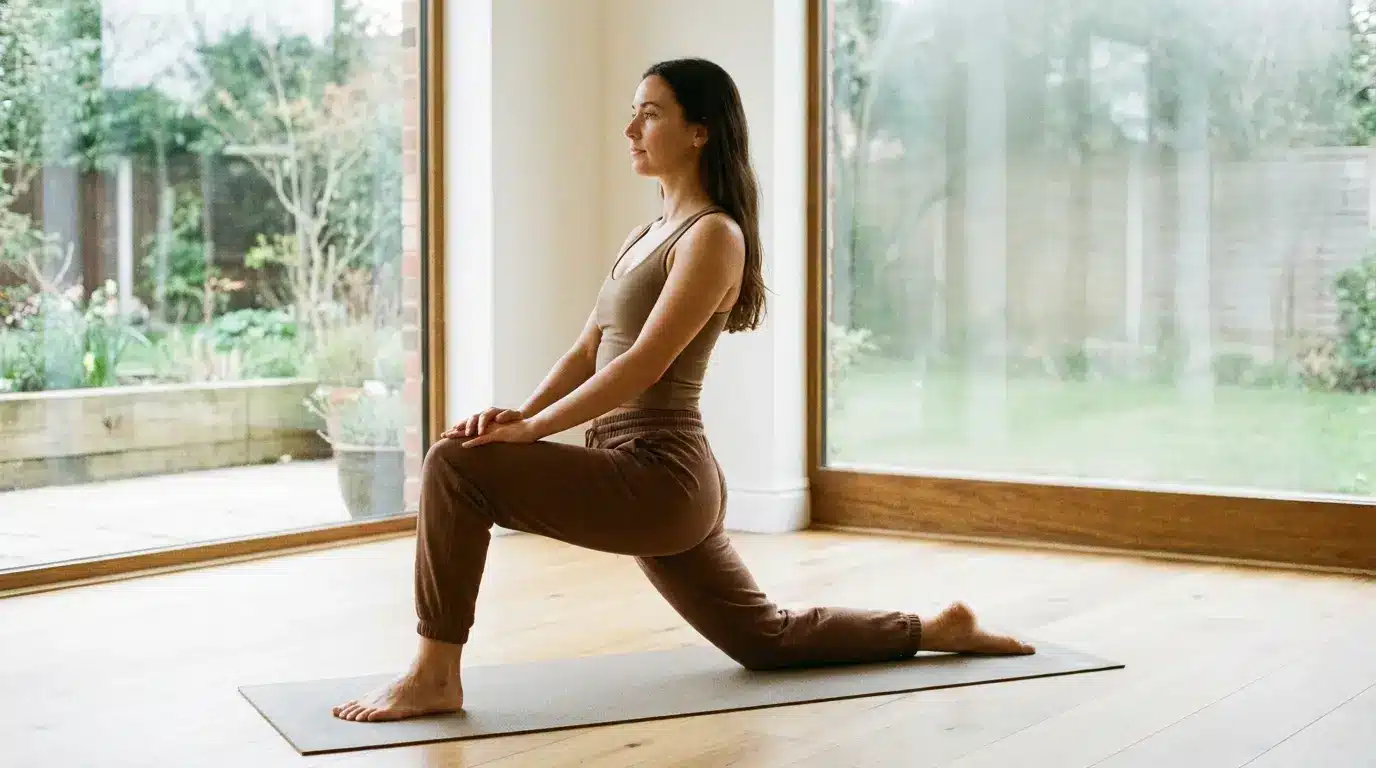
Bringing both hands to the front thigh creates an upright torso and gives your hands a firm anchor when the floor feels too unstable.
Stack your shoulders over your hips and press lightly into the thigh for feedback, not to push the knee forward. This version works well when balance is the bigger obstacle than flexibility.
3. Beginner: Low Lunge With Blanket Under Back Knee
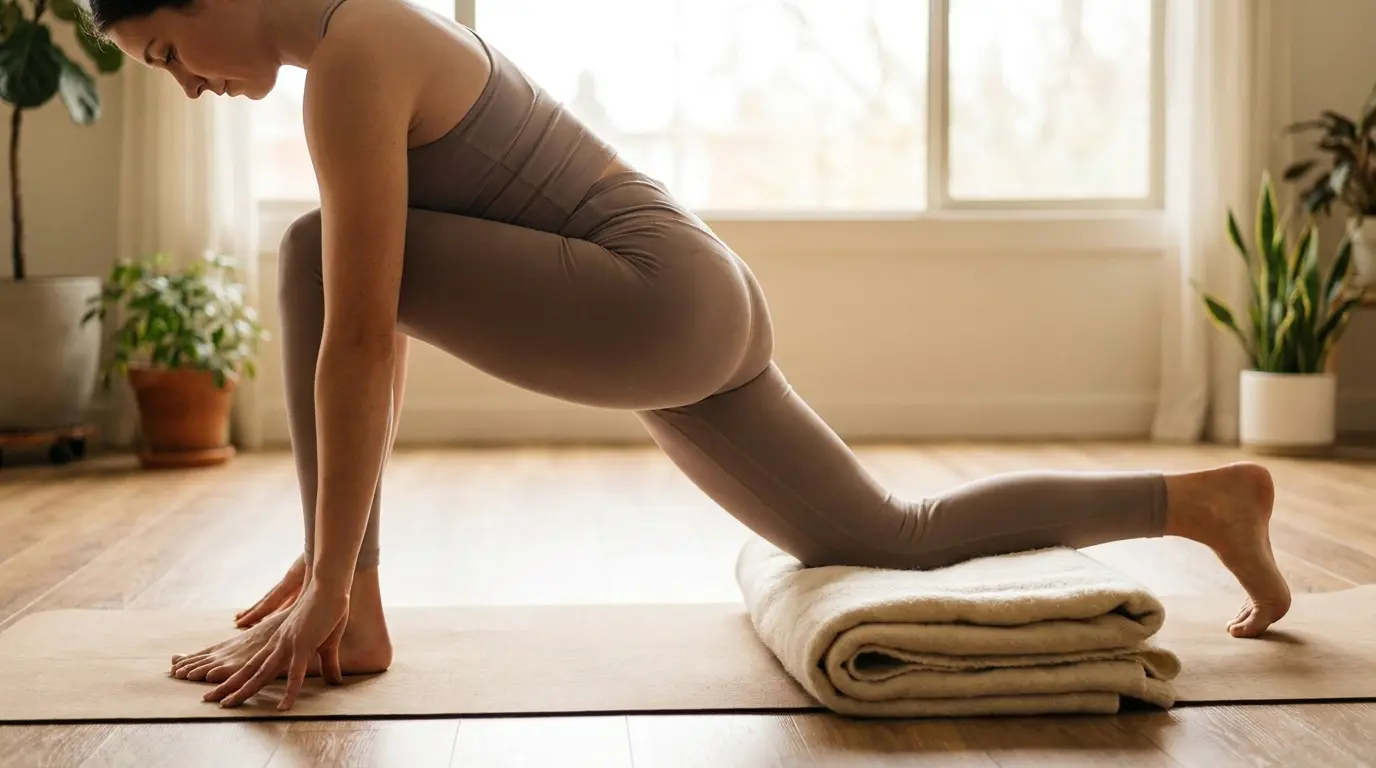
A folded blanket removes the pressure point of the bare knee on the mat, so your attention can stay on the stretch rather than the discomfort.
Place the padding under the shin as well, not just under the kneecap, for more even distribution. Even experienced practitioners use this modification when the floor is hard or the knee is sensitive.
4. Beginner: Short-Stance Low Lunge

Stepping the front foot closer reduces the angle of the lunge and lowers the intensity through the hip flexors.
This is the right starting point if the standard stance feels too deep. Keep the short stance for a few sessions before lengthening gradually.
5. Injury-Adapted: Low Lunge With Torso Supported on Blocks
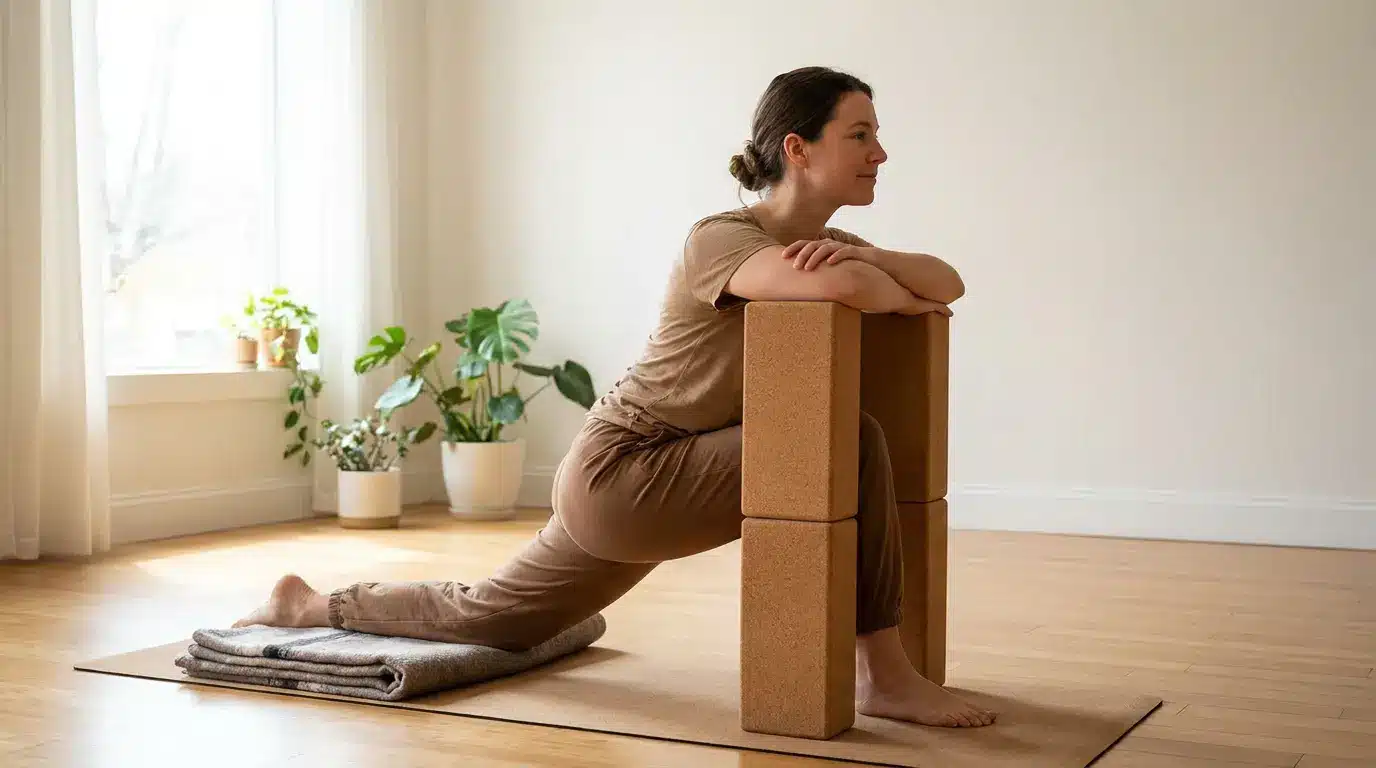
For people managing groin tenderness, knee sensitivity, or lower-back stiffness, placing both blocks on the highest setting and resting the torso weight through the hands reduces compressive load on the back hip.
This version lets you maintain the hip extension benefit with significantly less intensity. If symptoms persist after this adaptation, skip the pose and work with a physical therapist on targeted hip flexor release instead.
6. Advanced: Low Lunge With Quad Stretch
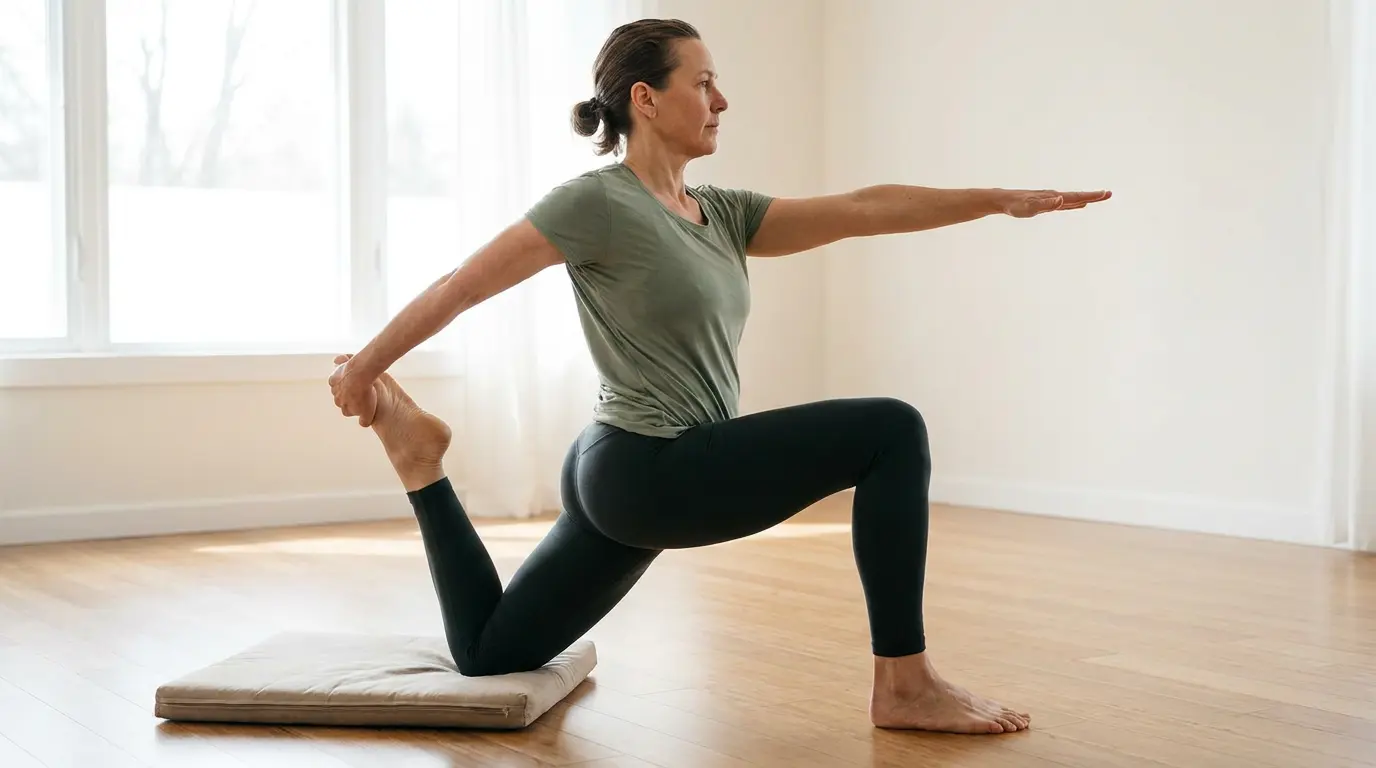
From the standard low lunge, reach the same-side hand as the back leg back and draw the back foot toward the glute. This adds a quad stretch to the hip flexor opening and requires steady balance through the front leg and hip.
Keep the front knee tracking over the ankle and avoid letting the lower back over-arch to compensate for limited quad flexibility. Hold for 5 breaths, then release the foot and come out slowly.
Common Mistakes in the Low Lunge Stretch
Low lunge often feels off because of small habits, not because the pose is too hard. This section helps you spot the most common issues quickly, then adjust them before they turn into discomfort or poor form. Use this table as a simple correction guide while reviewing your pose:
| Mistake | What It Can Cause | Simple Fix |
|---|---|---|
| Front knee falling inward | The front leg may feel unstable, and the knee may take extra stress. | Guide the knee in the same direction as your toes. |
| Hips dropping too low | The stretch may become sharp instead of steady. | Stay slightly higher and let the hips settle slowly. |
| Lower back over-arching | The pose may feel pinchy around the lower spine. | Draw the ribs in gently and keep the torso lifted. |
| Breath getting stuck | The body may tense up and resist the stretch. | Slow the breath and reduce the depth if needed. |
These mistakes are easy to fix once you know what to watch for. You don’t need to leave the pose right away. Make one small change, breathe, and notice whether the stretch feels clearer.
Benefits of the Low Lunge Stretch
The low lunge stretch earns its place in yoga and mobility routines because it targets an area that gets tight for many people. Sitting, running, cycling, and strength workouts can all leave the front of the hips feeling short and stiff. Here’s what this pose can support when you practice it with steady form:
- Hip flexor length: This pose opens the front of the back hip, an area that can feel shortened after long hours of sitting.
- Smoother daily movement: Freer hips can make walking, stair climbing, squats, and lunges feel less restricted.
- Better body awareness: Low lunge helps you notice how your pelvis, ribs, and spine line up while you hold a stable shape.
- Relief from seated posture: It gives your hips the opposite position from sitting, which can feel refreshing after desk work or travel.
- Beginner-friendly confidence: The grounded setup helps new yoga students practice a real pose without needing advanced balance or flexibility
When to Modify or Avoid Low Lunge
A normal stretch feels broad and steady. A warning sign feels sharp, hot, pinchy, numb, or tingly. If your back knee is irritated, your hip feels blocked, or your lower back starts doing most of the work, make the pose smaller or leave it.
Anyone managing yoga for back pain should pay particular attention to lower-back compression here and prioritize the injury-adapted modification above.
Avoid deep versions of this pose after a recent hip, knee, or lower-back injury, particularly if symptoms persist after practice. You can also skip it on days when the body feels inflamed or unstable.
When pain repeats across sessions, seek guidance from a yoga teacher, physical therapist, or healthcare professional before continuing.
Low Lunge Stretch vs Similar Yoga Poses
Some lunge-style poses look almost the same at first glance, but they ask different things from your body. This comparison helps you choose the right pose instead of using every lunge for the same purpose. Here’s a quick way to tell them apart:
| Pose | What Changes in the Body | What It Builds or Targets | Best Time to Use It |
|---|---|---|---|
| Low Lunge | The back knee rests down, so the body has more floor support. | Hip flexor stretch with less balance demand. | When you’re learning, cooling down, or easing into hip opening. |
| High Lunge | Back knee lifts, and both legs work harder to hold the shape. | Leg strength, balance, and active hip control. | When you want more heat in a yoga flow or workout warm-up. |
| Runner’s Lunge | Hands usually stay low while the hips stay more active. | Dynamic mobility for hips, hamstrings, and ankles. | Before running, training, or movement that needs hip range. |
| Crescent Lunge | Torso lifts higher, often with arms reaching up. | Strength, coordination, and front-body opening. | During active yoga flows, when you want a stronger standing pose. |
Low lunge is the calmest starting point in this group. The others add more strength, balance, or movement demand, so they’re better once your body feels ready for a stronger version.
How to Add the Low Lunge Stretch to Your Routine
The low lunge stretch fits best when your body needs a simple reset, not a complicated plan. You can place it after sitting, after exercise, or inside a short yoga flow when your hips need attention. Here are simple ways to place it into your day without turning it into a full routine:
- After long sitting: Use low lunge for 20 to 30 seconds per side when your hips feel closed from desk work, driving, or long study hours.
- After a workout: Add it near the end of your cool-down, when your body is already warm and the stretch feels easier to settle into.
- During a beginner yoga flow: Place it after Downward Dog or Cat-Cow so your body has already moved before holding the lunge.
- As a quick hip check-in: Practice one round per side and notice whether one hip feels tighter, weaker, or harder to relax.
- In a short sequence: Try Cat-Cow, Downward Dog, Low Lunge, Half Split, and Child’s Pose for a simple hip-focused flow.
Frequently Asked Questions (FAQs)
Can Low Lunge Help With Tight Hip Flexors?
Yes, low lunge directly targets the hip flexors, particularly on the back-leg side. Holding the pose for 30 to 60 seconds per side with consistent practice may help restore greater openness through the front of the hips, particularly for people who sit for extended periods each day.
Is Low Lunge Better With Arms Up or Hands Down?
Neither is universally better. Hands-down or hands-on-blocks offers more stability and is usually easier for beginners.
Arms lifted overhead adds a balance and core challenge and can intensify the front-body opening. Choose the version that lets you breathe easily and hold steady alignment for the full duration.
Can You Do Low Lunge Without a Yoga Mat?
Yes, as long as the surface is stable and you have something soft under the back knee. A folded towel, blanket, or cushion under the knee makes the pose comfortable on hard floors. A slippery surface is a bigger concern than a hard one, so prioritize grip before cushioning.
Does Low Lunge Stretch the Quads?
The front thigh of the back leg can experience a mild quad stretch in a low lunge, especially when the hips move forward and the stance is longer.
The standard version does not isolate the quad strongly. The advanced quad-stretch variation described above adds a direct stretch by drawing the back foot toward the glute.
Why Do My Hips Feel Different on Each Side in Low Lunge?
Side-to-side differences in hip flexibility are common and often reflect daily activity patterns, dominant leg use, and habitual sitting positions. Low lunge tends to make these imbalances noticeable. Work each side separately and avoid trying to force the tighter side to match the more open one within a single session.
How Often Should You Practice the Low Lunge Stretch?
Daily practice is reasonable for most people, since the low lunge stretch is a low-intensity pose when kept at a comfortable depth.
For people with very tight hip flexors, two to three sessions per day of 30 seconds per side may produce faster results than one long weekly session. Consistency across several weeks, rather than intensity in a single session, is what drives lasting change in hip flexor length.
Final Thoughts
The low lunge stretch isn’t about getting your hips as low as possible. It’s about finding the point where your body says, “Yes, I can stay here and breathe.” That’s the spot worth working with.
Use blocks when the floor feels far away. Add padding when your knee complains. Shorten the stance when the stretch feels too sharp. These aren’t shortcuts. They’re smart ways to make the low lunge yoga pose useful for your real body.
Practice it after sitting, walking, training, or anytime your hips feel stuck. Start with one slow round on each side, then read our other beginner yoga blogs for more simple ways to move with comfort and confidence.