

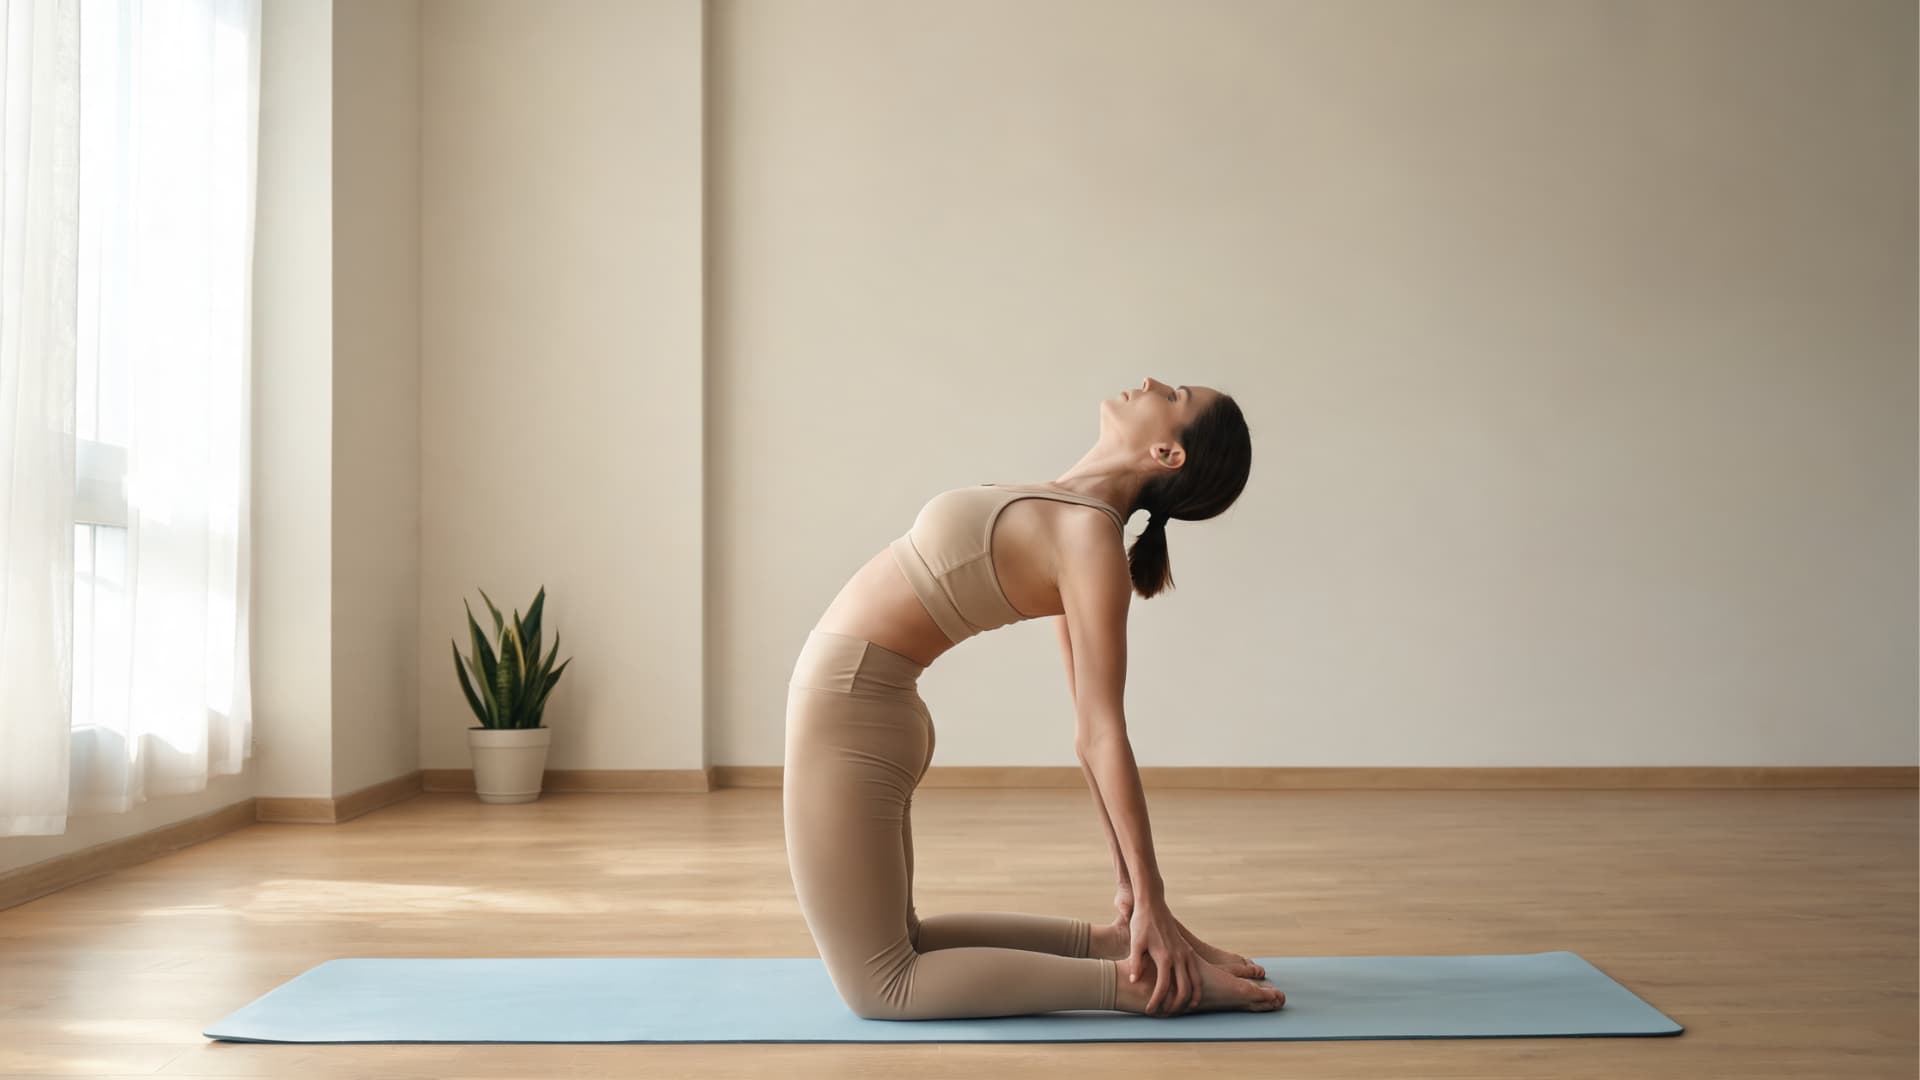
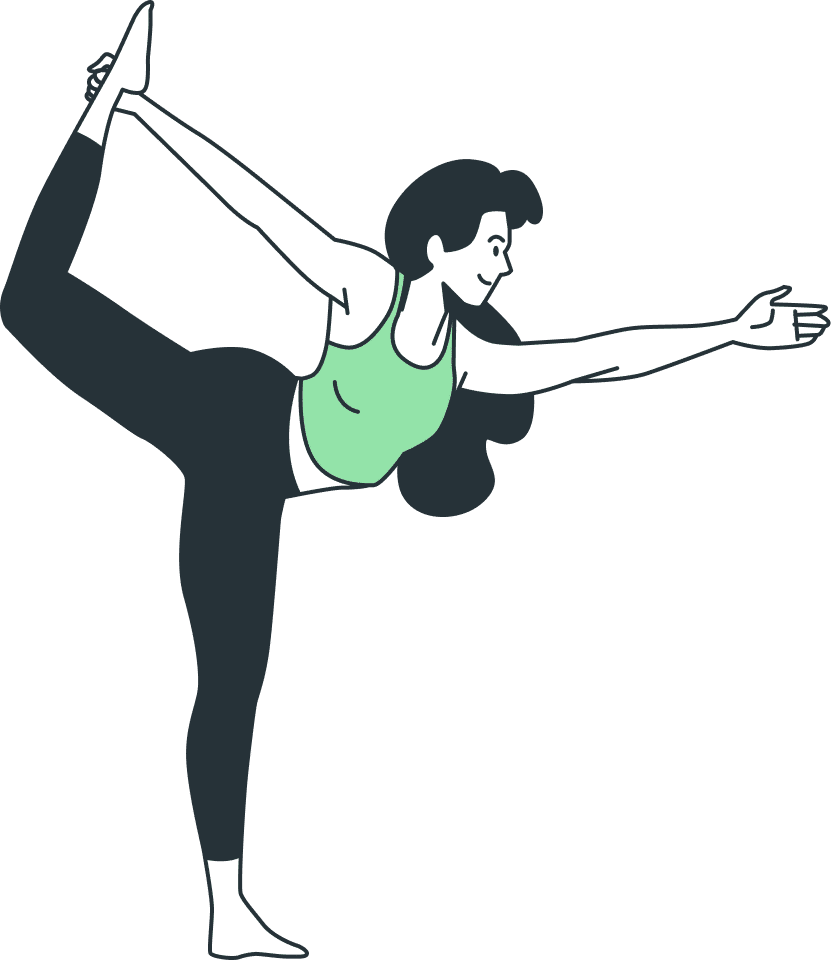


Camel pose yoga is a kneeling backbend that stretches the entire front of the body while building real strength through the back, glutes, legs, and core.
If your chest and hip flexors feel permanently tight from sitting at a desk, this is one of the most direct ways to work against that. The key is knowing how to lift before you bend, and choosing the right version for your body on any given day.
| Disclaimer: This article is for informational and educational purposes only. It does not constitute medical advice and should not replace consultation with a qualified healthcare provider. Always consult a doctor before making changes to your yoga practice if you have a back injury, neck condition, knee issue, or are pregnant. |
| Difficulty | Beginner to Intermediate (with modifications) |
| Duration | 2 to 5 breaths per hold |
| Props Needed | Mat, optional: yoga blocks, folded blanket |
| Best Time | Mid-session, after the spine is warm |
| Avoid If | Recent back or neck injury, unmanaged spinal conditions, late pregnancy |
The practice overview above gives you a quick reference. The details that matter most, including why certain cues exist and which mistakes to avoid, are covered step by step below.
Things to Know Before Trying Camel Pose Yoga
Camel Pose, known in Sanskrit as Ustrasana, is a kneeling backbend that opens the front body while demanding strength from the back. The name comes from the Sanskrit words ustra (camel) and asana (posture), and it describes the arched shape the spine and chest take in the full version of the pose.
A few key details about the pose:
- Sanskrit name: Ustrasana
- Pose type: Kneeling backbend
- Level: Beginner to intermediate with support
- Main stretch: Chest, abdomen, hip flexors, and thighs
- Main strength areas: Back, glutes, legs, and core
- Helpful props: Blocks, blanket, wall, or chair
- Beginner option: Hands on hips or lower back
- Hold time: 2 to 5 breaths for beginners
- Best counterpose: Child’s Pose
- Main caution: Neck, back, knee, or spinal concerns
What makes Ustrasana useful is not the depth of the backbend. It is the combination of spinal extension, front-body opening, and back-body strengthening that you get even in the gentler versions of the pose.
Why Camel Pose Works: The Physiology Behind the Backbend
Most people spend their days in spinal flexion: rounding forward over a keyboard, looking down at a phone, driving with the shoulders drawn in.
Over time, this shortens the hip flexors, tightens the pectorals and anterior shoulder muscles, and reduces thoracic mobility. Camel Pose works directly against all three of these patterns.
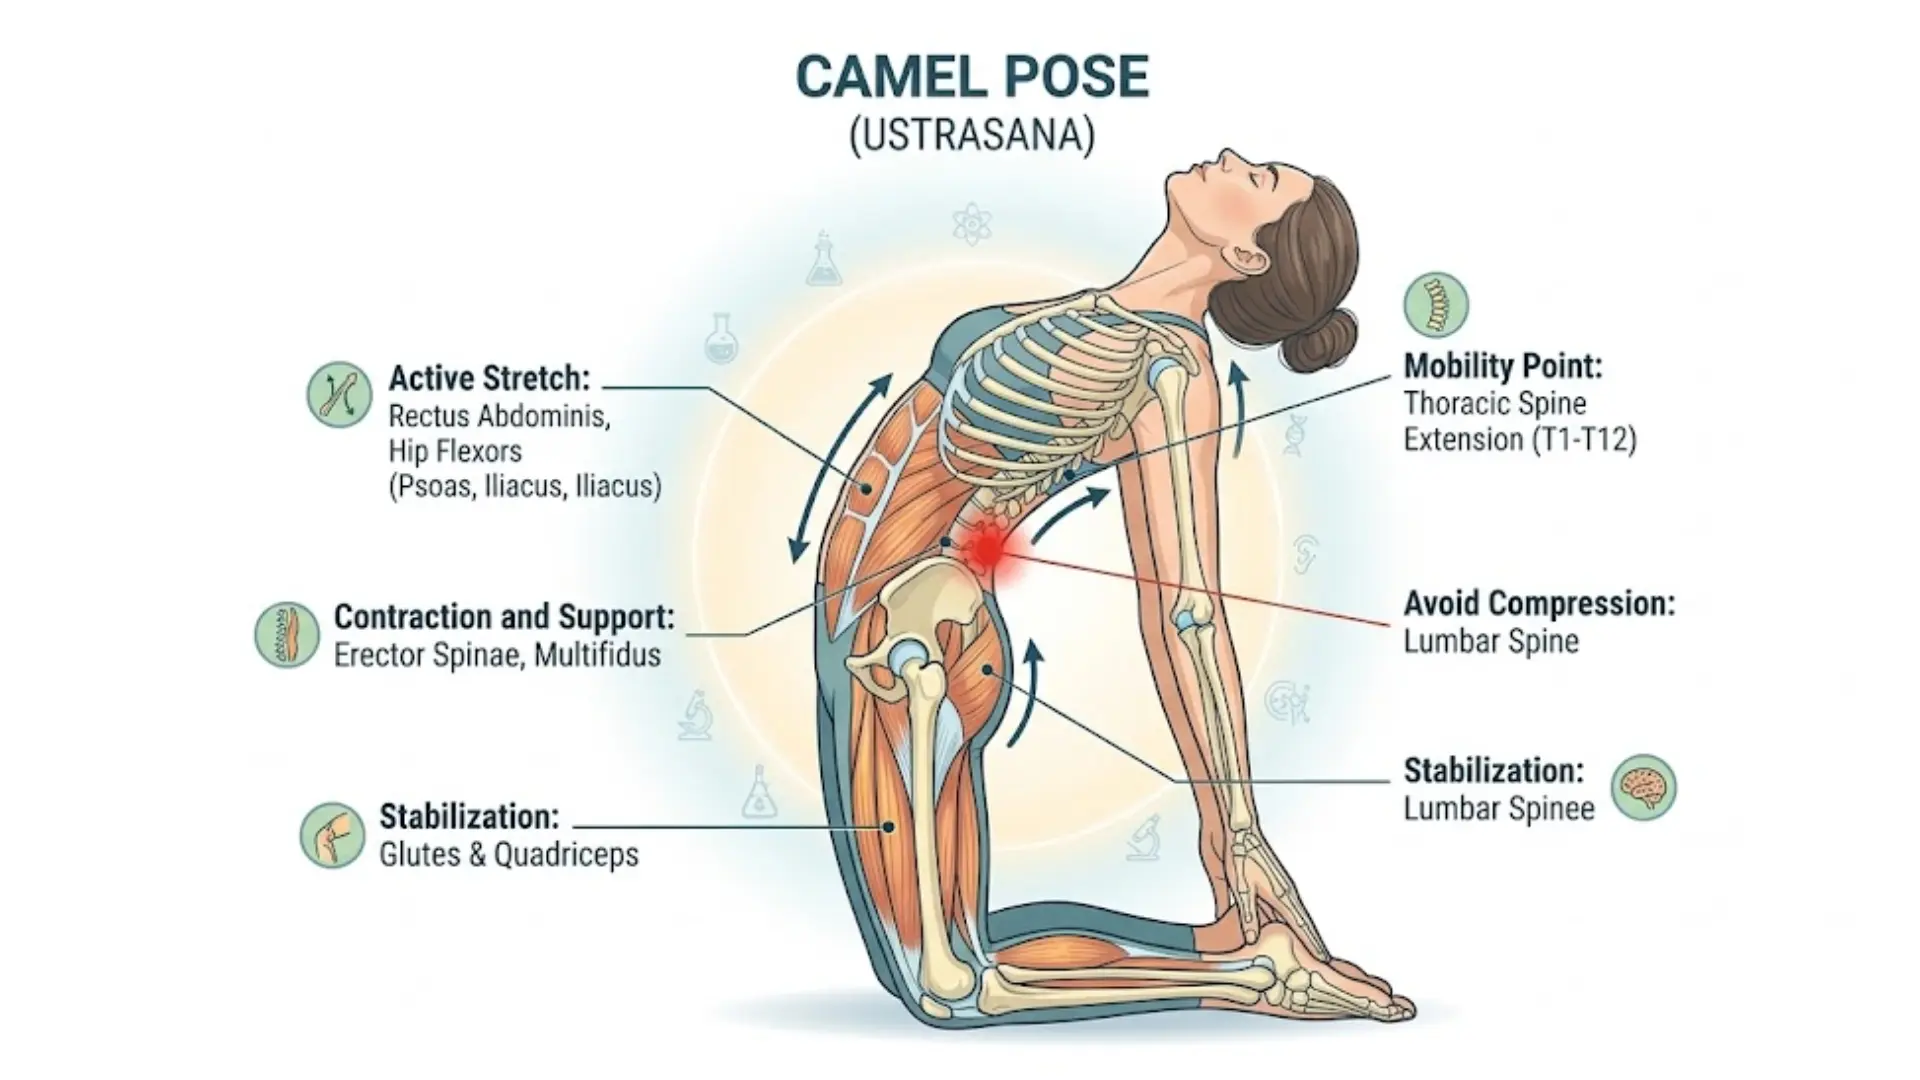
When you kneel tall and lift your chest into the backbend, your thoracic spine moves into extension. This is the area of the spine between the shoulder blades, roughly T1 to T12, which tends to be the stiffest section in people with desk-heavy lifestyles.
Unlike the lumbar spine, which can hyperextend easily and take excessive load in backbends, the thoracic spine benefits from deliberate extension work.
At the same time, the rectus abdominis and hip flexors, including the psoas and iliacus, are placed under an active stretch. The back extensors, erector spinae, and multifidus must contract to support the arch. The glutes and quadriceps stabilize the lower body so the pelvis stays neutral.
The practical result: when Camel Pose is done with good alignment, you feel the stretch across the whole front body and a working sensation through the back, not compression in the lumbar spine or neck.
How to Do Camel Pose Step by Step
Follow these steps carefully, especially if Ustrasana is new to you. The goal is not to force the hands to the heels. The goal is to lift the chest, support the lower back, and breathe steadily throughout.
Step 1: Start With Cat-Cow to Warm the Spine
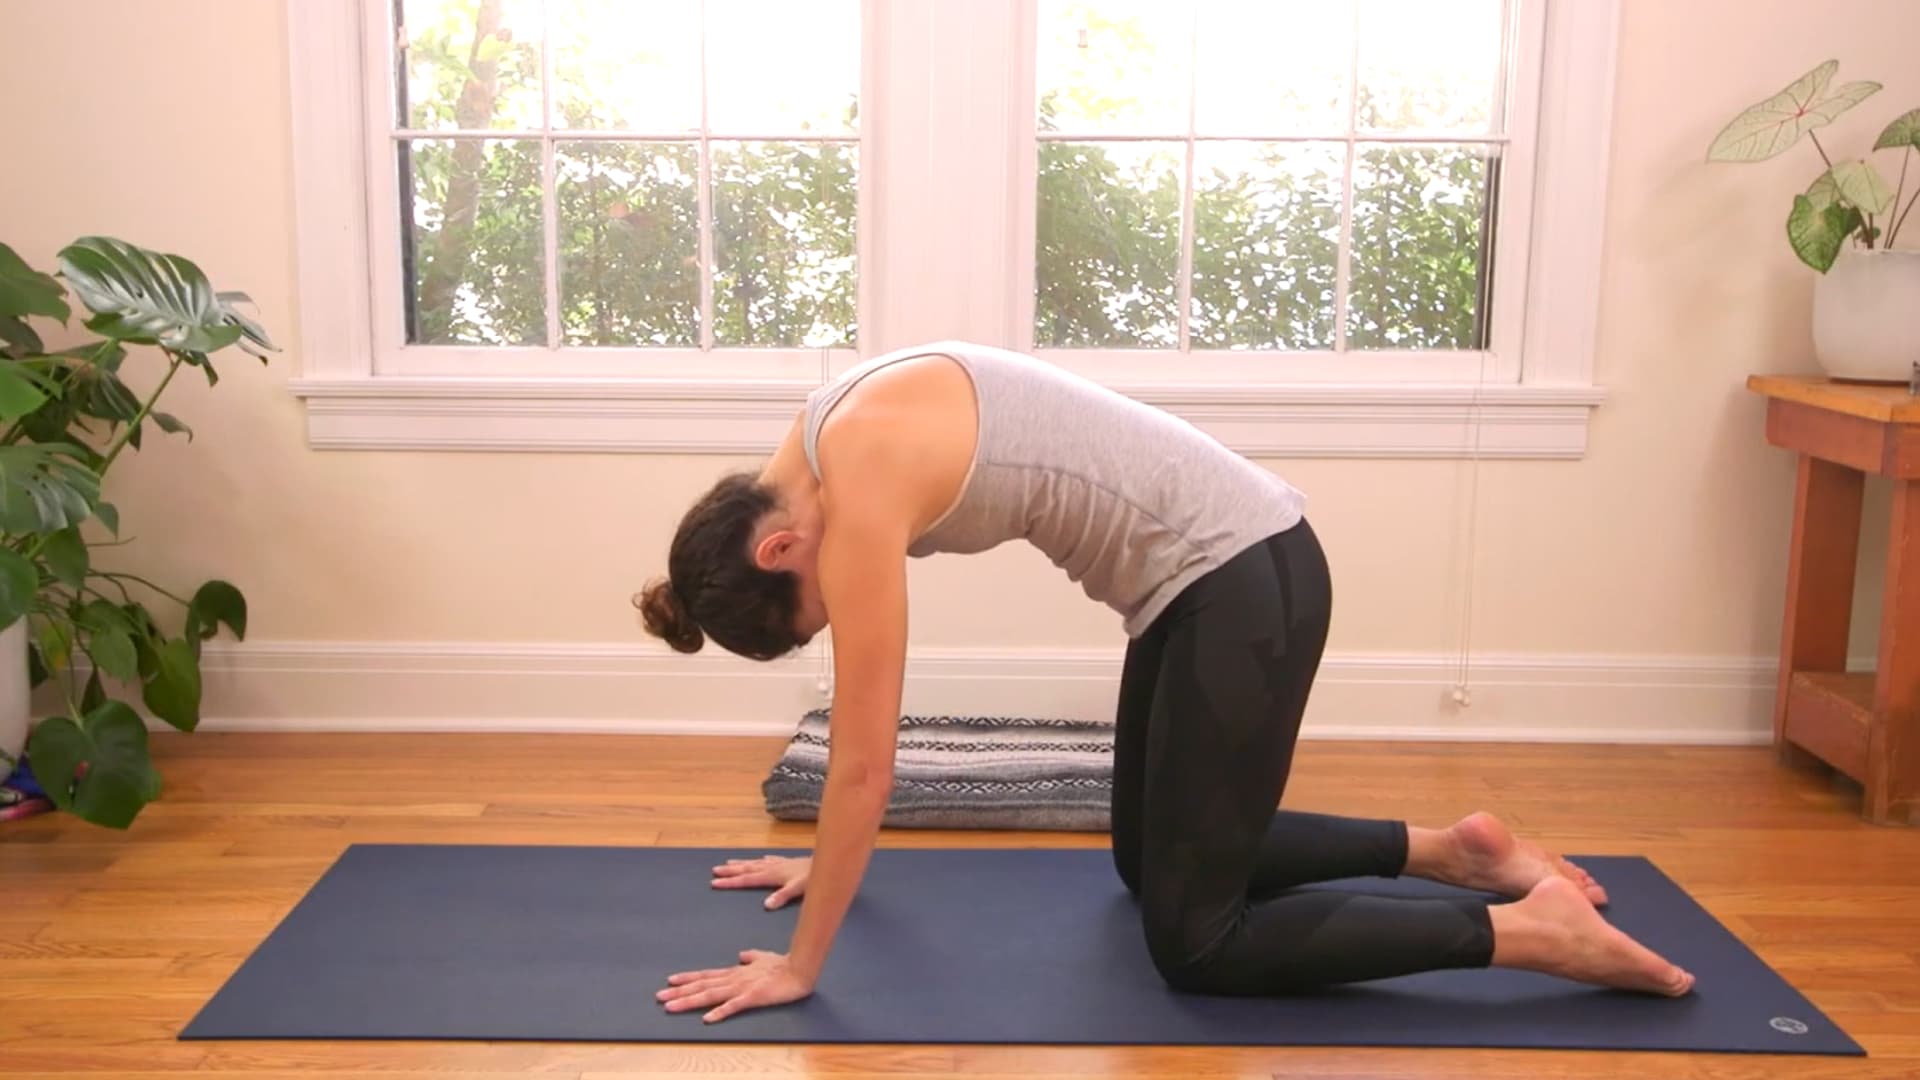
Come onto your hands and knees with wrists under shoulders and knees under hips. Inhale, drop your belly, and lift your chest.
Exhale, round your back, and draw your chin toward your chest. Repeat 5 to 8 times. This warms the spine before you ask it to move into deeper extension.
Step 2: Move Into Puppy Pose to Open the Shoulders
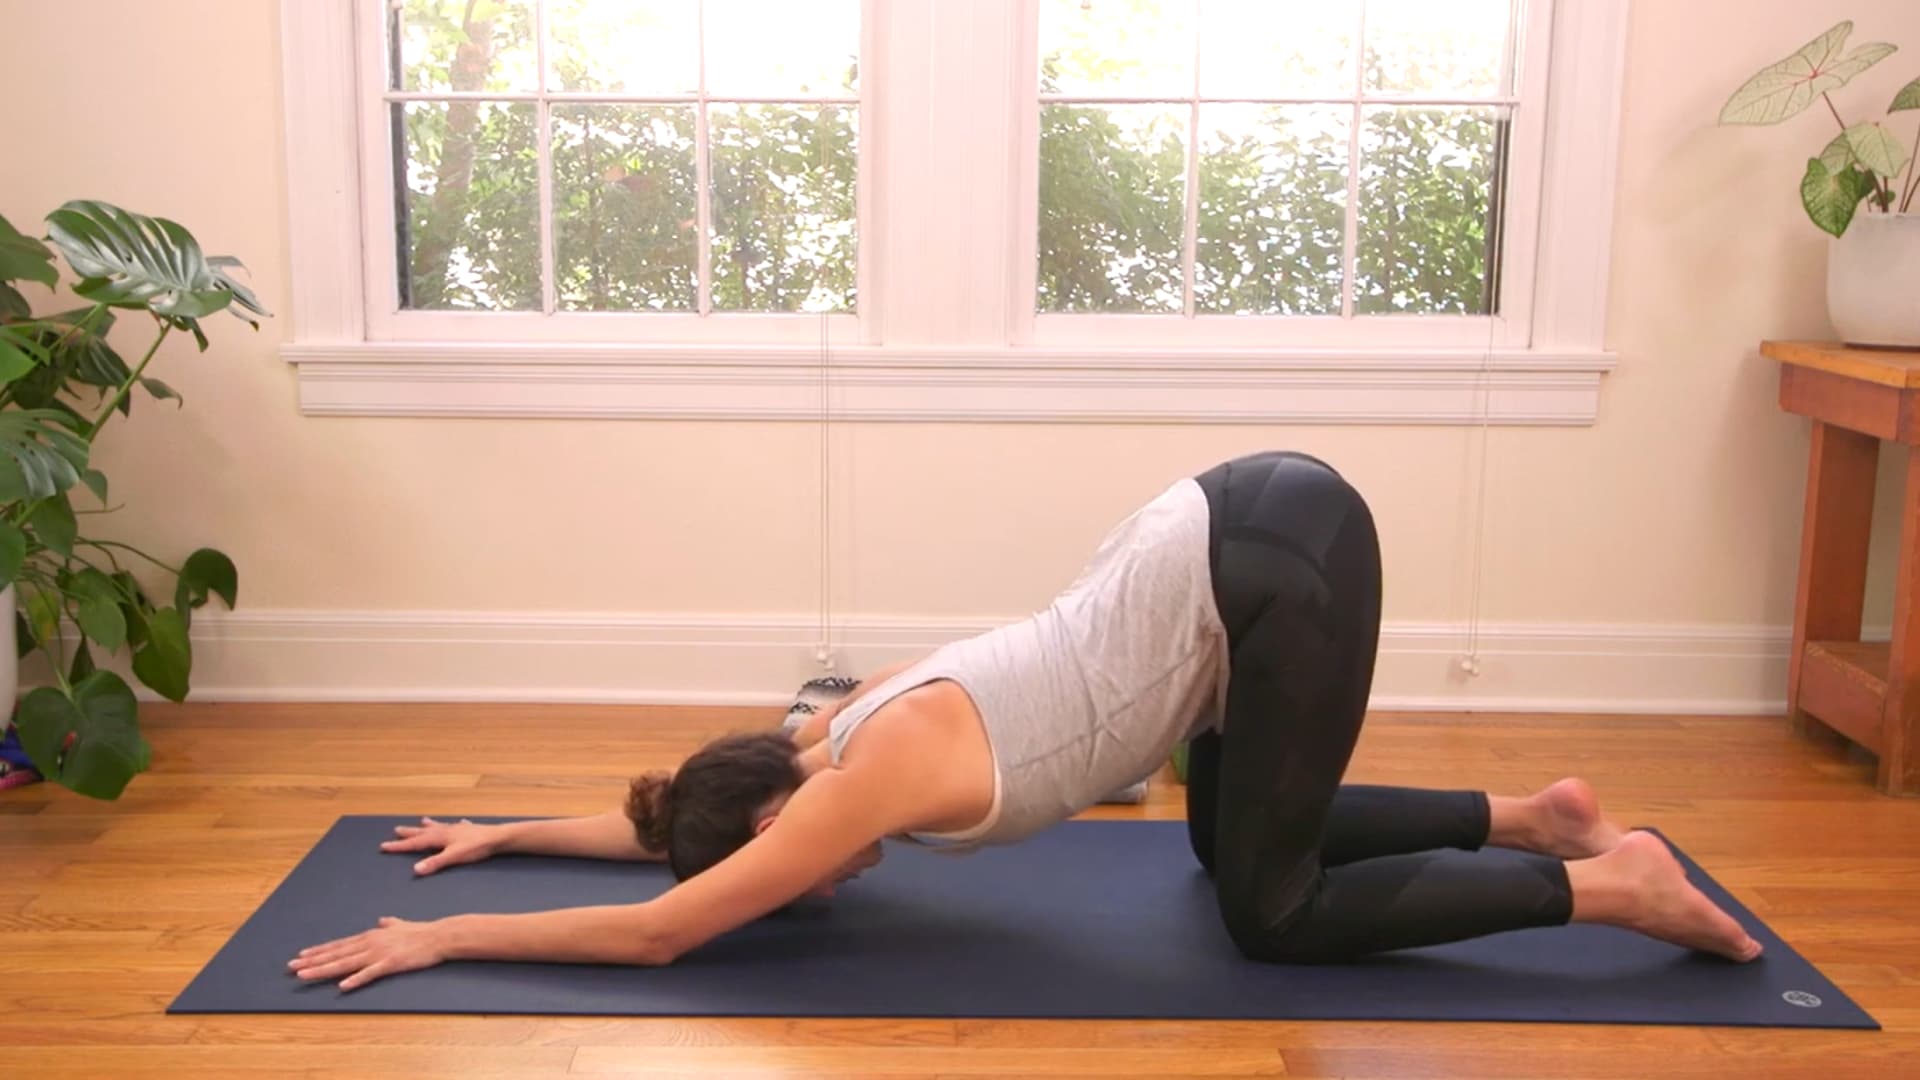
From all fours, keep your hips lifted over your knees and walk your hands forward. Let your chest lower toward the mat, forehead or chin resting down if that is comfortable.
Breathe slowly here for 5 breaths. Puppy Pose targets the anterior shoulder capsule and upper back, both of which need to be open before a deep backbend.
Step 3: Practice Sphinx Pose to Lift the Chest
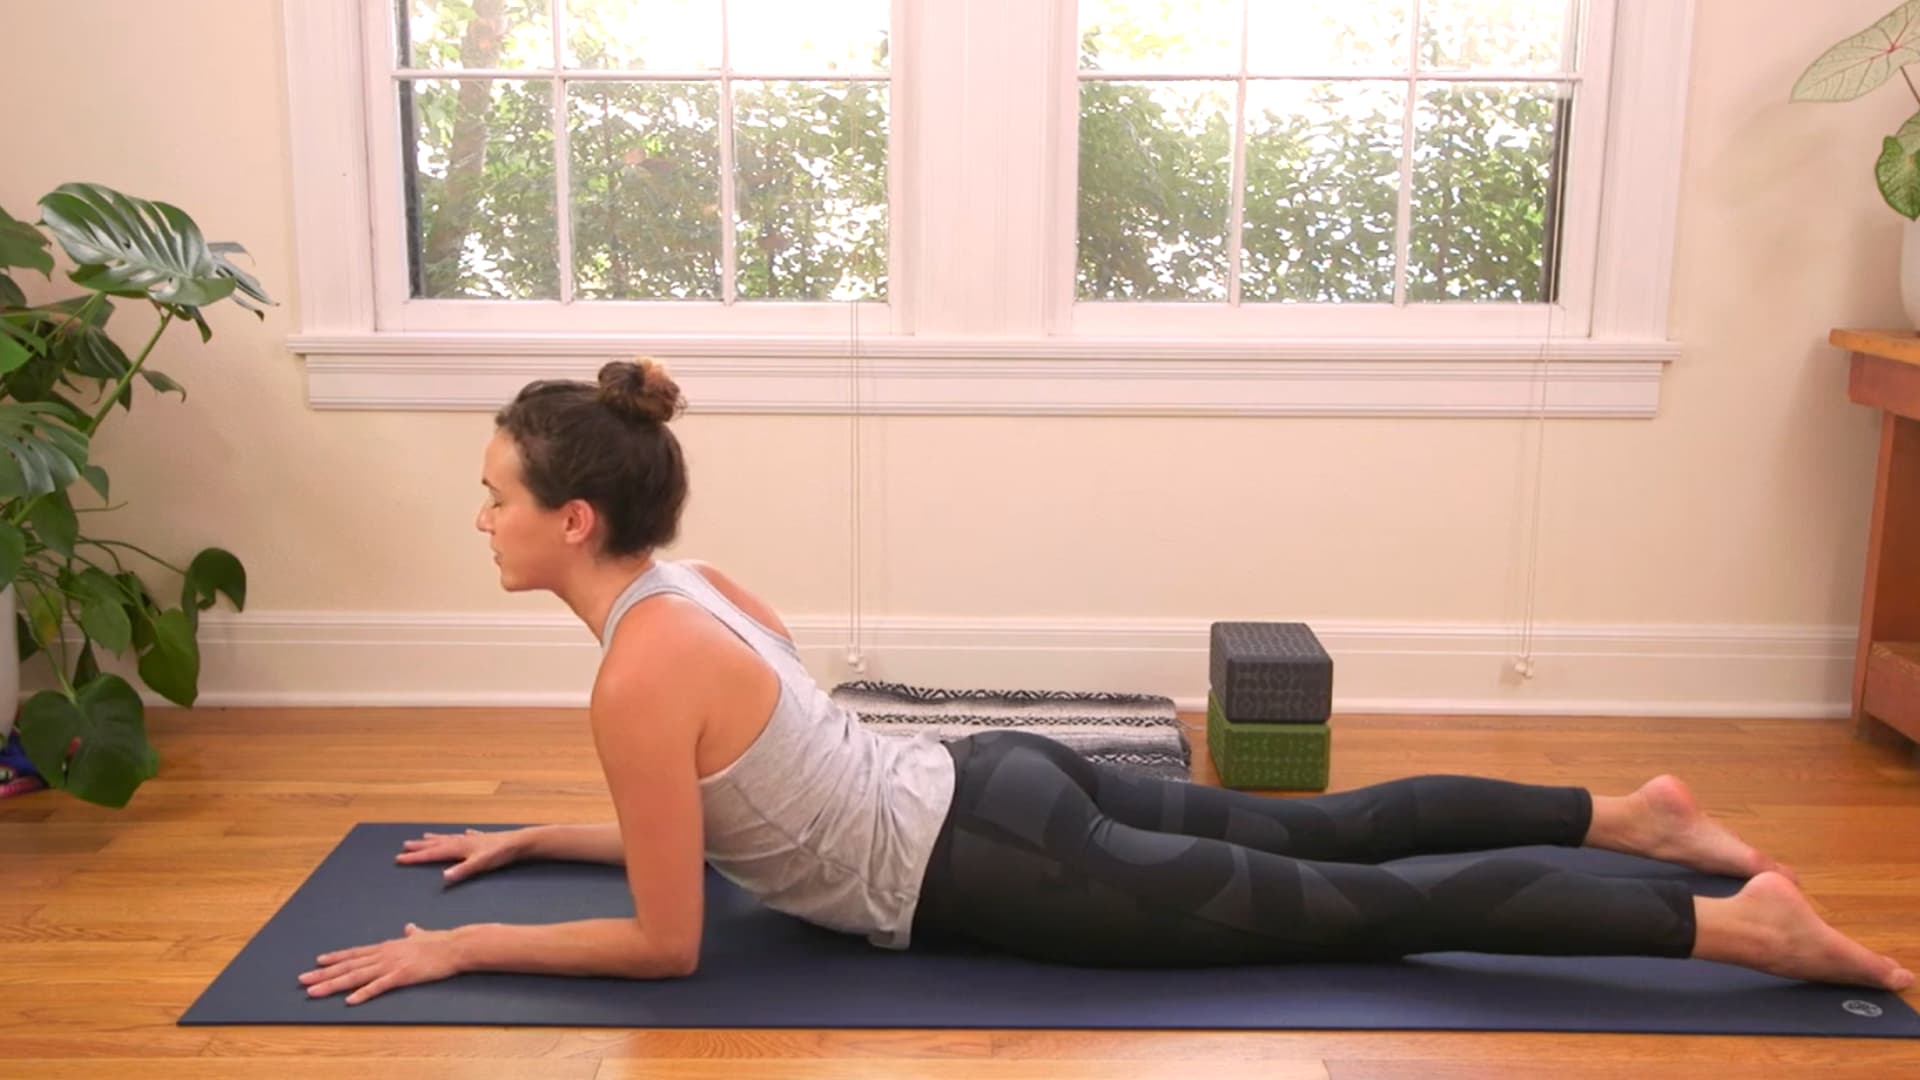
Slide onto your belly and place your elbows directly under your shoulders. Press your forearms and palms into the mat. Lift your chest gently, keeping the back of the neck long.
Draw your lower belly in slightly so the lumbar spine does not collapse. This mild extension in Sphinx is the same movement pattern you will use in Camel, just with much less range.
Step 4: Practice Locust Pose to Wake Up the Back Body
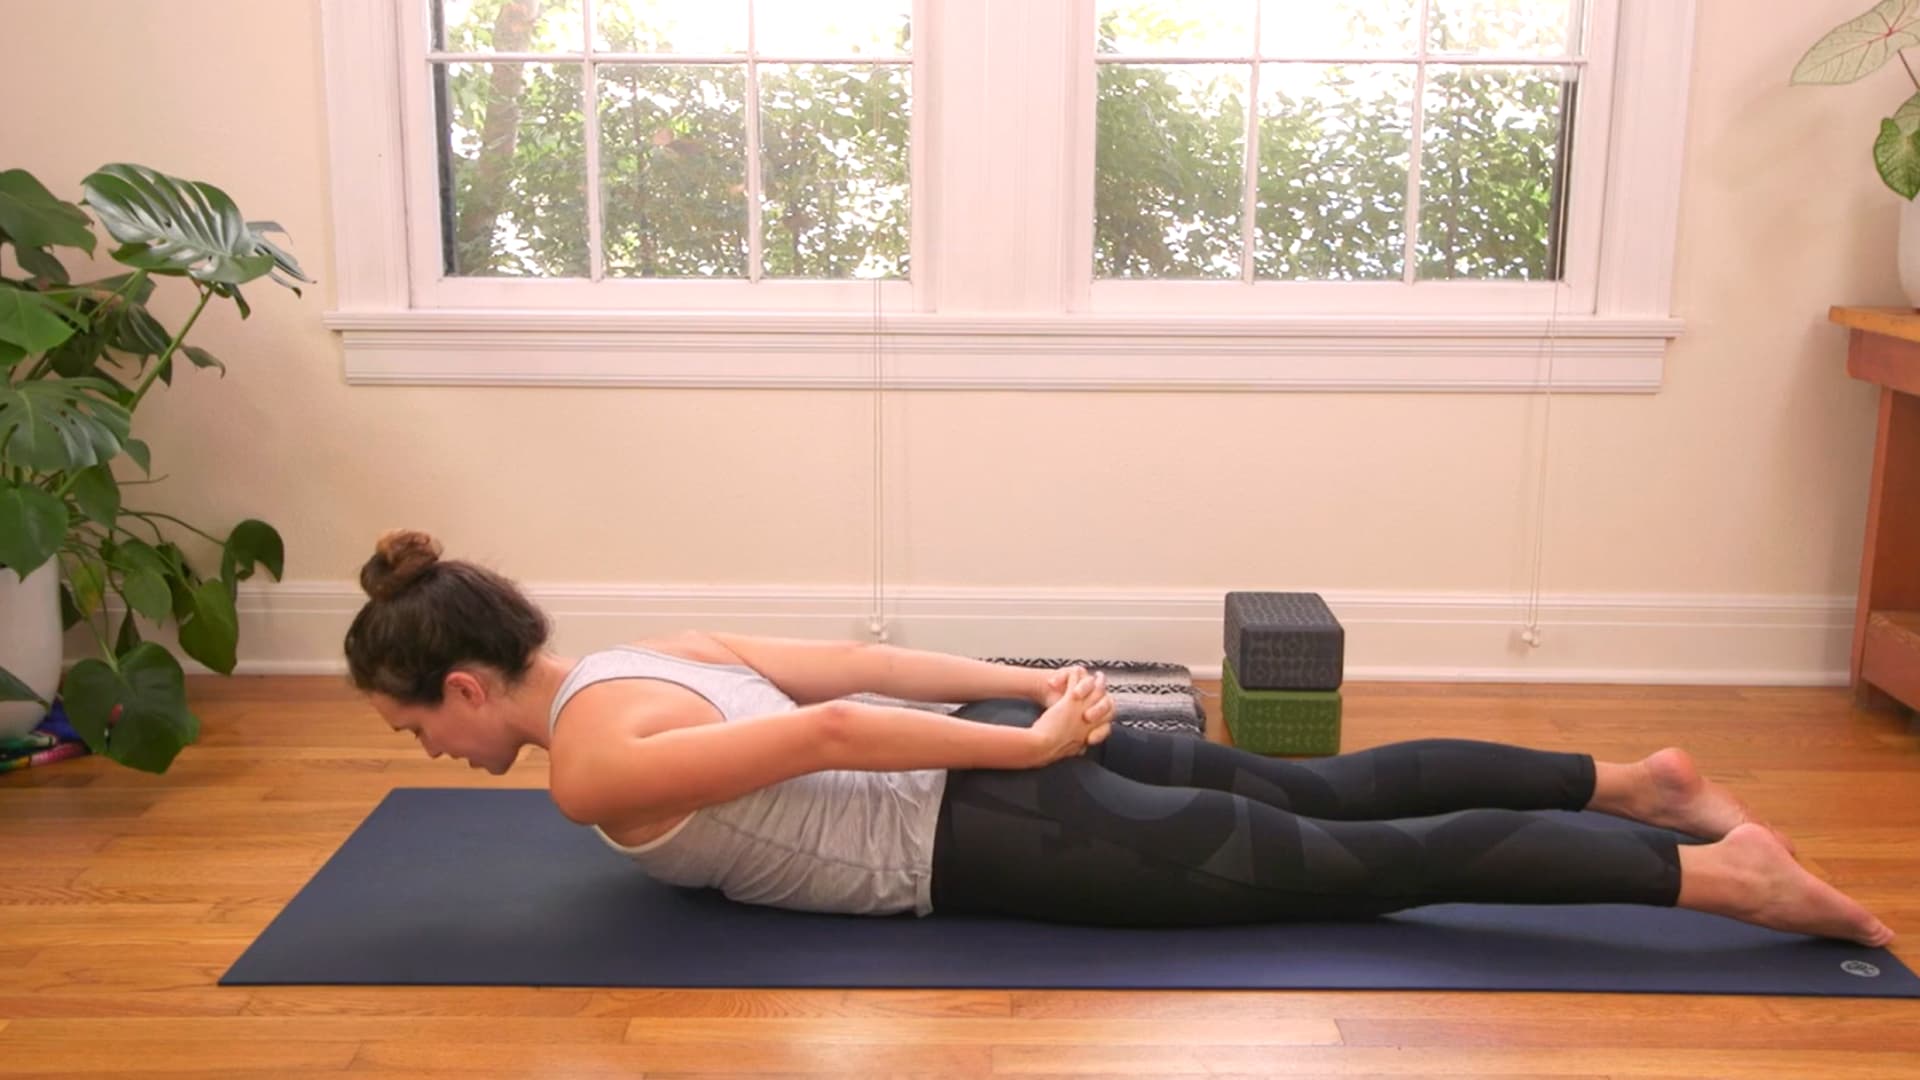
Lie on your belly and clasp your hands behind your back. Press your feet and pelvis into the mat and slowly lift your chest, reaching your clasped hands toward your heels.
Keep your chin slightly tucked. This is pure back-extensor work, the same muscles that will need to be active and strong in Camel Pose rather than passive and compressed.
Step 5: Set Up Your Knees, Blanket, and Inner Thighs
Come into Hero Pose and then rise onto your knees. If the mat feels hard under your knees, place a folded blanket underneath. Knees should be directly under your hips, not wider.
If you have a block, hold it between your upper inner thighs and squeeze gently throughout the pose. This inner-thigh engagement stabilizes the pelvis and protects the lower back.
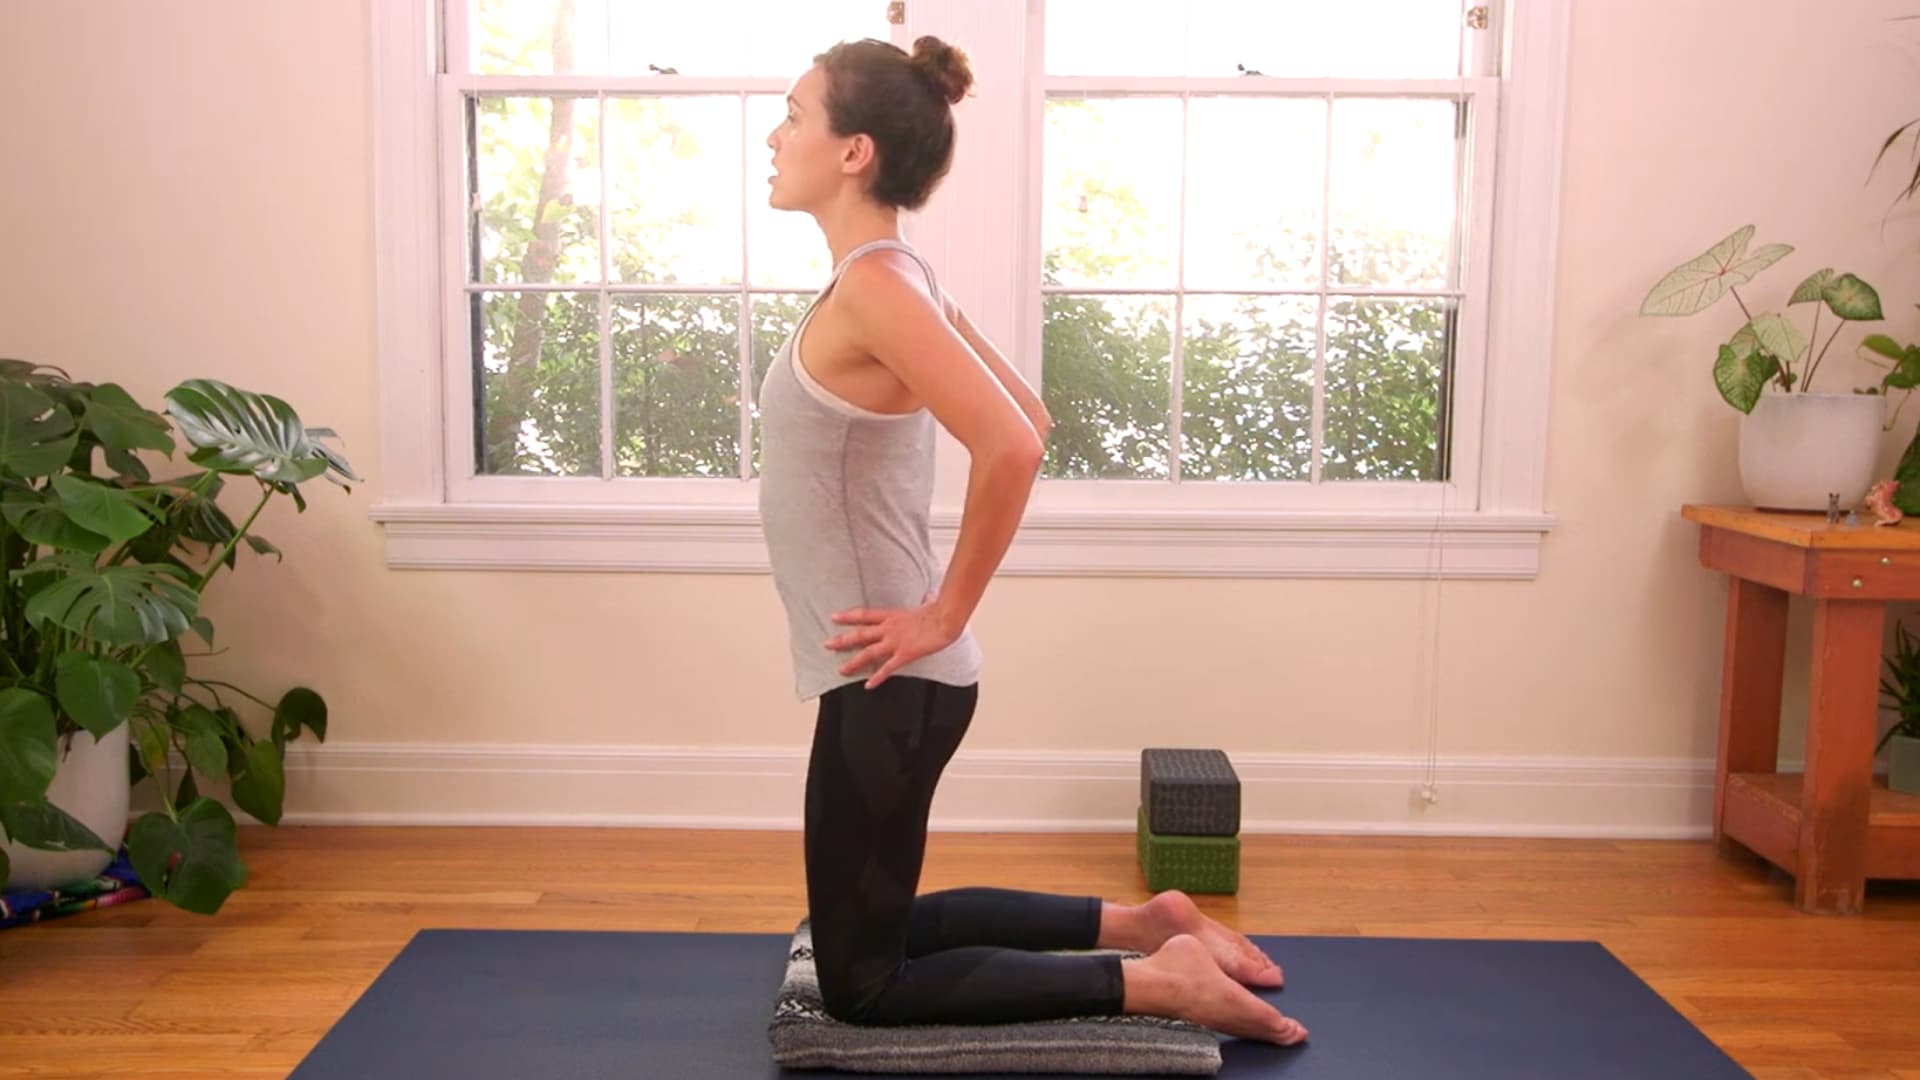
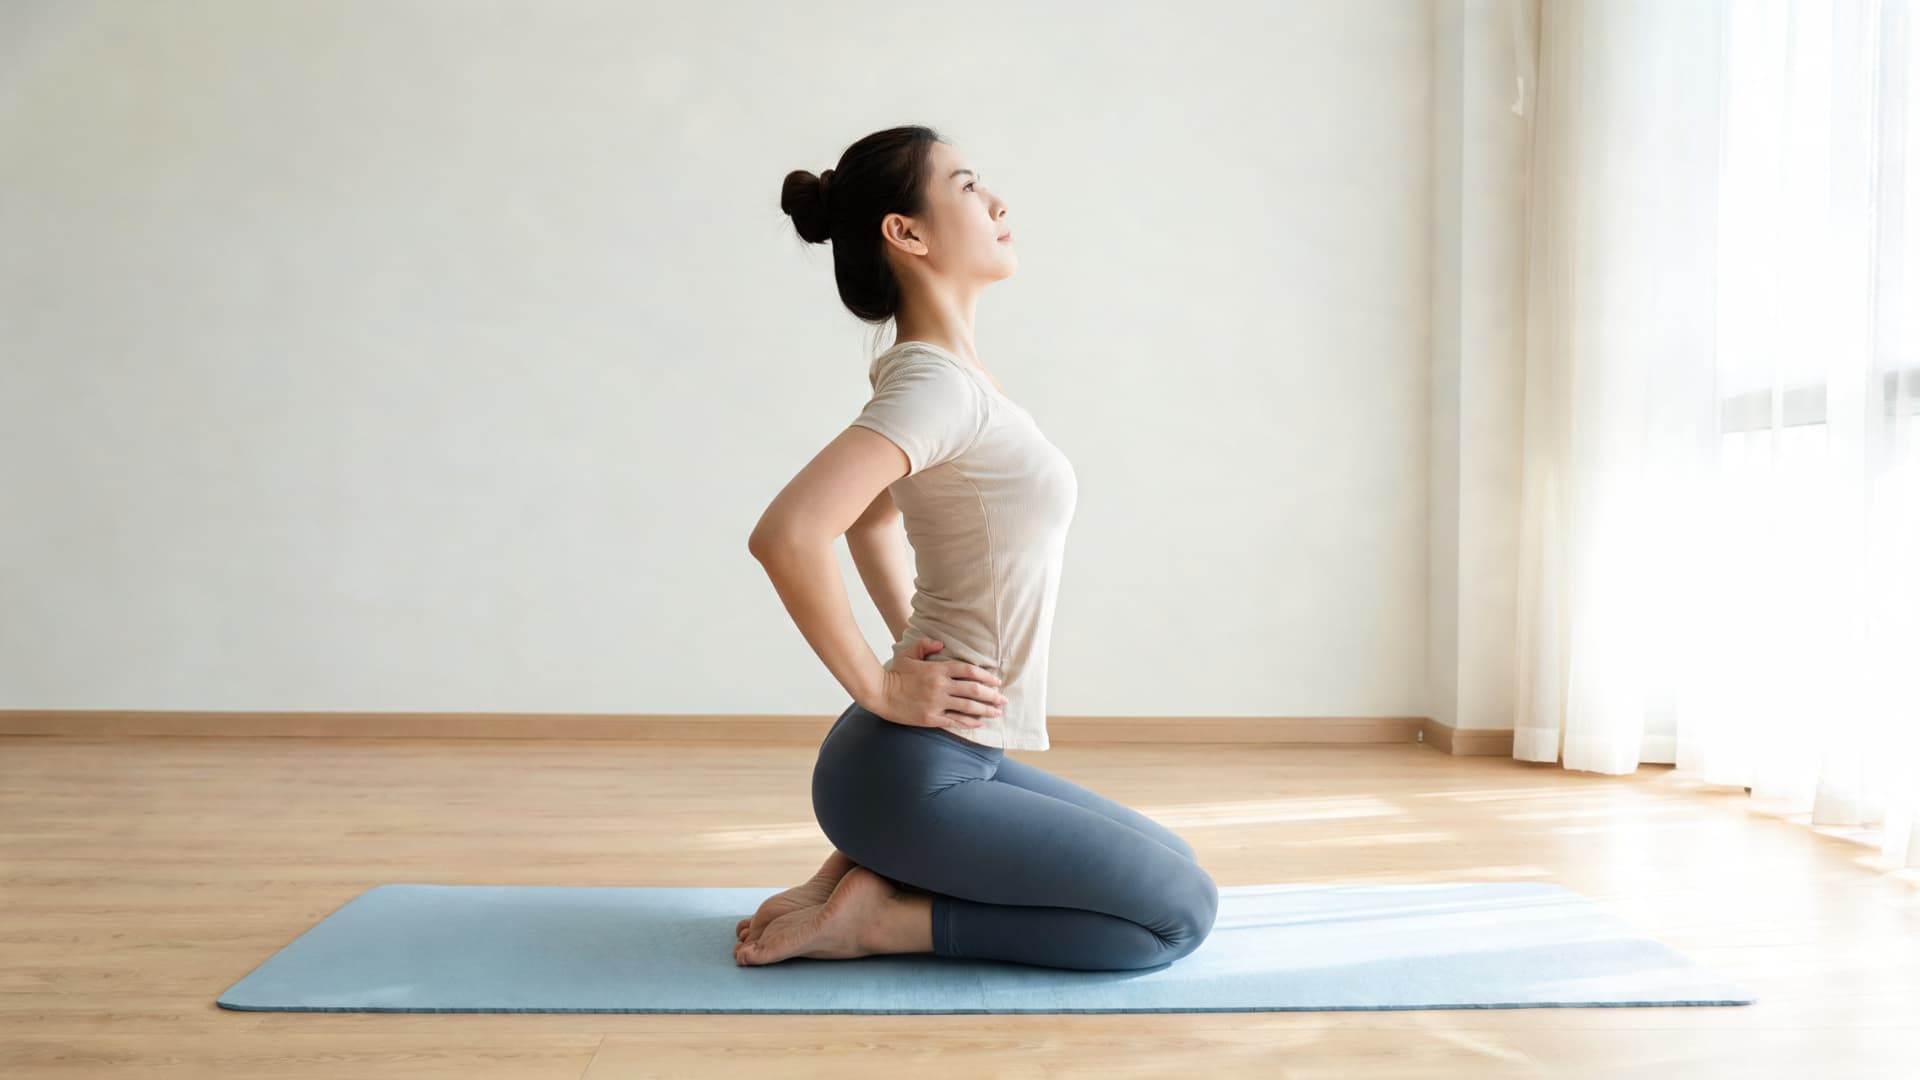
Step 6: Bring Hands to the Waist and Lift the Chest

Place your hands on your waist or lower back. Keep your hips stacked directly over your knees. Roll your shoulders back, lift your sternum upward, and let your tailbone lengthen down rather than tucking hard.
This lift-before-bend sequence is the most important cue in all of Camel Pose. If you skip it and drop straight backward, the lower back takes all the load.
Step 7: Move Into Camel Pose With Control
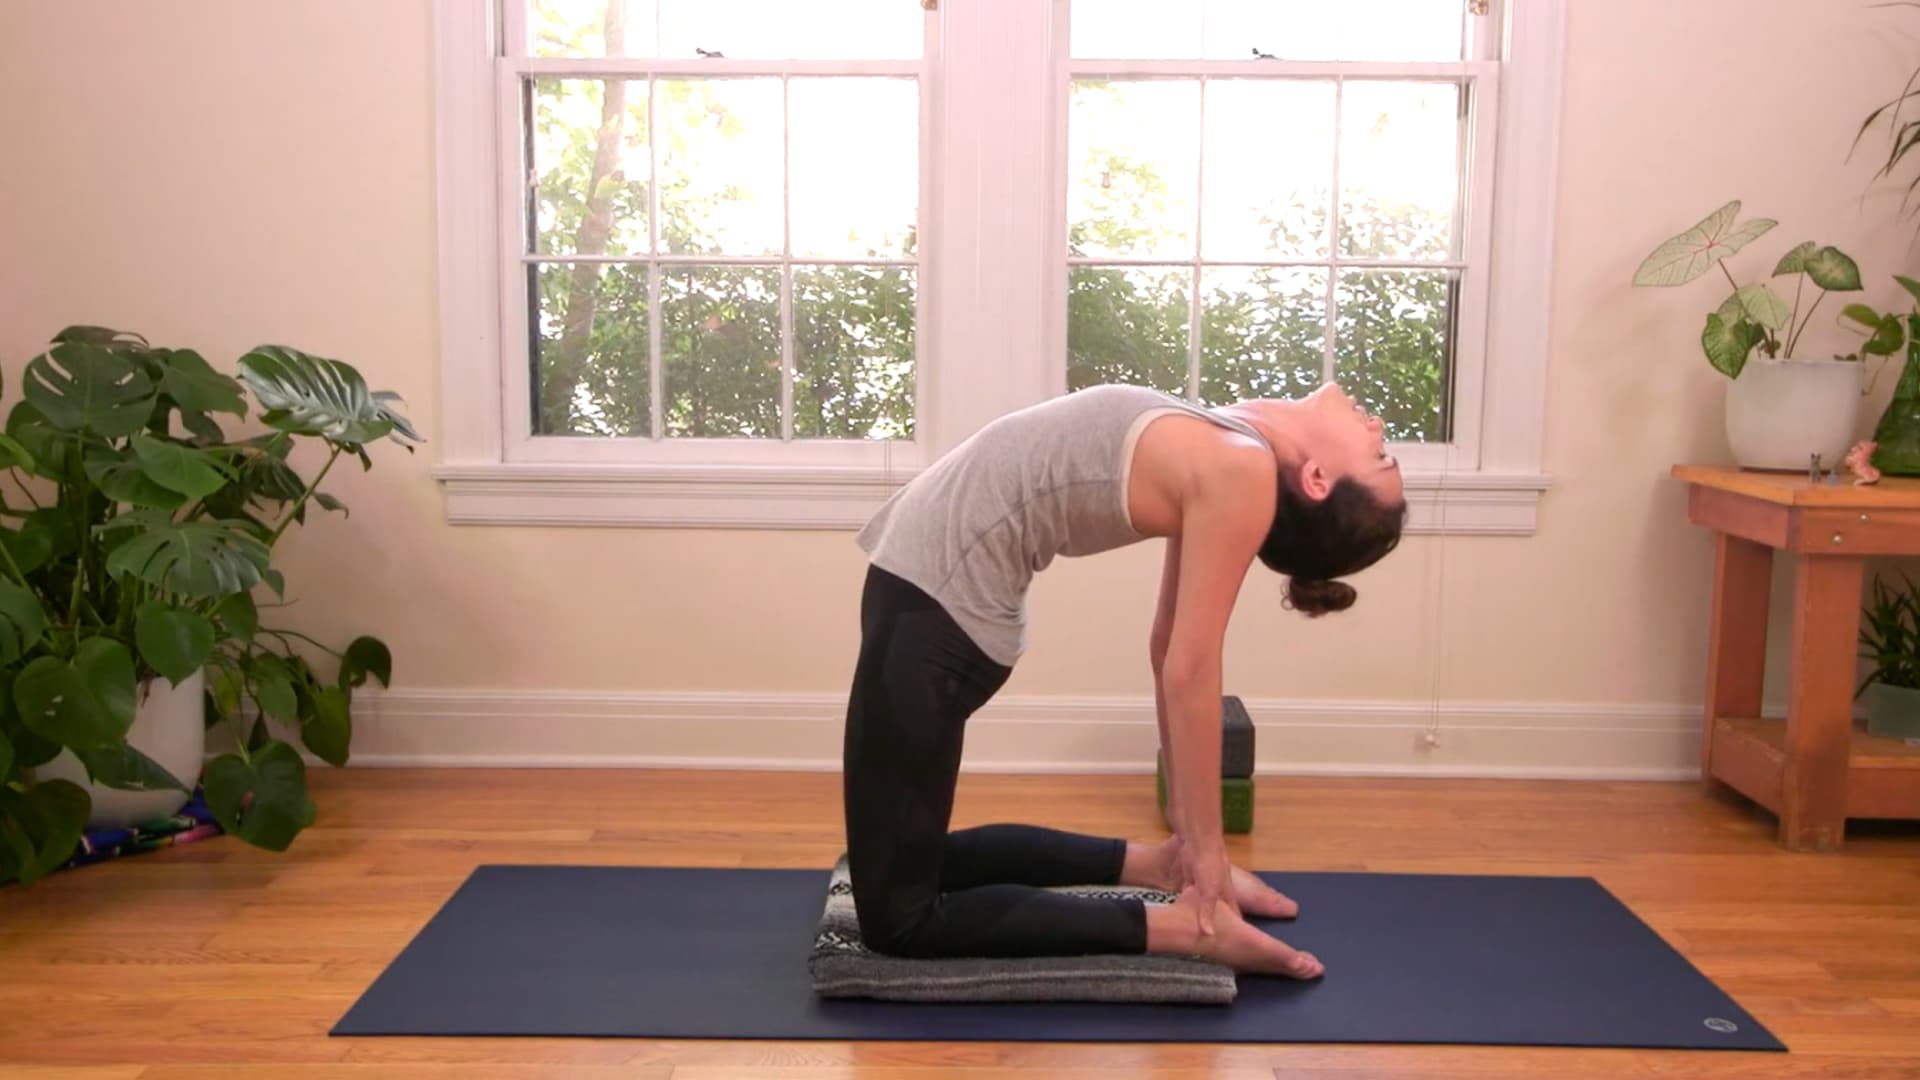
Press the tops of your feet into the mat. Keep your belly gently active and your chest lifting. You can stay with hands on the lower back, or begin to reach one hand back toward the heel. Move slowly.
If your heel feels too far, stop before you reach it. The lower back should feel long and supported, never compressed or pinched.
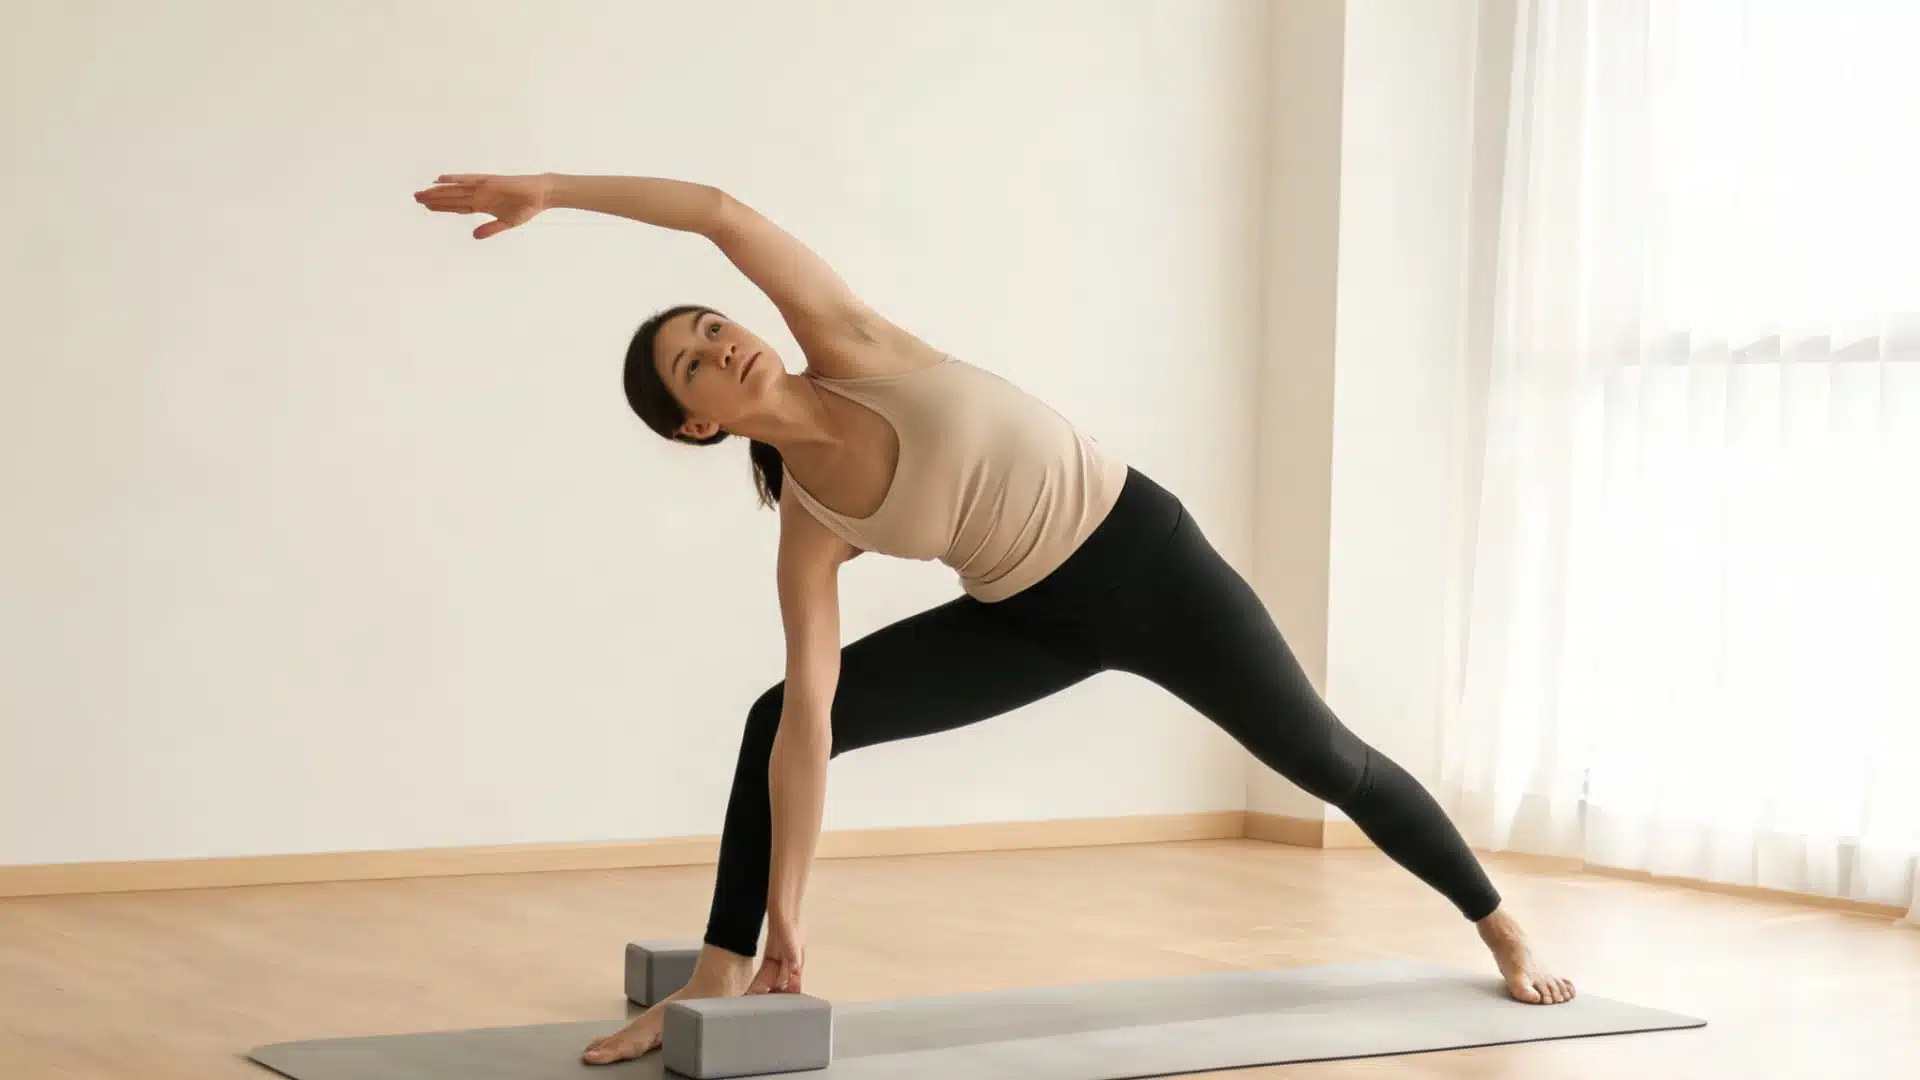
Step 8: Use Blocks if the Heels Feel Too Far
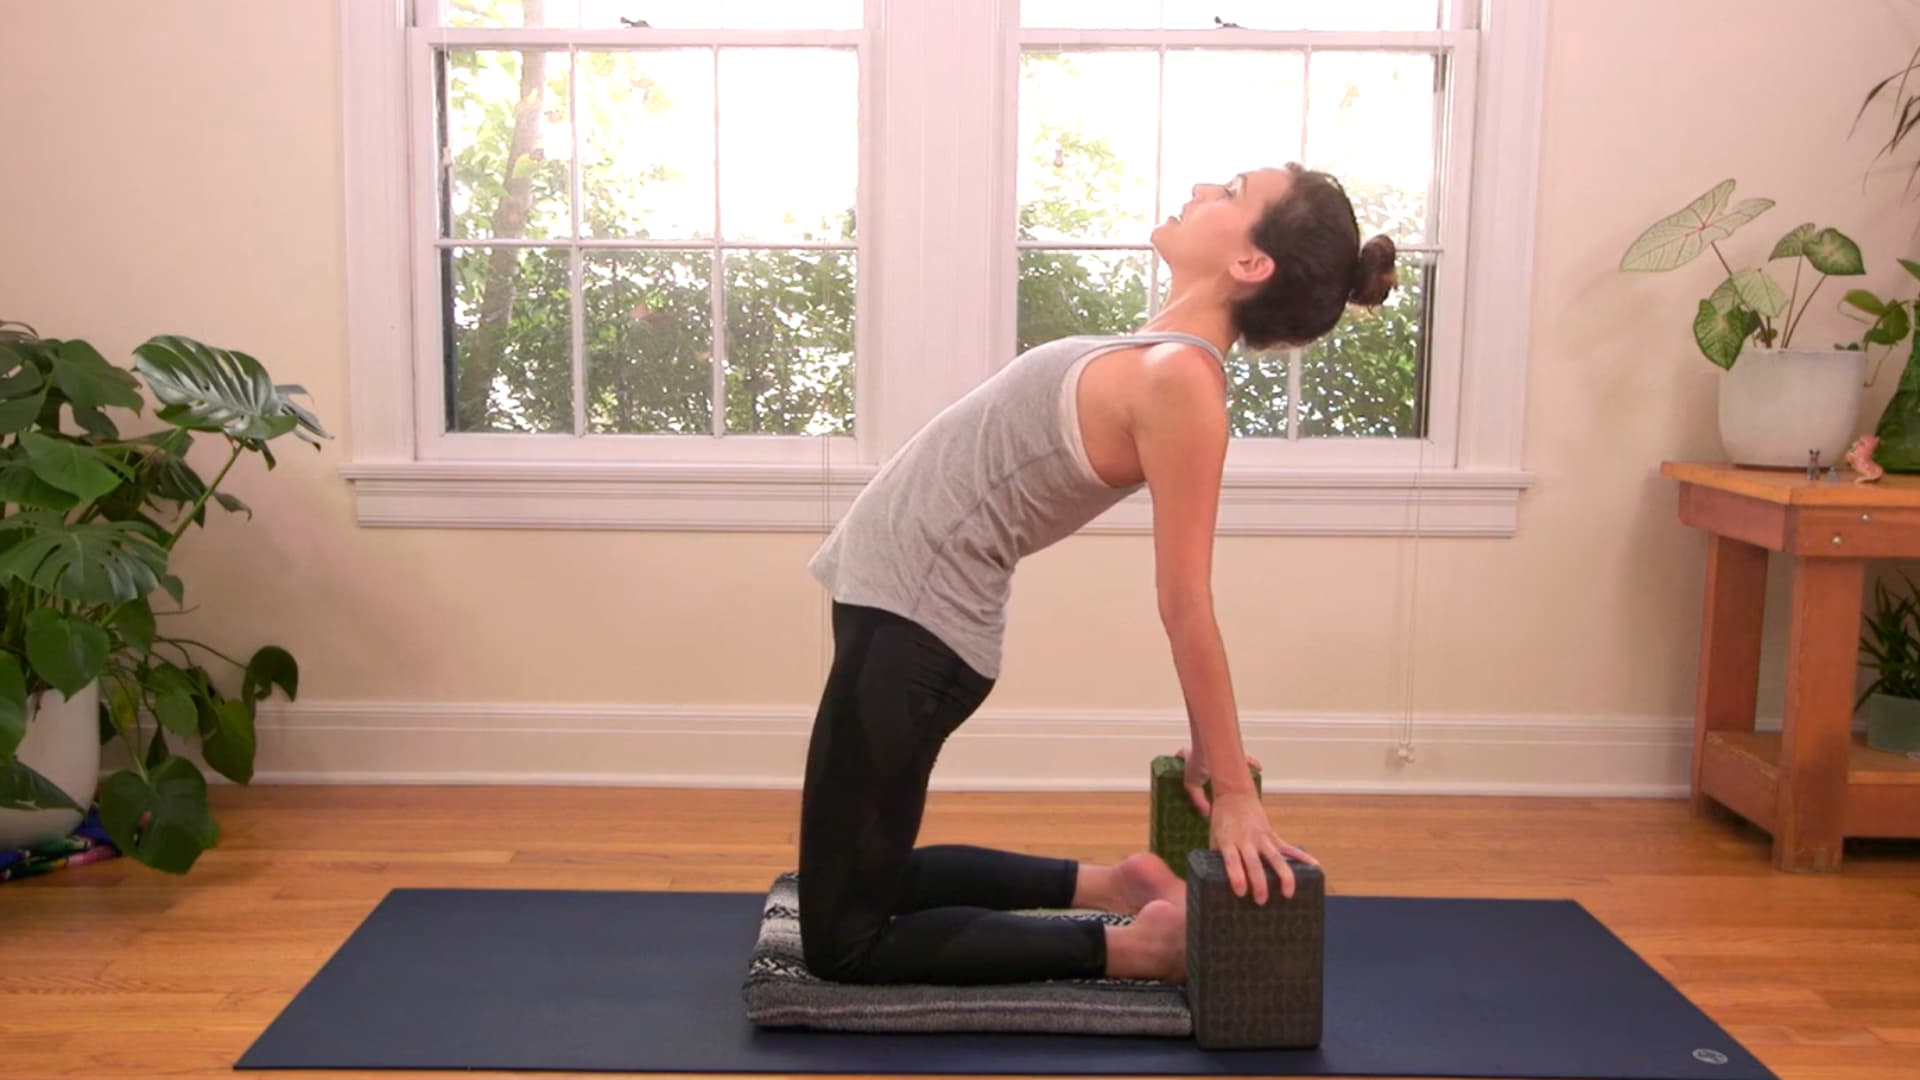
Place one block beside each ankle on the highest setting. Rest your hands on the blocks instead of forcing the reach to the heels. Props like blocks and yoga strap stretches consistently reduce strain on tight shoulders and lower backs in beginner practice.
Keep your chest lifting away from the blocks so you are not collapsing into the pose. This supported version often produces a better, more evenly distributed backbend than a forced full version.
Step 9: Practice the Lower-Back Support Version
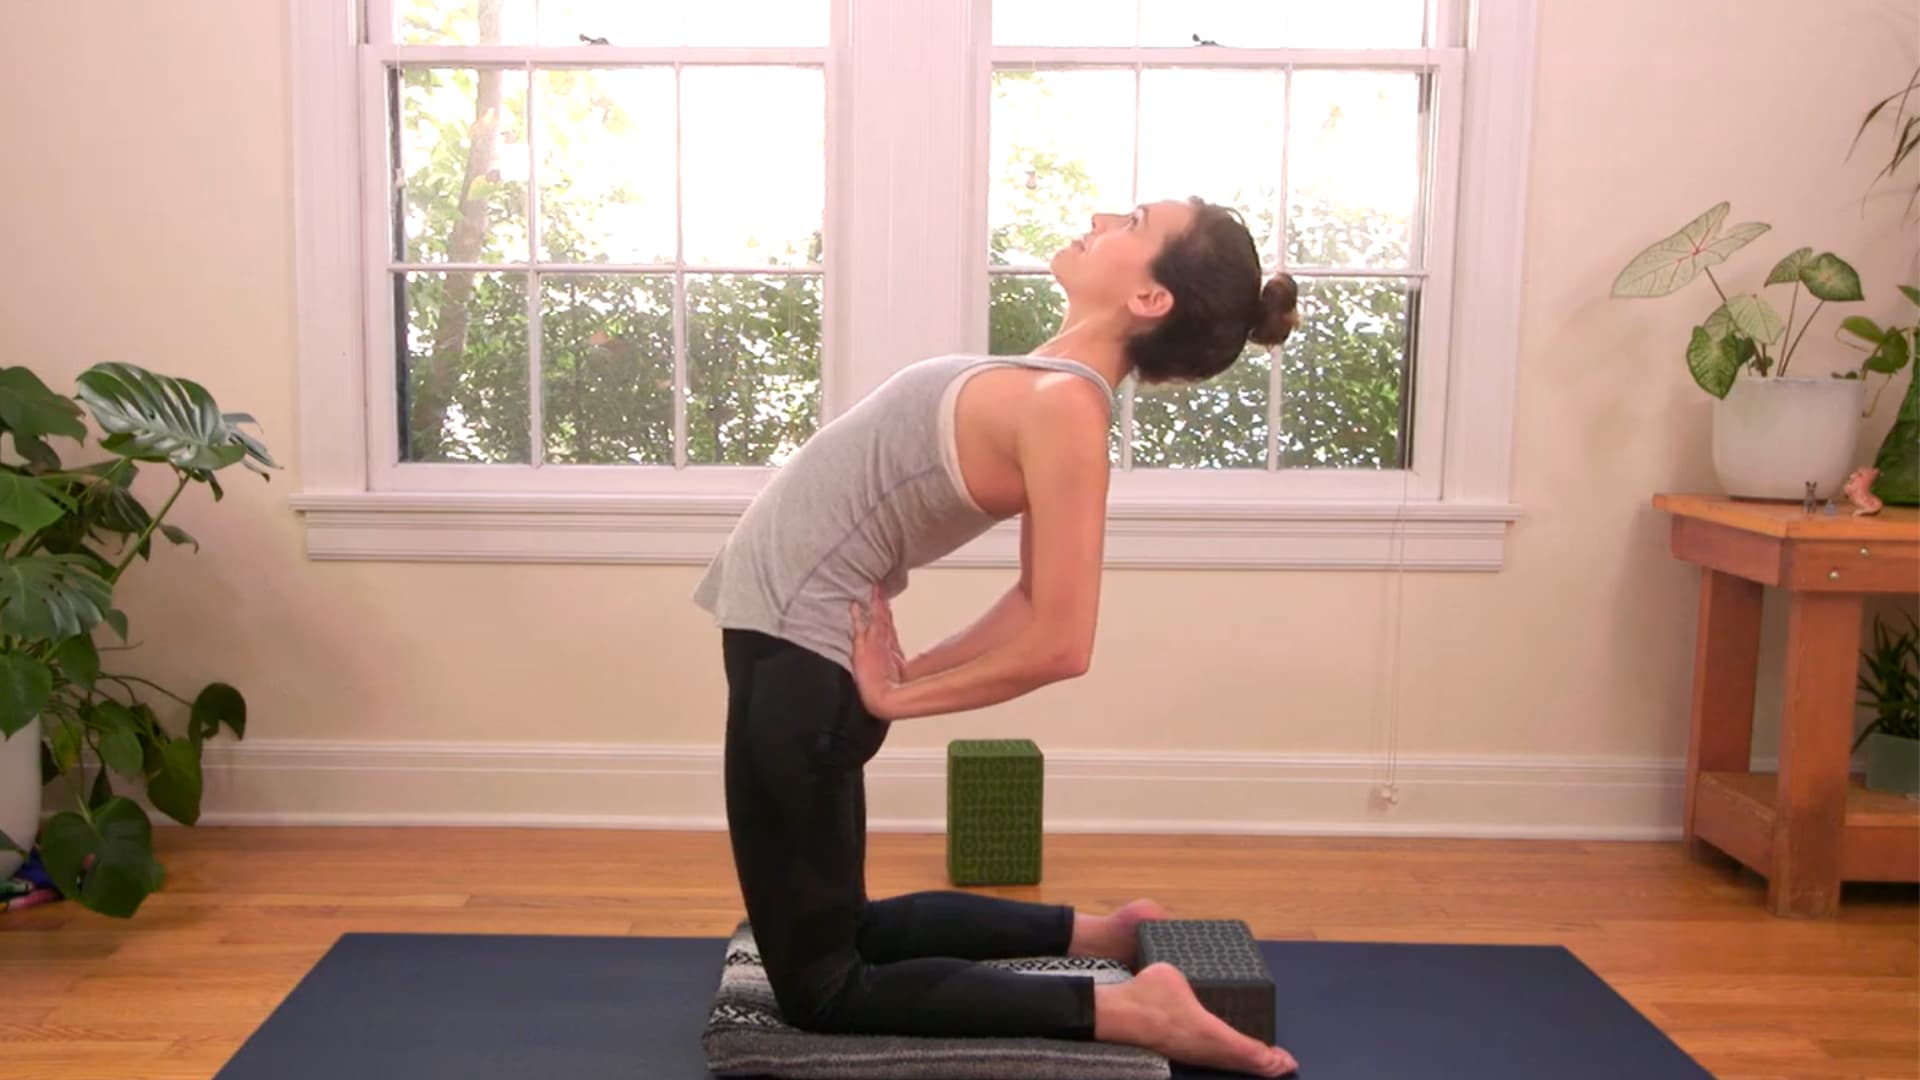
Keep your hands on your lower back with fingers pointing down and press gently through your palms. Lift your chest and move into the backbend only as far as your breath stays smooth.
This is a complete version of the pose, not a stepping stone. If your breath becomes strained or your neck tightens, this is your working depth for today.
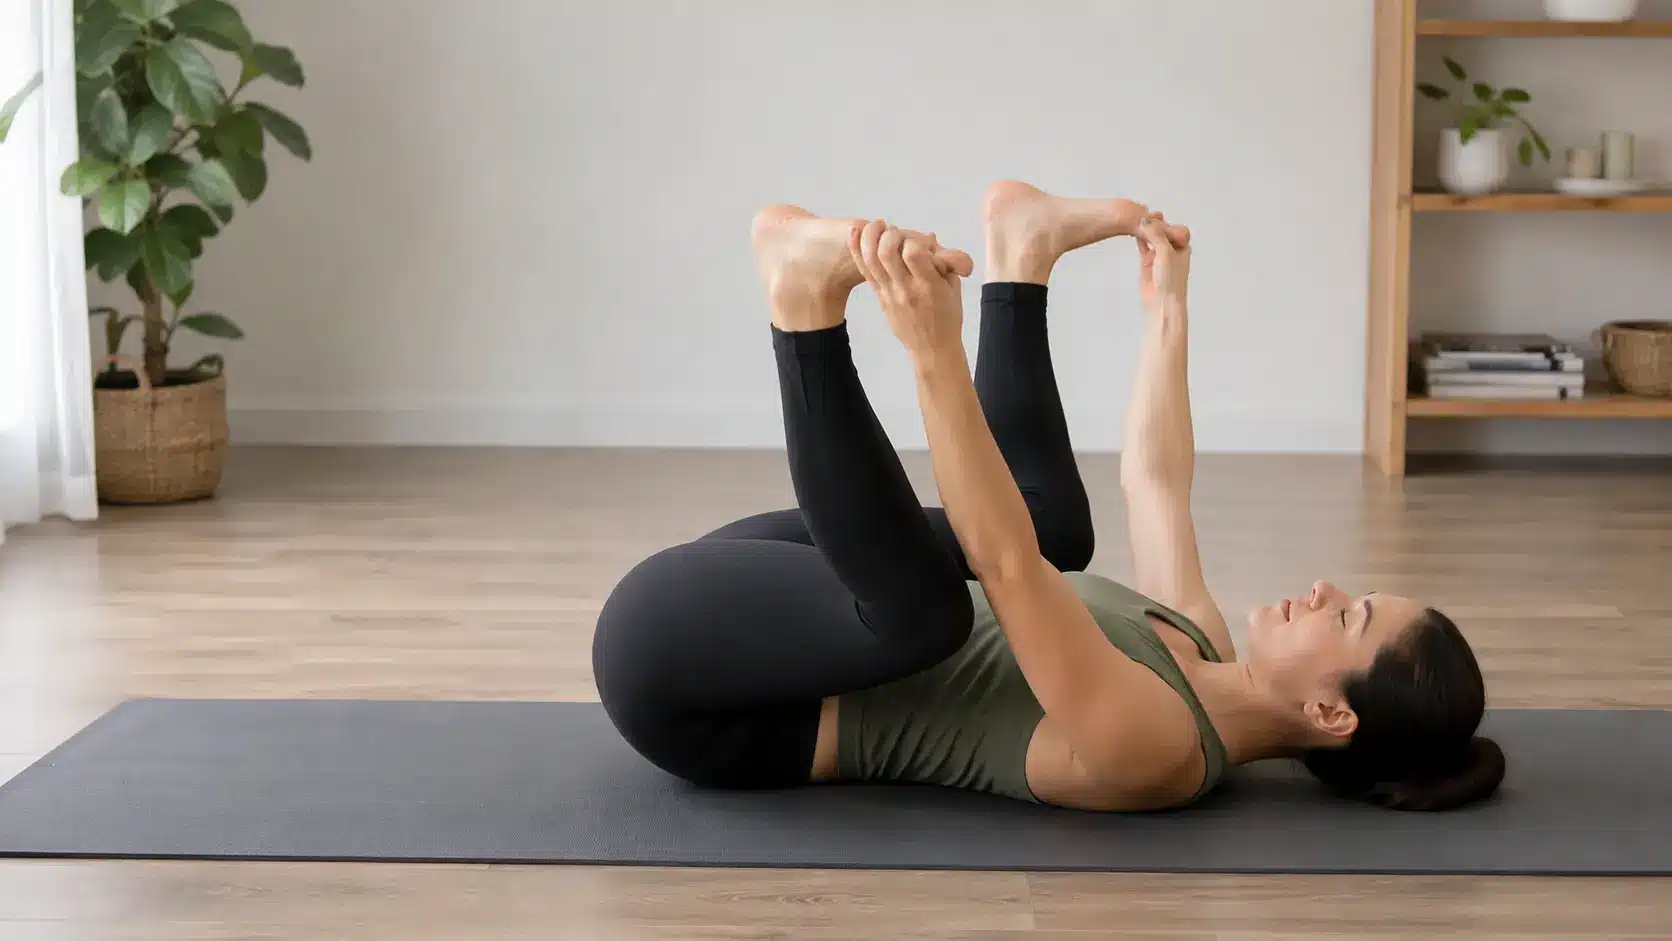
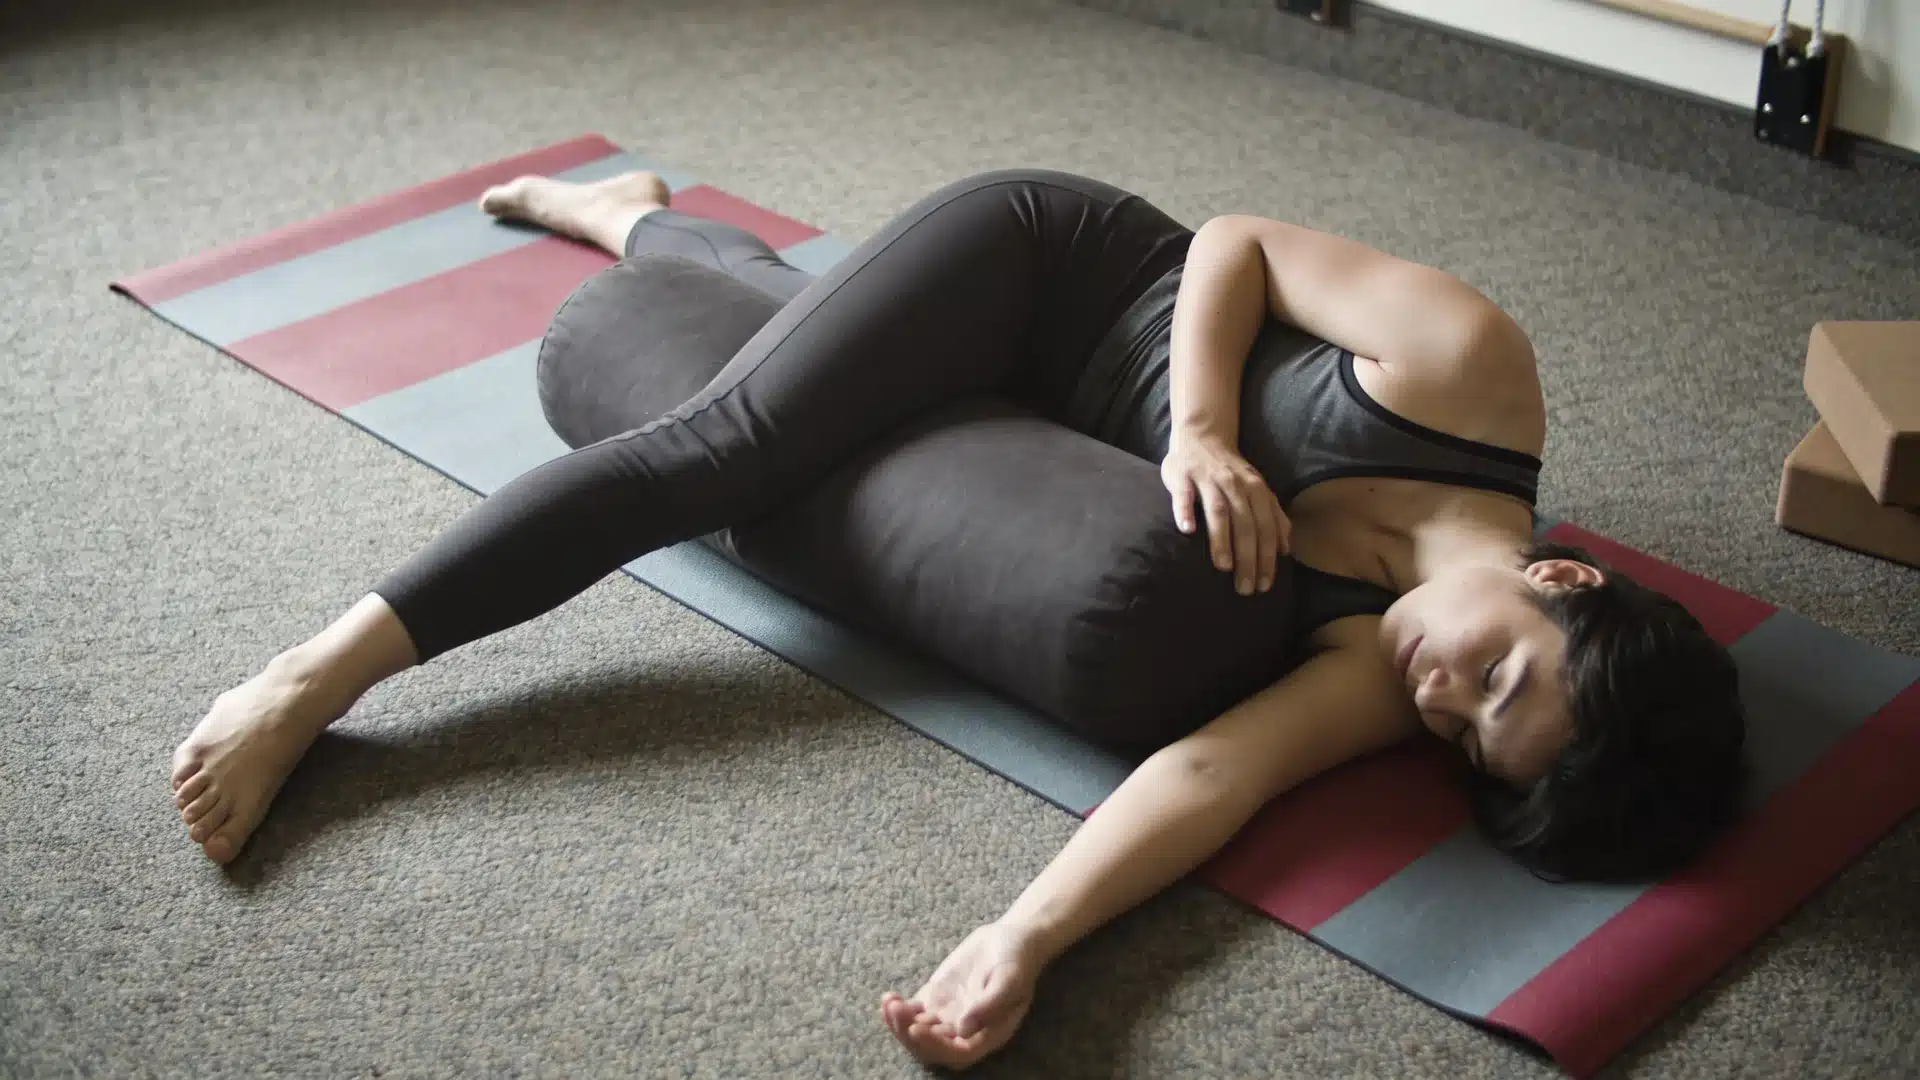
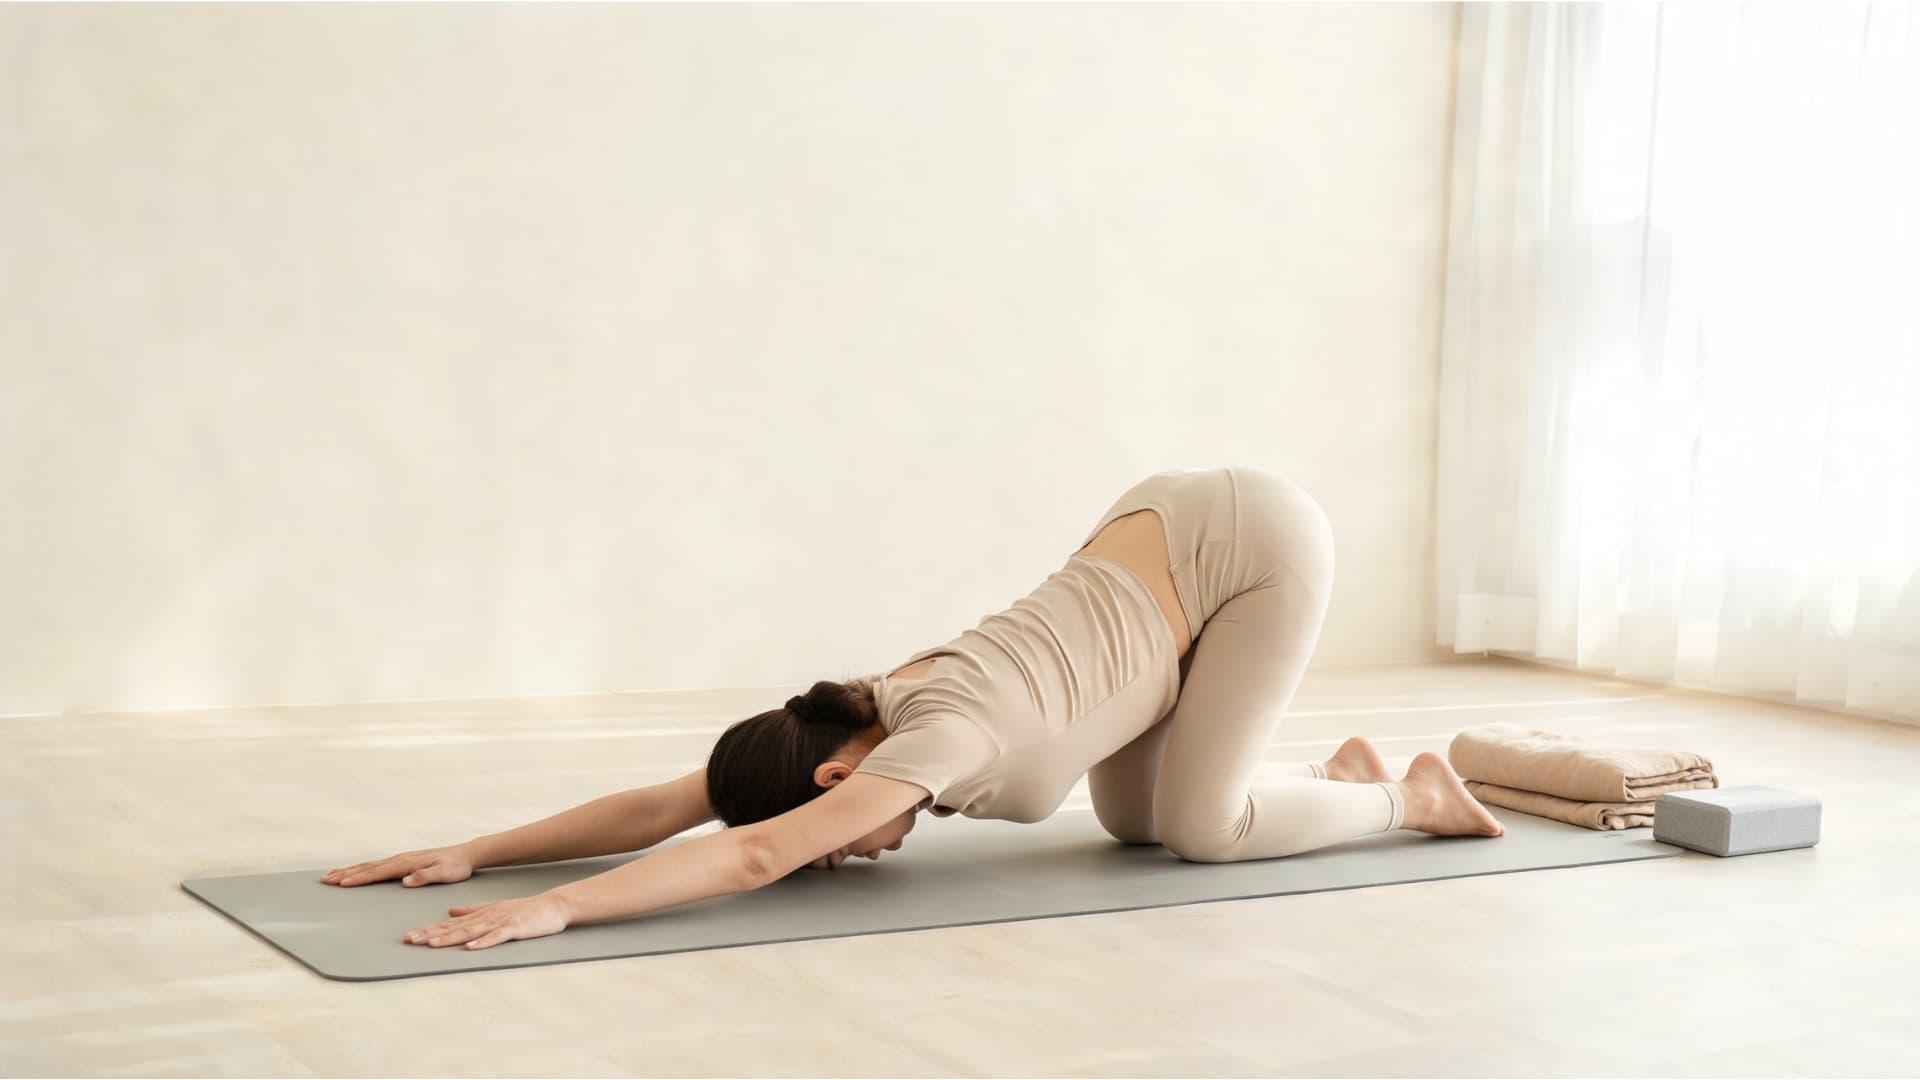
Step 10: Finish With Child’s Pose and Let the Spine Settle
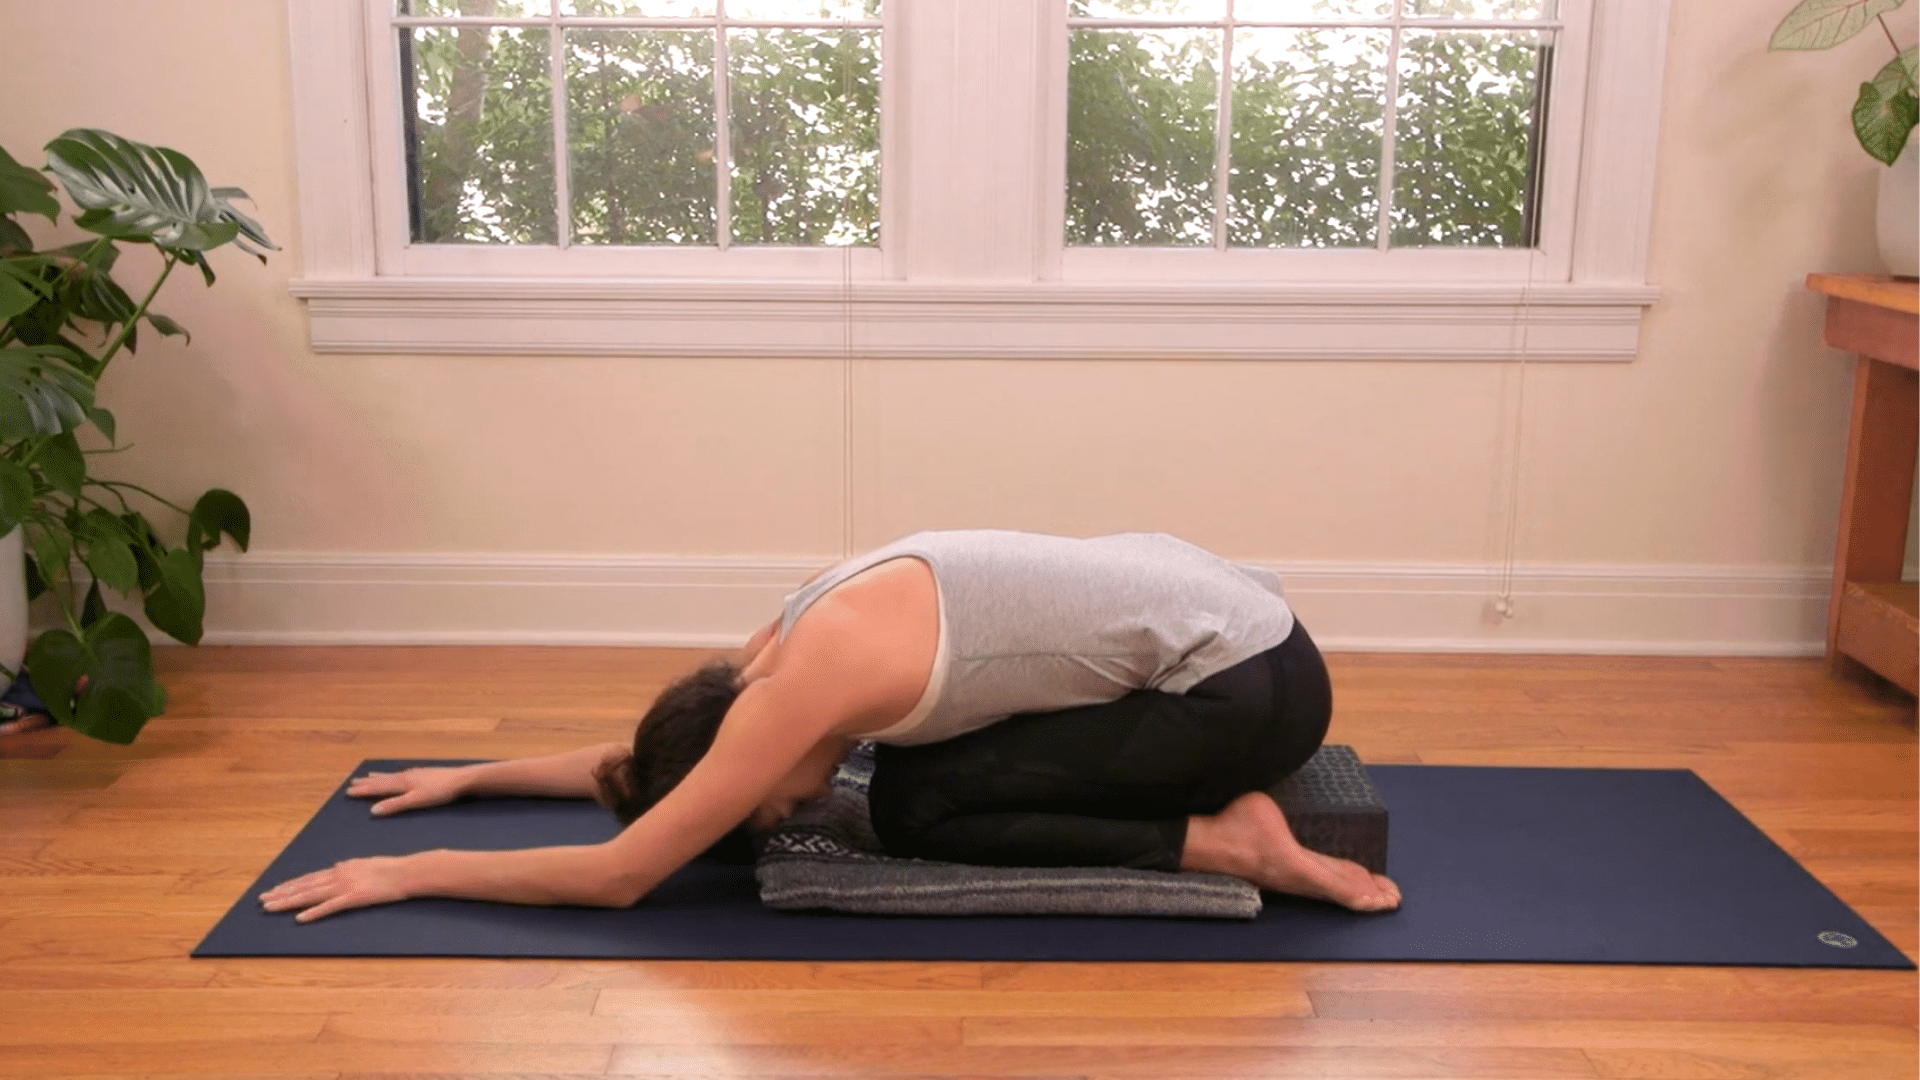
Bring your knees together and rest in Child’s Pose, one of the most reliable restorative yoga poses for settling the spine after a backbend. Let your back round gently as a counter to the backbend.
Stretch your arms forward if that feels good, and take several slow breaths. When you are ready, press through your shins, tuck your chin, and roll back up slowly, one vertebra at a time. Do not rush this transition.
For a full visual walkthrough, the video below demonstrates each step:
Key Alignment Cues for Safe Camel Pose
Good alignment helps Camel Pose feel supported, steady, and safer by spreading the backbend through the whole body.
| Alignment Cue | What to Do | Why It Matters |
|---|---|---|
| Lift the Chest First | Raise your breastbone before leaning back. | This starts the backbend from the upper spine instead of dumping pressure into the lower back. |
| Keep Hips Over Knees | Stack your hips directly above your knees. | This keeps the pelvis stable and prevents the lower back from taking too much strain. |
| Press Through the Shins | Press the tops of your shins firmly into the mat. | This activates the legs and gives the backbend a stronger foundation. |
| Keep the Neck Long | Keep your head neutral or look slightly upward. | This prevents neck compression, especially if you already carry tension or pain there. |
| Rotate Upper Arms Outward | Gently roll your upper arms outward as the chest opens. | This keeps the shoulders from collapsing forward and supports a cleaner chest opening. |
Use a smaller version if anything feels sharp. A controlled Camel Pose is always better than a deeper one.
Why Camel Pose Feels Difficult
Camel Pose feels difficult for several overlapping reasons, and understanding them helps you address the right thing rather than just pushing harder.
The most common physical issue is tightness in the hip flexors, particularly the psoas, and the pectoral muscles. Both of these areas are chronically shortened in people who sit for most of the day. When they are tight, the body resists the extension that Camel Pose requires, and the lower back ends up compensating by overarching instead.
The second issue is a lack of back-extensor strength. Camel Pose is not just a flexibility pose. The erector spinae and multifidus need to be strong enough to hold the arch without collapsing. Locust Pose and Sphinx Pose in your warmup directly address this.
There is also a neurological component. Leaning backward without visual reference activates a mild threat response in the nervous system for many people. This is normal. Starting with a supported version, either hands on the lower back or blocks beside the ankles, lets the nervous system build confidence in the movement before you go further.
Camel Pose Benefits
The benefits of camel pose yoga come from both the stretch it creates and the strength it requires. Here is what consistent, well-aligned practice actually does for the body.
- Opens the chest and anterior shoulders: Stretches the pectorals and anterior deltoids, which tighten from desk work, driving, and phone use.
- Lengthens the hip flexors: The psoas and iliacus are placed under a deep stretch, which reduces the anterior pull on the lumbar spine these muscles can create when chronically short.
- Strengthens the back extensors: The erector spinae and multifidus must actively lift and support the chest rather than letting the spine collapse backward passively.
- Activates glutes, quads, and core: These muscle groups stabilize the pelvis and protect the lower back during the backbend.
- Supports better postural habits: Camel Pose works directly against the forward-rounded posture pattern most people hold for hours each day.
- Improves thoracic mobility: When practiced with correct cues, the thoracic spine gains range of extension that helps all upper-body movement feel easier.
- May support deeper breathing: Opening the chest and ribcage creates more room for full inhalation and may reduce the shallow, upper-chest breathing that comes with chronic slouching.
- Builds proprioceptive awareness: The kneeling position and backward lean require precise body awareness, which builds better movement intelligence over time.
Camel Pose Modifications and Variations
Camel Pose does not look the same for every body or every practice day. The version that is right for you is the one that lets you breathe well, keep your chest lifted, and come out with control.
1. Hands on Hips: Best Starting Point for Beginners
This is where most people should start. Place your hands on your hips with elbows drawing gently back. Lift your chest before moving into any backward lean.
This version teaches the primary action of the pose without requiring shoulder flexibility or deep thoracic mobility. Stay here until the lift feels natural and the breath stays easy.
2. Blocks Beside the Ankles: Reduces Shoulder and Lower Back Strain
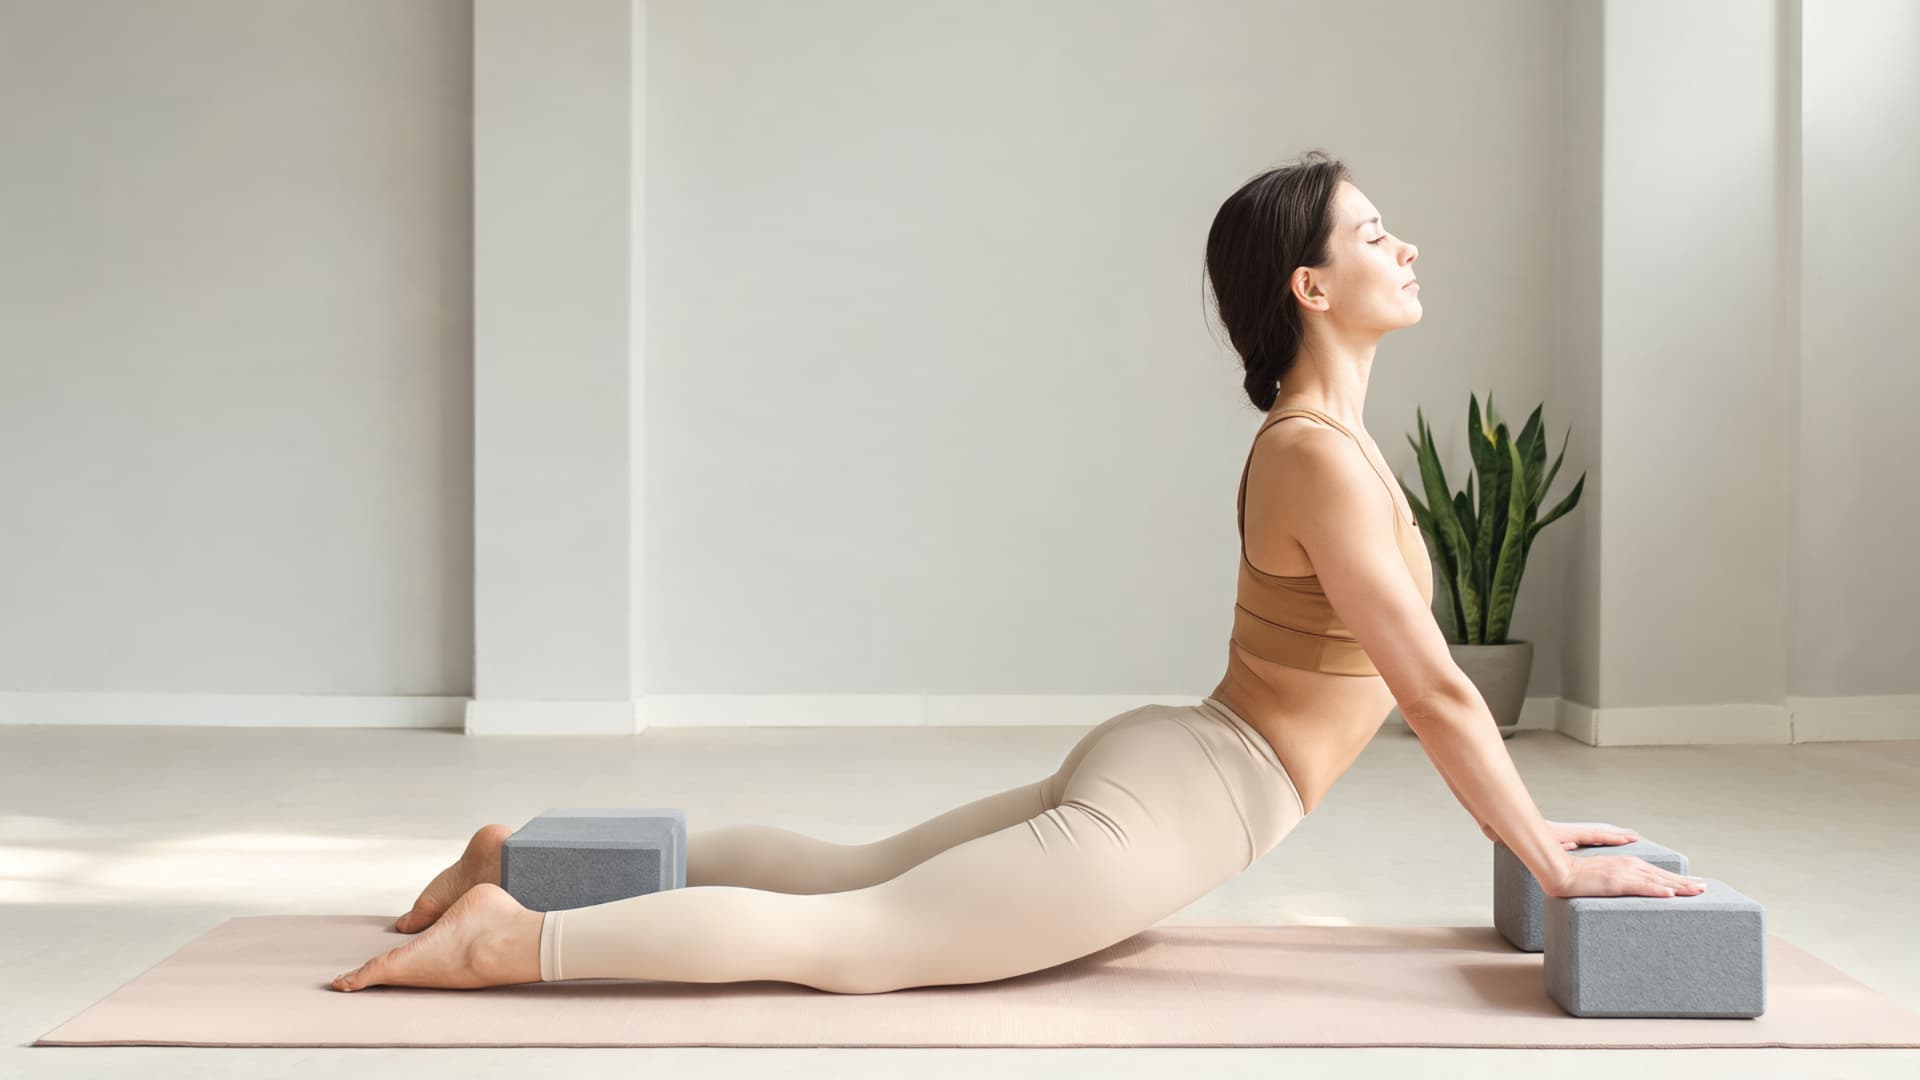
Place a block on the highest setting beside each ankle. Rest your hands on the blocks rather than reaching all the way to the heels.
The shorter reach means the shoulders stay in a safer position and the lower back is less likely to overarch. Keep lifting your chest away from the blocks throughout.
3. Chair-Supported Version: Extra Stability for Uncertain Movers
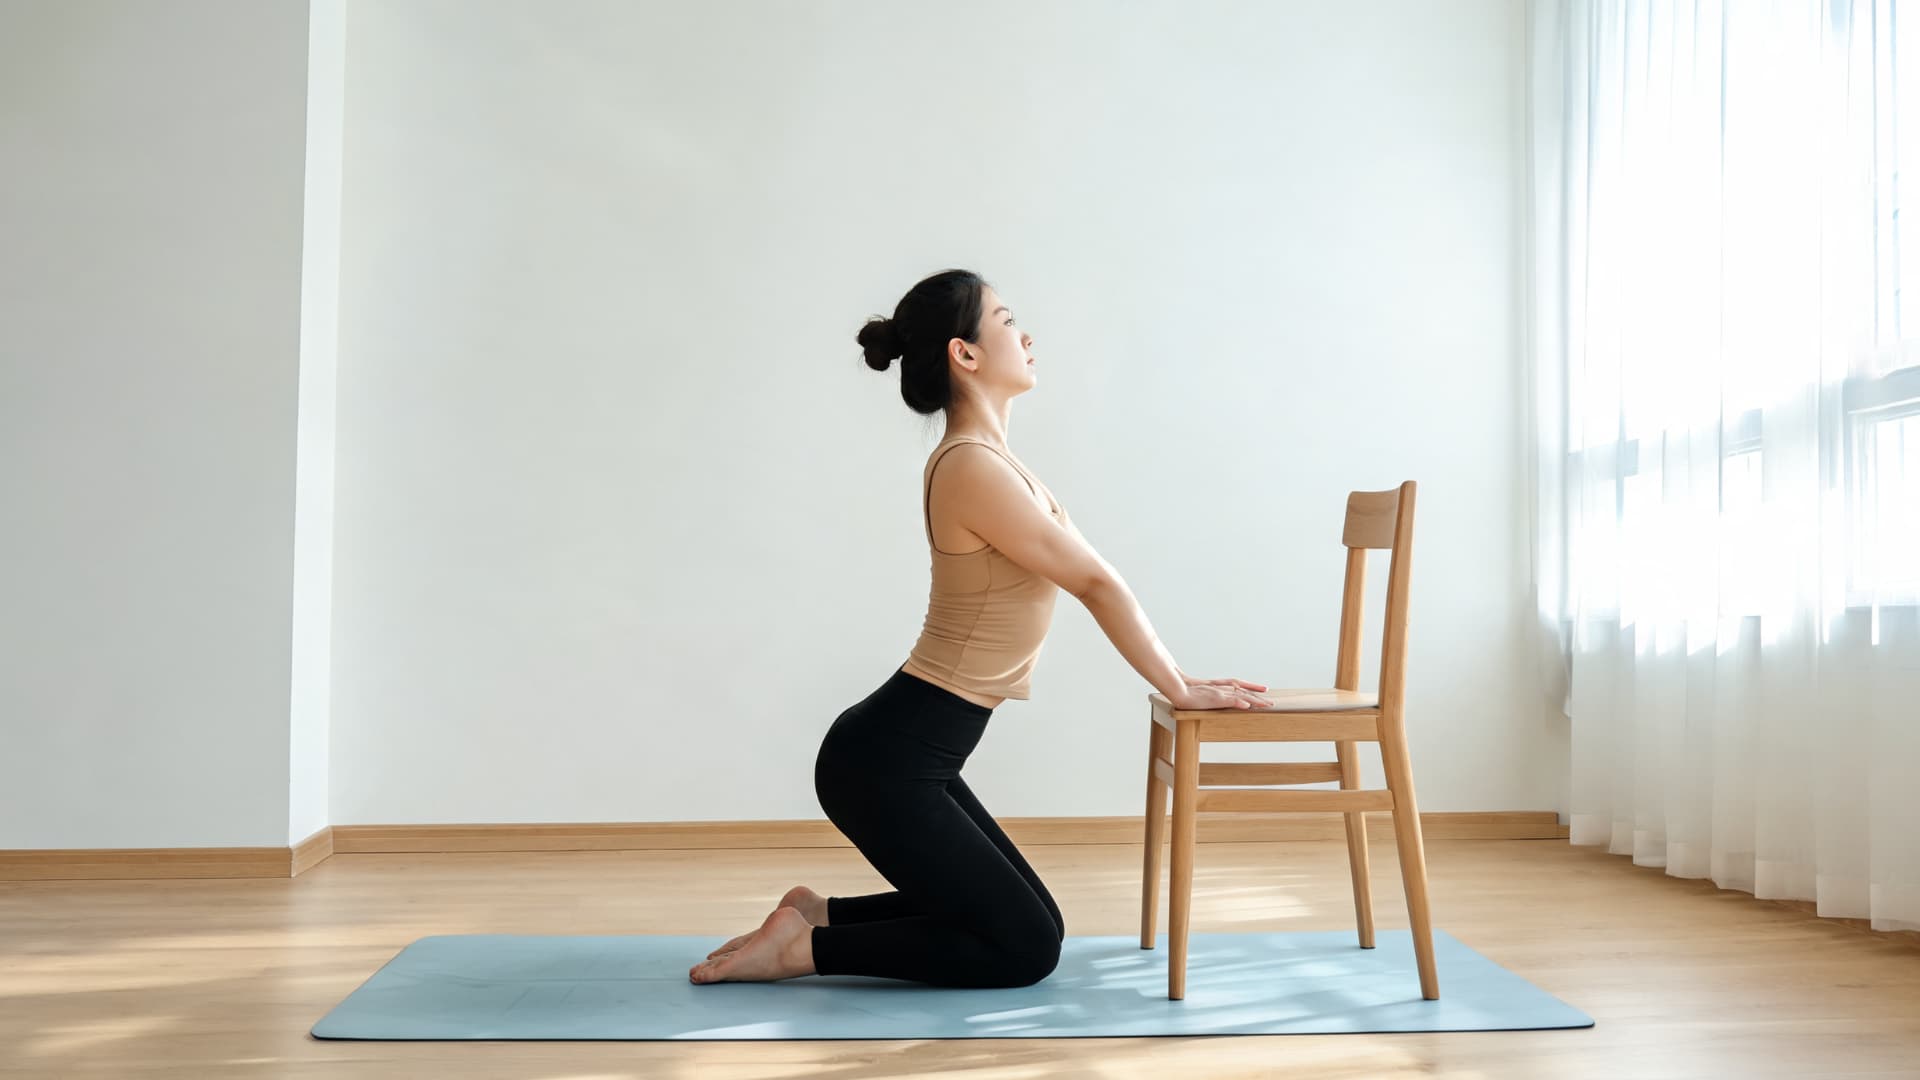
Place a sturdy chair behind you and hold the seat or sides instead of reaching for your heels. This gives you a significantly higher support point that makes the backbend feel more manageable.
Useful for anyone who feels genuinely unsure about moving backward, or who is returning to practice after time away.
4. Wall-Supported Version: Builds Backbend Confidence
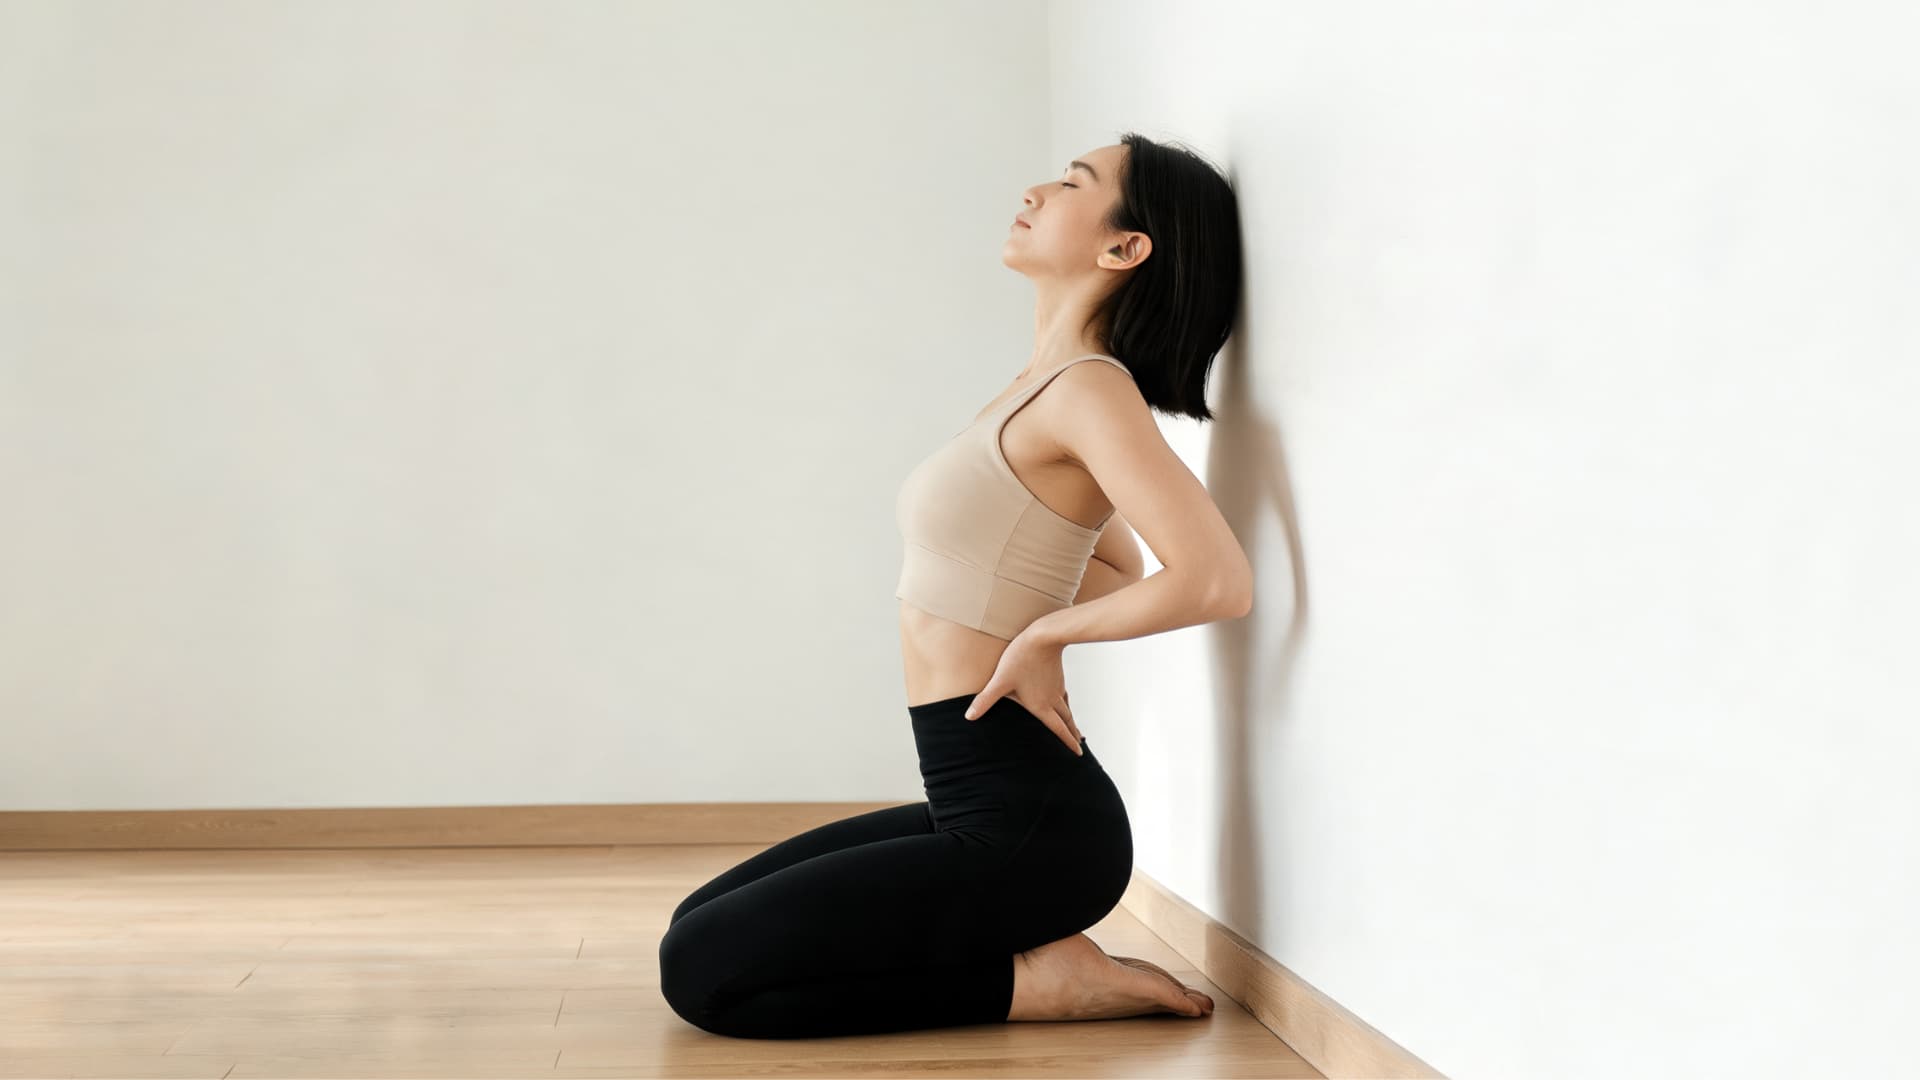
Kneel facing away from a wall, close enough that you can feel it as a reference point. Keep hands on hips or lower back, lift your chest, and move only as far as your breath stays steady.
The wall gives a spatial reference that helps the nervous system feel safer leaning into unfamiliar territory.
5. Full Camel Pose With Hands on the Heels
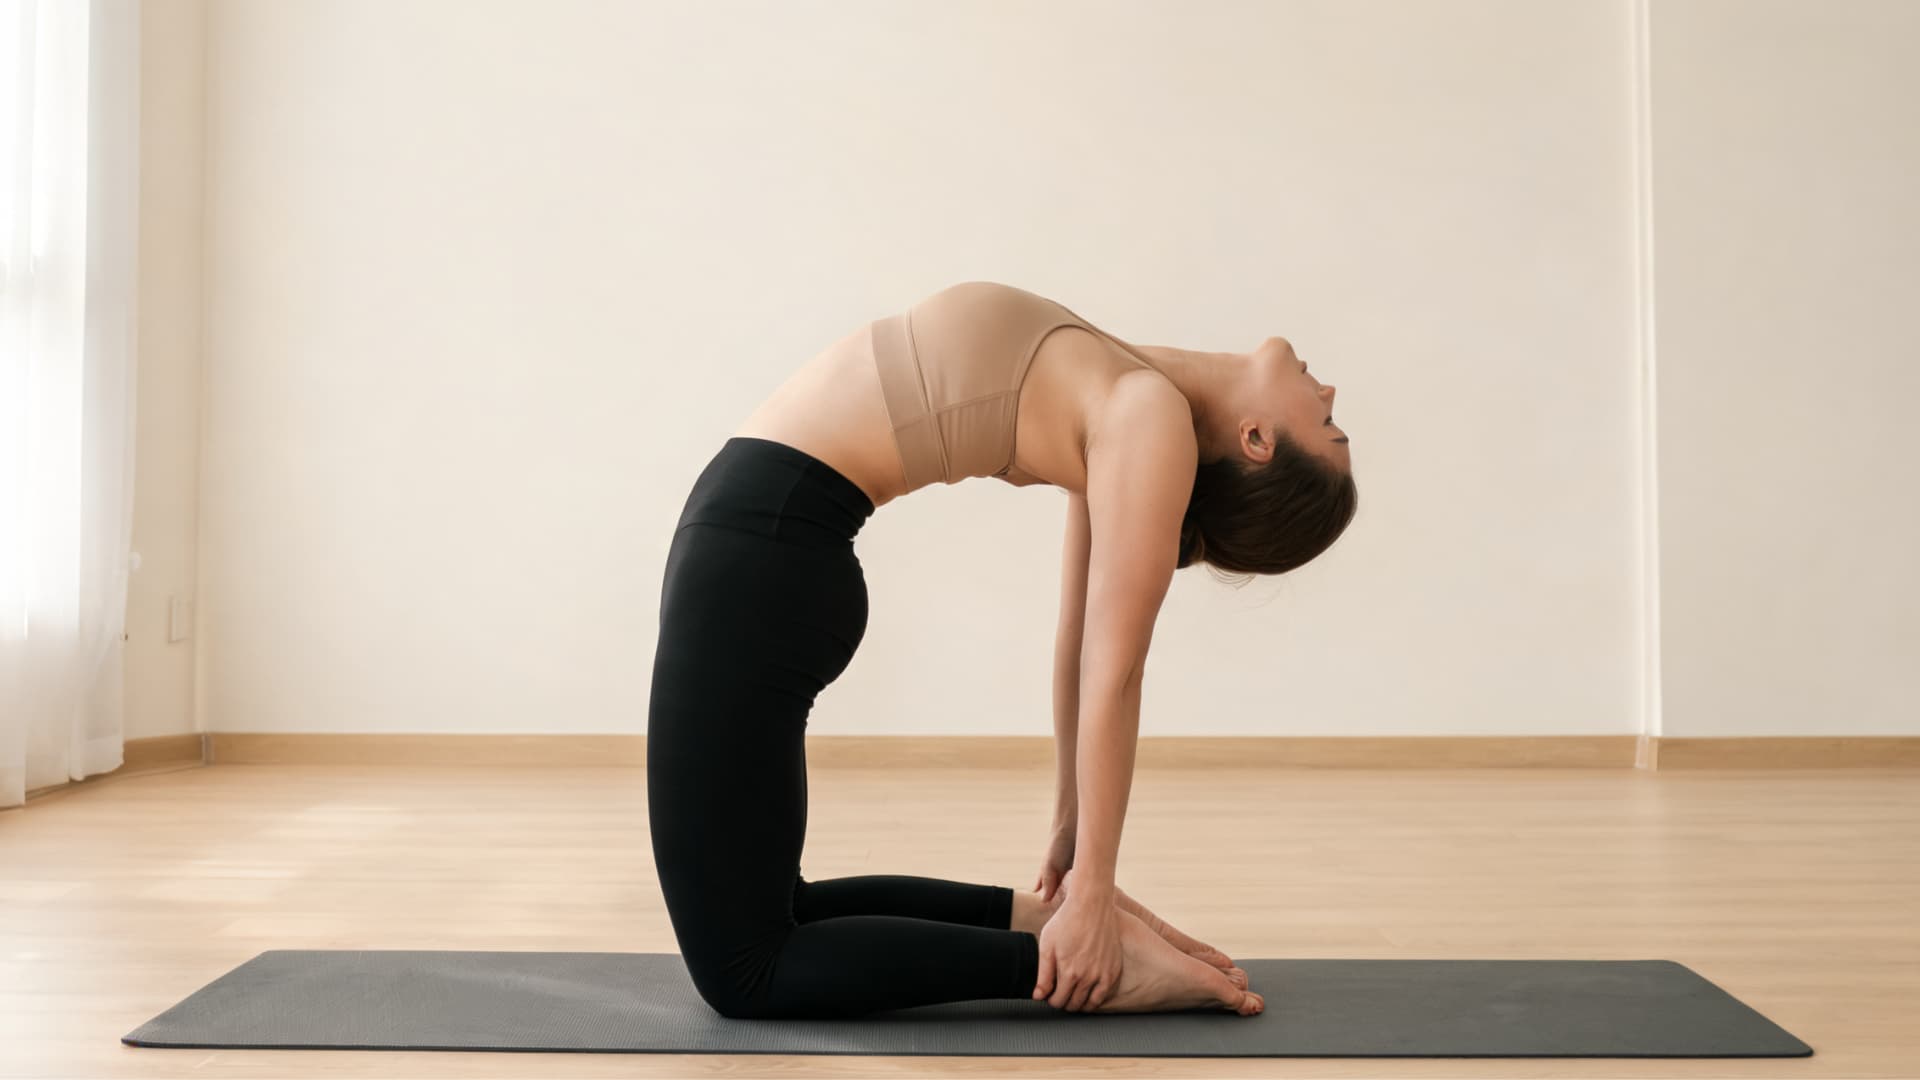
In the full version, both hands reach the heels while the chest stays lifted and the hips remain stacked over the knees. Move one hand back at a time rather than dropping both simultaneously. Keep your thighs active, your belly gently firm, and your neck in whatever position feels comfortable. Attempt this only after the supported versions feel genuinely steady and your breath stays smooth throughout.
How to Sequence Camel Pose in Your Practice
Camel Pose belongs in the middle to later part of a yoga session, never at the start. The spine needs to be warm before any deep backbend, and the hip flexors and shoulders should have had at least some preparatory movement.
A practical standalone sequence: Cat-Cow (8 rounds), Puppy Pose (5 breaths), Sphinx Pose (5 breaths), Locust Pose (3 to 5 holds), Bridge Pose (3 holds), then Camel Pose (2 to 3 holds of 3 to 5 breaths each), followed by Child’s Pose (10 breaths).
Within a longer yoga class, Camel Pose works well after standing sequences and floor backbend prep, before any cooling-down or forward-folding work.
It is also pose 22 of 26 in the Bikram yoga sequence, which places it after a series of floor backbends that serve as natural preparation. Pairing it with Child’s Pose as an immediate counterpose after every hold is not optional. It is the reset that keeps the practice sustainable.
| Sequencing Note: If you are doing Camel Pose more than once in a session, Child’s Pose between each hold is required, not optional. Each repetition should feel at least as steady as the one before. If the pose degrades across holds, that is a signal to stop for the day. |
Who Should Avoid or Modify Camel Pose?
Camel Pose is a strong backbend and is not appropriate for every body or every day. Modify or skip it if any of the situations in the table below apply to you.
| Concern | Be Careful With | Safer Option |
|---|---|---|
| Neck pain | Dropping the head back | Keep neck neutral throughout |
| Lower back pain | Any deep backbend | Sphinx Pose or supported Bridge |
| Knee pain | Direct kneeling pressure | Folded blanket under knees |
| Tight shoulders | Reaching for heels | Blocks or chair support |
| Pregnancy | Deep compression or abdominal strain | Prenatal teacher guidance only |
| Dizziness | Full backbend or head drop | Stay upright with hands on hips |
Come out of the pose immediately if you feel sharp pain, numbness, tingling, or a sensation of breath being cut off. These are not signs to push through.
Common Mistakes in Camel Pose and the Specific Fix
Most problems in Camel Pose come down to the same few errors. Here is what to watch for and what to do instead.
Dropping back before lifting up. This is the most common mistake and the one that puts the most load on the lumbar spine. The fix: pause after placing your hands on your lower back and spend two full breaths just lifting your sternum upward before you move back even one centimeter.
Hips drifting back toward the heels. When the hips slide backward, the thighs are no longer vertical and the lower back takes the full load of the backbend. The fix: press your shins firmly into the mat throughout. This creates the resistance that keeps the hips stacked over the knees.
Forcing the head back. Many people drop the head fully back because they have seen it in photos, but this is not required and can compress the cervical spine if it is not prepared for it. The fix: keep the chin level or look slightly upward. Progress the head drop only when the neck feels genuinely open and the rest of the pose is solid.
Gripping the glutes hard. Squeezing the glutes aggressively in backbends tends to externally rotate the femurs, widen the knees, and increase lumbar compression. The fix: use light glute engagement for stability, not a hard squeeze. The inner-thigh activation from squeezing a block is often more stabilizing and safer.
Tips for Practicing Camel Pose Safely
Camel Pose rewards patience. These guidelines keep the practice sustainable over the long term:
- Warm up the spine, hips, shoulders, and thighs before attempting the pose.
- Start with hands on hips before reaching toward the heels.
- Use blocks beside the ankles rather than forcing the shoulder or lower back range.
- Keep the hips stacked over the knees throughout.
- Lift the chest before bending back.
- Keep the belly gently active throughout to support the lumbar spine.
- Keep the neck neutral if there is any tightness or previous history of neck issues.
- Breathe slowly and steadily. If the breath becomes shallow or stuck, reduce the depth.
- Come out slowly: press through the shins, tuck the chin, and roll back up one segment at a time.
- Always follow with Child’s Pose.
- On days the body feels stiff, use the supported version rather than skipping the pose entirely.
Frequently Asked Questions
Is Camel Pose a heart opener?
Yes. Camel Pose is often called a heart opener because it expands the chest, ribs, and front shoulders. In yoga language, this can feel emotionally opening too. Physically, it encourages better upper-body space and can feel refreshing after long hours of sitting or rounding forward.
Why do emotions come up in Camel Pose?
Backbends can feel emotional because they expose the front body and ask you to move into a vulnerable shape. Some people feel release, discomfort, or surprise during Camel Pose. This is normal. Stay with steady breathing, use support, and come out slowly if the feeling becomes too intense.
Can Camel Pose improve breathing?
Camel Pose may support deeper breathing by opening the ribcage and front body. When the chest is less compressed, the breath may feel fuller. The pose should never make breathing feel restricted. If your breath becomes shallow, reduce the depth or return to a supported version.
Is Camel Pose good for desk workers?
Yes. Camel Pose can be helpful for desk workers because it works against the rounded posture created by sitting, typing, and phone use. It opens the front body and encourages spinal extension. Start gently, especially if your back, hips, or shoulders feel stiff from long work hours.
Why do my thighs work in Camel Pose?
Your thighs work because Camel Pose is not just a backbend. The quadriceps and inner thighs help stabilize the pelvis and keep the hips stacked over the knees. This leg engagement prevents the pose from collapsing into the lower back and makes the backbend feel stronger.
Can Camel Pose help with energy?
Many people find Camel Pose energizing because it opens the chest, stretches the front body, and encourages fuller breathing. Backbends often feel stimulating compared with forward folds. Practice it earlier in the day or mid-session if it feels too activating near bedtime.
Should I practice Camel Pose before sleep?
Camel Pose may feel too energizing for some people before sleep. If you practice it in the evening, keep the version gentle and follow it with calming poses, slow breathing, or a longer rest. If it makes you feel alert, save it for daytime practice.
Why do my knees feel pressure in Camel Pose?
Knee pressure usually comes from direct contact with the floor or uneven weight through the shins. Use a folded blanket under your knees and press evenly through both shin tops. If pressure continues, reduce the depth or choose a different backbend that feels kinder.
Final Verdict
Undoing the stiffening effects of a modern lifestyle does not have to feel impossible, and your body deserves a break from constant slouching.
Regularly practicing camel pose yoga is a highly effective way to open your tight hip flexors, expand your chest, and build a resilient back.
By prioritizing proper thoracic extension and using smart modifications like blocks or lower-back support, you can safely experience all the postural benefits without any pinching or pain.
Remember that a controlled, supported arch is always far better than forcing your way to your heels. Try adding these step-by-step alignment tips to your next practice session, and share your thoughts in the comments below.