


Disclaimer: This article is for informational and educational purposes only. It does not constitute medical advice and should not replace consultation with a qualified healthcare provider. If you have a skin condition, active acne, or sensitive skin reactions, consult a dermatologist before adding new cleansing products to your routine.
If you are still finding sunscreen on your towel after washing, your cleanse is likely missing one key step: applying oil to dry skin before water ever touches your face.
Cleansing oil is an oil-based facial cleanser designed to dissolve sunscreen, makeup, excess sebum, and daily buildup without scrubbing. It works on a straightforward chemistry principle: oil attracts oil. That means it can loosen long-wear products and oily residue that water alone does not remove effectively.
Unlike plain facial oils or cooking oils, cleansing oils contain emulsifiers that help the formula mix with water and rinse away cleanly. When you add water during use, the oil turns milky.
That change is called emulsification, and it is the step that lifts the oil and debris off your skin instead of leaving a greasy film behind. Cleansing oil is used at night and typically works as the first step in a double cleanse routine.
Plain plant oils like sesame oil do not contain emulsifiers, so they behave very differently on skin and require a cloth to remove rather than rinsing off with water.
| Best Used | Evening, on dry skin, before a water-based cleanser |
| Primary Purpose | Removes sunscreen, makeup, sebum, and oil-based buildup |
| Key Mechanism | Emulsification: oil turns milky when water is added, then rinses clean |
| Skin Types | All skin types with appropriate formula selection |
| Follow With | Gentle water-based cleanser when sunscreen or makeup was worn |
Choosing the right formula for your skin type makes the routine noticeably more comfortable, and the steps below explain exactly how to use cleansing oil so your skin feels genuinely clean after rinsing.
How to Use Cleansing Oil: Step-by-Step
The order matters here. Dry skin first, then oil, massage, water, rinse, and second cleanser when needed. Changing the order reduces how well the oil can break down what you are trying to remove.
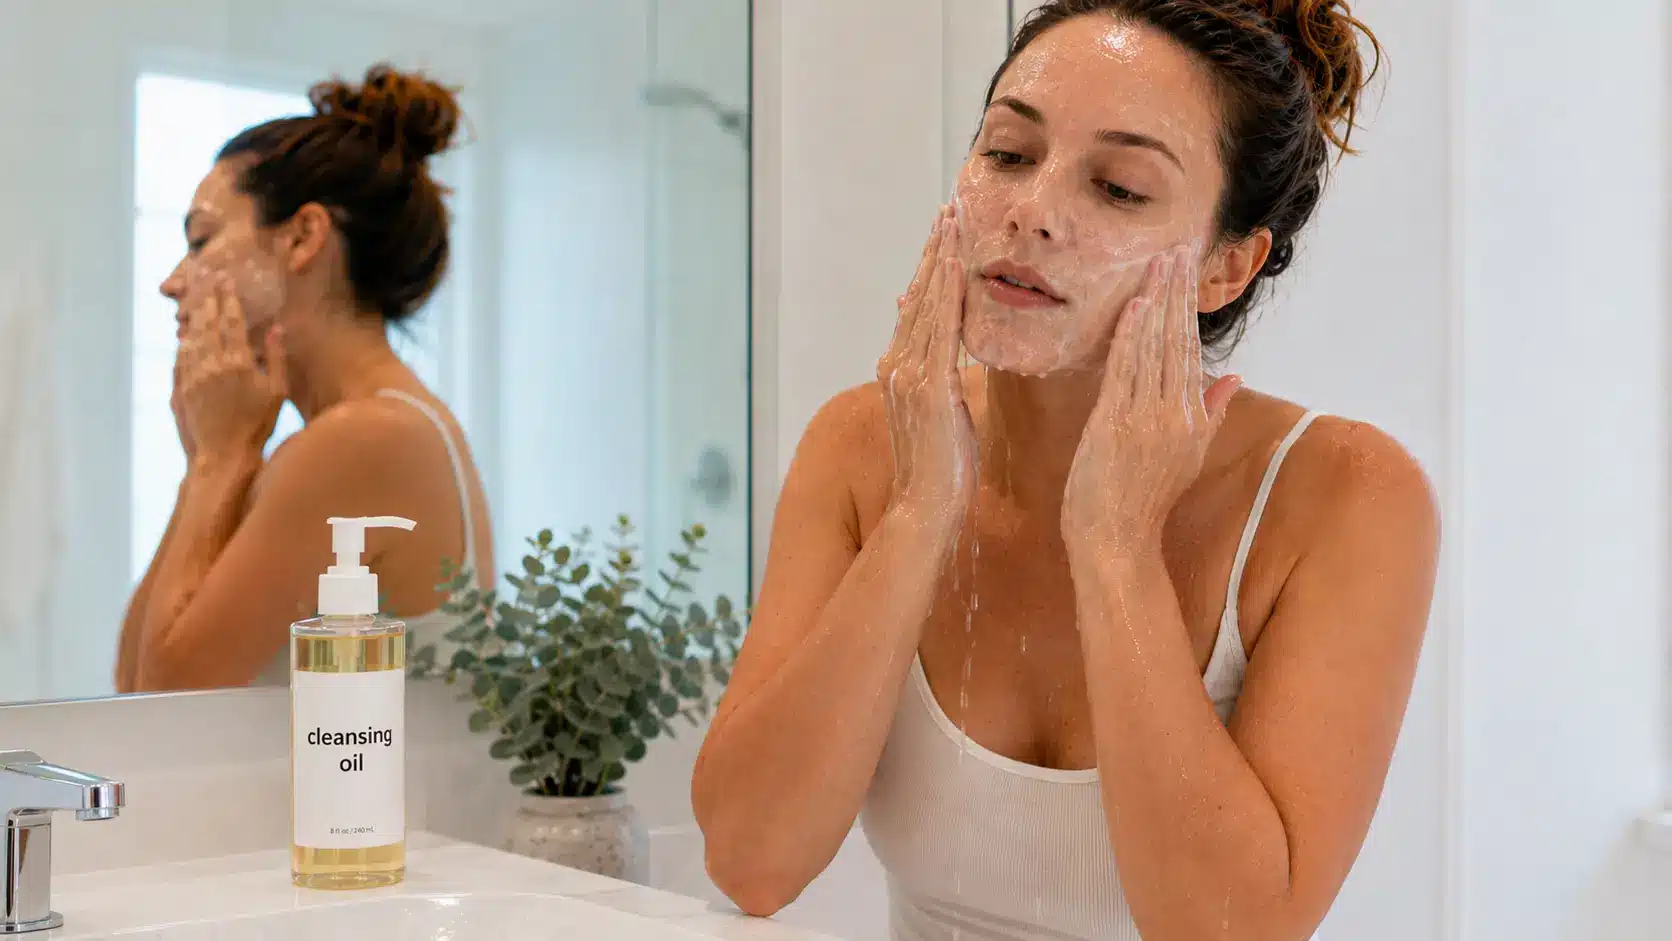
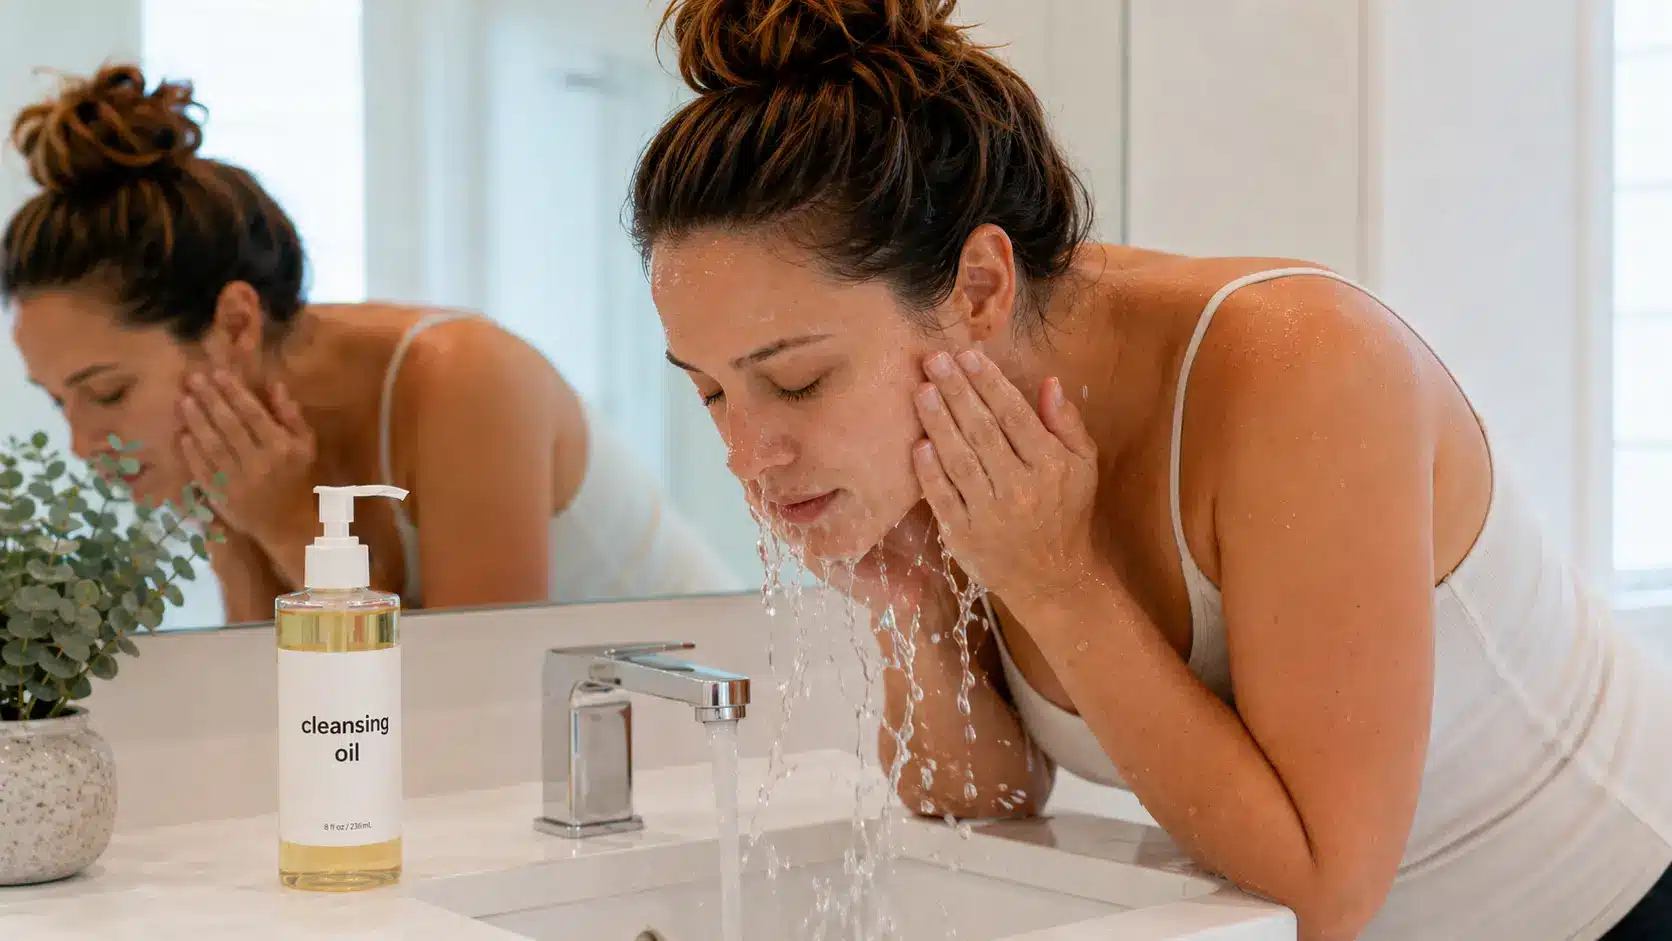
Step 1: Start With Dry Hands and a Dry Face

Wash your hands, dry them fully with a clean towel, then keep your face dry. Do not splash water on your skin before applying the oil.
Dry skin gives the oil direct contact with sunscreen, makeup, sebum, and buildup. If water touches your face too early, the formula begins to emulsify before it has time to break down the residue sitting on your skin.
This single step sets up everything that follows. It is worth treating it as non-negotiable rather than optional.
Step 2: Apply Enough Oil to Cover Your Face

Dispense cleansing oil into your palm and spread it across your forehead, cheeks, nose, chin, jawline, hairline, and neck if you applied sunscreen there. Your fingers should glide without pulling. The right amount depends on what you are removing.
| Situation | Amount to Use |
|---|---|
| Light sunscreen only | 1 pump or a small coin-sized amount |
| Daily sunscreen | 1 to 2 pumps or a nickel-sized amount |
| Makeup and sunscreen | 2 pumps or a quarter-sized amount |
| Long-wear makeup | 2 to 3 pumps or slightly more |
| Face and neck combined | Add a small extra amount for the neck |
Too little oil means you will compensate by rubbing harder. Too much takes longer to rinse and can feel messy. The goal is a smooth, even layer that covers the face without dripping down your chin.
Step 3: Massage Gently for the Right Amount of Time

Use your fingertips to massage the oil over your face in slow circles. Start around the nose and chin, then move across the cheeks, forehead, jawline, and hairline. Give extra time to areas where you applied sunscreen, foundation, or concealer.
If your cleansing oil is formulated for the eye area, close your eyes and sweep it gently over lids and lashes. Stop and rinse immediately if you feel burning or strong cloudiness around your eyes.
| Situation | Massage Time |
|---|---|
| Light daily cleanse | 30 seconds |
| Daily sunscreen | 45 seconds |
| Makeup and sunscreen | 60 seconds |
| Waterproof makeup | 60 to 90 seconds |
| Sensitive skin | 20 to 30 seconds |
Massage should feel gentle throughout. Long, harsh rubbing leaves skin warm, red, or dry. Keep the pressure light and the circles slow.
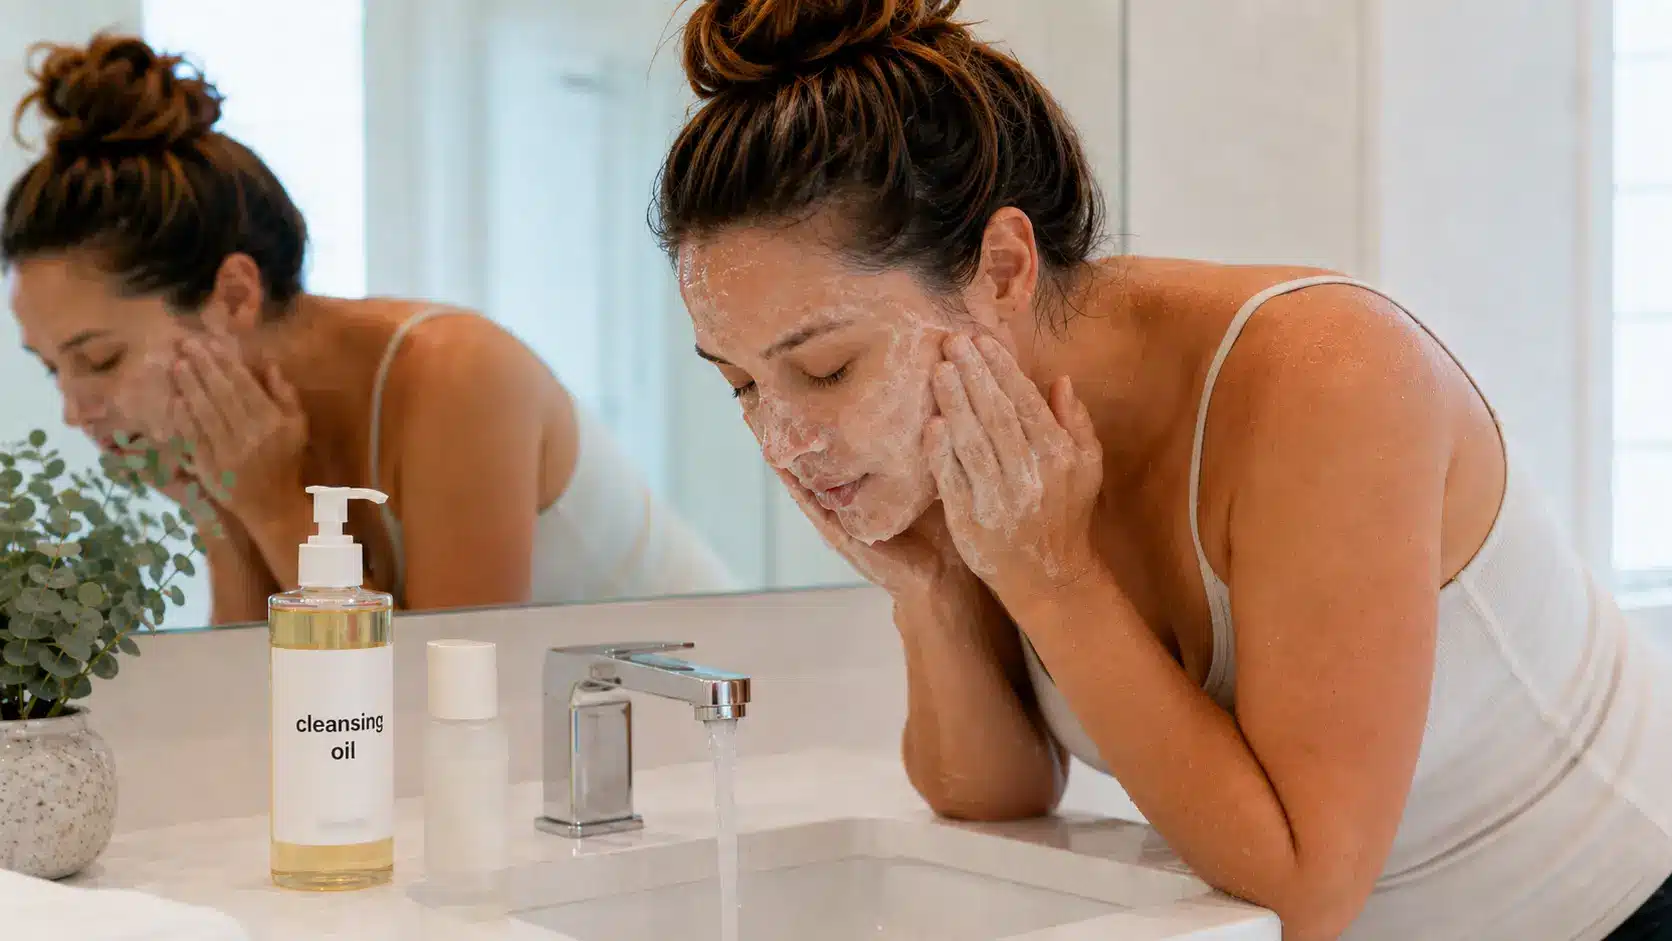
Step 4: Add Lukewarm Water Until the Oil Turns Milky
Wet your hands with lukewarm water, then massage your face again. The oil should turn cloudy or milky across your entire face, including the nose, chin, hairline, and jawline. That change means the emulsifiers in the oil are activating, allowing the formula to rinse away instead of sitting on the skin.
Add water slowly. If the texture still looks clear or feels thick, add a little more and keep massaging lightly. Hot water can leave skin feeling dry; cold water may not allow the oil to rinse as cleanly.
| Note: If the oil does not turn milky after adding water and massaging for 10 to 15 seconds, add slightly more water and continue. Some formulas need a little more water than others to fully emulsify. A formula that never turns milky may not contain emulsifiers and will not rinse clean. |
Step 5: Rinse Until No Slippery Feel Remains
Rinse your face with lukewarm water until the milky oil is fully removed. Pay close attention to the hairline, jawline, sides of the nose, chin, and under the chin, since residue tends to collect in these areas and is easy to miss.
Your skin should feel clean after rinsing, not slippery or tight. If your face still feels slick, rinse longer.
If it feels dry straight away, shorten the massage time next wash or switch to a gentler formula. Pat dry with a soft towel; rubbing cleansed skin freshly can cause irritation.
Step 6: Follow With a Water-Based Cleanser When Needed
Use a gentle water-based cleanser if you wore sunscreen, makeup, long-wear products, or a heavy moisturizer. Massage for 20 to 30 seconds, then rinse well. This second wash is called double cleansing, and it removes any remaining water-based residue, sweat, or leftover film after the oil has done the primary work.
Skip the second cleanser when your skin feels clean and comfortable after the oil rinse alone. This is common when skin is dry, easily irritated, or when no SPF or makeup was worn. After cleansing, apply moisturizer while skin is slightly damp for best absorption.
What to Do After Using Cleansing Oil
Your next step depends on how your skin feels and what you wore during the day. Here is a simple sequence to follow after rinsing your cleansing oil.
- Cleansing oil (first cleanse)
- Water-based cleanser, if sunscreen or makeup was worn
- Toner or serum, if part of your regular routine
- Moisturizer applied to slightly damp skin
- Sunscreen in the morning as the final step
If your skin feels irritated after cleansing, skip strong actives for that evening and focus on moisturizer until things settle. Skin irritation after oil cleansing is often a sign that the massage was too long or the follow-up cleanser was too stripping.
A clean, well-rinsed base is the first step toward healthy, glowing skin. Everything else in your routine works better when cleansing is done right.
| Skincare Tip: Applying your moisturizer within 60 seconds of patting your face dry helps lock in surface hydration. Cleansing oil removes buildup without stripping the skin’s natural barrier, so your moisturizer can absorb more effectively when applied immediately after. |
How to Choose a Cleansing Oil for Your Skin Type
The six steps above stay the same regardless of skin type. What changes is the formula. Choosing the right one makes the routine feel more comfortable and produces a cleaner result.
| Skin Type | What to Choose | What to Avoid |
|---|---|---|
| Acne-prone | A lightweight formula that turns milky quickly and rinses without film. Patch test first if your skin clogs easily, particularly if you are already dealing with forehead bumps or congestion. | Thick formulas that leave a heavy residue. Stop using if new bumps appear after consistent use. |
| Dry skin | A formula that leaves skin soft and comfortable after rinsing. Use a second cleanser only when truly needed. | Formulas that leave skin squeaky or tight. Avoid over-cleansing if skin already feels clean after the oil rinse. |
| Oily skin | A formula that emulsifies well and rinses without a slick layer. Should remove sebum and sunscreen without requiring aggressive washing. | Skipping the milky emulsification stage. Formulas that leave the face coated after rinsing. |
| Sensitive skin | A simple formula with no fragrance or essential oils. Patch test near the jawline before full-face use. | Fragranced formulas, essential oil-heavy products, and harsh follow-up cleansers. Stop if burning, stinging, or lasting redness occur. |
When a formula suits your skin type, the cleanse feels easier, rinses more completely, and leaves your face in a comfortable state before your next skincare step.
Cleansing Oil vs Cleansing Balm: Which One to Use
Both cleansing oil and cleansing balm remove sunscreen, makeup, sebum, and daily buildup. The difference is texture and how you apply them, not what they do.
| Feature | Cleansing Oil | Cleansing Balm |
|---|---|---|
| Texture | Liquid | Solid or buttery; melts on contact with skin |
| Best for | Quick daily cleansing and sunscreen removal | Heavy makeup, travel, drier-feeling skin |
| Application | Pump or pour into palm | Scoop from a jar with clean fingers or a spatula |
| Mess level | Can drip if over-applied | Less drippy; stays where you put it |
| After rinse | Usually feels lighter on the skin | Can feel richer; more comfortable for dry skin in winter |
| Hygiene | Pump bottles stay clean with regular use | Jars require clean hands or a spatula each time |
Choose cleansing oil if you want speed and a lighter post-rinse feel. Choose a cleansing balm if you prefer a thicker texture that stays in place or if you find liquid formulas too drippy. Both are valid first cleanse options. The better choice is simply the one you will use consistently every evening.
How to Tell If You Are Using Cleansing Oil Correctly
After a proper cleanse, your skin should feel clean and comfortable. Not greasy, not tight, not coated. Here is how to read what your skin is telling you.
Signs you used it correctly:
- Sunscreen no longer feels sticky on your skin.
- Makeup came off without hard rubbing or repeated passes.
- Skin feels clean after rinsing, with no slick layer around the nose or chin.
- The hairline and jawline feel fully rinsed.
- Skin does not sting after patting dry.
- If you used a second cleanser, it did not need to work hard to remove much.
Signs something needs adjusting:
- Face still feels oily after rinsing: spend more time on the milky stage and rinse longer.
- Skin feels dry or tight after cleansing: shorten the massage time and use a gentler second cleanser, or skip the second cleanse entirely.
- Residue around the hairline or jaw: rinse those areas more thoroughly and check that the oil turned fully milky before rinsing.
Common Mistakes When Using Cleansing Oil
Small habits decide whether skin feels clean or coated. These are the mistakes that cause the most problems.
| Do This | Not This |
|---|---|
| Apply to dry skin first. | Do not wet your face before applying the oil. |
| Use enough product for easy glide. | Do not stretch too little product across your face and compensate by rubbing harder. |
| Massage with light, slow circles. | Do not scrub around the nose or chin. |
| Add water until the oil turns milky. | Do not rinse before the texture changes to milky. |
| Rinse well around the hairline and jawline. | Do not leave residue where the oil tends to collect. |
| Use a mild second cleanser when needed. | Do not follow with a harsh cleanser that leaves skin tight. |
| Pause use if irritation keeps returning. | Do not continue using a product that consistently irritates your skin. |
If your face still feels greasy after rinsing, focus on the milky stage and rinse time first before adjusting anything else. Most residue issues come from rinsing too early or too quickly.
Frequently Asked Questions About Cleansing Oil
Should cleansing oil be used before or after face wash?
Use cleansing oil before your face wash. It works as the first cleanse, breaking down sunscreen, makeup, sebum, and oily residue. A gentle water-based face wash follows to remove any remaining film. Reversing the order reduces how well the oil can contact and dissolve what is sitting on dry skin.
Can cleansing oil be used near the eyes?
Yes, if the product is formulated for the eye area. Use very light pressure, keep your eyes fully closed, and remove contact lenses first if you are prone to eye sensitivity. Stop using it near your eyes if burning, redness, or persistent cloudiness continue after rinsing.
Can cleansing oil be used every day?
Yes. Most people use it nightly, especially when sunscreen or makeup is worn daily. If your skin feels dry, tight, or irritated with daily use, shorten the massage time or reduce the frequency. Skin that is already dry may not need a second cleanser after the oil rinse.
Is cleansing oil necessary if you do not wear makeup?
Not always, but it can still help if you wear sunscreen, a rich moisturizer, or heavy skincare. Mineral and chemical sunscreens both adhere to the skin by design, which makes them harder to remove with water-based cleansers alone. If your face has no SPF or oily product buildup, you may not need cleansing oil every day.
Can teenagers use cleansing oil?
Yes. Cleansing oil works well for sunscreen and makeup removal at any age. Keep the massage time short, rinse thoroughly, and follow with a gentle second cleanser if needed. If clogged bumps become more frequent after starting regular use, switch to a lighter formula or patch test a different product.
Can cleansing oil be used before shaving?
Use it before shaving, but rinse it off completely first. Do not shave over oil residue because the razor can slip. Cleanse, rinse well until no slick feel remains, then apply your shaving product for safer, more controlled movement.
Does cleansing oil clog pores?
A well-formulated cleansing oil with emulsifiers should not clog pores, because it rinses off the skin rather than sitting on it. Issues arise when the oil is not fully rinsed, when a formula is too heavy for a particular skin type, or when the milky stage is skipped.
Patch testing and choosing a non-comedogenic formula reduces the risk for acne-prone skin. What you apply after cleansing matters just as much; ingredients like peptides work most effectively on freshly cleansed skin with no residue sitting on top.
What happens if cleansing oil does not turn milky?
Add more lukewarm water and continue massaging. If the formula still does not emulsify after 15 to 20 seconds, the product may not contain emulsifiers and will not rinse cleanly. Cleansing oils without emulsifiers need to be removed with a warm, damp cloth rather than water rinsing alone.
Final Thoughts
The key to using cleansing oil correctly comes down to two non-negotiable steps: dry skin before you apply the oil, and full emulsification before you rinse. Get both of those right, and the rest of the routine follows naturally.
Start with dry hands and a dry face. Apply enough oil to glide without pulling, and massage for 30 to 60 seconds, depending on what you wore that day. Add lukewarm water until the oil turns milky across your entire face, including the hairline and jawline. Rinse until no slick feel remains, then follow with a gentle water-based cleanser if sunscreen or makeup was part of your day.
If your current face wash is leaving SPF or makeup behind, this routine will make a noticeable difference tonight. Try it with a short, gentle massage and a thorough rinse.
Notice how your skin feels after patting it dry. That clean, comfortable result without any tight or greasy feeling is what a proper oil cleanse should deliver every time.
Sources
American Academy of Dermatology Association, “Face washing 101.” https://www.aad.org/public/everyday-care/skin-care-basics/care/face-washing-101
Draelos, Z.D., “The science behind skin care: Cleansers.” Journal of Cosmetic Dermatology, 2017. https://pubmed.ncbi.nlm.nih.gov/29231284/
National Center for Biotechnology Information, “Surfactant-based cleansing systems and skin barrier disruption.” PubMed. https://pubmed.ncbi.nlm.nih.gov/